Leaderboard


Popular Content
Showing content with the highest reputation on 02/16/2023 in all areas
-
sunday was 2023's ice harvest day! warmest weather we've had for the event that i can recall - temps in the high 30s/low 40s (note the short-sleeves of some of the volunteers). overnight was about 18*, so that helped for starting things off solid. speaking of starting off, the truck started right up in the morning. after checking lights etc, headed out to the event. got about 3 miles from home, and near the top of a moderate hill climb (pushing about 2800 rpm), when there was a slight pop, and then loud expulsion of air noises (like from the exhaust or manifold). pulled a u-turn, and drove back home. popped the hood, and low and behold - #6 spark plug wasn't there (mostly). the metal base was still seated, but the ceramic portion and upper electrode were attached to the plug wire/boot, which was draped over the manifolds. thus, the noise was escaping compression sound, not exhaust. got the correct socket, and the remains of the plug easily backed out of the head (intact, other than the center/ceramic portion). installed a "spare" used plug, and back i went.4 points
-
My work is now Politically Correct and the “Male” and “Female” electrical connectors are now “Pin” and “Socket” ?♂️3 points
-
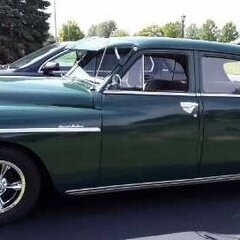
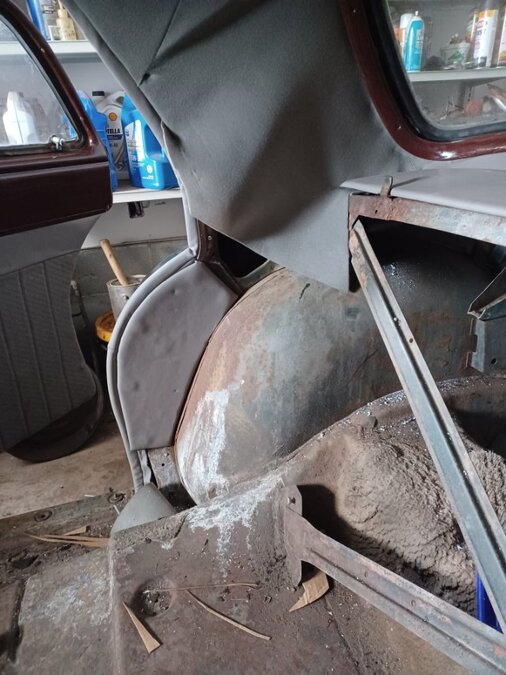
I've got my door cards built and installed and today finished up the headliner. This car had absolutely no interior upholstery to work with...nothing to even use as patterns...so, all things considered, it's turning out pretty good. The bulge in the center of the headliner is where I haven't cut out the dome light bracket. A question for you all. In the last picture, you can see where I've installed the lower side panel. Above that is an upper side panel, which I'm getting ready to install but I don't know how the headliner material attaches to it where the headliner material comes down to meet it. The only thing I can think to do would be to staple the headliner material to the back of this upper panel, and then snap the panel in place. If anyone can describe how the headliner joins the upper side panel, and/or provide a picture of what it looks like when finished, I'd sure appreciate it. The car is a 1950 dodge meadowbrook.


 2 points
 -
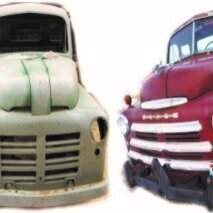
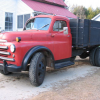
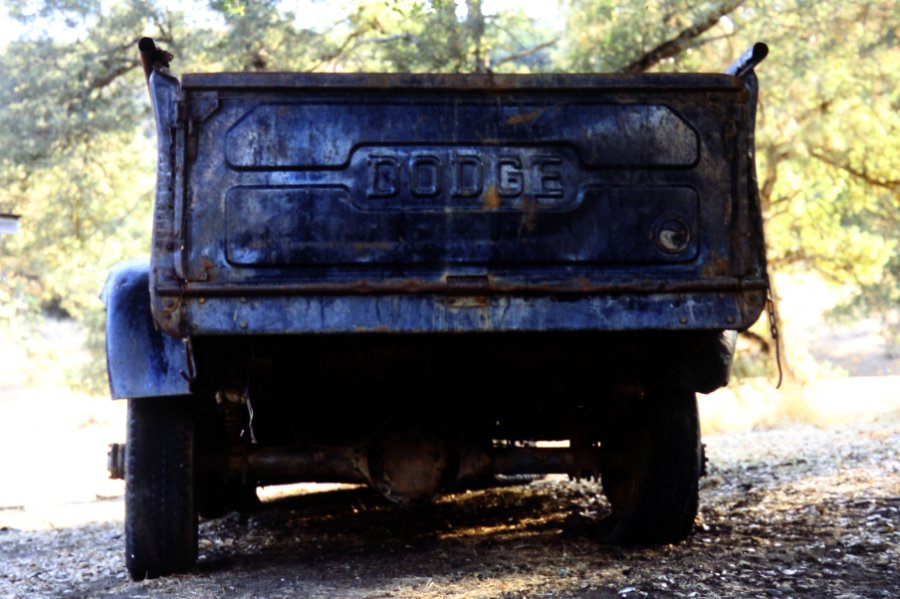
This is my 1 Ton taken back in 87/88 slide film converted to digital recently;
 1 point
 -
I ain't getting one either, lol.1 point
-
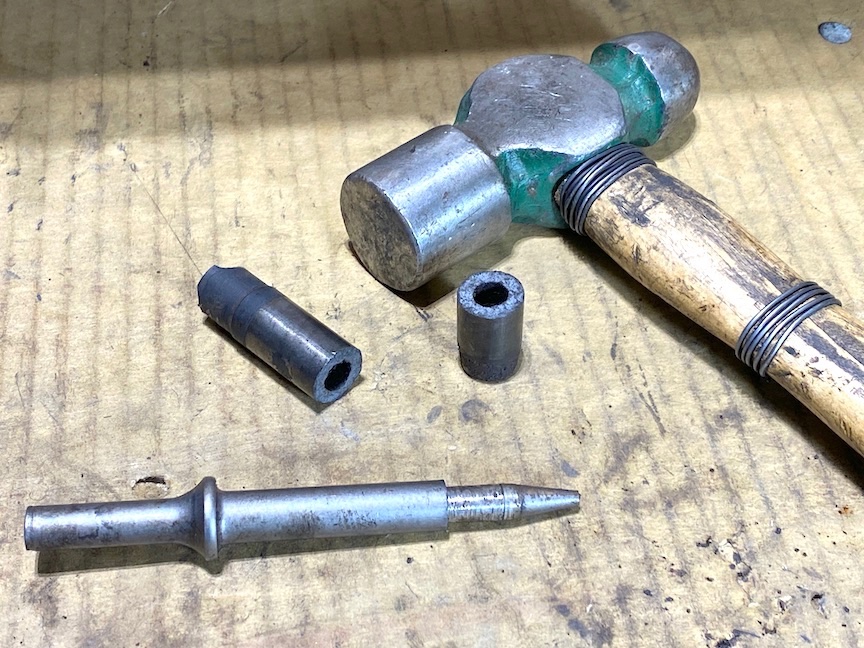
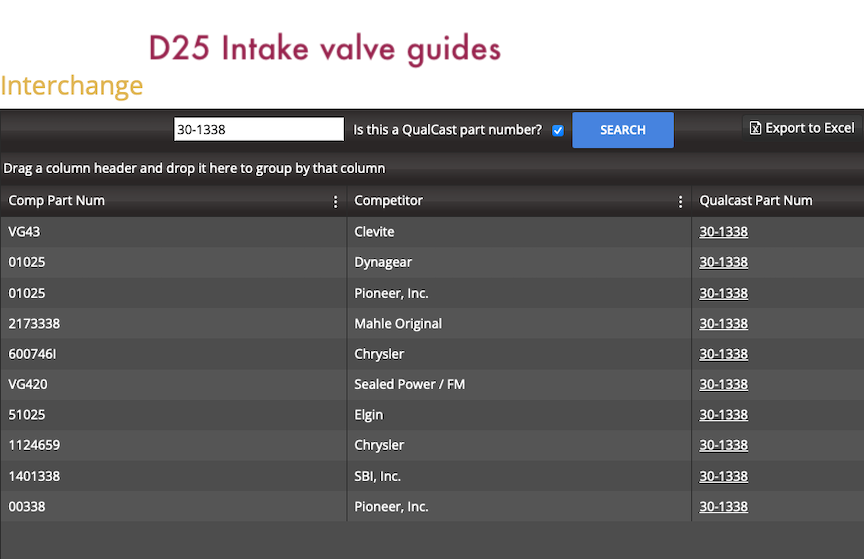
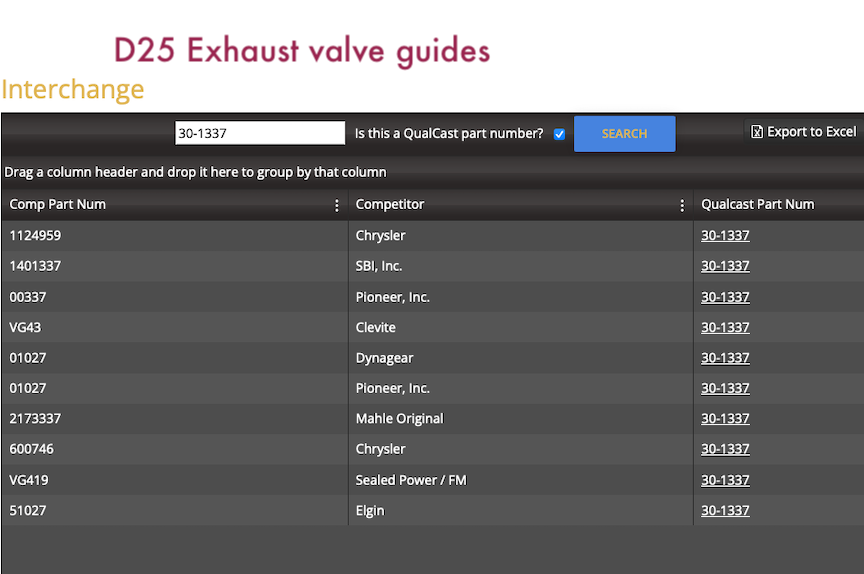
Well, the valve guide removal test on my parts engine went just fine. My spare air-hammer bits were all too short to push the guide out fully but no matter — my little air hammer wouldn't budge them anyway. Fortunately, a few well-placed blows with a sturdy hammer did the trick, and as b4ya predicted, the protruding guide broke off with little effort. I would expect the guides in my runner engine will move at least as easily. Ken, knowing what to look for led me to crossover charts for both intake and exhaust valves, the latter with 0.002 greater ID. Charts below. I'm sourcing them now. Thanks again to all who posted and Sniper, I'll put that snazzy tool on the list for when I do enjoy "...money for tools is no object..." Don't hold your breath.
 1 point
 -
I agree.. The 6v alternator swap was some of the best money spent on this car. It seems like it starts easier, especially on cold days. I feel like I was having to put a trickle charger on it constantly. Haven't had to for a couple months now. And besides, the genny was making some awful noise that couldn't be remedied with the proper generator lubrication.. It was time.1 point
-
One drop???? I wouldn't touch that rear seal! ?1 point
-
Welcome aboard from Oztralia...when I did the rear seal on my 1941 Plymouth 10 yrs ago I had a nice complete Best gasket full gasket set that had the 2 type of neoprene seals so thinking that it had on the original 1941 engine the rope seal I obtained one.......when i got into the job I discovered that the car had one of the neoprene seals but more importantly a previous owner had not installed the small side seals that go between the main cap & block...........lol.......just a small gap but enough for oil to weep out............lol.........there are two different shaped side seals .. .............If at all possible I would actually check what is there first then order what you need, also when installing the sump pan seals do not trim the front & rear pan gaskets as they are supposed to be left a little longer than what you might think to allow for compressing the gasket when the pan is bolted up........I installed the side seals & most of the leak stopped.........lol..........andyd1 point
-
My android cell phone, tablet, and PC are unable to open those pictures, but I'm gonna guess that Purolator P-40 looks like one of these: http://www.secondchancegarage.com/public/purolator-oil-filter.cfm Jim Osborn Reproductions might be able to help ya out...they have a large stock of decals and can clarify what they have available by email. They were able to help out a bit with the Deluxe Products Corporation decals that I did quite a bit of research on...1 point
-
That's why our cars have a thingie where we can add oil! ?1 point
-
we use to do rope seals with a coat hanger. but back then I had a dirt driveway, what leak?1 point