Leaderboard


Popular Content
Showing content with the highest reputation on 11/24/2022 in all areas
-
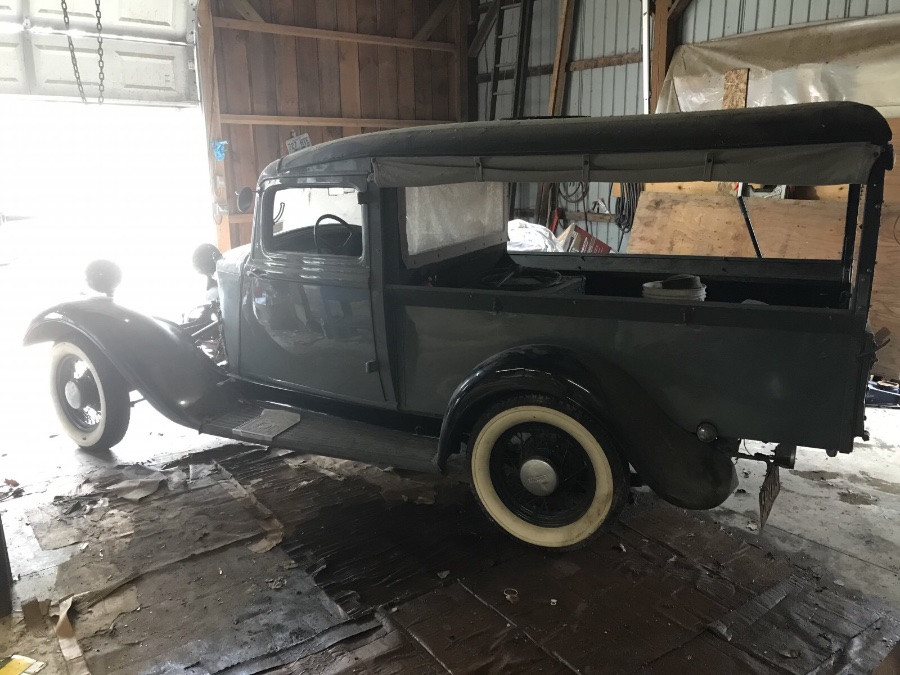
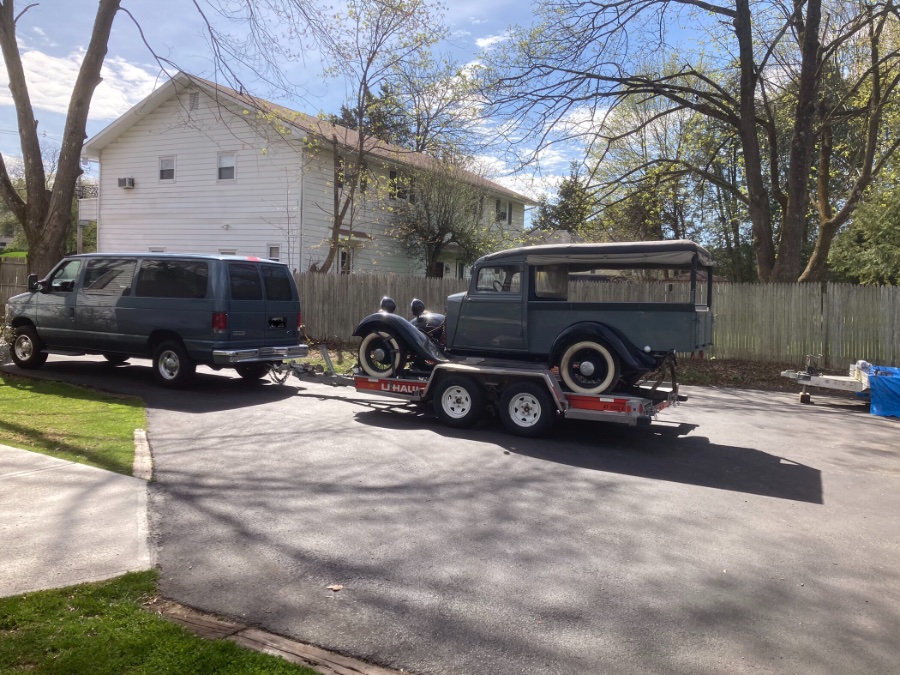
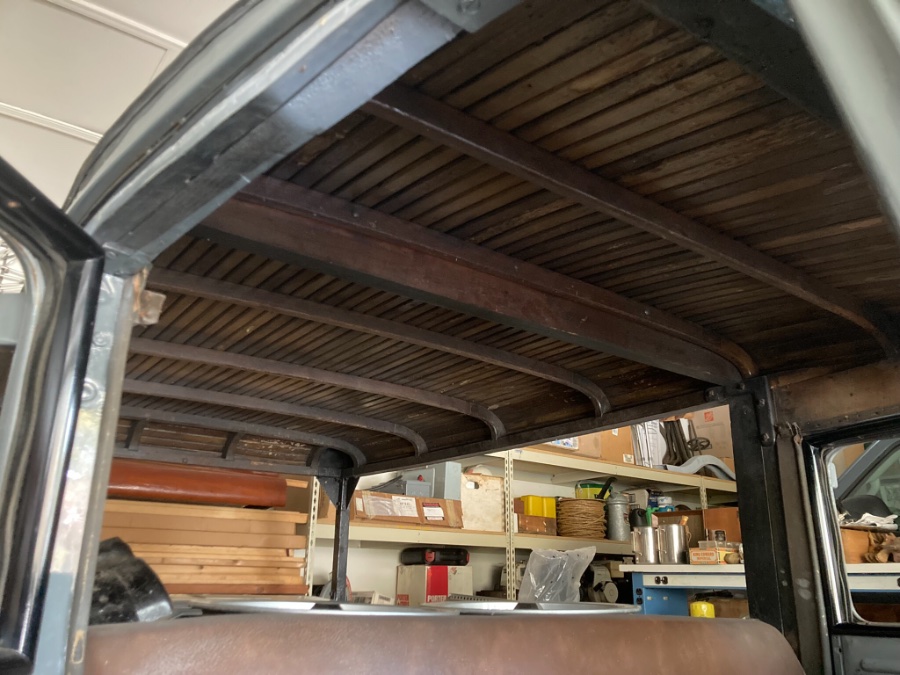
Hello, new here. I picked up this truck earlier this year as a project for my son and I to work on. It was missing the motor and trans but otherwise complete and in really nice shape considering all the wood in it. I’m working on a game plan and list of things needed.
 3 points
 -
Another thing to remember when working on bearings. Keep it clean - no grit allowed. While growing up I had a friend that always complained about wheel bearings going bad. I was at his house one day when he was working on the front brakes. When he took the drum off he laid the outer bearing on the ground - in the dirt. Mystery solved.2 points
-
additional information - door hinge threaded plate1 point
-
I believe the OP is referring to the front wheel bearings.1 point
-
You photo link doesn't work for me. I am going to assume this hole is on the dry side of the diaphragm and that it is a vent. If so that means the diaphragm is leaking1 point
-
Maybe a bypass port that indicates a defective diaphragm? Might be discharging fuel instead of dumping it in the crankcase.1 point
-
Like usual, overthinking it. Trimmed the card with a razor knife and sharp wood chisel, swapped the nuts, and everything is right with the world again! Gonna drive her to my annual thanksgiving breakfast target practice session with a good buddy at the rod & gun club in the AM.
 1 point
 -
To me, the key item in that thread is the link to the Timken documentation. That link (stripped of Google tracking cruft) is: https://www.timken.com/wp-content/uploads/2016/10/5556_Bearing-Setting-Brochure-1.pdf And in that document, the section that applies to us says:1 point
-
There is a whole discussion on wheel bearing preload some where on this site.1 point
-
Rat Rods from Africa. This older guys ideas are really impressive and are reasonable to do. For a beginner builder, for me it is a must watch. Happy Holidays to all.1 point
-
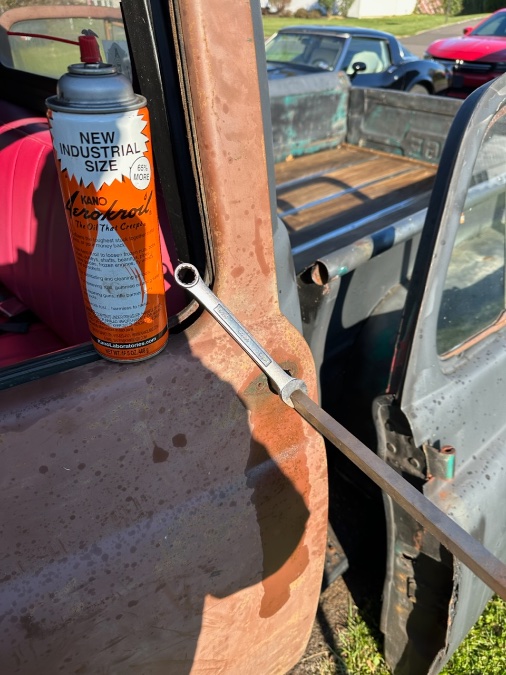
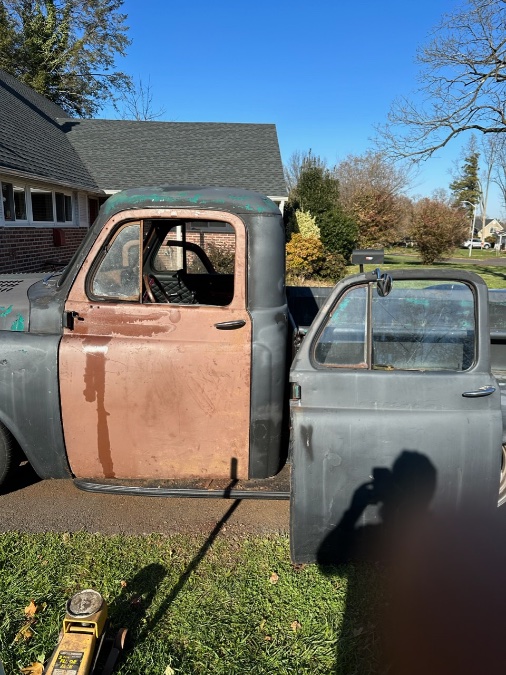
I hung the door which has a rivet repair on the inside bottom 4” all the way across. The bottom gets into the running board pretty badly but will push closed and has the same decent gaps and flush fit with the cab & fender as the old one. No hinge adjustment will be necessary- not that I am vindicated Ken but more like I got away with it! The outside handle was the only thing still frozen and it was frozen good. Having the handle straight made getting the outside handle escutcheon and screws out interesting but the thankfully came out. The handle bushing is in better shape than my original which is also a score. I made a tool by necking down a piece of 9/16” square steel rod. I considered using tool steel and hardening it but I’d rather sacrifice the tool than the square socket in the door. A bunch of Kroil and working it back and forth started freeing it up and after a few cycles of tapping the bolt back out after I was able to successfully open it and the return springs came back to life too. More Kroil thru the long nozzle tube washed away the old grease, dirt, and rust and I was able to get it moving pretty well. Now the door needs to go back on the bench and get the bottom interior and bottom section re-made, and a few old mirror mounting holes welded up. All good news so far!!
 1 point
 -
I suspect that my email address was hacked. I had to change my pasword tonight. If you get a wierd email from Desoto1939@aol.com please delete the email. Sorry and Thank you, Rich Hartung1 point
-
And you sent me the Monopoly paper money. remember DO NOT GO PAST GO and if you land on the PA railroad space you owe me $50. Have a Happy Turkey Day. Rich Hartung1 point
-
Dang, I already sent you $50, lol. Just kidding and thanks for the warning.1 point
-
Maybe it's just me, but removing the hinge pins would be my last choice. Just unbolt the hinges. Yeah, I know, then you have to adjust the door, but the odds are that will need to be done anyway.1 point
-
Got em! I went to see a huge hoard/ private junkyard in Starlight PA including a fluid drive and several job rated and pilot house trucks. Like 800 cars in a private junkyard! I picked up two ‘54 doors, one I paid $212 on ebay, and the passenger side I don’t really need was another $80. It does have cleaner outer skin than mine and the biggy is both doors have 100% working vent window locks which are both missing on mine. And of course the driver’s side has an inside rear window track which is totally gone on mine! This morning I vacuumed out like ten pounds of fluffy mouse nests and soaked everything down with Kroil. It all seemed pretty frozen but after some time and attention everything started working and getting smooth again- a really good sign. Next is to test fit the driver’s door and to decide if it’s easier to try to swap the passenger vent window or just swap out the whole door. They both have hinges so the plan is to pull my hinge pins and just see if the new doors drop on anywhere close. I didn’t find much searching about vent window replacement- anybody done it?
 1 point
 -
I was kinda thinking I’d learn what I’m doing before I publish a video about it. Lol. I am pretty green when it comes to rear ends. I understand them. I’ve certainly “read” lots about them, yet we know that means little until we put that knowledge into practical use. Book-smart is only part of it. Maybe I should consider a new video method. I disassemble an entire rear end. No commentary. Just relaxing piano music. Then I throw it all out as I have no idea how to reassemble it all. Lol. Just kidding. I’ll give it a go. See what I can do. @Dodgeb4ya I think I see more wear on the pinion teeth. I’m leaning towards a new gear set. I’ll post more pics once I get the pinion out. I could just re-bearing this one and put it all back together. Then set it up. Yet its a long ways-in, if something howls upon reassembly. I’m thinking about: jack up car remove rear wheels remove rear drums remove brakes remove brake backing plates remove axles remove carrier assy Swap out and install new carrier assembly Repeat for reassembly. bleed brakes Re-fill rear end oil Re-do it all again if I get it wrong. Ah well, I digress. Its a hobby. It keeps me out of trouble.1 point
-
There appears to be another small change in the cabs from '48 to '49 in the door upper hinge area. The '49-'53 cabs appear to have a stiffener added in this area...hard to see, but it's up in there...1 point