Leaderboard


Popular Content
Showing content with the highest reputation on 11/09/2021 in all areas
-
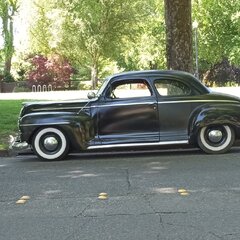
Just got her back from the body shop today and happy to say she is all one color again. Just some minor work left to get it back to my house by this weekend (put on the new tires, install the back seat, get the bumpers on). Probably tool around town with it for a few weeks and then tackle my winter projects. Door panels, carpet, and headliner. Have to wait a few months before I can compound the paint and really make it sparkle.
 3 points
 -
Headed out to WIndy Hill yesterday to grab a bed frame for the project. After re-looking at the bed I had planned to grab, I chnaged my mind as to what I was going to bring home. The shear size, style and condition of the beds I was considering made me re-think what I was going to do, So my friend and I wandered arround the yard and came across the bed pictured below. I think it is an after market frame that looked to be on a Mopar frame (litterally all that was left was the bed and frame). Gettting it loaded onto the trailer the yard man on the forklift got a little happy with his power and ended up putting a tweak in the front rail of the frame (see red oval). Not happy about that, but too late now. I'm kinda diggin the corner cutouts for the lights and think that will look good. Also with the open frame all around I have good anchor points for straps.


 2 points
 -
I spray on a quick coat of Rustolium. The temps in the mid fifties, I put a Propane heater in the passenger cabin hoping to raise the temp enough the primer will dry before the rain hits.
 2 points
 -
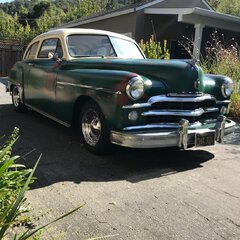
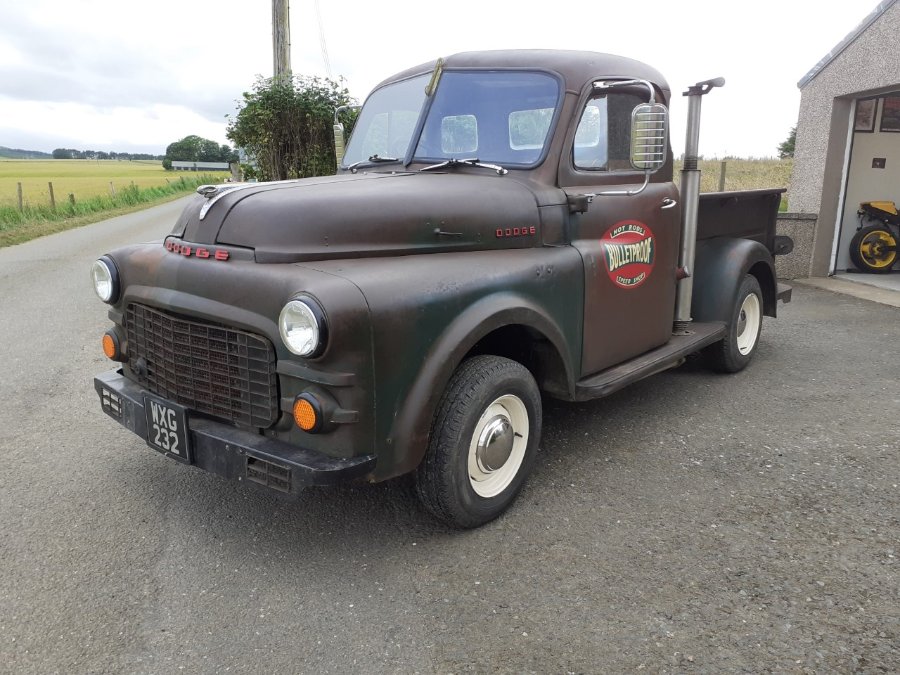
Hi, New to the site so thought i would share picture of my truck. I live in Scotland so not a lot of these around.
 1 point
 -
Welcome Matt! Looks like a 51 or 52 to me..... have fun with it Lol, I didn’t recognize Scotland without it raining ?1 point
-
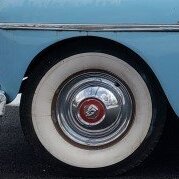
Does this help?1 point
-
Adam welcome to the group. As far as brakes go I can tell you what has worked well for me. Rustyhope for the front and 02 Grand Cherokee rear axle on the rear. Got a more usable ratio along with 12" discs. I used a matching Grand Cherokee M/C and a Wilwood proportioning valve. 7 years and more than 30,000 miles with zero maintenance or adjustments. Has made driving a 70 year old truck in relatively heavy SoCal traffic a piece of cake. Easily the best money I spent when building my truck. Jeff1 point
-
Warning, skip if you don't like long answers with examples and skip if you're not into tuning an engine: This is the information you need to know for the engine to run properly. As for using the manual for this type of tuning, it will work so-so but you are definitely leaving a lot on the table. If you're willing to actually tune your engine, keep reading... Here's why you don't want to use an 80+ year old manual in this case. History: Over the past years I have applied my career in the chemical analysis business (aka refineries) to tuning my cars to today's fuels. When your manual was written, the fuel available was what is called "straight run gasoline." Straight run gas is basically what boiled off the top of a distillation tower and condensed into the fuel your manual was written around (think moonshining). Very volatile and very low octane compared to what is available now and that's where the refining ended due to the technology of the time. During WW2, there was a need to fly higher and faster which required much higher cylinder pressures to and in turn required high octane fuel. It was found that high octane fuels could be found in the heavy oils at the bottom of the distillation towers (where the fuel oil and asphalt lives) but the molecules will have to be cracked using a catalyst. Cat-cracking was born out of this need and the cracked fuel is now blended with straight run fuel to get desired octane and volatility which are all much different that what was available pre WW2 when your manual was written. There is much, much more to this but I am not in class and it will get off topic, but you get the basics. Tuning: First, close your manual and put it on the shelf... Leave the vacuum advance out of this part for now. Get a dial advance timing light. Make sure your timing indicator is correct. With the small bore of our engines, I have found they don't like a lot or need of advance at speed and you also figured that out. I think I ended up about 20-22 degrees total advance @2500 RPM. This is the most important number you need to know, all other numbers need to be tuned in with springs and governors, but you have to be willing... It is possible to have too much advance without pinging especially with low compression. When I did my slant 6 distributor mod, I searched high and low for a 9R governor. This governor allowed 9 degrees of DISTRIBUTOR mechanical advance which equals 18 degrees of crankshaft advance. This allowed me to run 4 degrees of idle advance and maintain a good idle. Since distributor governors are not available for our originals, the advance slots can be welded and filed to achieve the desired amounts of mechanical advance and idle advance. This will allow you to run a much leaner idle mixture, much cooler temps and better drivability. I will probably weld my 9R governor and file to a 6 to allow more initial advance, but I haven't gotten to it in the last several years. The vacuum advance is an economy only thing and probably be used as-is with no mods. For those that use the Slant 6 distributor, make a shim to restrict vacuum advance to about 10-15 degrees total. A lot of time - Yes! Noticeable improvement - Yes! Hope this helps someone... This is a lot of work, if you are not interested the manual settings will work ok.1 point
-
I replaced all of the lines to the oil filter and oil pressure gauge, and also replaced the fittings on my oil filter. Glad I did, it was a serious leaker. I also ran a bead of JB Weld around the seam that's at the bottom of the oil filter canister. No more leaks in any of those areas. The only fitting I wasn't able to source was the lower brass one into the engine. It still leaks the tiniest amount around the bubble flare nut, but I plan to put a blob of Permatex black gasket maker there, that should deal with it. Except for the one going to the oil pressure gauge, if it were me, I'd just cut the lines going to the engine with side cutters, and deal with the fittings on the bench, and hope that the fittings into the engine come out easily.1 point
-
Well, the run yesterday didn't go as planned, at the yard I ended up changing my mind over which bed to grab as we found one that was likley an after market bed vs. what I was condisering as a factory frame. Weight, time and condition played heavily into looking at the frame I did bring home. I kinda like the look on this frame for the corners better that what I was seeing around the yard. I think this one is around 600 pounds. Check out the TODD build thread for a bit more details.
 1 point
 -
We had a cart like that when I was very young. It's from the early 60s. Was grass green and chrome.1 point
-
excellent work. The rocker panels almost always rust out. They make replacement rockers I've heard.1 point
-
For the reason you mentioned, DO NOT attach the belts to the frame.1 point
-
Get on the scale without the bed, read your weight.....then pickup the bed (hold it close) and step back on the scale, read it, then subtract your weight. That how I've always done it. Make sure you have a good grip. 48D1 point
-
I'm resurrecting this old thread because I've had too much time to think about this subject which is a really bad thing When I think about the differences between Unibody vs Body on Frame construction I start to wonder which method of seat belt anchoring would be best. The two choices are the seat belt mounts bolt directly to structural (i.e. frame members) or using large metal backing washers and bolting through sheet metal. I started thinking about this issue several years ago as I was rebuilding my 74 Argosy motorhome. The original seatbelts were anchored to the structural part of the cab but not directly to the frame. No shoulder harnesses, just lap belts. The later style of motor home seat mounts now have the seat belts integral to the pedestal so it now depends on how well the pedestals are anchored and where. Typically they are anchored to the structural portions of the cab but not directly to the frame. In other words if the cab starts to separate from the frame then the seat goes with the cab. I have a Triumph TR6 that had one end of the lap belt bolt to the frame, the other end of the lap belt bolted with a large backing washer through sheet metal. The shoulder mounting was also done with a large backing washer through sheet metal. In this case if the sheet metal body separates from the frame the seat belts would likely rip out of the sheet metal although I'm sure the driver/passenger would certainly pay a price for that separation. For my Dodge B3B bolting to the frame would be relatively difficult to do and would require some extra fabrication to get it done. As most seem to have done I would use large backing washers for the lap portion of the belts. One concern I have with using seat belts that bolt to the frame of a vehicle is what would happen in a crash where the sheet metal body of the vehicle starts to separate from the frame? In a case like this it would seem that your body would now be the soft part that would be trying to keep the two pieces together. In other words it seems like you would get sliced in two by the lap belt. This may not be the case but I haven't been able to come up with any logic to say otherwise! I guess what it gets down to is I can't see a good justification for fastening direction to the frame when you have a sheet metal body that can separate from the frame in a crash. To be totally up front, I don't have a clue which is better so you won't get any answers as to what is best from me, I'm just looking for input from others! ? Brad1 point
-
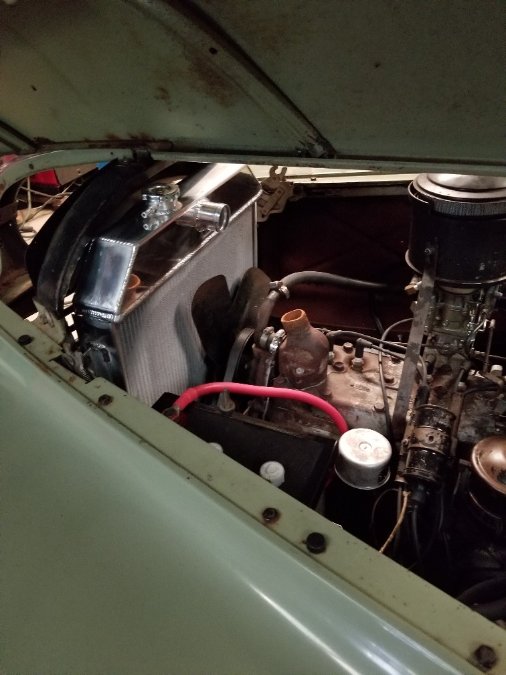
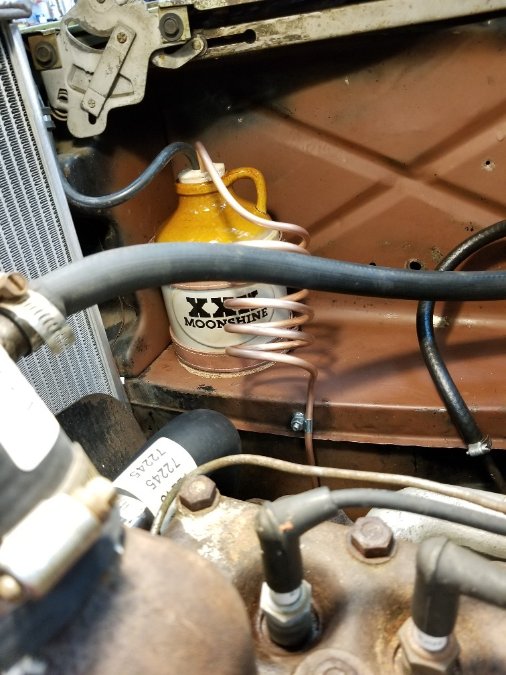
On a couple cars I've had now where a direct replacement aluminum radiator was not available, I'd buy an aluminum radiator by the size and inlet/outlet placement then add brackets or modify as needed. Most might not have a high frequency TIG setup but you might have friends who do. I also don't care that it's aluminum vs original buy I understand why some would want to keep the original look. On my 48 dodge d24, I made the system pressurized and added a moonshine jug as a overflow tank effectively raising the boiling point as an extra measure of caution.

 1 point
 -
More work today, still going to go back out..cold and windy. Driver's side fender - the dust protection (vertical pans) were in one piece and could not be taken off first like the passenger side..had to reach and take off the vertical bolts near the doors. Remove fender then pan. From the looks of the exteriors of the solenoid, horn relay and dimmer switch I wonder if I should just replace without even checking them later.

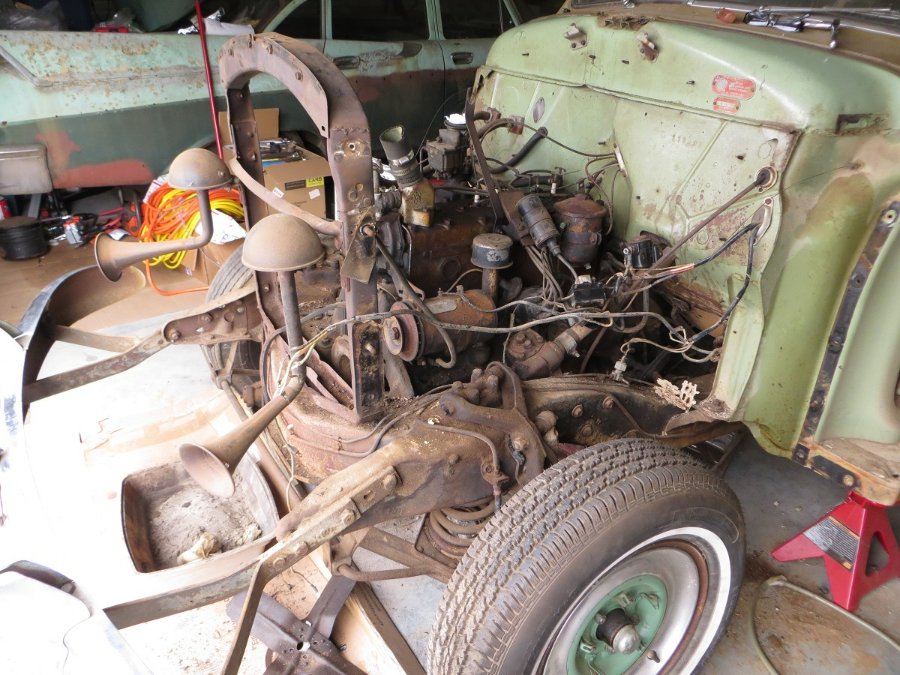


 1 point
 -
The P15 does not have a pressure cooling system, it is an open vent to the atmosphere. A pressure cap can be used but it doesn't have any function other than keeping the coolant from sloshing out the radiator. Since no pressure, an overflow tank serves no purpose. Best to leave coolant an inch or so below the top of the radiator so it won't slosh out the vent tube during high-G ? right turns.1 point
-
I’ve played around a bit with old flat heads the past 5 years. Cooling systems issues are pretty common among many old cars. Our Mopars do have some unique things that produce similar complaints when the act up. If I were pulling the rad to get it serviced, might as well do it right. Open drain petcock at the block. Does coolant flow out? Or is it plugged full of settled rust and scale. (Likely) Pull the rad. Look in thru the cap hole at the cores in it? Partially plugged? Likely. White calcium build up? Likely. Take rad to shop. Have them re-core it. Do not buy a new modern crap rad that you could make fit in there. Remove water pump. Toss it if you have no idea how old it is. Extract what’s left of the water distribution tube. Locate a new one. Don’t put it in yet. Remove thermostat housing and thermostat. Source a new replacement. Pop out a few block plugs down by the distributor shaft. Start shovelling out the 4” deep layer of scale and rust thats in the bottom of the block. Keep scooping it out. Get a long screwdriver and break it up. Get the crap out. Start flushing water thru the block. In thru the water distribution tube hole. It’ll flow out the block holes you opened up. Put more water in thru the thermostat hole. Keep flushing. Keep prying out the crap. Once you are satisfied block is as clear as you can get it, install new block plugs. Install a new thermostat, gasket & housing. Install new water distribution tube. Install new waterpump and gasket. New rad hoses if wanted. Install newly re-cored radiator. With new rad cap. You’ll likely be good for another 60 years. No more chasing cooling system issues.1 point
-
Consider yourself lucky with a price quote of $800-$1300, especially if they are doing the original honeycomb design. A little over 20 years ago I was looking to have my Chrysler Windsor radiator redone - cost - $3000.00 I later brought an 8 cylinder radiator from a Chrysler to be redone - cost - $5000.00 Eventually I found an NOS 6 cylinder radiator for my Windsor for $500.00. but I had to do a lot of searching.......1 point
-
Overflow tank is not needed. After all leaks are fixed fill the car and either run it or better if possible drive it for a while. The radiator will find it’s own level and unless a leak appears will stay there. Make sure your pressure cap is working as well. Also sometimes not only is finding someone to work on the old radiators hard but can be expensive as well1 point
-
Nice Stones reference1 point
-
Thank you for the kind words. It helps to know how to weld. I just had to adapt a bit to thinner steel as I am used to quarter inch and thicker.1 point