
Leaderboard


Popular Content
Showing content with the highest reputation on 08/14/2021 in all areas
-
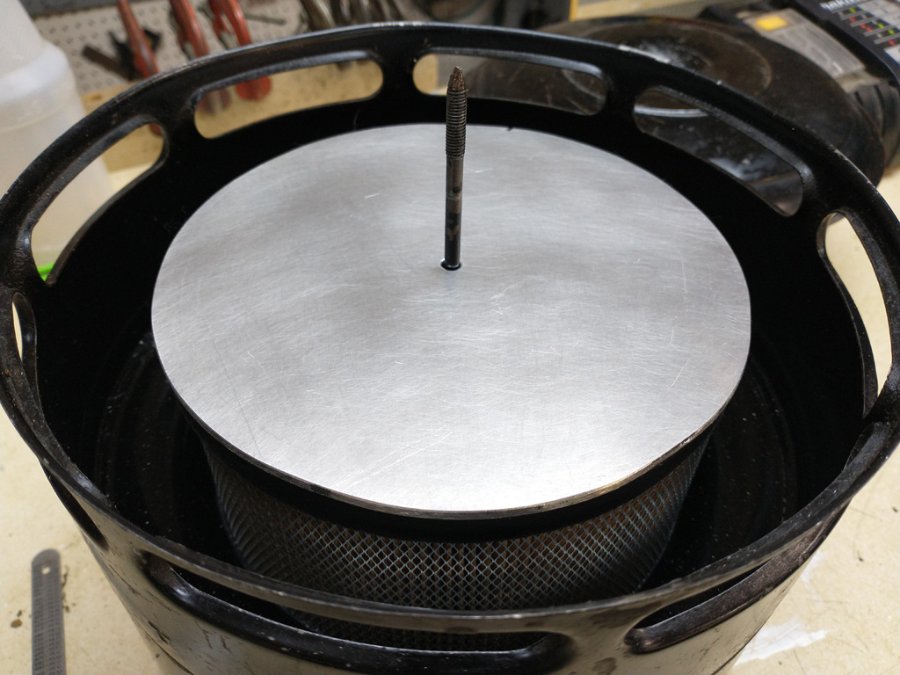
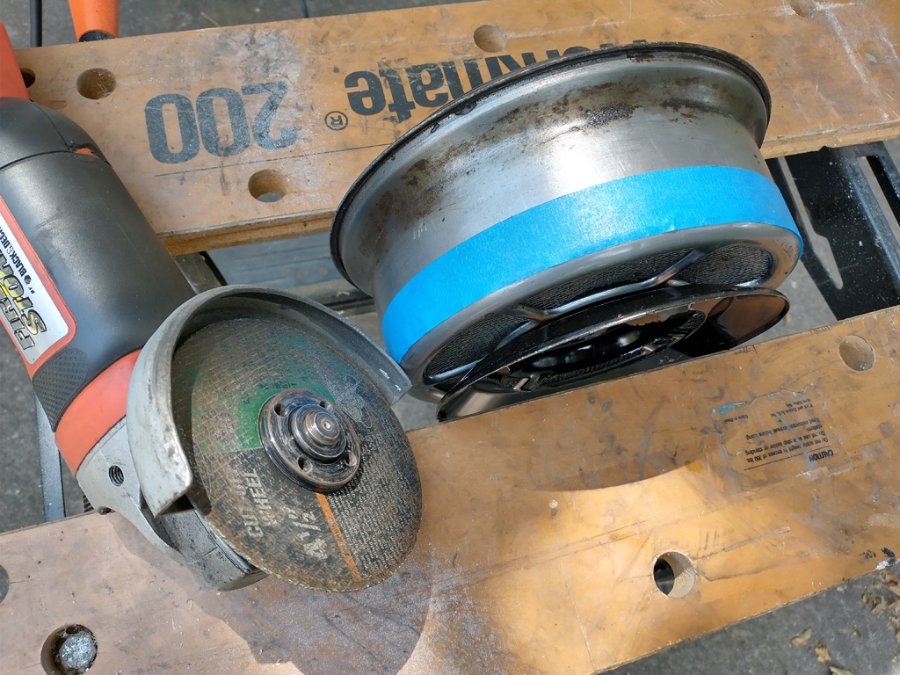
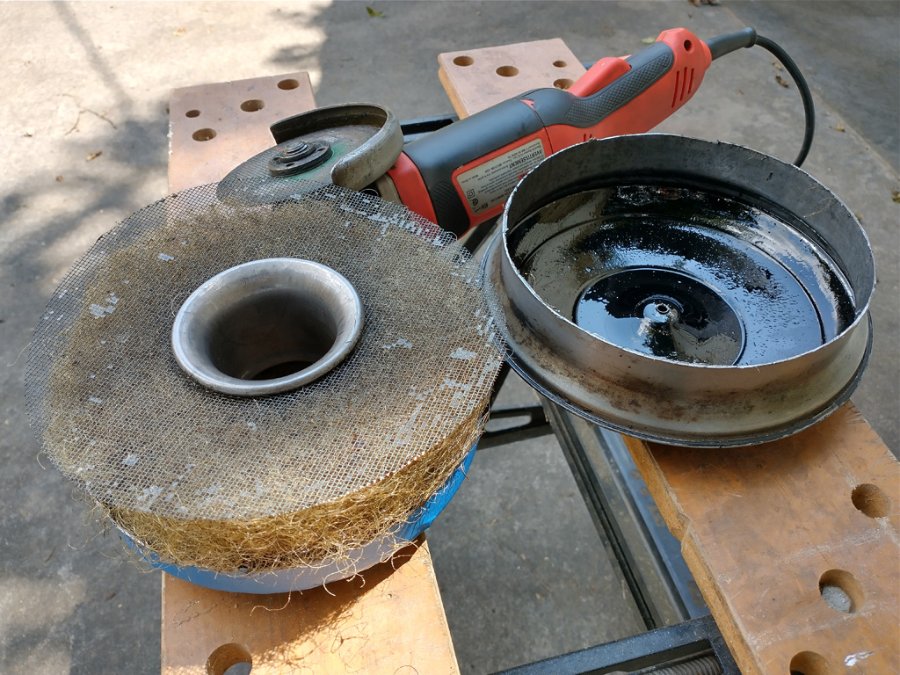
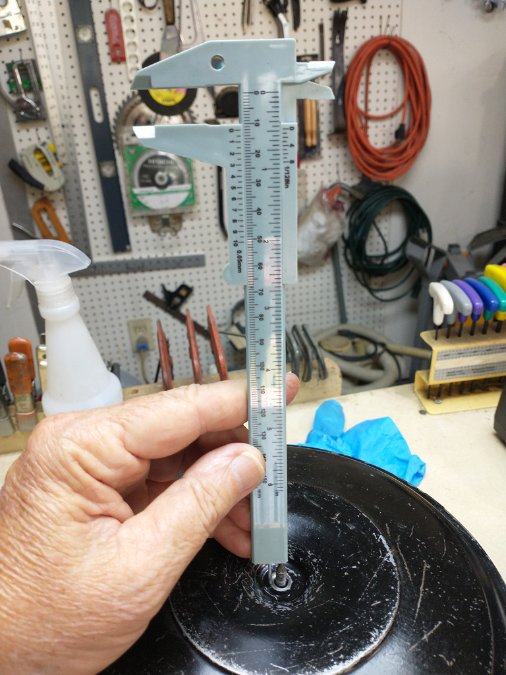
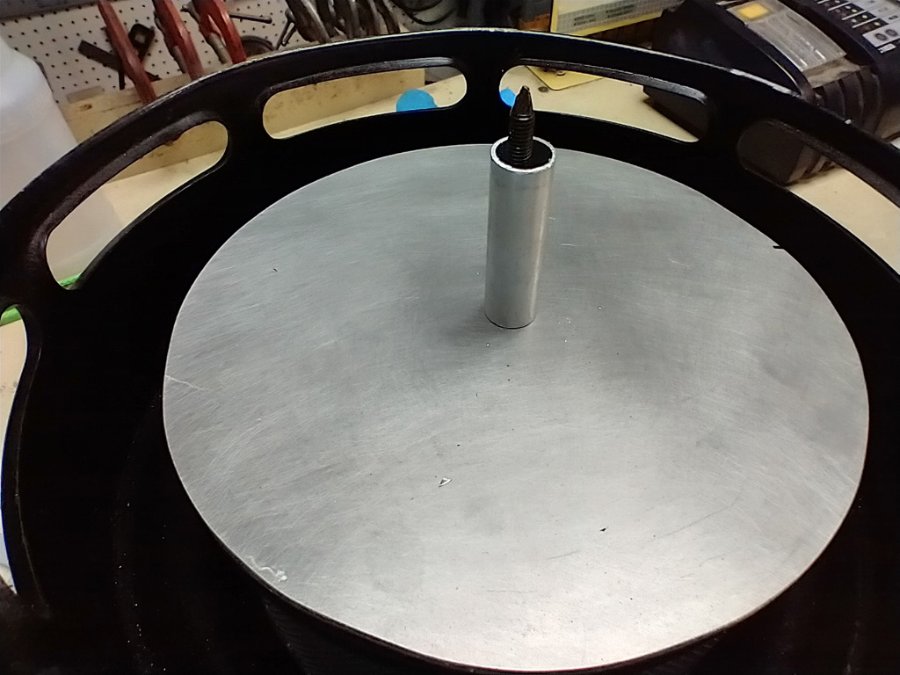
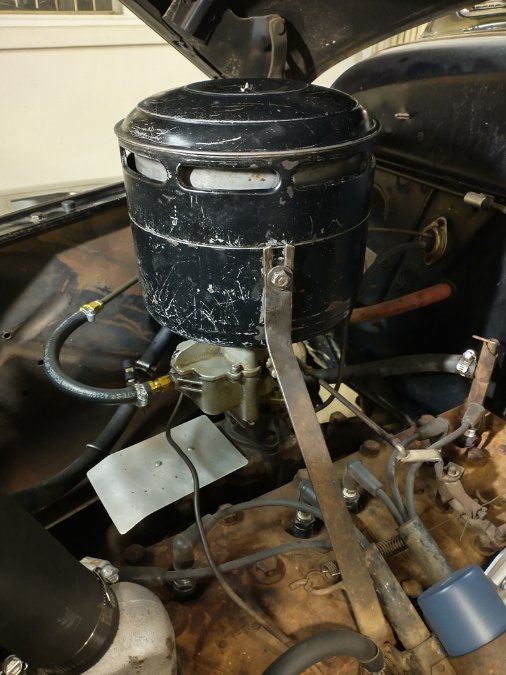
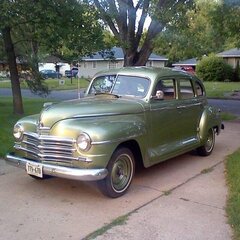
Since my P15 doesn't spend any time on dirt roads, and the oil-bath filter is sort of a pain to service, I decided to convert it to a paper filter. I did a lot of searching in the forum archives but the threads I found were several years old and most of the photos can no longer be accessed. I took photos of the method I used in the conversion so current and future members will be able to get ideas about how to do the conversion. We need a filter element that has the proper diameter to drop into the recess in the bottom of the lower filter bowl. The height of the element isn't critical, I suspect if it is at least three inches high it can accomodate the torrent of air roaring down the throat of the one-inch bore of the carb. ? At my local family-owned auto parts/lawn equipment dealer I found a Kohler filter for some sort of lawn machine that was a perfect fit. A cap for the filter was cut from 1/8" aluminum, but any metalic stock would be fine if it is fairly stiff. The top half of the old filter must be modified to accomodate the new paper filter. I used tape to establish a cut line on the upper bowl. The cut-off wheel easily cut the bowl and the old fiber element was set aside. I put the modified top back on the lower bowl, made sure it was fully seated and took a measurement of the protruding end of the stud. The top was removed, the wing nut run down to the measurement I had taken, and another measurement was taken of the space between the bottom of the nut and the filter cap. This indicates how long a spacer is needed to fill the gap between the cap and filter lid. The top lid was placed in position, the wing nut run down snug and the new, oil-less filter assembly installed back on the carb. This mod retains the original appearance of the filter, nobody can tell there is a modern paper element inside. A test drive proved the P15 is happy with its new filter and it should be good for many years of maintenence-free filtering.

 4 points
 -
Drone shot this morning IMG_0343.MOV3 points
-
Not really what the hobby is about here. This is mostly a original, or somewhat close to it, type of hobbyist here. Be like going to a Manchester United game and asking "How about them Bears?". They're both football, right?2 points
-
Mobil one DTE light recirculating fluid From @MarcDeSoto I'm one of the guys who had a big thread on this subject. You're right, you can't look up past threads very well here. James did a long study and research on this question and came up with this product. Mobil Light Circulating Oil ISO 32. This product is difficult to look up. I tried searching for it on Amazon and it gave many look alike Mobil oils, but NOT the right one. I had to look up my order from Grainger's and use the product number to look it up on Amazon. I saved a few bucks by driving 30 miles to the my local Grainger's, but even they had to order it. You might well say that this is just 10W oil so why not put 10W motor oil in the fluid drive like you do in the semi auto transmission. Well, because it won't work well. This oil has anti-foaming agents to prevent cativation in the fluid drive, which will cause the car to have poor acceleration and slipping. It's because this oil is made for turbines that it works well in the fluid drive coupling. It does not come in one gallon sizes, so you have to buy more than you really need, which is just under two gallons. https://www.amazon.com/Mobil-DTE-Light-ISO-gal/dp/B07CSLKT1J/ref=pd_rhf_se_p_img_2?_encoding=UTF8&psc=1&refRID=HMVQFANK8D7F8CYKVMYX#descriptionAndDetails1 point
-
Here is a tip for installing your new brake lines. Cap or tape the ends of the lines while installing them to prevent debris from getting in them. I installed new brake lines in the P15 last summer. A little tedious but not that bad. I was able to re use all the old clips. Bend open for removing the old lines and bend closed after installing the new lines.1 point
-
I've never pulled the trigger on this vendor, but I've given it some thought for my 48 Plymouth. https://www.ebay.com/itm/383653663676?fits=Make%3ADeSoto&hash=item59538a53bc:g:ZFgAAOSwKL1e~kqx1 point
-
I thought the horse was supposed to do all the work. ?1 point
-
that would be some deformed stick men.....you may be in for a lawsuit.....1 point
-
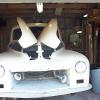
My P15 had a mixed set of tail light lenses so I purchased a pair of NOS LynxEye lenses (originality isn't my highest priority). I don't know how the tail lights were assembled originally since my car was repainted 30+ years ago but when I removed the lenses and bezels there was no reflector in the lights. I used some scrap roof flashing to make a couple of quick-and-dirty reflectors. I bent the ends to form a psuedo parabela to focus the light into the lenses. The difference in the apparent brightness of the lights is significant....well worth the few minutes needed to hack out the reflectors.
 1 point
 -
Oh yes, I wasn't aware that Mark was the guy behind the videos on the ihazwings channel. I've watched all of his videos (several of them more than once). Thanks.1 point
-
Dave, search 41 plymouth on YouTube. Very helpful. Glass was something intimidating until I jumped in.1 point
-
No center floor or gas pedal ! Used the throttle knob, and shifted to reverse with my foot ? Still adjusting the shift mechanism. What a thrill. Thank you all fir your support!1 point
-
I had ongoing issue with my 48 Chrysler with fluid drive(says so on the brake light cover) or if others prefer, "fluid coupling". Search my posts. There is a great reply that has an old training film in it. Watch it and you will be able to solve the shifting issue. Mine boiled down to the wires from the relay and the button in the governor. Fixed the first with new wires and the car ran great for a bit then would not shift again. Then fixed the governor. No issues since. "Remember up is up and down."1 point


.thumb.JPG.1aa9ab49db333d63ce3414ec88506ed7.JPG)