Leaderboard


Popular Content
Showing content with the highest reputation on 12/29/2020 in all areas
-
Dan Heston, Vintage Power Wagons has your part: Vintage_Power_Wagons_Parts_Catalog-Group_01_Engine.pdf - Google Drive scroll down to the middle of page 5. Vintage Power Wagons - VPW News - New Products & More2 points
-
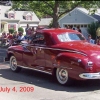
Yea, but don't get mad when you see mine out on e-bay with a slick story and a $40K price tag. I do love her, but if someone comes along that will pay me $40K, I'll find enough love for a few more.2 points
-
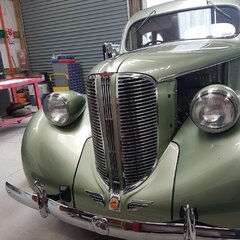
? I know the dash badge is off, but it cleaned up nicely and really like how this is coming together.
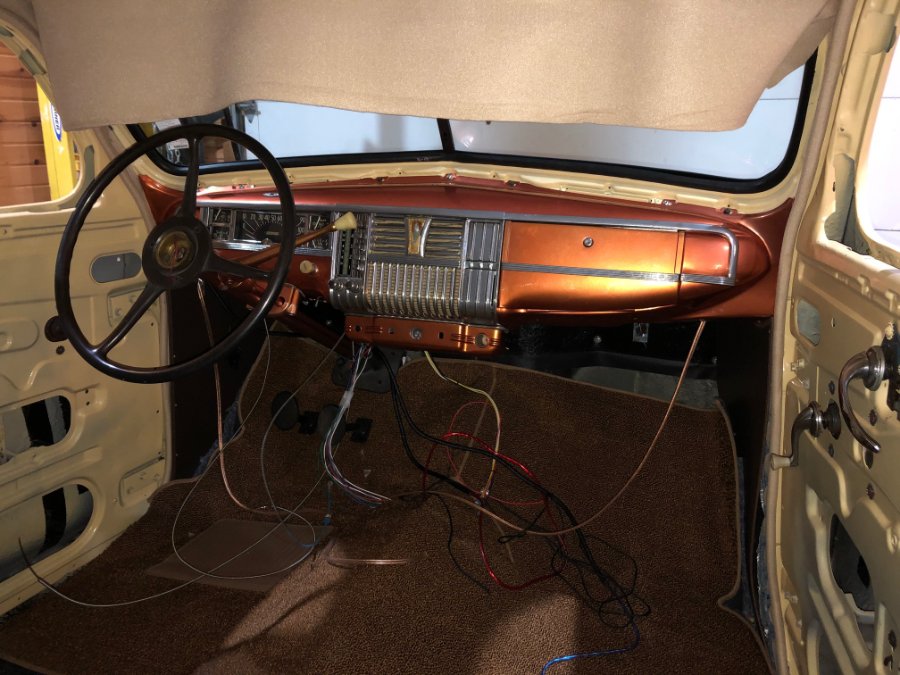
 2 points
 -
You may have to get pretty aggressive with breaking the manifolds loose from the studs. Observation; Once you get everything back together...PLEASE get rid of the plastic fuel filter right next to the exhaust manifold!! ? Proximity to hot engine components is no place for a plastic filter.2 points
-
Hmm, you see my pic to the left? That's me sitting on my destroyer somewhere out in the Persian Gulf. So now I know who that was that sold me that junker, lol.1 point
-
If this guy joins you on the forum one day he might set the hounds on you..... ..1 point
-
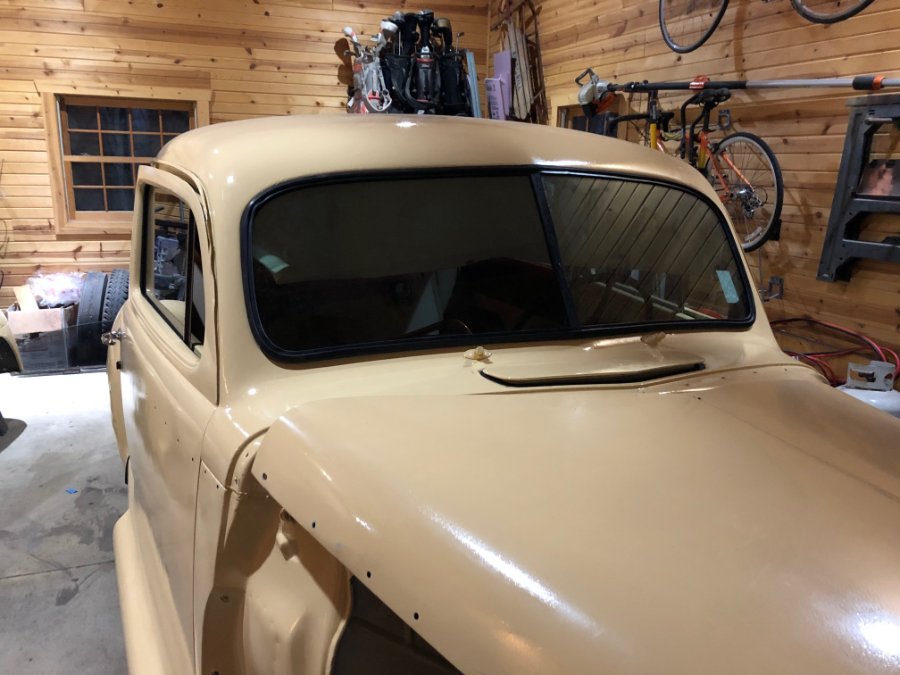
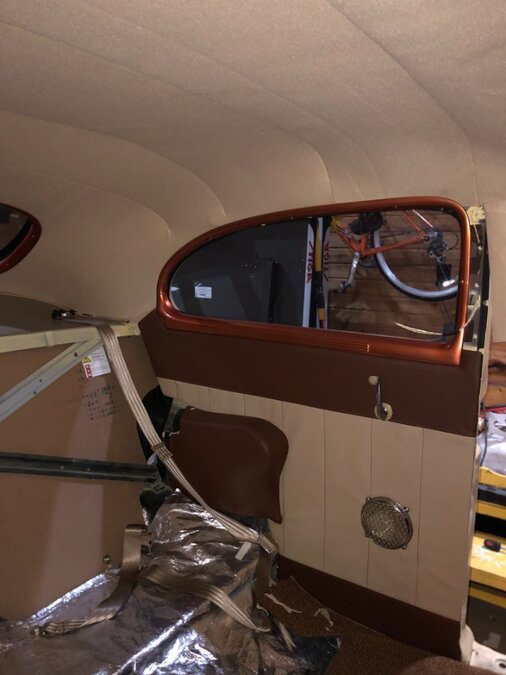
In the parts book it shows a weatherstrip and a welt on the inside of the glass. Perhaps this is what you (and I) need.
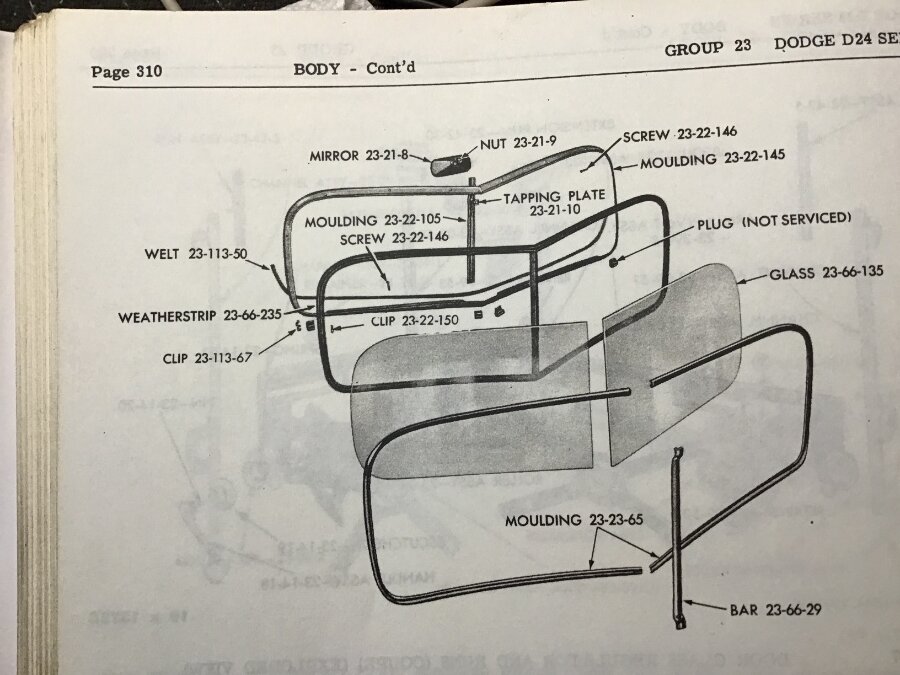 1 point
 -
I went back and looked at pics I took and yes Tom I believe there is a rearview mirror hanging there. I have decided to try and buy the truck, still need to make sure engine not seized and then will make offer. Wish me luck.1 point
-
This is how I did my linkage on the '37 DeSoto, with and S-15 (251) motor, Nicson intake, and Carter carbs
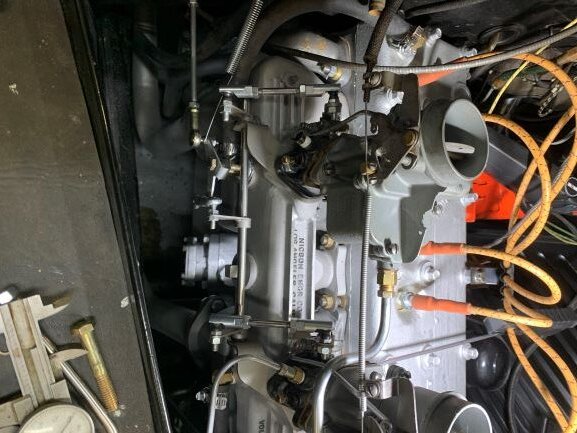
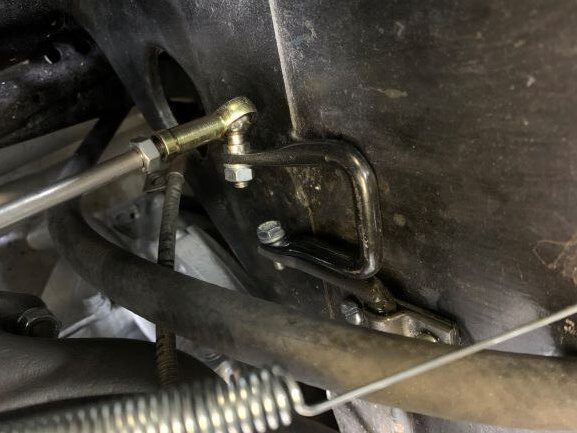
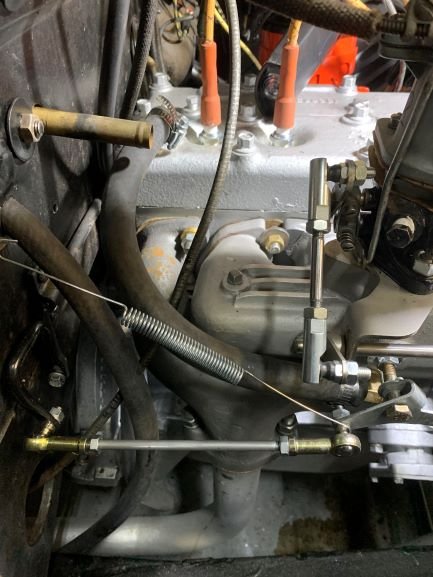
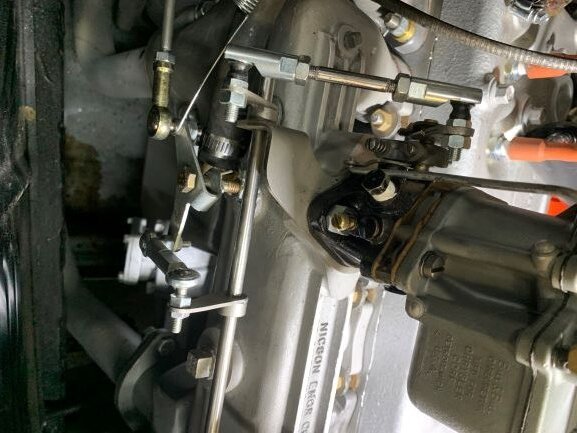 1 point
 -
The black behind the windshield trim appears to be black fender welting material. Installed similar to fender installation. Poke or cut holes and or notches for the screws and tuck in as the screws are tightened. The windlace is the cloth looking stuff around the door openings.
 1 point
 -
In my experience I wish I could go back and do exactly what you’re pondering, I started my truck with the idea it would just be for short tours, but that gets old soon and once I started investing money in switching to disc brakes and upgraded master cyl and later on rack and pinion steering and many other upgrades like a 251 with lots of go faster parts I still have a truck that isn’t comfortable for real long trips and although I can cruise highway speeds, at 70mph the old leaf spring suspension wasn’t really made for that. If you want a comfortable long distance cruiser then I would recommend the IFS and a reasonable V8, others may disagree, but I’m only going on my personal truck and experience1 point
-
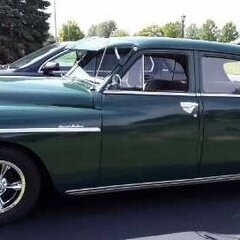
A couple from the summer forgot to post. She's all tucked away for winter now


 1 point
 -
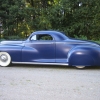
Soooo,you are into pimping-out Plymouths?1 point
-
One could probably make a tool in less time that it takes to overthink the problem. I did it just now in 25 minutes from a 7/16 bolt. The shank diameter is the same as kitty corner on the 5/16 square. File one flat until it’s 5/16 across the flat, mark as your reference and use that surface to eyeball the other three sides for filing. Leave a bit of shank so the square end protrudes from the socket. I’m planning to drain and fill my diff next week and figured I’d get a head start making the tool today. Joke’s on me — turns out the ‘47 D25 doesn’t have a separate drain plug.


 1 point
 -
Nice photos and ez to follow. Thanks!1 point
-
Very cool?1 point
-
my buddy is coming tomorrow to give me a hand lifting some of the heavier items into place on the assembly of the lift.....moved the big runways from the orchard to the shop bay today....one of his favorite deserts is pecan pie....so I have these ready to pop in the oven in just a minute or two as the oven temp reaches my set point....home grown all organic pecans.....1 point
-
Today`s job.
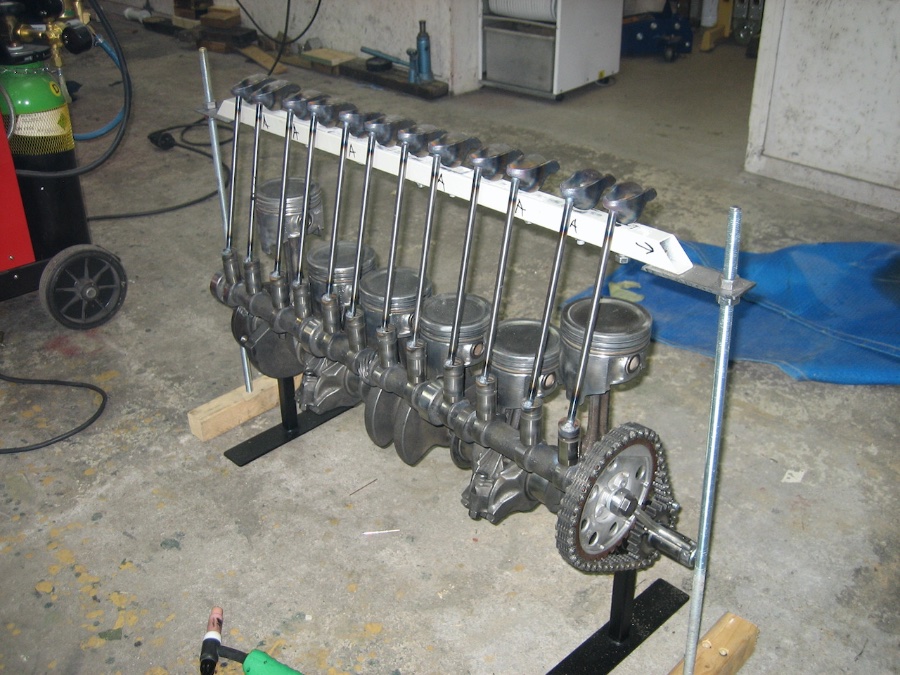
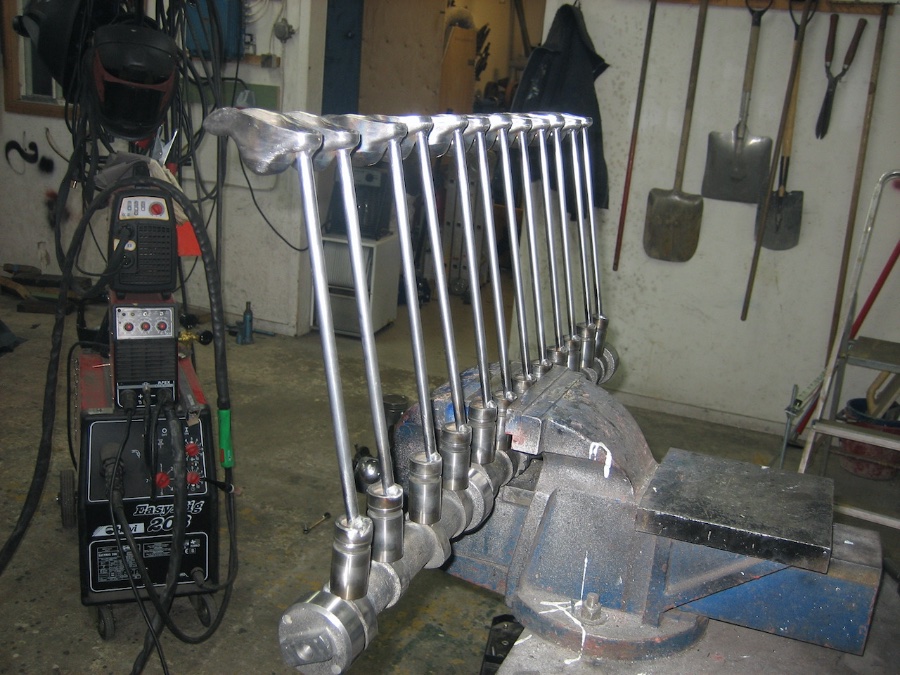 1 point
 -
I used one with Simple Green and water to clean the carb in my 51. It worked fine, but none of my passageways were gummed up. Tried to do the same with the carb on my lawnmower that was gummed up and no dice. By gummed up I mean varnish had plugged passageway(s). I documented my carb rebuild int eh following link, you can see the before and after appearance. http://www.yourolddad.com/carb-rebuild1 point
-
1 point
-
Aaaargggggg ?
 1 point
 -
I missed the B-Pillar by the entire width of the pillar ? Will have to come up with a mod. I saw another post where the owner started at the b-pillar and worked back and forward. Now I see why. Working from the back would have worked too, but need to be carful to pull it back far enough before pressing in the rear garnish trim Advice for anyone considering powder coating the garnish trim. Don't coat the backside. These are near impossible to get back in.
 1 point
 -
It is there. look into the two small holes just inside the pan rail. If the crankshaft is still in place, a shot of air into the oil gallery should push the plunger out. If it were not there, you would have had no oil pressure. If it were stuck the oil pressure would have been 100 lbs or more just after startup. Make sure you get it out. If it remains in place and is stuck, you have real problems.1 point