Leaderboard


Popular Content
Showing content with the highest reputation on 12/10/2020 in all areas
-
on my 48 D24 coupe there is a brace from the bottom edge of the cowl to the bottom of thr dashboard just above where the steering column bolts on.
 2 points
 -
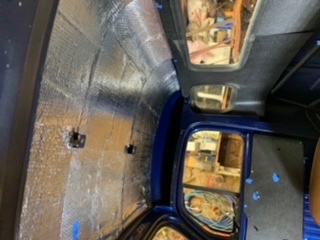
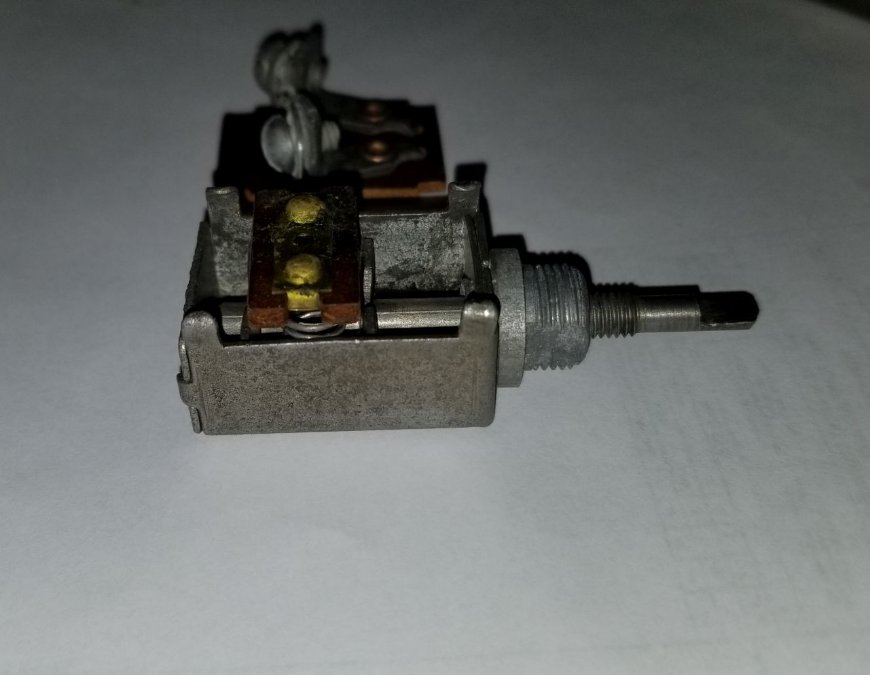
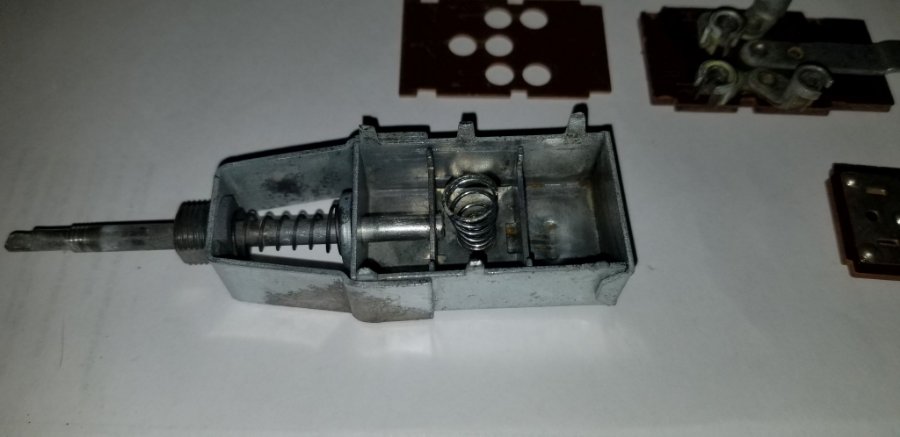
interesting that you should ask. I crawled back under the dash for asecond look. That is the way the car was when I bought it, but after looking at it again I have to say that it doesn't look factory. The hooks on the ends of the spring are bent copper wire and it hooks onto hand bent thin brass; one of which you can see in the photo. I'm not sure if it is necessary, but I am going to leave it there.1 point
-
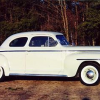
Had a streak of good weather, but it’s supposed to end tomorrow. Got the 37 out today for a drive. My neighbor has a 36 Ford project for sale, so I backed in next to it for a photo opp.

 1 point
 -
Brad; I wouldn't worry too much about that......we are all flawed. ? I can tell you that these trucks hold up very well in day to day use. Mine has been very easy to maintain and has never left me stranded. Leaving them sitting around and not using them is probably the worst thing you could do. They thrive when used frequently. Jeff1 point
-
The front hoses that go thru the front truck frame have a big nut tightening it to the frame. Remove the steel brake line from the upper hose end then use a socket and ratchet to remove the hose nut if you don't want to or cannot use a big wrench.1 point
-
I made a slight change to the linkage for the carburetors. Originally I had two fixed links going from the pivot shaft to each carburetor. Thinking about it and looking around at what others have done I realized that there would be no way to synchronize the two carburetors together so I modified the arms to make them adjustable. I still have a little more work to do on the overall linkage but it's getting close Brad
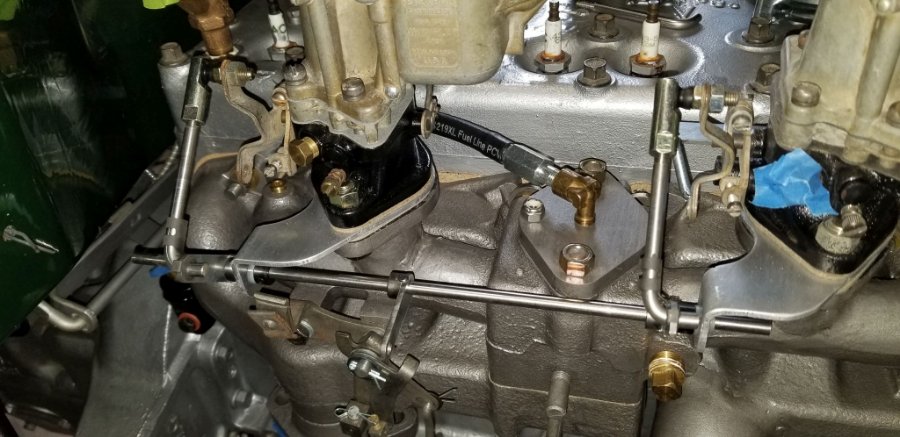
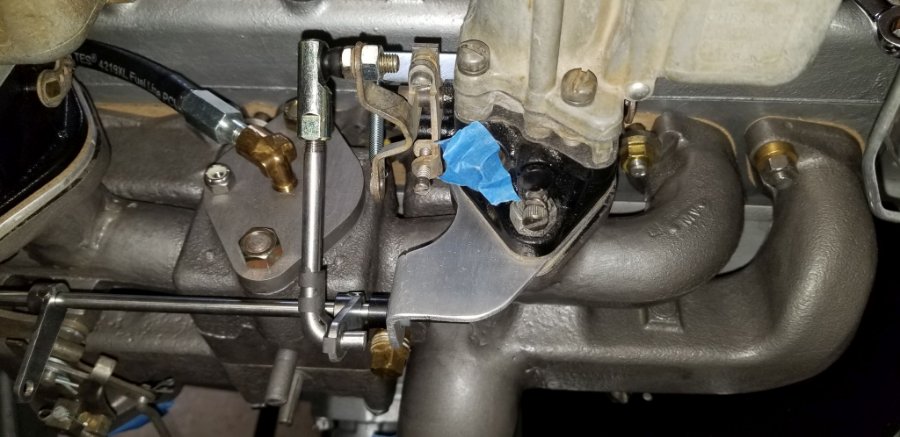 1 point
 -
Paul,Plymouthy Adams,I couldn't agree more. I would also add all the GREAT people you get to meet who are happy to share their knowledge,both on places like this board,and in "flesh life",too. This ain't just about cars,it's about people,memories,and history.1 point
-
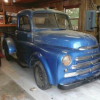
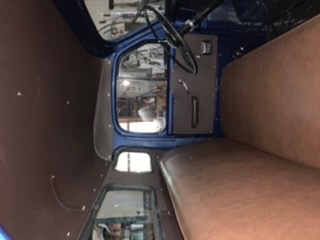
I finally got interior into Ol Blue. Reg had sent me his pattern and I was going to copy and cover with vinyl... instead I altered it a bit when I found a sheet of 1/8” abs. I made the two door cards and the two piece back for our 5 window rigs, but given that ABS can be heated and bent I tried making top and wing panels out of one piece. Bent it and glued the corners with acetone and abs chunks melted to make a one piece head liner. I cut a small relief at back center to give it right curve in 2 dimensions. I did a small seam at back. I had to install back piece at windows first then top so not as it was from factory but it went together with some choice words. I could use a matching set of window cranks if anyone knows s source. I used rivnuts and 10-24 stainless screws with finish washers to fasten. ABS panel was black so I painted with SEM brown, snagged some arm rests from an 80s Toyota painted and voila... what d ya think?
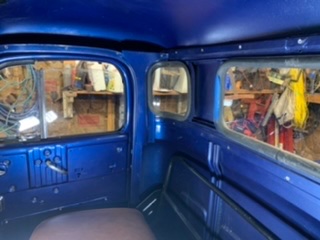
 1 point
 -
Totally agree! This is the best way to avoid trouble when out with the car. Another way to have a reliable car is to drive it regularly. It doesn’t have to be a lot of miles per year but just weekly or monthly drives when weather permits. Cars that just sit aren’t as reliable.1 point
-
Plymouthy, great job. Makes me want to make a new bench. And so right you are. My wife is a total sweetheart too, she helped me build our metal 900 sq ft shop 3 years ago hoisting panels and a lot of screws, nuts and bolts (a lot of it out in the desert heat!) and is always there for me. As with yours, she is right there when I need any help. Has a great mechanical aptitude, making some great suggestions. And a great sense of humor, she loves to relate any funny story or husband joke she finds! We laugh a lot and I can't imagine being without her. We have completed a lot of shared projects together. My best friend. We are truly blessed to have them and everything they do.1 point
-
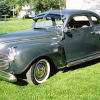
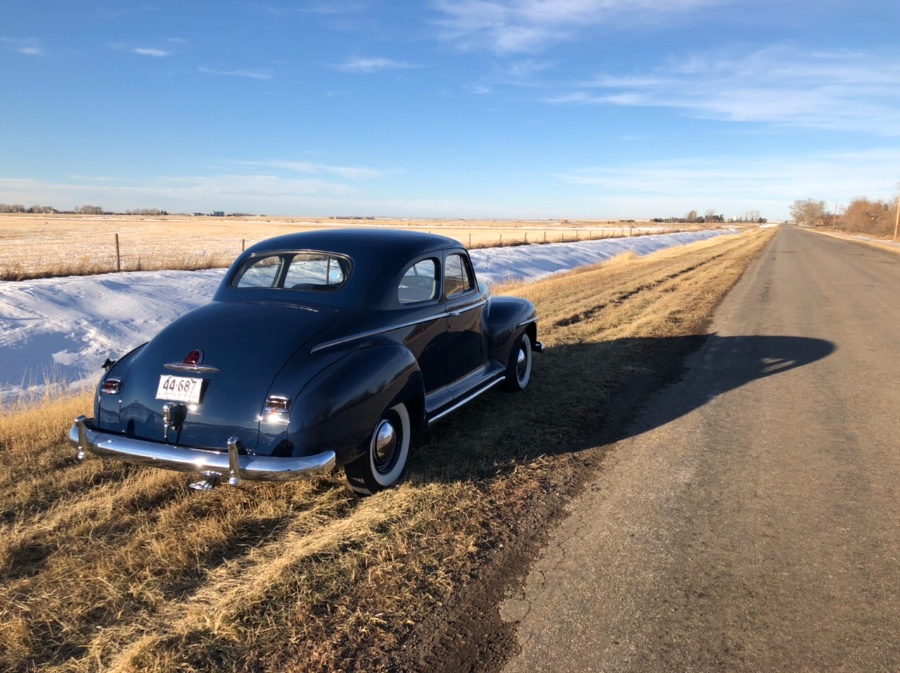
Agreed no contest but just old car enjoyment! Never say never. Weather here continues nice for a few more days. Had the ‘48 Dodge D25 club coupe out again today and hopefully again at least one more time. Easy to tell daylight is getting shorter. Today’s picture was taken at 2:30 and the car’s shadow is already getting long.
 1 point
 -
Some folks cover the contacts with dielectric grease to minimize future corrosion...1 point
-
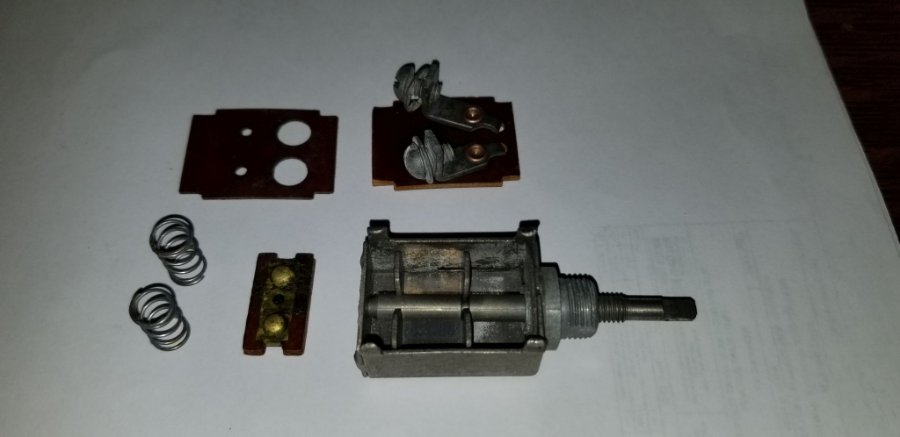
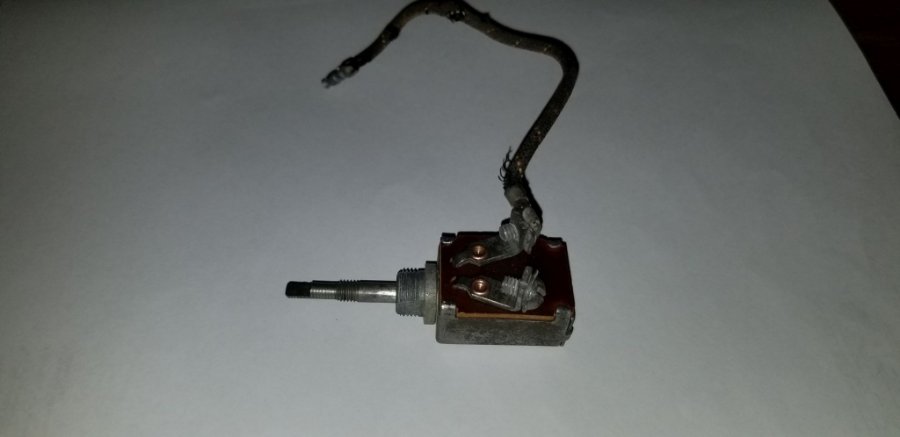
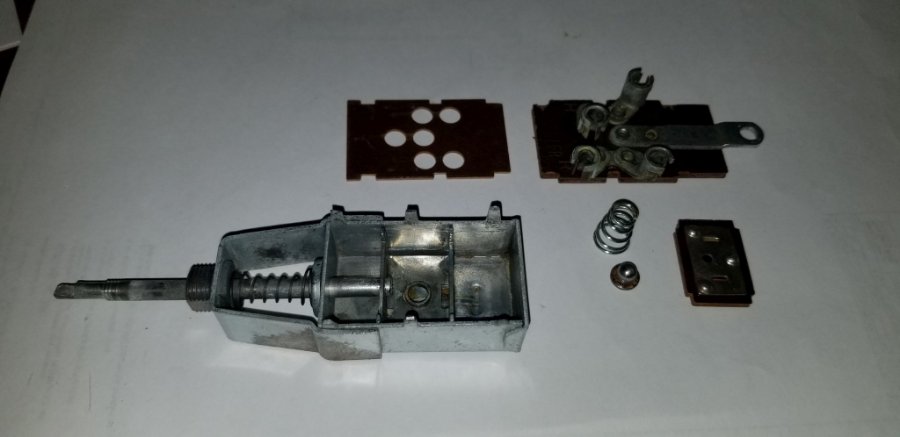
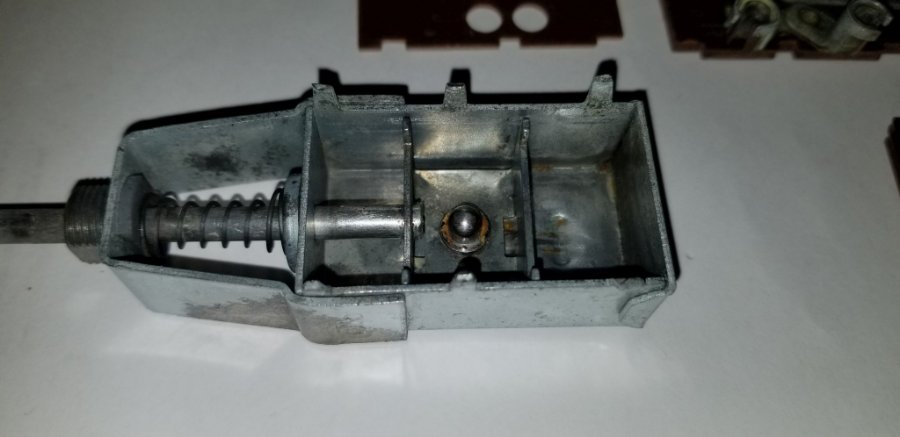
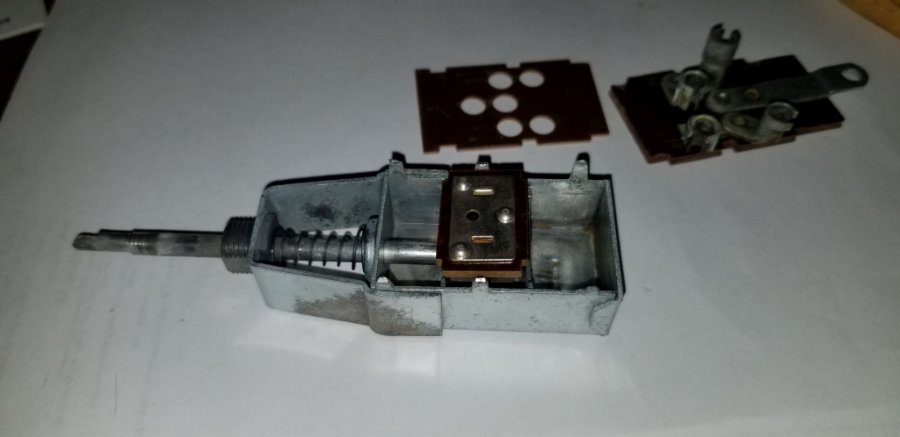
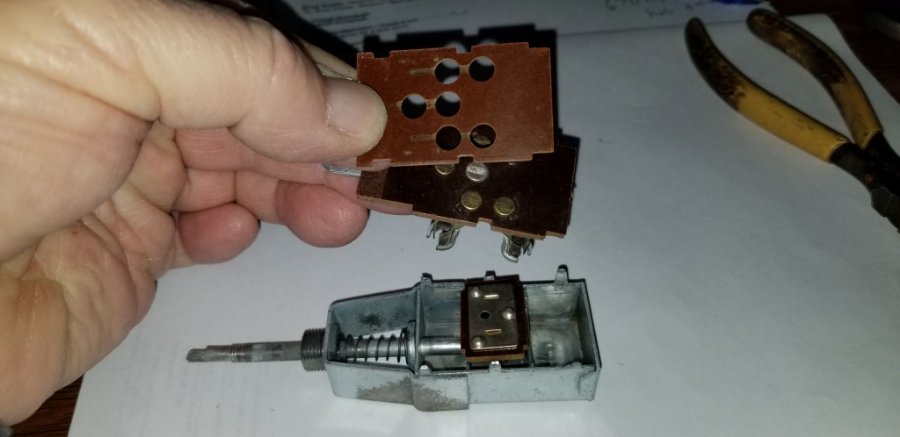
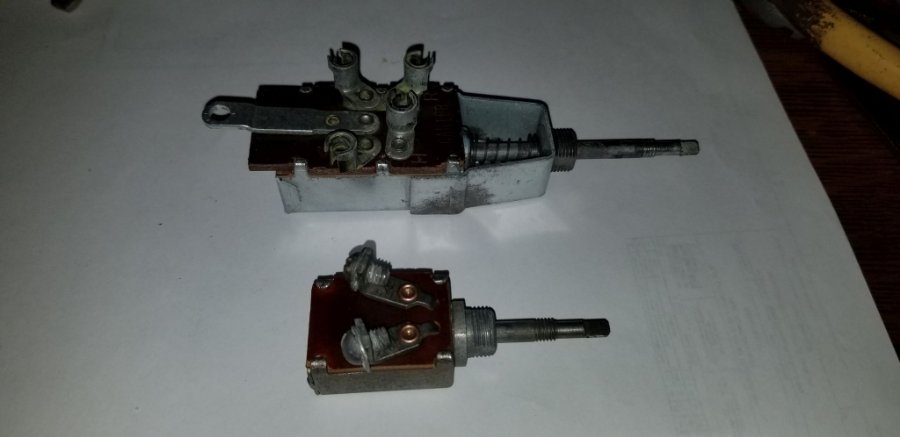
This time of year I tend to tackle projects that can be done at my desk when possible. Probably because I don't like working outside in the cold! Anyway, I tested all of the dash switches and realized they needed to be reconditioned. My original panel switch was busted but I got lucky when I went to buy the radiator for my truck as the seller had a broken panel switch like mine only it was broken in a different way. My original had the shaft snapped off inside so was useless. The one I just bought had the top piece broken but the rest was ok. So I pieced the two together. I cleaned the switches using Evap-rust and then reassembled them. The panel light and headlight switches are done and work fine. Previously you couldn't get a reliable connection with the headlight switch but that's good now. The heater switch is now dismantled and soaking in Evapo-rust and I should be ready to assemble it later this week. Fortunately I have two of the heater switches because one of the resistors is broken. Panel switch assembly: Headlight switch assembly: Brad

 1 point
 -
You need to make some guide bolts for installing the trans. Find two bolts the same thread as the bell housing with the unthreaded portion about 5 inches. Cut off the head and cut a slot in the end. Screw these into the bellhousing top holes then slide the transmission in on them. Use a screwdriver in the slots to remove the guide bolts.1 point
-
I think the closest you'll get is the company that sells all the adapter pieces you need to modify an s10 frame to work. Unfortunately I can't remember the company name.1 point
-
August 5: My son and I took apart the floating axle assemblies on both sides tonight. I watched a YouTube video, took notes, and laid everything out in order that it will be reassembled. Although it seems pretty straightforward now that I took it all apart, I'm the type of person that needs notes and pictures. Thank goodness for the home-made axle nut socket I found under the seat; without it I would've been up a creek. The drums are dirty, etc., but there is no ridge on the lip. So that's a plus. There's a ton of cleanup to do, but we'll have fun with that as well. It was a beautiful 65 degrees, no bugs, and we listened to Sammy Hagar's VOA album from 1984. Talk about good times!1 point