Leaderboard


Popular Content
Showing content with the highest reputation on 11/10/2020 in all areas
-
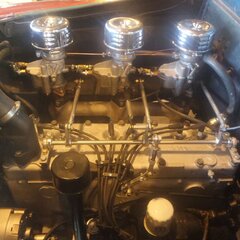
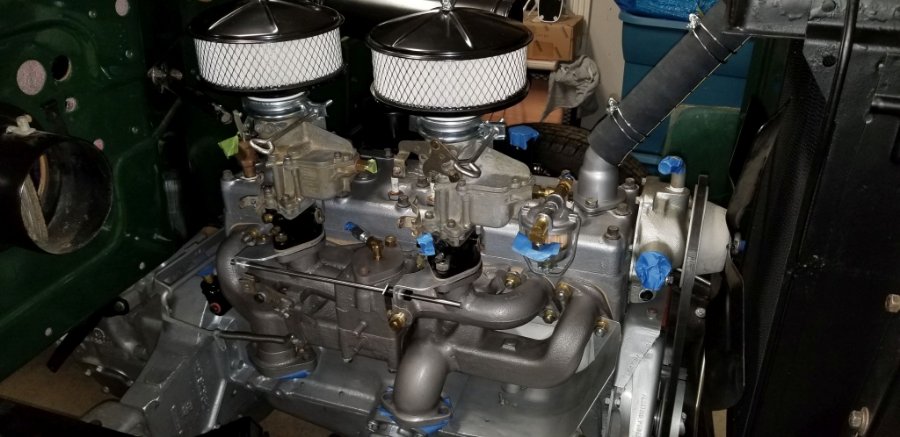
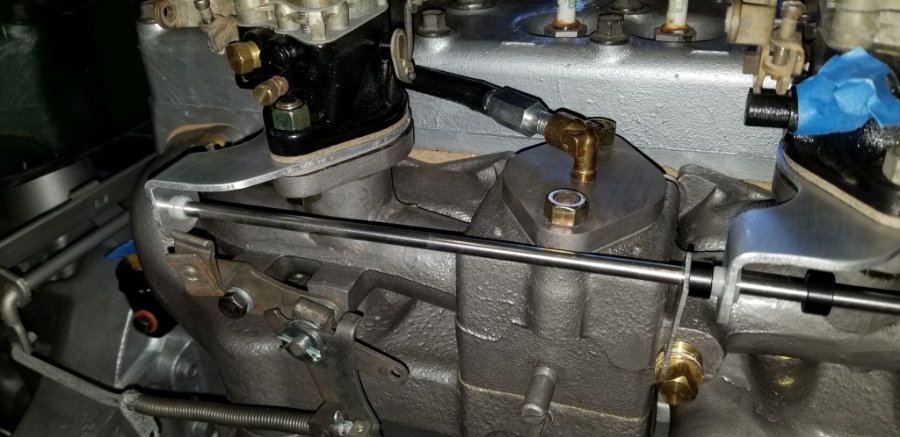
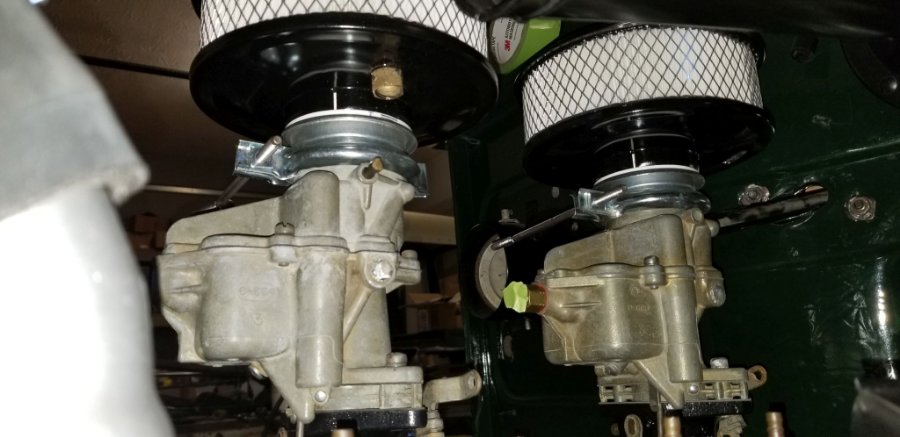
I'm finally making progress on the dual carb installation. Main thing left to do is fabricate the actuators between the shaft and the carburetors and between the shaft and the throttle cable pivot. I'm hoping that work will be done by next weekend. As part of the dual carburetor install I'm also installing a PCV system similar to those documented elsewhere on this site. I mounted the PCV valve on the center blanking plate where the original carburetor sat. I will be routing the hose and tube around the back side of the carburetor to the old road draft tube port. For the crankcase breather I silver soldered a fitting to the oil filler tube and another fitting to the bottom of the front air cleaner and I'll route a tube between those two fittings. The only thing I have to figure out is what to use as a non-vented cap for the oil filler tube. Brad
 3 points
 -
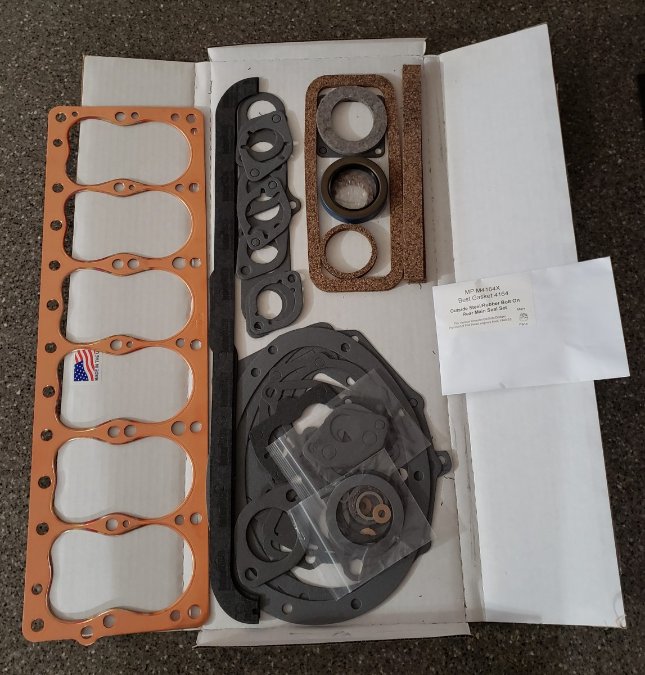
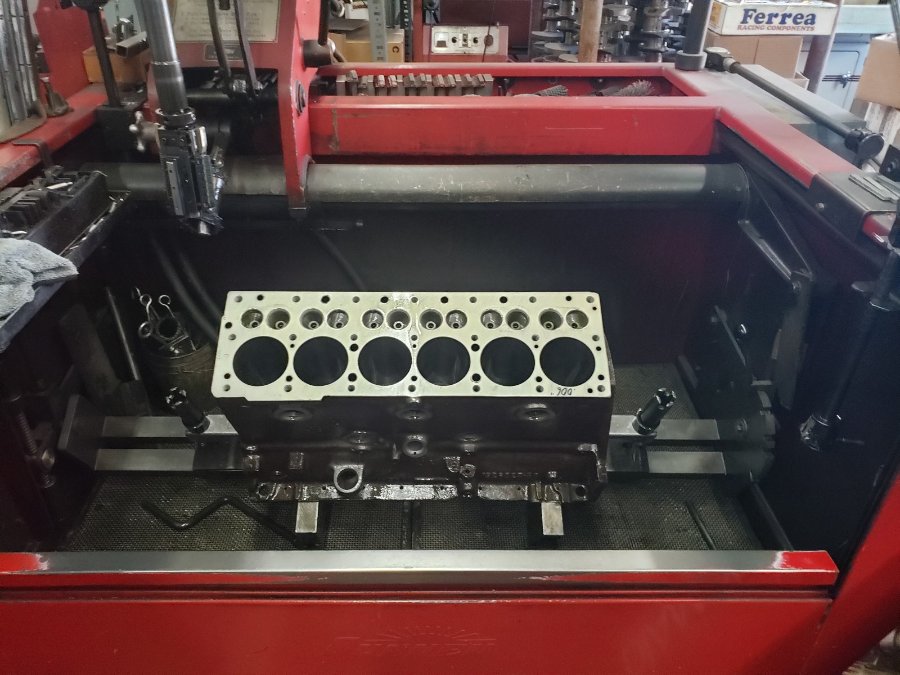
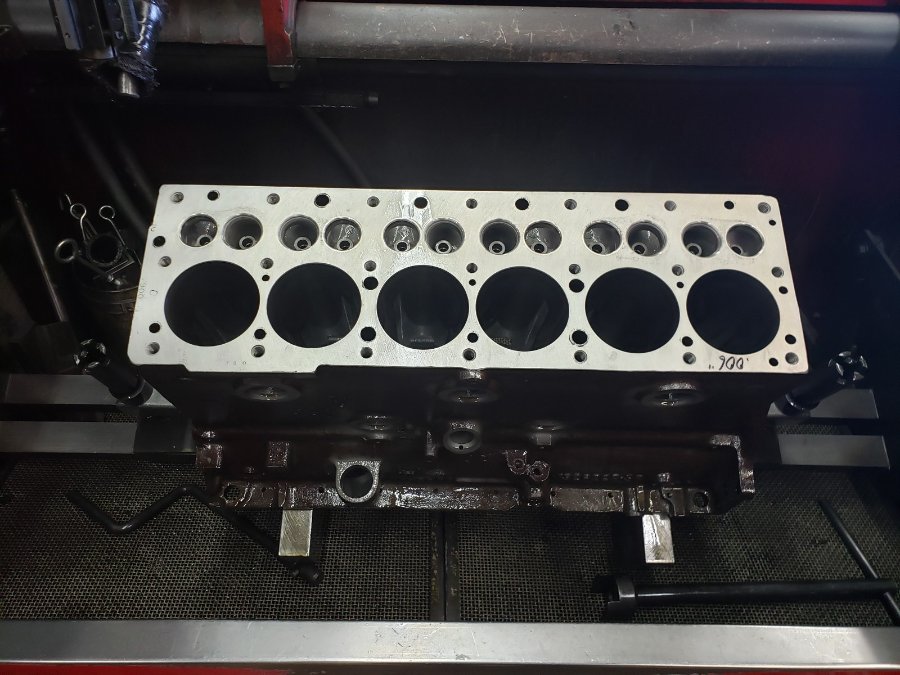
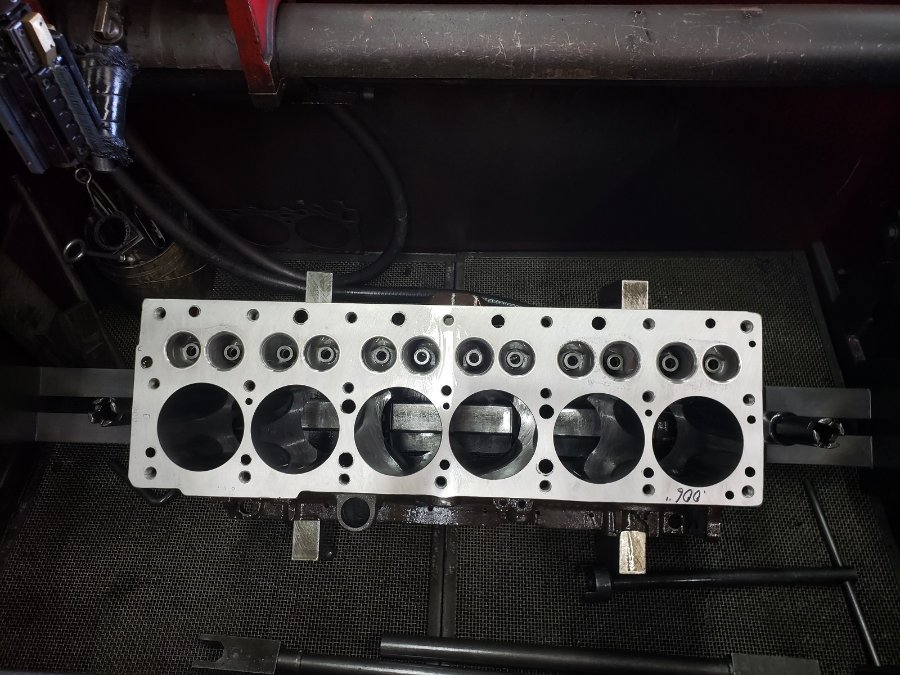
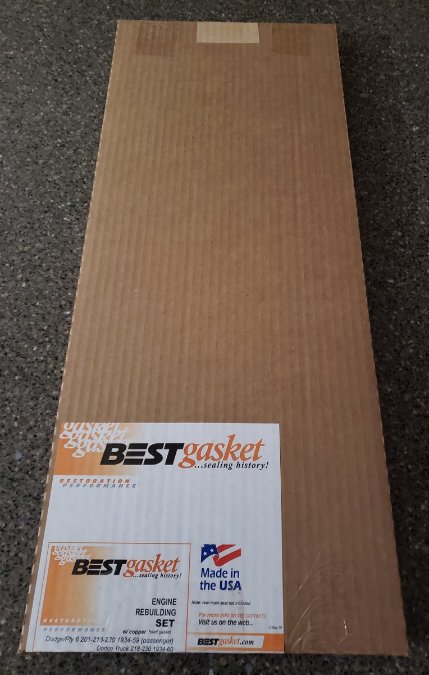
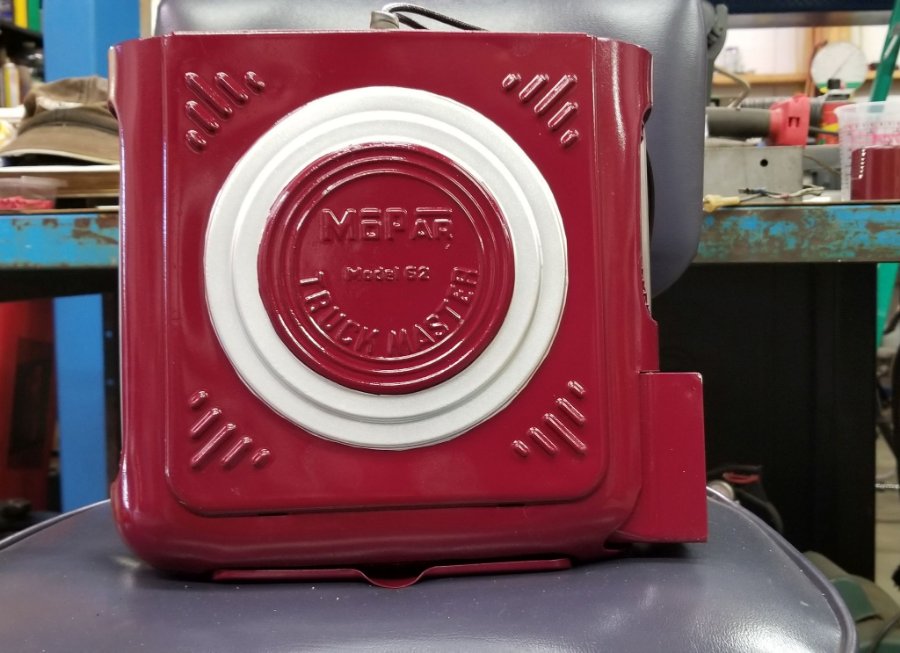
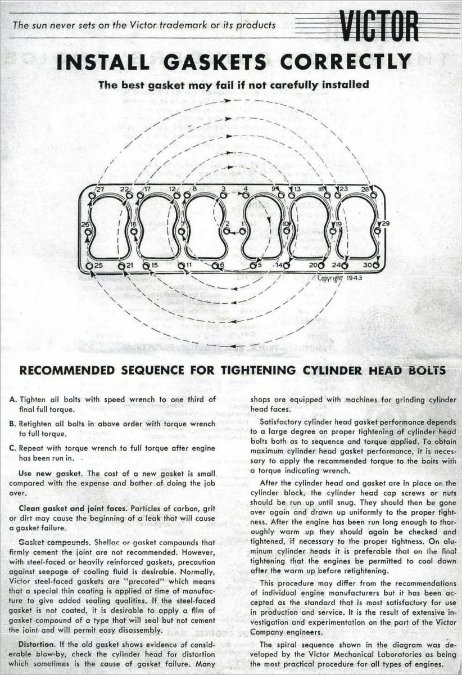
End of October, Engine parts arrived..... Mack, has to part of everything, especially a box, I hear him upstairs having his way with the gasket shipping box! And block was about done, dropped off NOS Crankshaft and Head to be hot tanked and polished / machined (head had rust). Gaskets arrived today.....

 2 points
 -
The red part above is very misleading. for instance, a diagnostic code may indicate a miss on a specific cylinder. It does not differentiate a clogged injector nozzle, spark plug wire (if so equipped), coil pack, spark plug failure, low compression or any number causes. That is where the real work begins. A vacuum leak can cause many varied codes as another example.2 points
-
Thank you! Their web site is now bookmarked for when I need them.1 point
-
Try Neil Riddle, alias seaplym on ebay. He knows his mopar vehicles and has a lot of this type of stuff. Am enjoying your progress ?1 point
-
I understand the advantages of that placement, but I'm long in the torso, so for me that would make the belt pull down on my shoulder. Are you considering installing adjustable hardware there, or for the front seat? (As I said, I "sit tall", and my wife is pretty short, so we are constantly sliding the adjuster up and down. I haven't decided whether I'll put 3-point belts in the rear set on my 4 door, but I AM planning to put height adjusters in the front. Using some I saved out of a 93 Chrysler minivan I scrapped out.)1 point
-
Class-Tech-Cars eBay store. Purchased interior boards from same place. fit well and much more sturdy than cutting from a cardboard box1 point
-
Putting three point seatbelts in the back and front. Thoughts on placement of top attachment for the back? Conventional wisdom would place it in the "C" pillar at the rear of the quarter panel window, but I'm thinking that the front far corners of the package tray would lay across the passenger better?
 1 point
 -
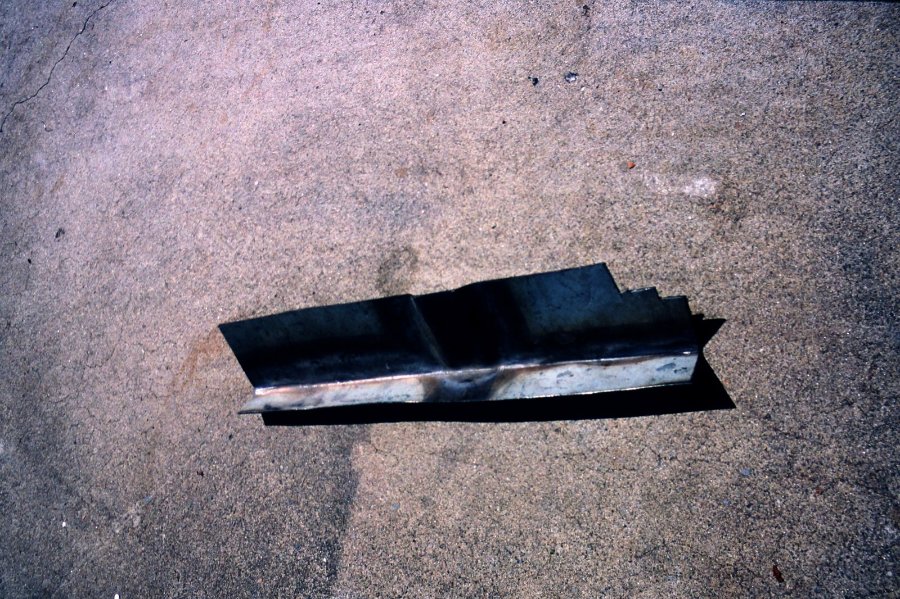
There......I fixed it
 1 point
 -
Sunny and 70 today in Connecticut , mid November. Completed another task while garage is warm. Hand brake handle, painted and installed. Attached to rebuilt cable. Will adjust another day. Note: don't disassembled handle to paint. Took a bit to figure out how the spring sat inside to function properly.


 1 point
 -
How'bout sealing off the vented cap you have? A simplistic approach is to stick a cork in your fill tube and use your cap as its retainer. Another approach is to take the bottom of a coke can and peen it over the oil fill tube instead of using a cork, making it the functional sealing cap and the vented cap is its more aesthetically pleasing retainer. I've heard of vented caps being sealed off with aluminum tape then rattle-canned over as needed...many possibilities that can be pursued without switching out the oil fill tube for one of the Power Wagon sealed cap assemblies1 point
-
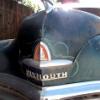
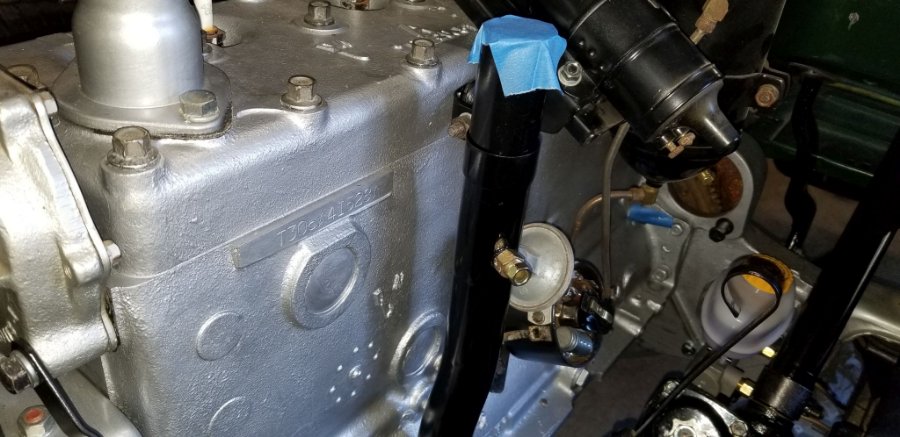
I think from the P in the head casting it is from a Plymouth originally. But that block code is probably from a rebuilder. Could be a 218 or 230, depending on the crankshaft the rebuilder used.1 point
-
Sounds like your block was restamped back in the day in a state where the registration was by engine #1 point
-
Your file did not open for me. But if the engine serial number starts with P13 I would suggest it is out of a 1949 Plymouth P131 point
-
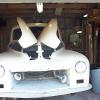
IMO every shop need a grey kitty!1 point
-
If you end up just honing and ringing the engine........a couple of points. Make sure your used pistons are in good condition. No point in using any piston that is slightly suspect. Reaming the ridge out is done for the reasons you mentioned but also for making piston removal easier. Even a slight ridge makes the rings hang up and can cause damage to the piston. Once caps on the con rods are removed put some masking tape on the bolts to prevent even the slightest marking of the crank upon removal. Same when you reinstall.1 point
-
Hey Sam, are you speaking from personal experience, If so, when you open your door does the lavender light come on and the speakers go "Chiki Chicki Bow wa?" Sorry Sam I am in a funny mood tonight. Joe Lee1 point
-
Next time I'm at french lake I'll have to watch for a 1/2 missing 50 plymouth! Surprising something out of MN is solid enough for ya1 point
-
Fishplates1 point
-
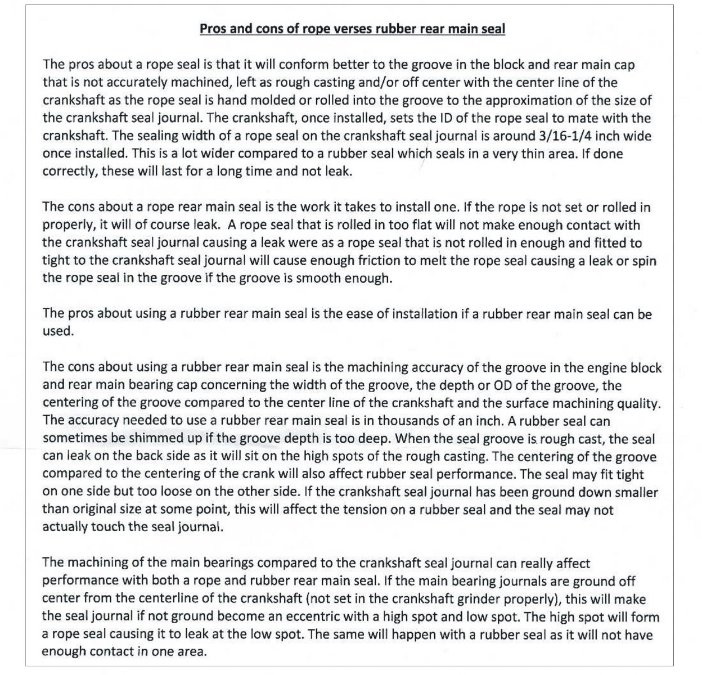
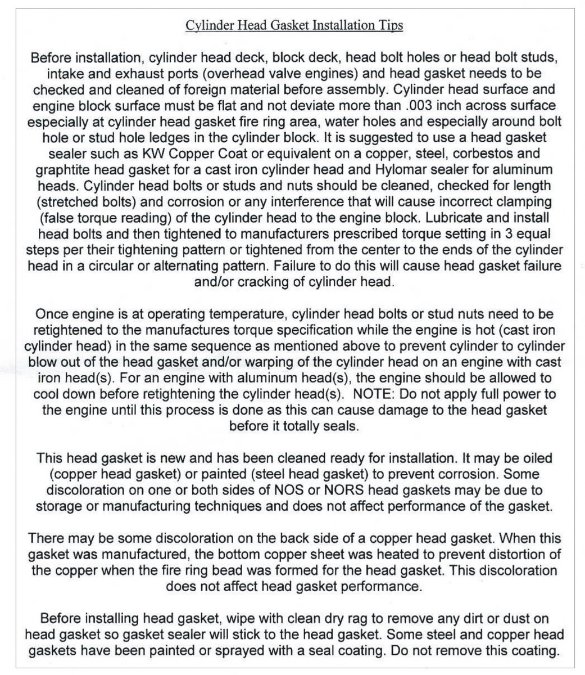
Thought I would share some of the information sent with the gasket set.....

 1 point
 -
Okay, one photo is the finish line at Michigan International Speedway. I swear Nicholas is in the second shoot somewhere. We were not allowed on the course this year due to COVID. I kind of understand as there were over 160 runners, Multiply that by at least two parents, and add in siblings and friends and other team mates that did not run in the top seven and that would have been a packed tight finish area. Nicholas and his team didn't have their best race at states, but we were all pleased with the season they put in -- particularly as they didn't even know if they'd have a season earlier on.

 1 point
 -
I have one for a short bed one ton that I've been keeping, just seems sad to throw it away. Right, I may not ever find the rightful owner but you never know, stranger things have happened.1 point
-
Nice car, glad it found itself in your hands. I am same way with scrap metal, slowly building up my stash pile. I was just browsing the forum as I sit here and wait for the big brown truck to deliver my new spindle bearings. I spent some time stitching this deck back together The metal I used is from a old shovel I found out in the yard when I bought the house. I also went around the inside with some nice flat 18 gauge metal I picked up somewhere. I paid $35 for the mower at a estate sale last spring and used it all season with the deck in the condition it was in. With all the holes I had to use the air hose to blow the grass off me when finished mowing 27 year old John Deere runs & operates as it should, I only need to nurse it along for another 20 years ... what could go wrong?
 1 point
 -
The same serial number is stamped on the frame of the truck that tag came with. It's 1950 1/2 Ton...... Might have been scrapped, might be at the next car show...whose knows. It doesn't take up much space.....I say keep around. 48D1 point
-
Good, thank you for asking Frank! The biggest one, doctor says was 1.1 cm! Impossible to pass, so they had to operate. The recovery was rough. We'll chalk it up to 2020 having one last go at us.1 point
-
hmmmm....... 1. I'd finally have a place for all the firewood on the island. 2. More big trucks the merrier. 3. You'd have room for another big truck back home. 4. Your wife might have hope for you yet that the "Collecting Old Trucks Disease" hasn't taken hold yet....... 5. You'd be guilty of making me lie to my wife "No....no, that truck has always been here!"? 48D1 point
-
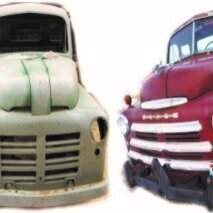
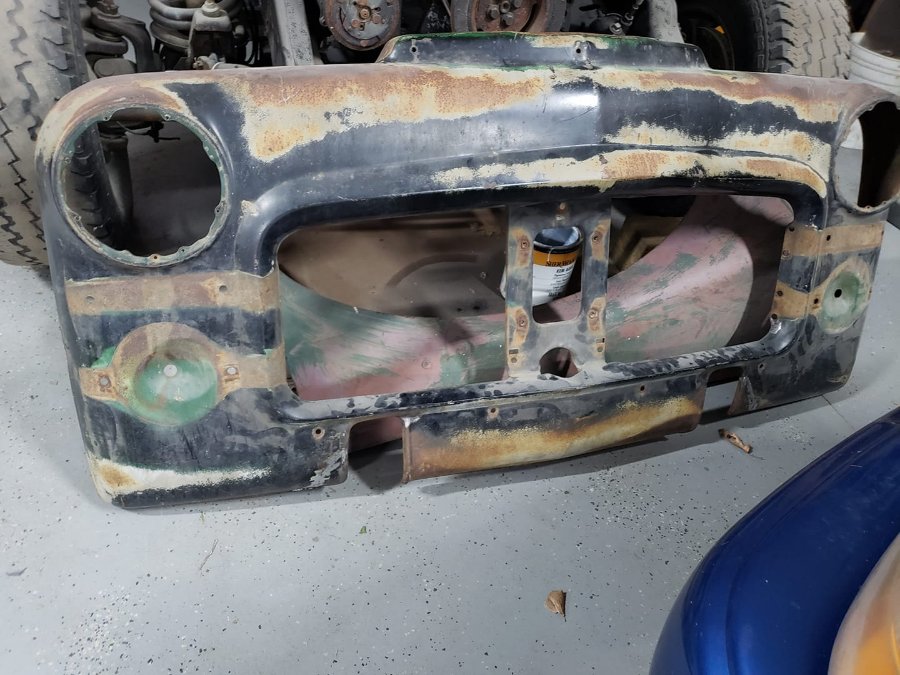
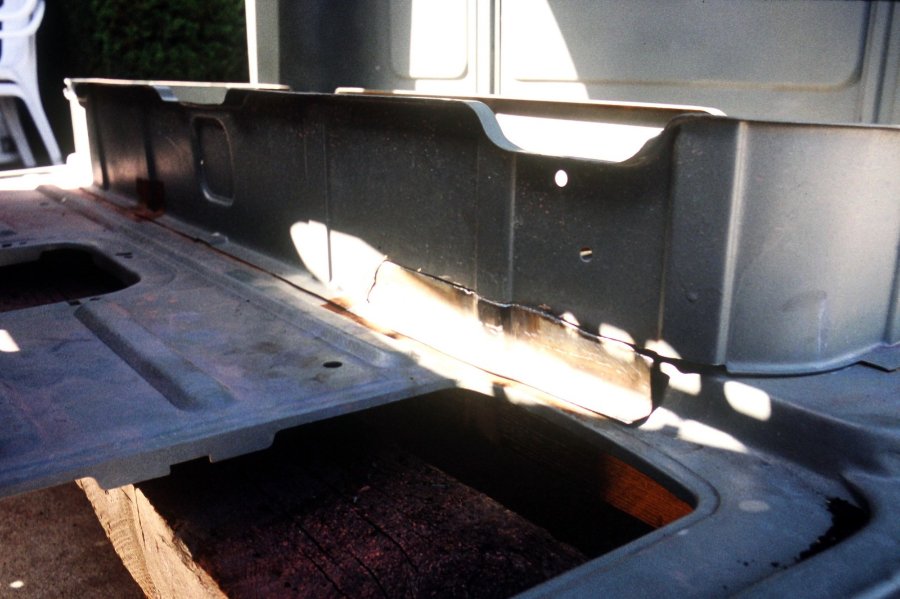
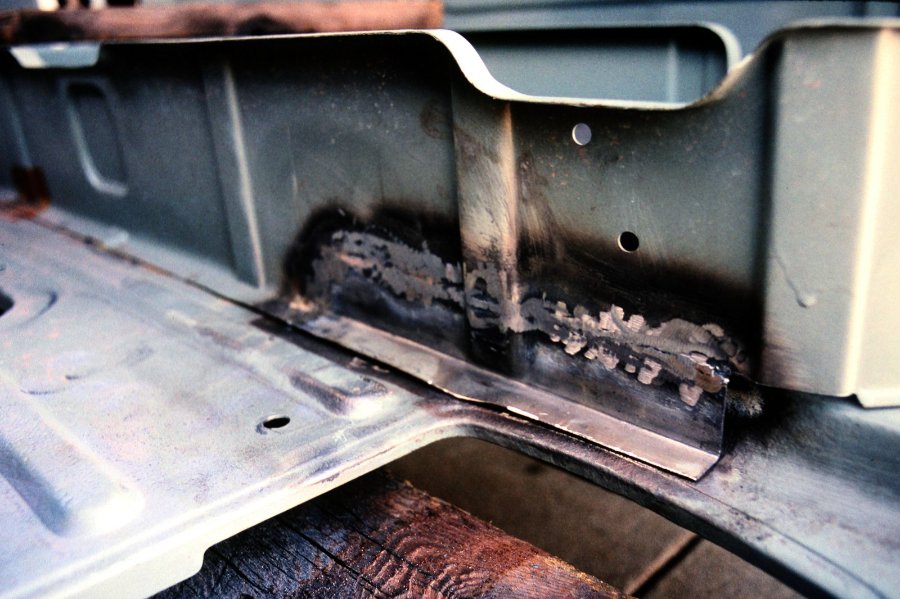
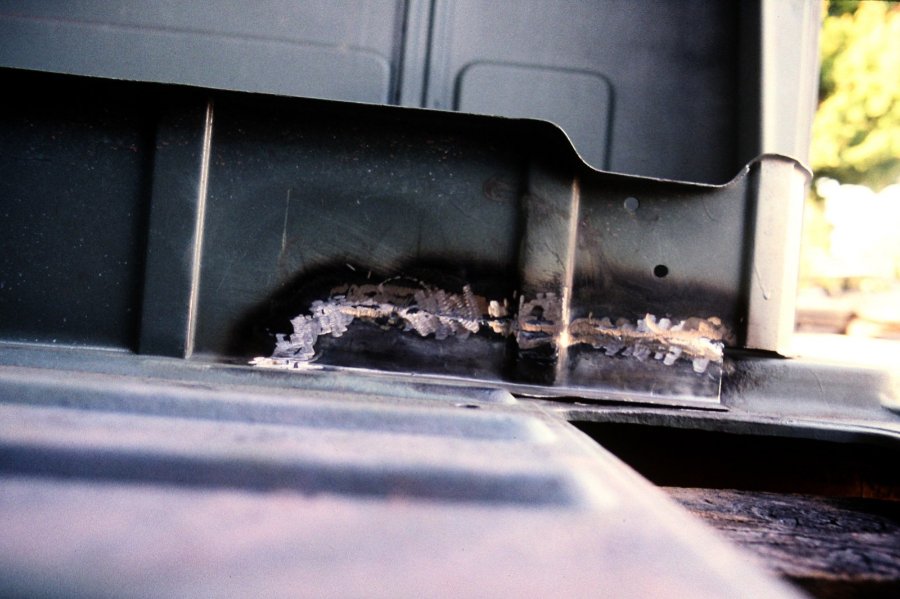
Been fighting my tractor rebuild project and not winning so I decided to take a day and get a win. Donor clip and TODD clip after sections welded back in from where the PO had chopped out chunks.


 1 point
 -
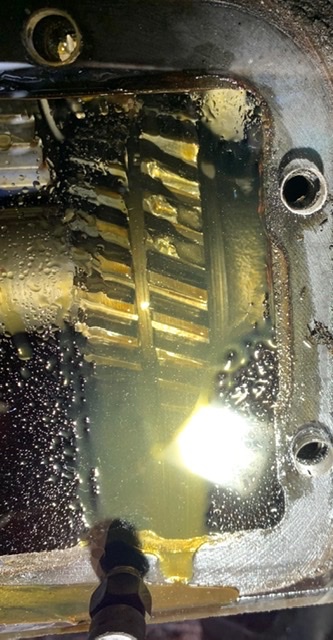
Pull the pistons...check out those rings. I think it sat for a long time in a damp environment. Upper rings aren't sealing/working very well at all.1 point
-
Same thing happened to me after they removed my cataracts. I could see where the paint didn't match.1 point
-
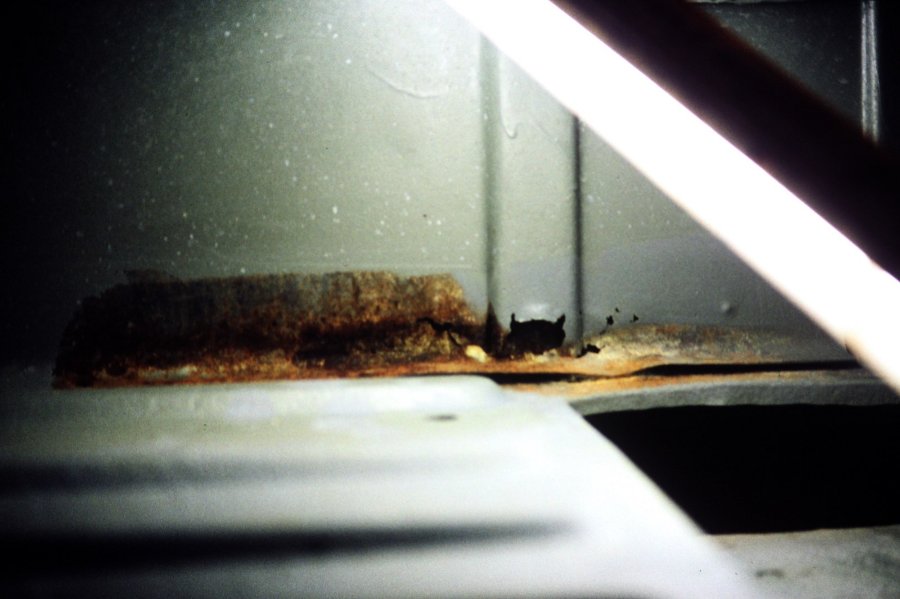
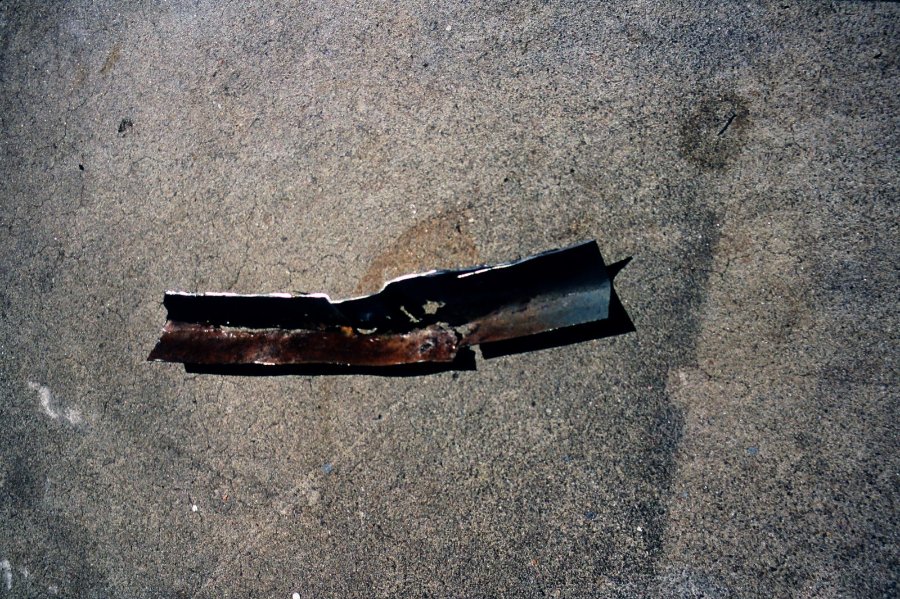
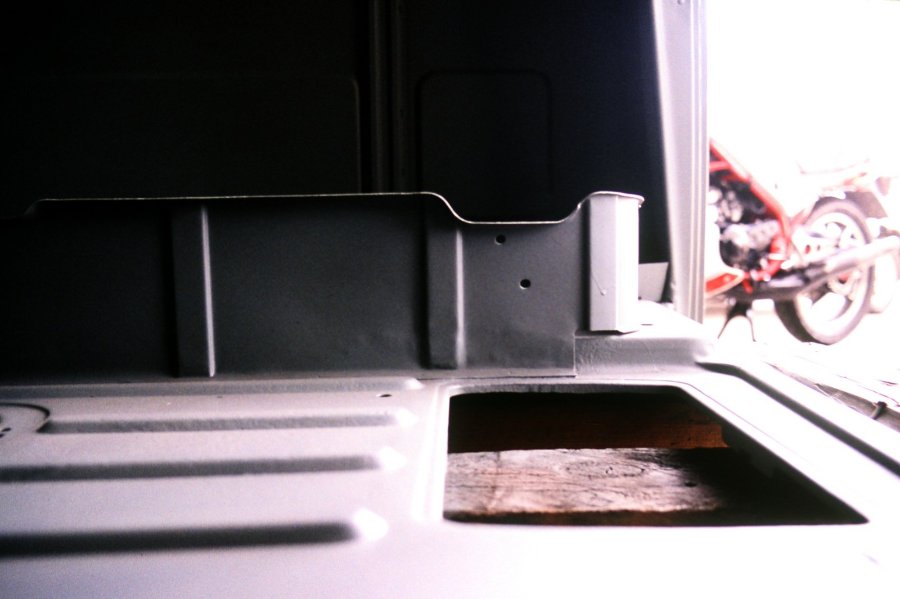
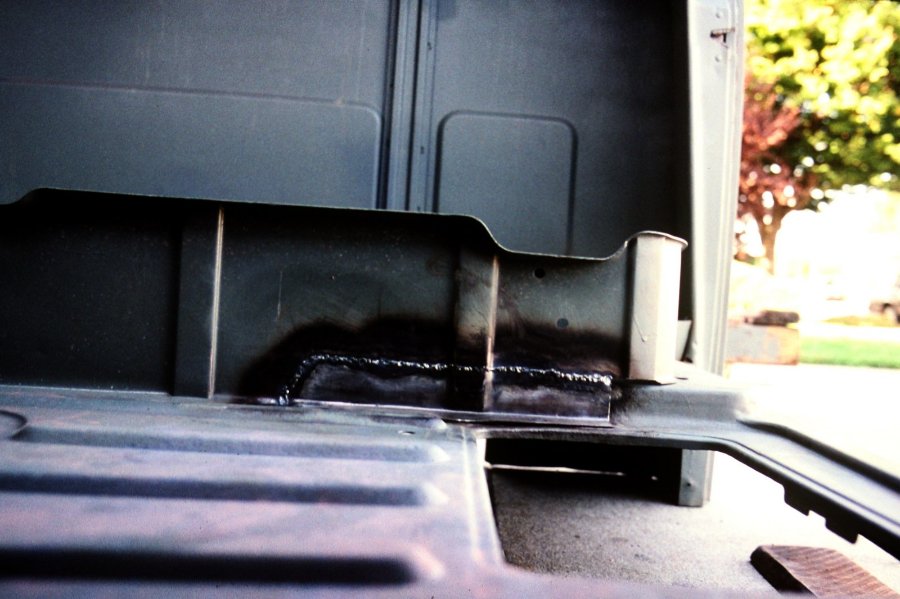
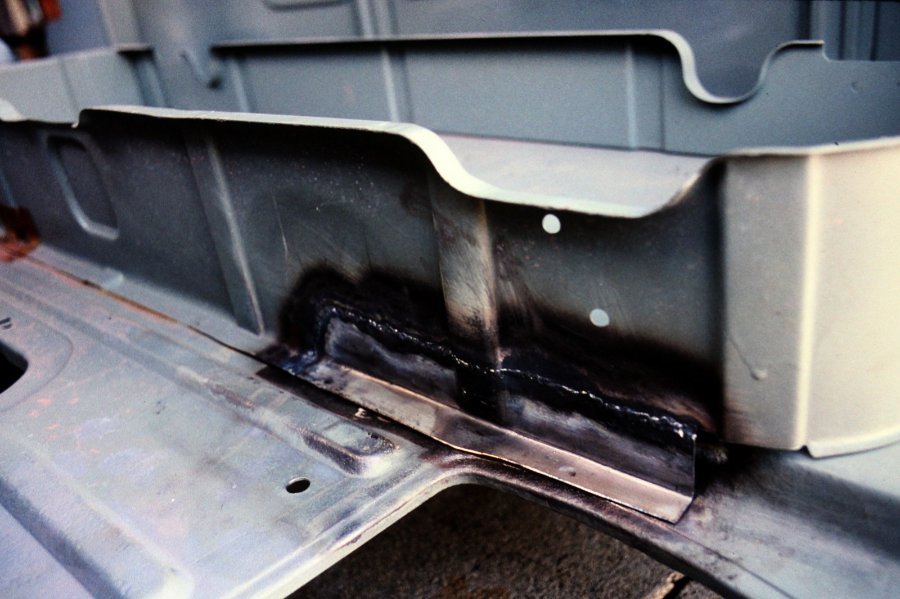
A rusted out (cancer) area on the seat surround..... Cancer removed..... Replacement piece fabbed..... Welded in place..... Cleaned up...... Primered..... I keep saying, "I'm going to buy a wire feed welder", just never get to it.

 1 point
 -
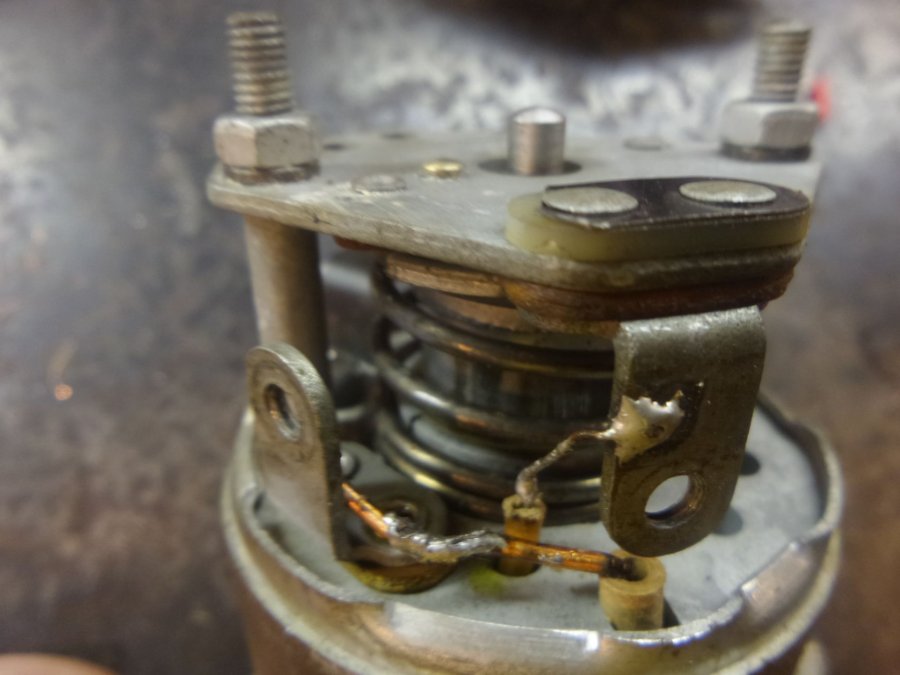
Hi guys, I have installes a R10 overdrive transmission on my 12v converted 1940 Dodge sedan. The transmission came with a 6 volts solenoid. I decided I would not use any of the auto actuation system and use a simple switch and relay. You can't just put a resistor in series because it actually is a dual coil with a much stronger one pushing the pin in and then a lighter one holding it in. But you can seperate the 2 coils and feed them separately. The big one through a 0.3 ohm resistor and the small one a 3.0 ohm one. The wires a easy to access and split. There is a ground switch tab wich is not used when going for manual actuation that can be used for the small coil wire. I have about a 1000 miles done with it and love it !! Only problem is that I used a small wattage resistor for the big coil and when the swtch is left on while the overdrive cannot engage, it overheats and smell... It could easily be corrected with a higher wattage resistor. Pictures of the modification to the solenoid, required resistors and actuation switch wich is a motorcycle flasher switch. :


 1 point
 -
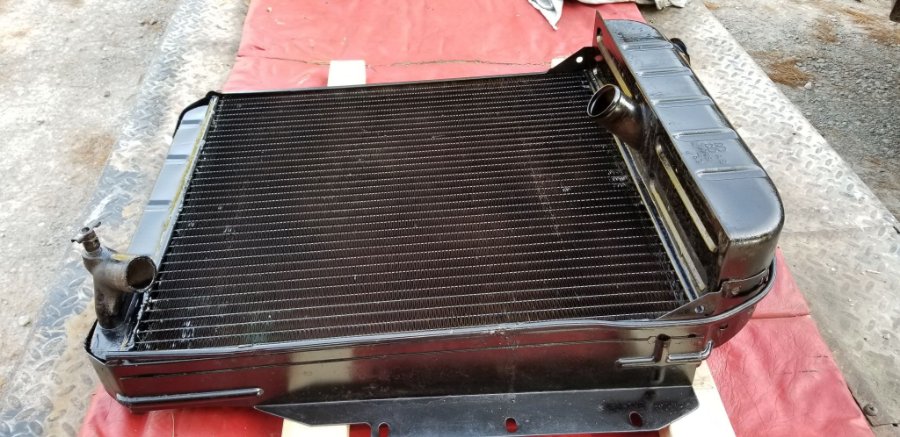
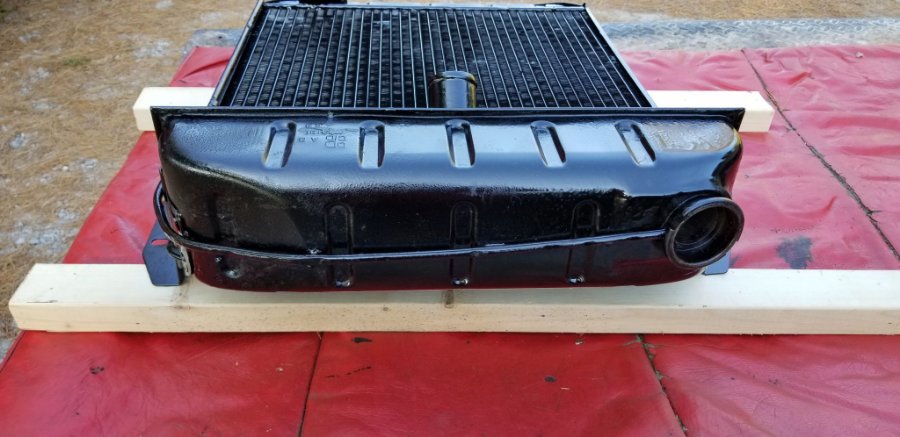
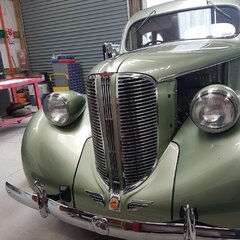
$753.66 later I walked out of the radiator shop with a rebuilt radiator this morning A little more than was expecting but I can't really complain. I'm lucky to have a good old school radiator shop less than 10 miles from my house. They are really good at building radiators but their painting skills are not quite on par with their rebuilding skills. After I took these pictures I applied a coat of radiator paint to one side and tomorrow I'll do the other side. Needless to say I'm looking forward to getting the radiator installed for the final time. Oh yeah, I also just finished moving the manifold nuts, washers and studs around to match the diagram Bill supplied. Brad
 1 point
 -
Thank you all for your help. And thank you Dodge for the gasket info, found one on ebay.1 point
-
In that case the door switch should be wired to a nice set of lavender-colored LEDs........1 point
-
It looks like you are describing the upholstery tack strips material that was originally a fairly hard type of felt/layered tar paper type that the upholstery is stapled to. It almost always is bad and gets replaced with a hard rubber material. Readily available online or your upholsterer (you?) can replace. Enjoy, great to see your progress! DJ1 point
-
I haven't visited this forum in a long time. It really saddens me to hear this about Don. I never met Don in person but I learned a lot from him and am richer for having known him. He needed a dash emblem once for some project he was doing. I was really glad to send it to him and in a small way return some of the help he had passed on to me through his knowledge and advice. I want to pass on my belated condolences to Don's family and say I was glad to have met him even though it was just through this forum. Mark Bible aka Flatie 461 point
-
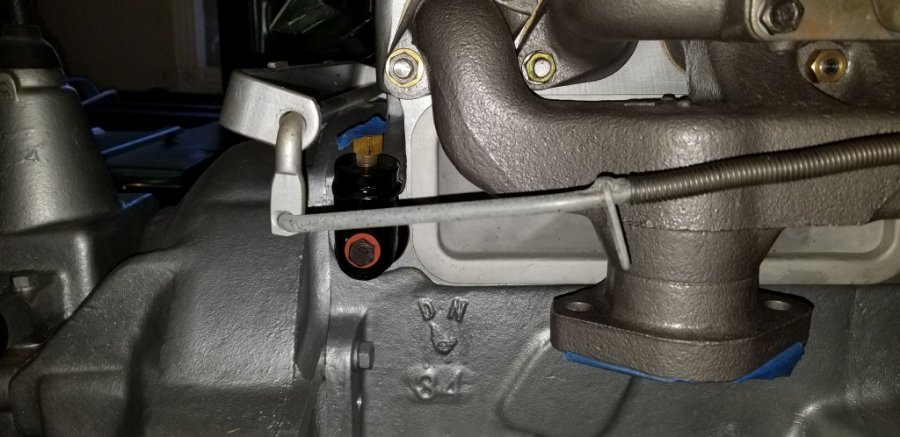
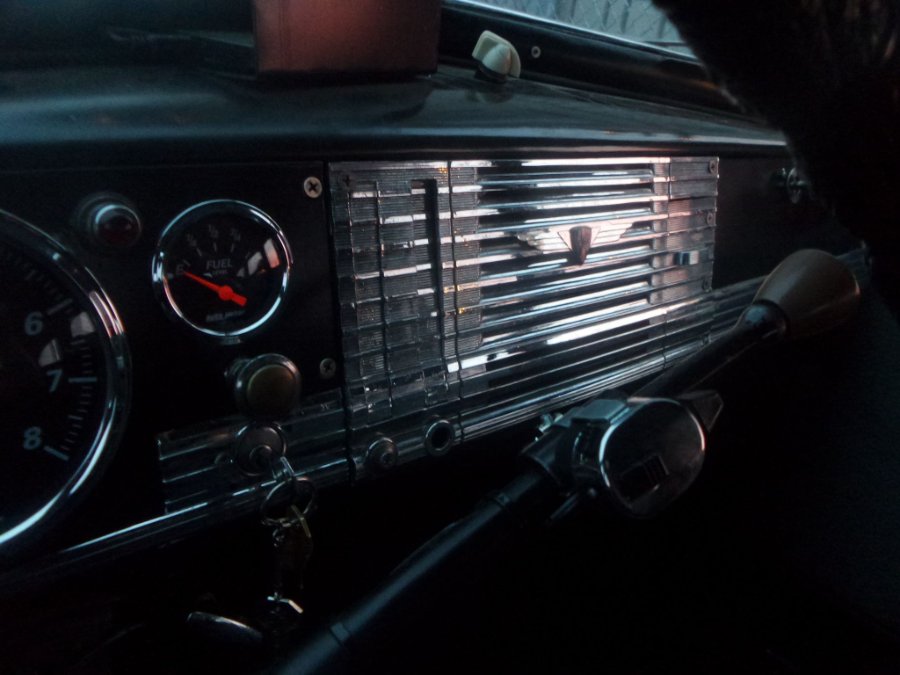
Turn the shaft as far as it will go clockwise. This position is shown in the picture allows exhaust to flow out. The default position is fully anticlockwise to divert exhaust to the chamber in the intake manifold. If you do not operate your vehicle in freezing temperatures, it not a concern to secure it turned fully clockwise.1 point
-
Generally I never reuse a seal. Just too easy for it to ruin a good rebuild.1 point
-
Ok, gots me a little hiccup ? pulled the pto Well, on to plan “B”
 0 points


.thumb.jpg.52b659814cb5758b70f78e52ab046bdd.jpg)