Leaderboard


Popular Content
Showing content with the highest reputation on 07/19/2020 in all areas
-
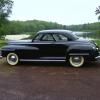
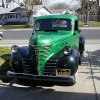
Grand-Daughter graduation day ,, covid style, not much fanfare and party, at least the Dodge made it better a little bit LOL3 points
-
#1 if it was mine i’d leave it #2, no on the pins. My 1/2t uses the “pins” but my 1t, 1.5t use the slotted pistons. The shoes fit in the slot. #3 if you have the drums turned, I was told the seals will need to be removed. (Luckily I was able to just clean mine up) the above is just my opinion ?2 points
-
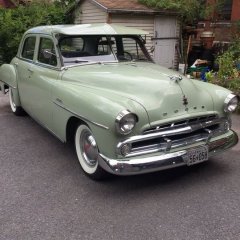
Graduation pictures here too. I didn't think there would be much going on this year so I only insured the Plymouth for the day on my daughter and her date's prom (such as it was). Sure felt good to be out in the Plymouth. I took the longer way back home.?


 2 points
 -
It was 98 this morning, and we were about to get on the 'Mother Road'. See the Historic US-66 sign ahead!
 1 point
 -
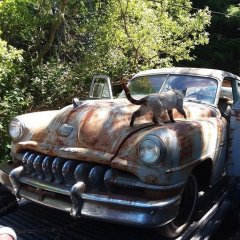
I think I would pull the head and inspect the headgasket, it's probably blown between 2 and 3 cylinder and is a relatively easy and cheap fix.1 point
-
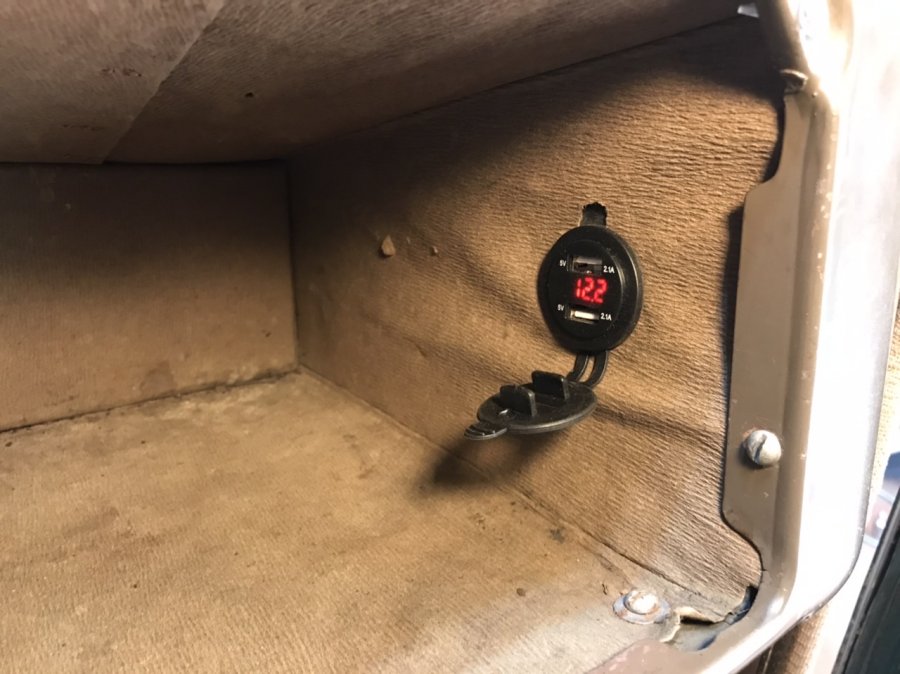
Hidden inside the glovebox of my ‘38 Ply, a modern USB charger. This particular USB charger required 12 volts to work. My electrical system is still the stock 6V system. I wanted to try installing a 6v DC to 12v DC 10A converter anyway, so I went with it. This USB charger has a built in digital volt meter. I wanted the modern convenience, but didn’t want it visible in the car. The cell phone should be out of sight in the glove box anyway. So it seemed appropriate. There was plenty of room behind the RH wall of the glovebox for the depth needed to mount the USB charger. I also installed the converter up in there. This charger puts out 2.1A to charge a phone. I tapped into the power wire to the fuel gauge as it is key-switched off the ignition. There are only 2 items off the ignition switch. The coil and the fuel gauge. Everything else is hot to the battery via the ammeter. I have heard of instances where too many electrical devices hooked up to the key’d ignition switch can cause problems with feeding the coil. Then leading to ignition system problems. My car seems to run fine as it is now. Does anyone have examples of too many amps pulled off the ignition system where it caused a problem? Perhaps a stereo would overdue it? Likely. I’m pondering an alternative wiring scheme, for those inclined to hook up yet more devices. Devices that are active only when the key is turned on: Possibly a 6V relay system. Ignition switch turned on activates the relay. Then power could be pulled thru the ammeter, thru the relay, to a small fuse block, distributed to each device. ??? One tip, any metal in the car is grounded back to the 6V battery. Do not allow the exposed end of the USB charger cord, when plugged in, to touch any metal part of the car. You will likely see a quick flash followed by a Poof! I saw a friend do this by accident. No-workee any more.
 1 point
 -
Willets Point Queens Junkyard Row circa 1963, some nice cars were always piled up there during my boyhood.
 1 point
 -
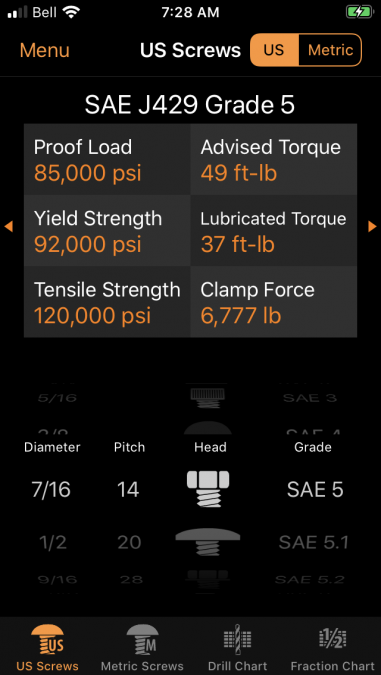
Grade 5 will be fine. 45 foot lbs for coarse thread, 50 for fine thread. For the price and peace of mind, you could buy grade 8. If you were to look at the technical data on fasteners, its suprising what you learn, clamp force and shear strength.
 1 point
 -
Have to be careful with wheel bolts using this method, left front wheel has left hand threads, bugger them up and it just makes a problem worse. Want to break up rust quick? Air hammer and water. Instant brown mud.1 point
-
When i was first was getting my old 1963 Rambler back on the road it had been sitting for six years up here on the northern california coast. I jacked up the wheel with the frozen drums and wacked them with a mallet. In conjunction with this I put a breaker bar of sorts in between the lugs and stomped on it/ put my weight on it. Its not very graceful but it works.1 point
-
Remove the nuts on the two major adjusters. Gently tap the bolts inward till the shoulder on the bolt clears the brake shoe bracket. The will pull the shoes away from the drum. No to be a smart ass but you did pull the wheel bearing adjuster nut first?1 point
-
Section 18 of the Mopar parts catalog lists various 'standard' parts (like fasteners) by part number and dimensions. Might be worth a look.1 point
-
Sometimes you can give the drum a wack with a fairly heavy hammer and it will free up . Rust can build up inside . If that doesn't work you might have to use brute force with a drum puller , and ruin some parts in the process .1 point
-
So true, who knows what evil lurks in the hearts of your car, the Shadow know, lol1 point
-
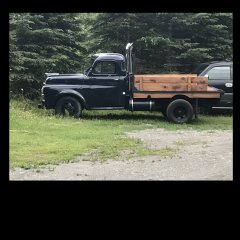
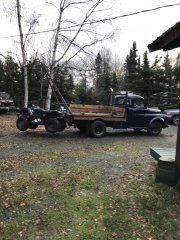
New parts are here. Bought this today for $35.00. Will modify to fit the Sportster. Suburban brake challenge and 103+/- weather has slowed the projects. Out early tomorrow morning. Getting frustrated and anxious!1 point
-
If you did not like the one above, maybe this one will catch your fancy.1 point
-
---All the sample pics and video I saw posted here are describing front brake work. And, yes, it can be a time saver to remove dust cover, cotter key and nut to pull the wheel/tire and hub as a unit. No other reason that I know of. The note about marking the lug and wheel position is to preserve balance in case it was balanced as a unit, common with the old on car balancers. And, the only time I've seen reference to anything similar on the rear is a kluge used by those without the puller. Loosen the nuts as far as possible and use the tire and wheel assembly as sort of a slide hammer to pull the hub off the axle taper.1 point