Leaderboard


Popular Content
Showing content with the highest reputation on 07/04/2020 in all areas
-
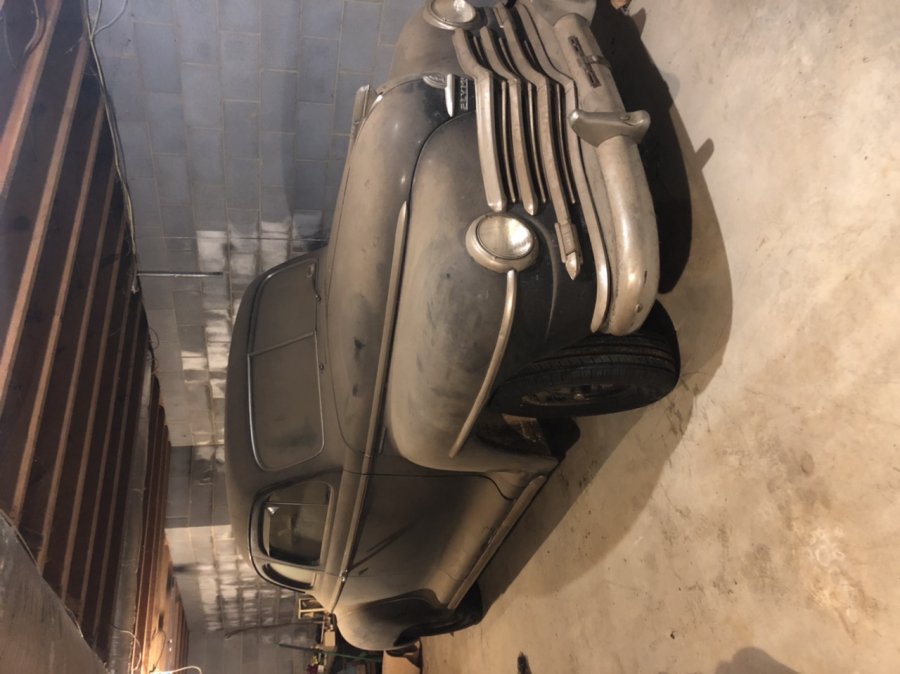
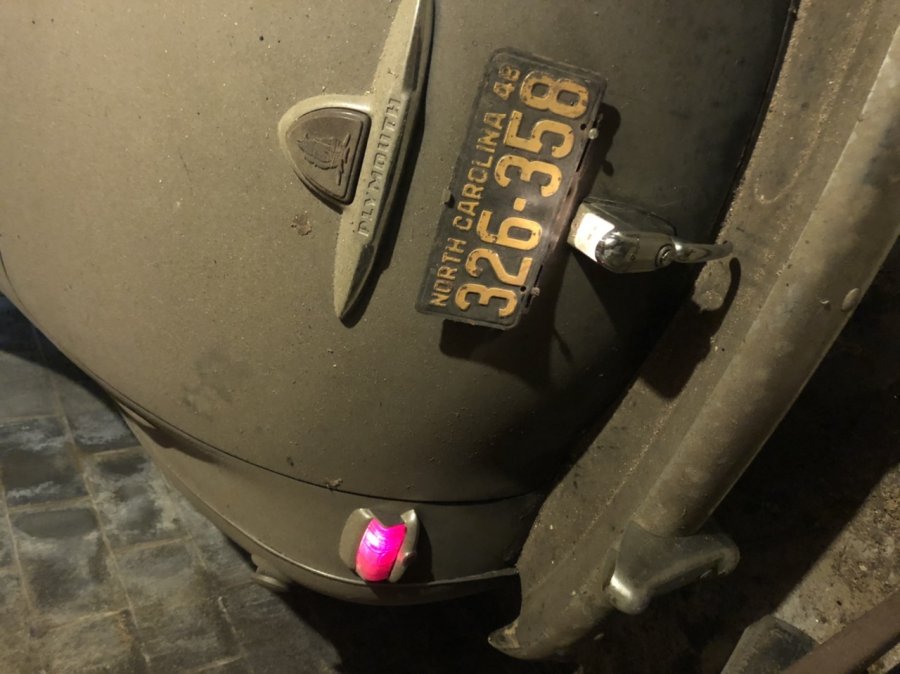
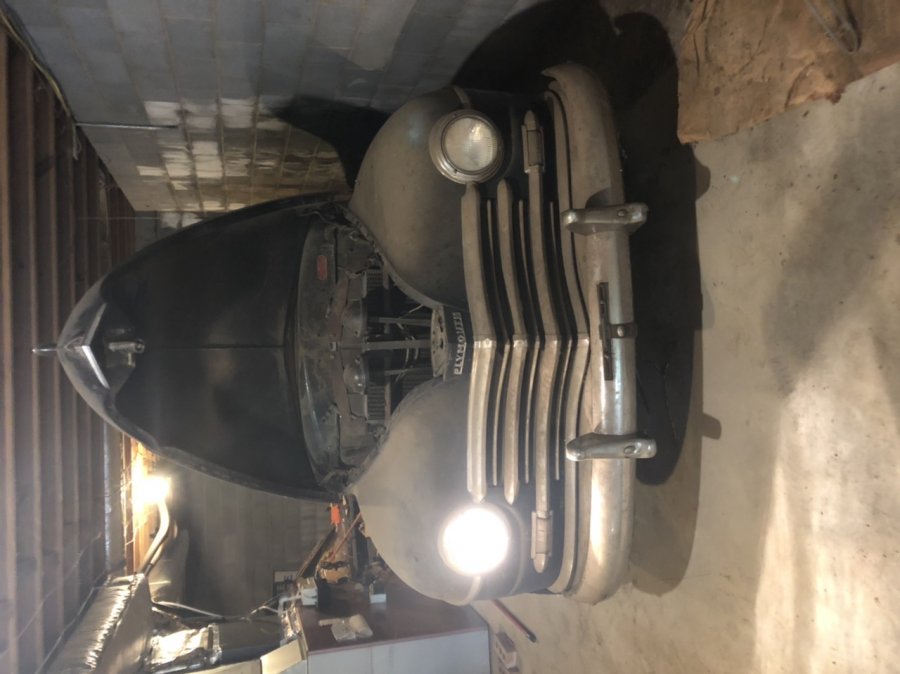
Hello everyone. Let me start by just saying I’m so glad this place exists. I can’t wait to learn from you all. On to my story. My grand father left me a 1948 Plymouth Special Deluxe when I turned 18. I’ll be 30 this year. In my whole life I’ve never seen the car run. I finally decided to start trying to get it back on the road so I can enjoy like it was intended to be. I spent an entire day with just getting new tires on it. The old ones were rotted and deflated. Today I put a new battery in and tried to start it. I didn’t expect it to fire up. But I wasn’t exactly sure what to expect. When I press the ignition it sounds like the starter is trying but only briefly and nothing from the motor itself. I was hoping you guys could point me in the right direction on what to do next. Even after we get it to fire. Thank you for checking this out! I look forward to getting this girl back on the road!
 2 points
 -
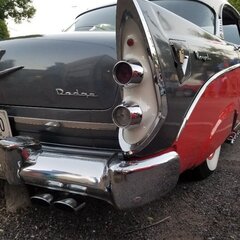
Preparing to do a bit of a roofline shave on the 50sd. The one part of the body I don't really like is the sort of apparent hump at the rear of the roof. I've determined that 1. The roof angles slightly upward as it goes rearward. 2. Although the front and rear of the C pillar are parallel the angle of the rear glass doesn't quite follow that line. So the plan is to make an angled cut at the bottom of the C pillar horizontally. Another angled cut vertically. This will angle the rear window slightly forward but also drop the level of the roof at the very rear. So I'm going to make a long wedge cut up to right around the back of the door along the side of the roofline to drop it down to meet the new height at the back. We're looking at only around an inch but I think it will make a nice but subtle difference. I had some rustholes around the bottom of the rear window to weld new metal into and figured as long as I'm welding I might as well take care of this one part of the body that I think kills it's style a bit. Just having the back glass out so that it seems as though the final rear vertical silhouette is parallel to the angle of the back side windows makes it look better to me. Process pics to follow.
 1 point
 -
Yah sounds like a valve tick...FEF has one but its minor so I live with it.1 point
-
You can stick one end of a 3/8” rubber hose in your ear and use the other end as a probe to listen for exhaust leaks around the manifold and later connections. You can stick the handle of a long screwdriver firmly over your ear hole and touch the block to try and isolate/locate an internal noise. The first method will show you if you need an exhaust re-torque or gasket. The second can help find a loosening valvetrain and tell you where to look. Good luck and happy 4th!1 point
-
I think thats why they claim they run like a sewing machine .... anyone listen to a sewing machine run knows they tick all over the place. Personally I think it just wants to be driven more, maybe 500 miles in a year? ... maybe is time for valve adjustment ... I would be hesitant to touch anything until driven more often.1 point
-
Like em both! I have a 65 as well. Bought a basket case.
 1 point
 -
Thought about it till I realized it would probably require that I lose the column shift and passed on it.1 point
-
Here's the Trouble Shooting filmstrip on your transmission. http://www.mymopar.com/index.php?pid=3821 point
-
I agree, something that you can sand or file. I prefer a file,a few gentle passes and surface should be flat.1 point
-
Reminds me of a story... Several years ago I was riding my Gold Wing down in Tennessee, coming up US441 into Gatlinburg. We were slowly catching a group of Harley riders and I soon realized that we would catch up to them right at the entrance to a tunnel. You can probably guess what they started doing. Well... I happened to have a set of air horns on my Wing, so I thumbed the horn button and held it until I came out the other end of the tunnel. When I exited the tunnel I let off the horns and keyed up the CB mic to say, to my riding buddy behind me, “I can make noise too.” He was laughing so hard he could hardly talk, but he managed to let me know those Harley guys got off the throttles and were looking around trying to figure out where the truck was. He had the same thought as we approached the other riders, and the tunnel, and he knew what I was going to do.1 point
-
Star Grinder, Steel is the Best, however, You will need to chase the holes over again for the Division Bar Gasket (Center Gasket). Clear Sealer 3M works best and is almost imperative or there will be leaks. Use a water hose and test it once sealer is dry. Tom1 point
-
I used a steele rubber gasket and used 3M bedding compound for the pinch weld channel and 3M glazing compound for the windshield. It was a number of years ago but that was the stuff that they recommended using. It's the kind of job that you only want to do once so it's cheap insurance against leaks even though the stuff is expensive.1 point
-
https://www.ebay.com/itm/Tandy-Leather-Eyelets-1-4in-Nickle-cat-1287-12-New-US-Seller/254642365154?epid=1200148294&hash=item3b49de22e2:g:~2cAAOSw1tVe~lYu Paper gasket: https://dcmclassics.com/gauges-and-gauge-parts/1230-g-809-speedometer-gasket-kit-48-53-51-68-pw.html?search_query=speedometer&results=101 point
-
She got some new shoes! Diamondback Auburn premium radials. The bias ply tires on it has date codes from 2000 and 2001. Rode bad (might have been able to balance them but I didn't try), follow groves in the road. The radials are a huge improvement.
 1 point
 -
Weight advantage?? What your honorable father was employing was an ingenious and appropriate application of the polar characteristics of the ferrous content of terra firma's core which results in a gravitational attraction to all objects dependent on their mass and distance from the center of the earth. Be respectful, young man. ?1 point
-
Good thinking 'tho there may be some here who will be offended. I love the idea of subtle modifications that retain, but refine, the character of the original statement. Makes for a lot of work that many will miss,.... which is great fun. Go for it!!!! And, please share progress pics.1 point
-
More information here as this topic has come up before....1 point
-
Your shop manual has explicit instructions on how to adjust clutch free play. If you don't have a manual get one. The spring you have pictured is way too heavy and looks more like the over center spring.1 point
-
I just got off the phone with ECI. Ordered there dual master cylinder conversion setup. I discussed the issue James Curl had and was told it has been corrected. I will see when the new assembly arrives next week. Cost was three Franklins and change. Mustang dual master cylinder. All you pure Mopar fans can go ahead and cringe. I now will have a shiverlay transmission, shiverlay valves, Pontiac calipers, a GM alternator, and a furd master cylinder. But if you see me on the road my car looks almost like a stocker.1 point