Leaderboard

.thumb.JPG.1aa9ab49db333d63ce3414ec88506ed7.JPG)


Popular Content
Showing content with the highest reputation on 07/01/2020 in all areas
-
Forum Friends, I wanted to draw your attention to our fellow member, KeithB7. He's been super helpful to me personally and puts out some really good content on his YouTube channel (https://www.youtube.com/channel/UCVoBq2i7wl4w0W4JB6cAMjg). Keith's videos are informative and entertaining. His most recent videos talks a lot of truth about why we all love these old mopars and this hobby. Check it out and subscribe. Dave2 points
-
I have been growing my collection of manuals to support my 2 cars. What have I learned? A ton of info is shared across a wide range of years. These old Mopars are sorta like decades of in-bred relatives. All very closely related. Initially I bought the original shop manual for my cars. Good stuff. Then I bought a Motors Manual each of my cars. More great info! Extra stuff that may have been overlooked in the original shop manual. The original shop manual, I believe was written for dealer mechanics. They assume you should have a good grasp of mechanical work. The Motors Manual seems is a little more stripped down for home grease monkey type folks? A friend found a 1949 original DPCD manual. He gave it to me. I figured I would have no need for it as I have no 1949 cars. I was surprised to see lots of good info I totally could use! Different and in some ways better illustrations from other my other manuals. The 1949 turned out to be a great resource that I often reference. I also located a 1953 and 1938 original parts manuals for my cars. Good for finding NOS parts on E-Bay. The illustrations are handy too. When I decided to replace the Synchro in my 1938 tranny, I looked up the original 1938 part number. Then searched it on E-bay. $80 shipped! Brand new. That one purchase made that parts manual well worth the price. The synchro was not listed by what cars it fit. Just the old original part number. Without it I would have never found it. A perfect OEM brand new part from my 1938! So, shop manual, or service manual, or parts manual?...The answer is yes. All provide info you can and will use if you want to take care of your car yourself.2 points
-
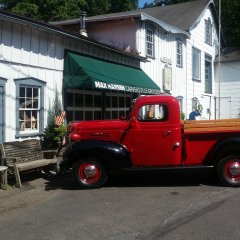
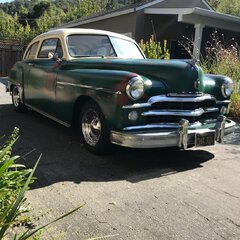
A pic my realtor snapped the day I drove it home ?2 points
-
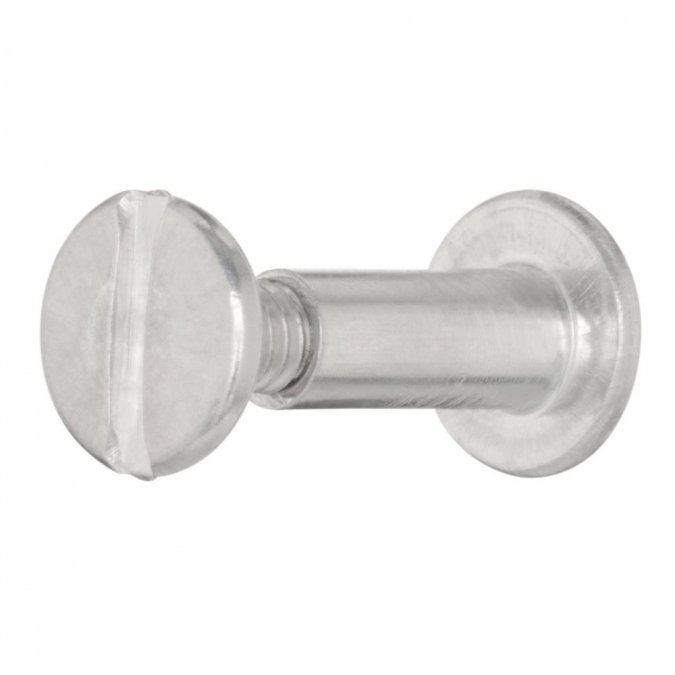
I did the same. I believe they’re called Binding Post bolts, or screws. I got them at my local hardware store.
 1 point
 -
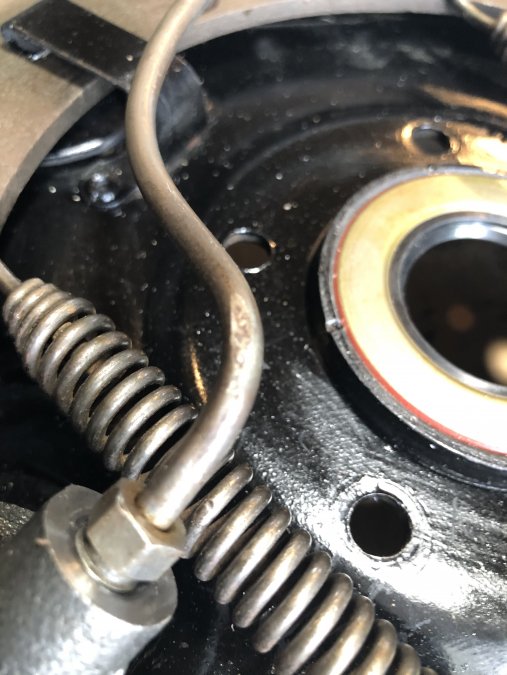
Usually a sign of worn rings letting compression leak ( blow by ) which causes the cranked to be under pressure than neutral or under vacuum whencruising. 60 psi oil pressure suggest a stuck pressure relief valve. The service manual states 25 to 50 is proper operating range. This is usually a free and clean procedure, but it can indicate a broken spring in the assembly. Constant 60 will push oil where it ain't supposed to be. The valve is located on the left front of the engine under the generator just above the block and oilpan seam.1 point
-
It's nice to get to see an informative video, where there is no personal tension or animosity as the basis of the video...pure education and fun! Thanks Keith!1 point
-
I don't like ammeters but that's a personal choice... When I added a 70a alternator verses a 40a ammeter I decided it was time to change to a volt meter but I wanted to install it in place of the ammeter and not as a separate gauge, another personal choice. Here's what I did... Original ammeter New gauge attached to ammeter face I left the numbers and glued the original white needle on. Straight down is 12v any movement to the left is charging Picture with engine running
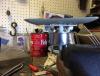
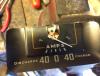
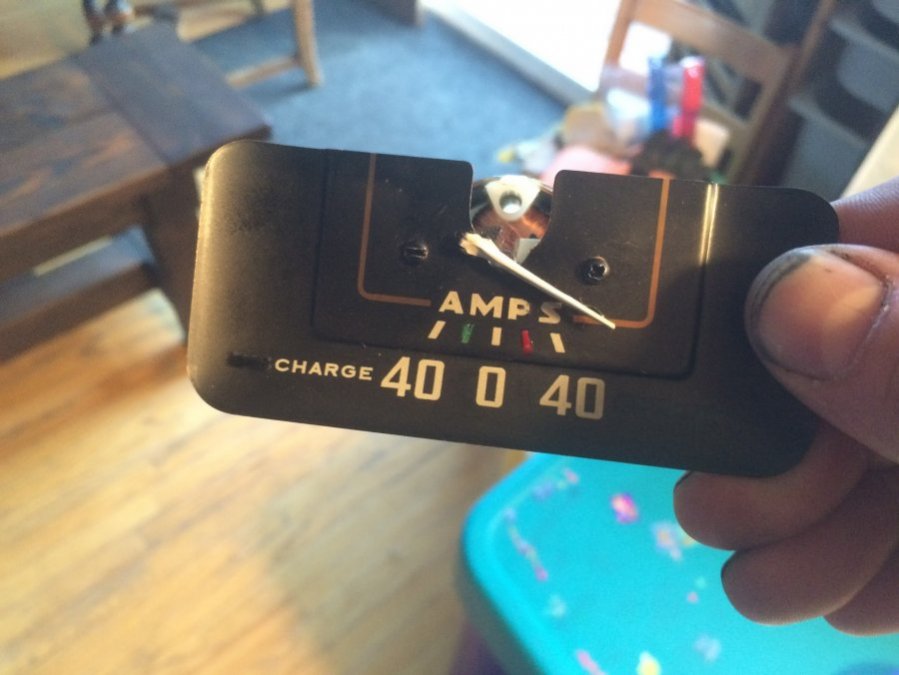
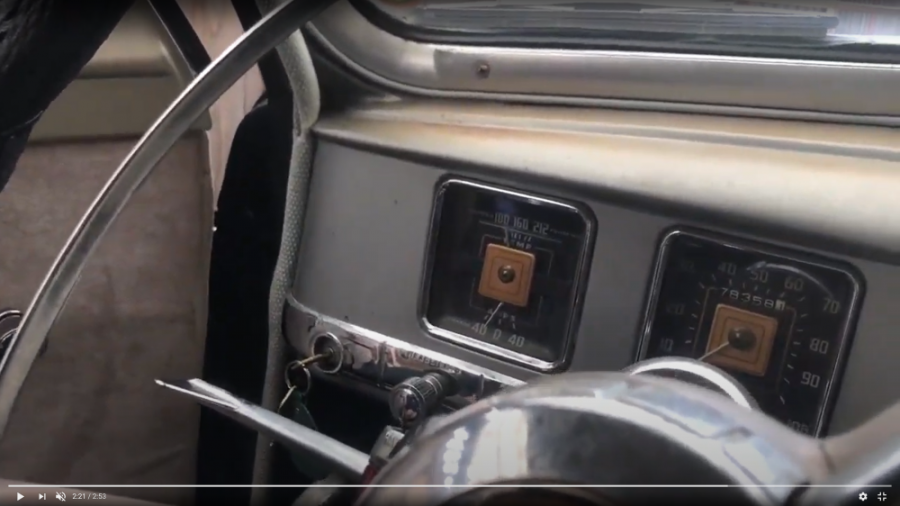
 1 point
 -
My 1938 Dodge sedan would slip especally as the clutch got hot. When I changed the clutch it looked like my issue was fatigued springs on the pressure plate. This could be a possible issue with your clutch instead of oil.1 point
-
Gotta keep in mind we are just a bunch of grumpy old men........................ ?1 point
-
Here's some pics of what I'm attempting. Basically, I've just transplanted the system off the later model military engine. I'm in process of making an adapter between the carb and the air cleaner housing. It's almost done, but I need to silver solder the boss to my adapter and drill and tap for 1/4-NPT. I've also ordered a oil fill tube from vintagepowerwagons.com that already has a fitting and also a sealed oil fill cap. Once this is done, all I need to do is plumb them together. I hope! Lols!
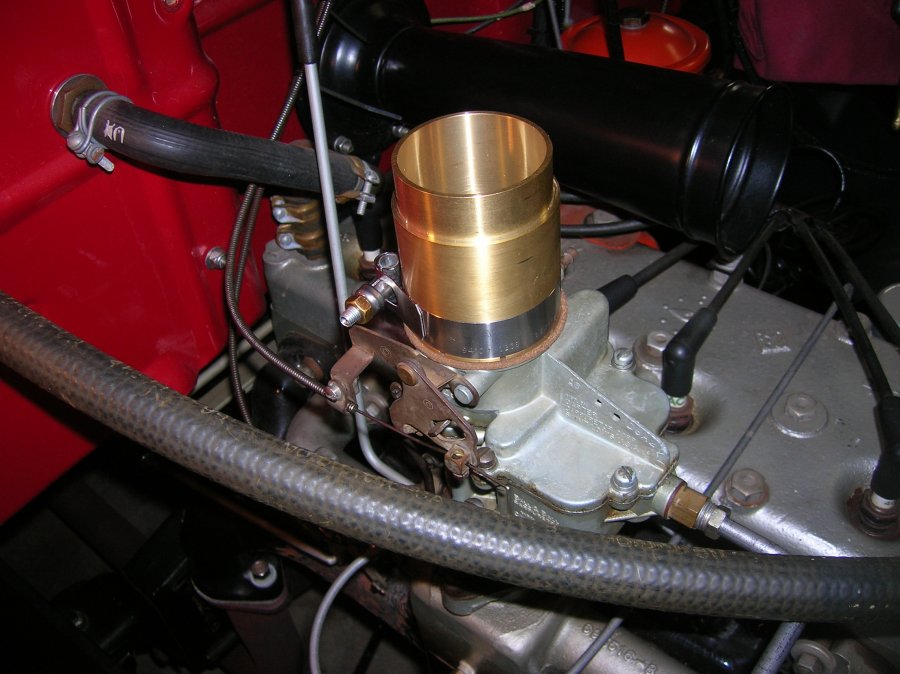
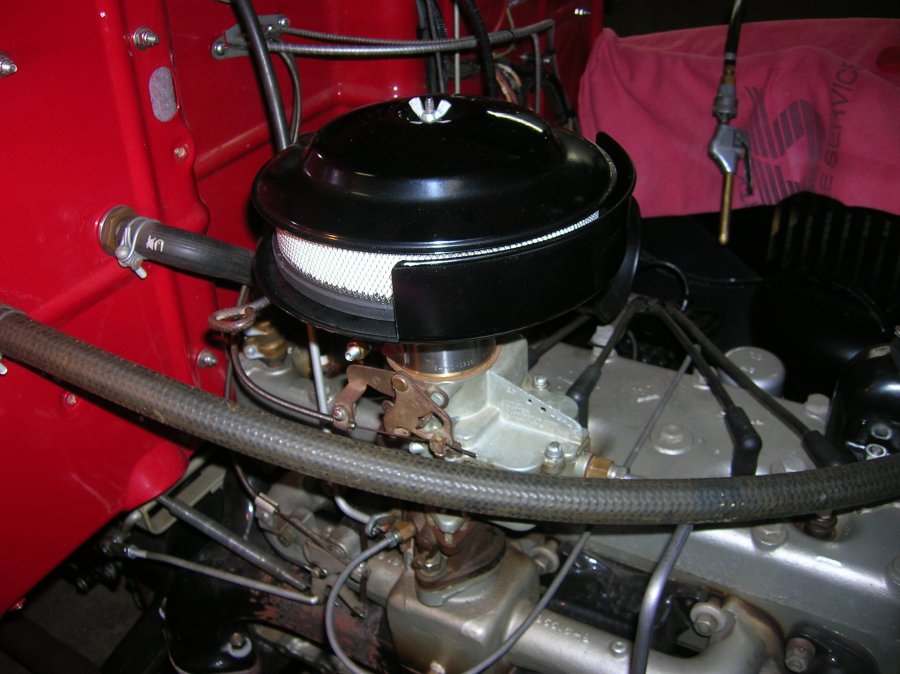


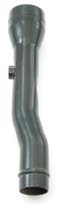 1 point
 -
Parked next to my 51 I have a 65 Cuda. The 51 looks like it is twice as tall as the Cuda, so a shave might be the ticket.
 1 point
 -
I experienced a couple of weird symptoms recently in my ‘38 Plymouth. Twice I noticed the tail lights on, when the car parked and off. Hmm. I know this can be attributed to stuck-on brakes, but no that wasn’t it. Brakes were just overhauled. Then I noticed a dead battery after a few days parked. Hmm. I disconnected negative cable and charged it up. Next day reinstalled cable. Car started fine. Raining so no test drive. I left the battery on a .75 amp trickle charger over night. Left both battery cables installed. Next morning no go-juice. The battery measures at 2V. Hmm. Time to dig in with the multi-meter and see whats going on. I ground a lead to a spark plug metal nut at the base. (great solid ground by the way). I began poking around for continuity to ground. Right off the starter lug! Ground. What the heck? I get poking around under the dash and find grounded circuits for my fog lamps, brake lamps, running lamps. What the heck? I must be doing something wrong. I break things down in my head and remove any wires at the starter lug. Hmm. Ok just the one 6-or so gauge wire is grounding. It goes up into the dash. Right to the ammeter. The lug on the ammeter is grounding. Hmm. There are multiple wires pulled off that one ammeter lug. So each one of those circuits are now being grounded. I remove all connections at ammeter and start checking each one. Now I’m down to only 1 wire that is grounding. Hmm. Where does it go? I’m thinking about the brake lights coming on a few weeks ago. Likely to the brake lights I figure. Sure enough. Indeed it does go to the brake lights. I check continuity at the brake switch, affirmative. Remove wire after switch that goes to the brake lamps. Continuity test wire from ammeter to brake switch connection, all good. No grounding. Remove wire at brake switch that goes to brake lights. Bingo! Its grounding. This is fun. Making progress. Yet now its time to get under the car. Maybe even drop the fuel tank to see what I’ve done. I built the rear harness from scratch. I screwed something up. Time to don the coveralls and get under there. I’ll report back my findings. I think I'm getting close. I am grateful how simple these old cars are. I was amused and reminded how tricky electrons and wiring can be. 1 simple wire was pulling down everything else that it touched. Where it gathered at the shared lug on the rear of the ammeter. A few years ago I would have been on a wild goose chase after I found several different circuits grounding. Sometimes aging is not so bad. I've learned to slow down and think. Lol.
 1 point
 -
Not that Rich needs a defense, but I think of rebuilt carbs the same way I do a rebuilt engine or transmission. All Parts replaced or machined to original equipment clearances. What some refer to as rebuilt, seems to me to be an overhaul. Parts replacement only with no machine work. Like rering and valve job compared to a bore ans seat/valve replacement. Restore to me means the same as a rebuild except that all parts are reproductions of original, no improved or redesigned parts and exterior finish is as new. Restoring to me is a waste, as even if it looks original, it was new and original one time and never will be again, no matter how much is spent or how good it looks, it is not 'original', just a close (or very close) approximation. JMNSHO1 point
-
Go to the auto parts store and get some PB Blaster or Kroil which should be more effective than WD40.1 point
-
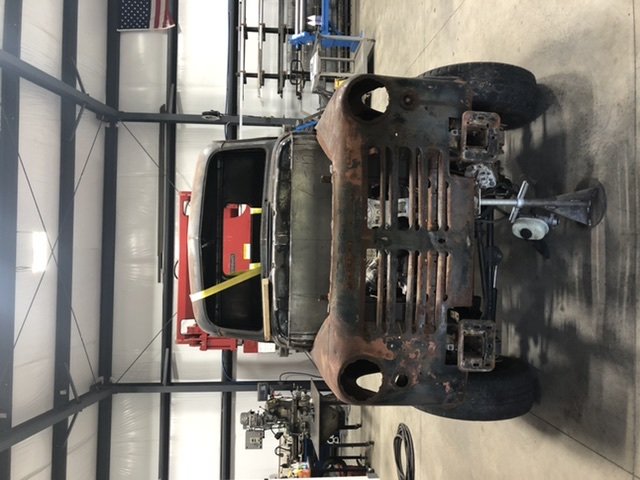
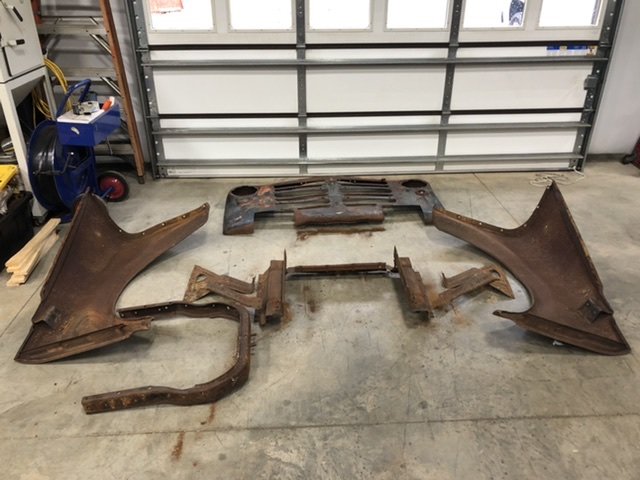
This is the solution from the same part for attachment points #4 and #5. Also shows how I plan to splice it into the original brace structure. Not quite as clean as the solution for #3, because I cut notches for the bolts from the frame mount, but it works. These were the smallest aftermarket braces I could find. Ideally I would have found a brace the same width as the original. On the positive side, the wider brace will cradle the original brace structure when I splice it in.

 1 point
 -
LOL, Davin I thought you’d be working on the truck all the time and doing your police work over “zoom” ? cant wait to see the truck progress but more importantly, can’t wait to hear the Australia country music version of “my cheating ex-wife” at the next “Q” ?1 point
-
I see what you mean. (pic attached). Tough call, you're probably right.......
 1 point
 -
Keep in mind the type of coil you use will determine the spark plug gap.1 point
-
I bought one too. I am still waiting for the new engine to come back from the machine shop to install it. One of the neat things you can add to it is a Multiple Spark unit. These (such as MSD brand or the Summit house brand) really get the fires burning. They cutoff and become single spark at 3,000 rpm which means on a flathead they are multi spark most of the time. The spark gap can be opened up to .060 which requires a pretty hot spark to jump. Langdon sells you Champion plugs but I'd rather have NGK or Autolite. There's a place for your Tach signal too. Every once in a while the General makes something worthwhile and HEI is one of them.1 point
-
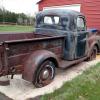
I got the cab squared to the frame, the front clip apart, and hammered out majority of the dents. I rust converted the inside of the fenders then re assembled the clip. It took a long time to get the fender to door gaps correct. Radiator crossmember, front clip gussets, and fender to cab brackets are next on the list. This cab and clip has been a pain to get everything set right. What is everyone’s opinion on rust converting products?


 1 point
 -
Greg that is slick but I do not think a two door wagon for 62 was stock....believe the last of the Mopar two door wagons was 1961.....I just like the front grille, aggressive and the tail light arrangement was something the competition knew all too well....the Dart was entry...next was the 330 and then the 440 then the Polara....I believe the 2 door hardtop Dart series were predominately 440 series but as stated...love the rear lights and trim on these..this is a Polara...1 point
-
You might also want to replace the inter-connecting steel brake line tubes. They are compromised. The lines..one or both have rubbed on the drum hubs it looks like. As for the wheel cylinders...are they different than passenger cars?1 point
-
Start or join in a thread that has a hint of political or religious bias (left or right, I don't care) it will be deleted. As I have said many times before their exists many, many other forums to discuss your political/religious leanings. This is not one of them. Don't like the rule, go somewhere else. This is car site first and when people start injecting their political opinions other people get angry or feel alienated. Please focus on keeping the dialog welcoming and family friendly.1 point
-
I have had some bad champion plugs as well, i will buy anything but champion.1 point
-
Get AC or auto lite plugs, champs are junk lately. Also recheck your plug wires. You could have everything right but be off one tower on the dist cap. Don't ask me how I know. To1 point
-
A crisis seems to always bring out the bottom feeders so if you get any "special offers" in your email because you are a p15-d24 member, it is a scam. Don't open it and delete it immediately or let your anti virus software dispose the file. Any offers, promo and such will be announced here first and always come from the p15-d24.com domain in the the email address. Be safe in your health and online!1 point

.thumb.jpeg.28cb36506a6b17cd30e7d4a22504384d.jpeg)


.thumb.jpg.52b659814cb5758b70f78e52ab046bdd.jpg)