Leaderboard


Popular Content
Showing content with the highest reputation on 06/28/2020 in all areas
-
Truer words were never spoken. Years ago I was approached by a manager of a different group where I worked, he was trying to talk me into working for him. In the course of the conversation I mentioned I was lazy, to which he said that wasn't true and that I was one of the hardest working people he knew. That I got in there , fixed it and moved on. I explained that being a lazy man I fixed it right the first time so that I never had to mess with it again. He said he'd never looked at it that way.3 points
-
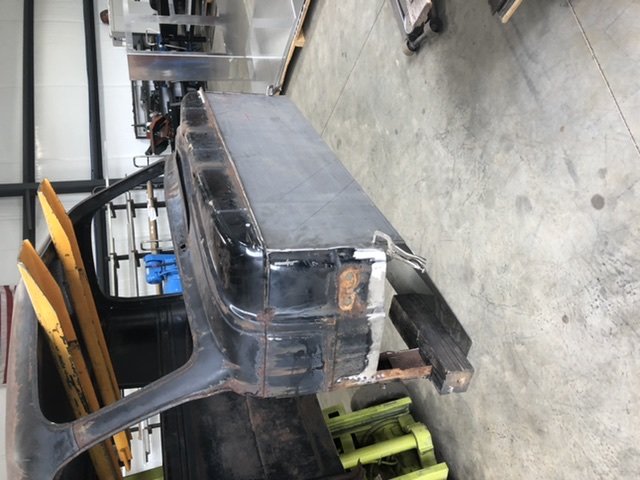
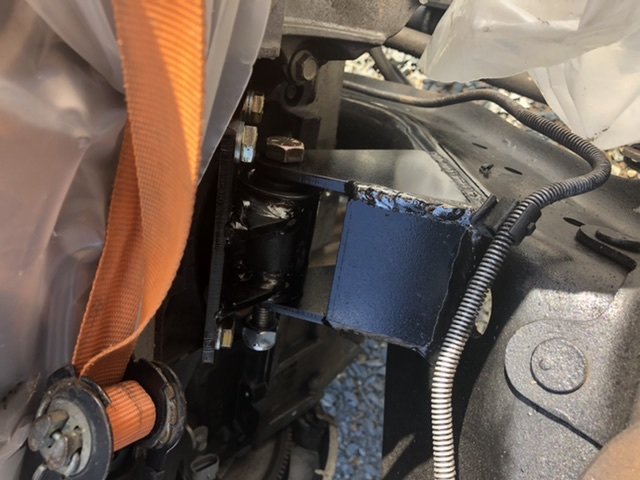
Firewall, dash and fuel hole delete completed.
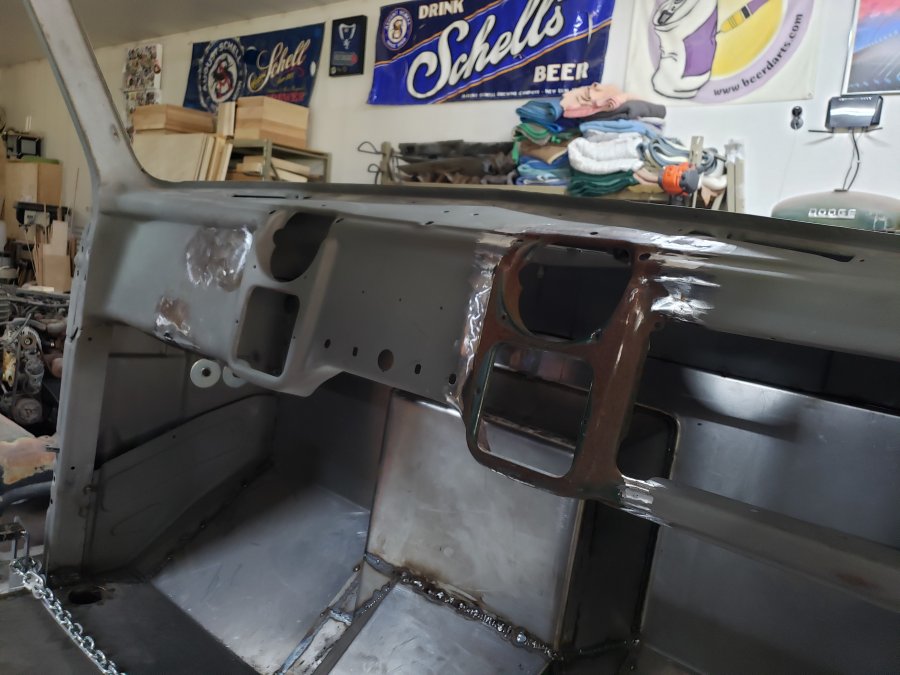


 3 points
 -
yeah..you folks hold your breath on that one ....it would be a cold you know were before I travel that far to take a dump...?..I would not want it here for fear of hybrid tin worms ?cross breeding with the English steel and be responsible for the cause of some sort of classic car pandemic...☠️ but I really appreciate you folks thinking of me...? can I have a moped instead....?? make it two tone burgundy and gloss sand.2 points
-
unlike many here though, you admit to the error...most take the crawdaddy approach and swim backwards super fast...your ratings have not been hurt in my eyes...2 points
-
Glad you 'Plodged' the bullet!2 points
-
Pretty sure the Romans burnt any book that would help us.2 points
-
Works great. Switch only controlling 3 bulbs, 2 are small & can use either # 55 (7v,2.9 w) or # 57(14v, 3.5w) in the dash and a larger single contact bulb as a dome light #1156 (12.8v). The dome light is on a separate switch & not used that often. On the first trial used 2 #55 bulbs & the 1156. The 55s bulbs were much brighter as compare to using 6 volt, switch did noticeably increase / decreased the brightness. Next tried two # 57 bulbs and the 1156. The light intensity was much similar to what the 6 volt produced with only the 57 bulbs lit. When the dome light was turned on, will have to use full brightness. With the 57 bulbs the switch still controls brightness, however not as much. Will probably use the 57 bulbs as the light intensity is what am use to. Thanks RC1 point
-
Can't get my ohm meter to work correctly, however almost finished making up wiring harness for dash. Will test out tomorrow with bulbs1 point
-
Cool video. Thanks for posting. I know Tim is drooling over the chance to win a CHEVY!! Car is in Manitoba, Canada so he will have to wait until the border opens if he wins it. There are some Manitoba forum members he could stay with. I would be willing to pick it up for him but he would have to come two provinces further west for the car. Let us know, Tim. ? We all know how you feel about GM products!?1 point
-
If you have the adjusters fully backed off and it still won't come off (and you are using the correct puller) then remove the two nuts holding the major adjusters. Then tap in the adjuster bolts and the shoes will come loose pulling away from the drum.1 point
-
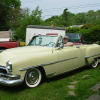
Thanks, Go. It didn't always look like that. Pictures show the car as it was found. It was a six year project.
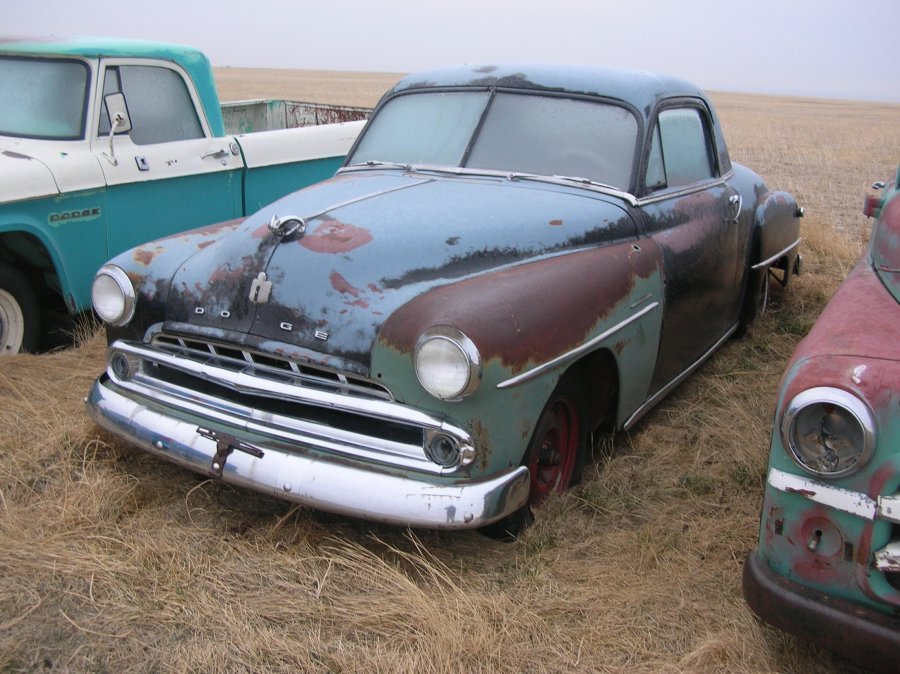
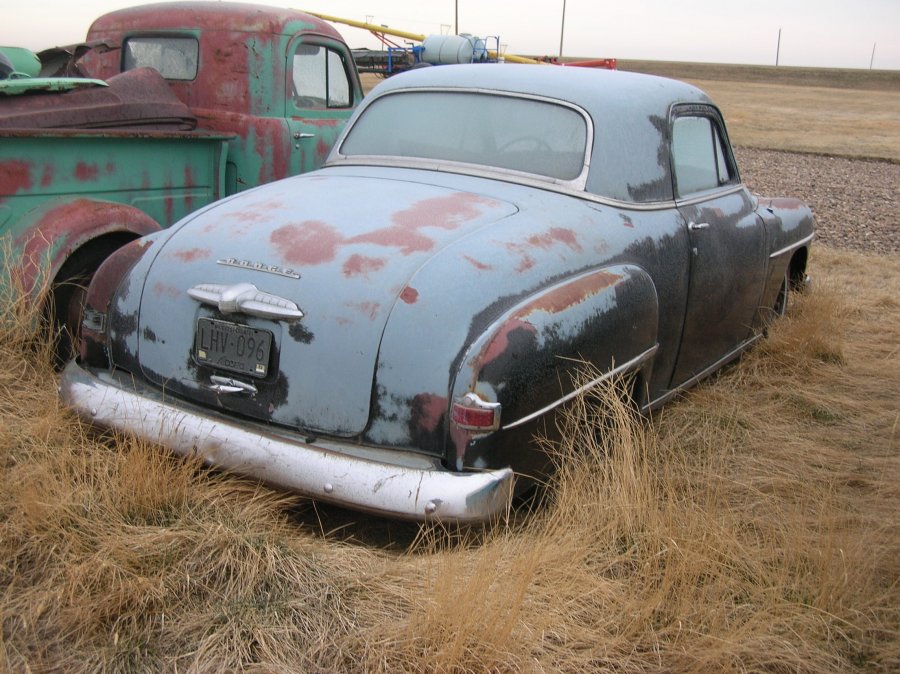 1 point
 -
what I do is move the puller to a different set of lug bolts and try again.just when you think you have whacked it as much as you can or should, whack it some more. you can also leave it on overnite while it is pulling.leave the axle nut on slightly because if it lets go the tool and drum will take off. I have heard heat is no good for the seals in there. driving seems to work for many people, but I have never had to do that. also, when putting the drum back on I have always put grease on the taper. that is not the correct thing to do as you want a friction fit on the taper. keep at it. it will come off. quality puller is needed. dennis1 point
-
Nick, build the car you want......you don't have to please anyone else. ?1 point
-
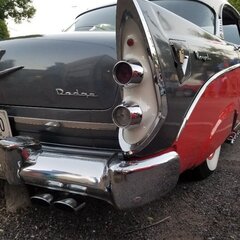
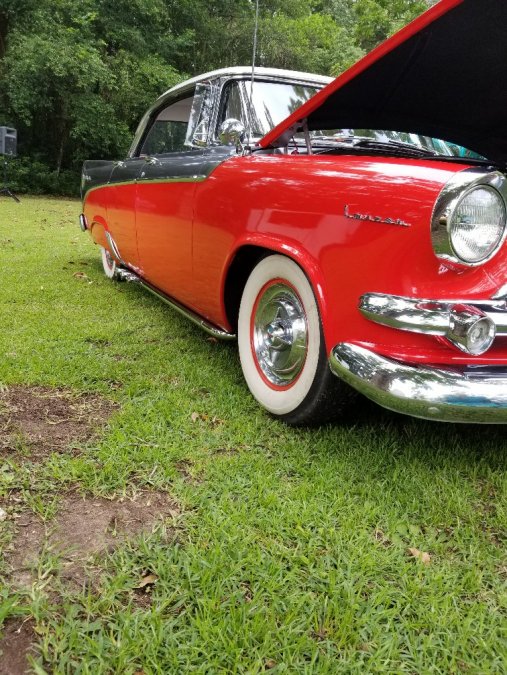
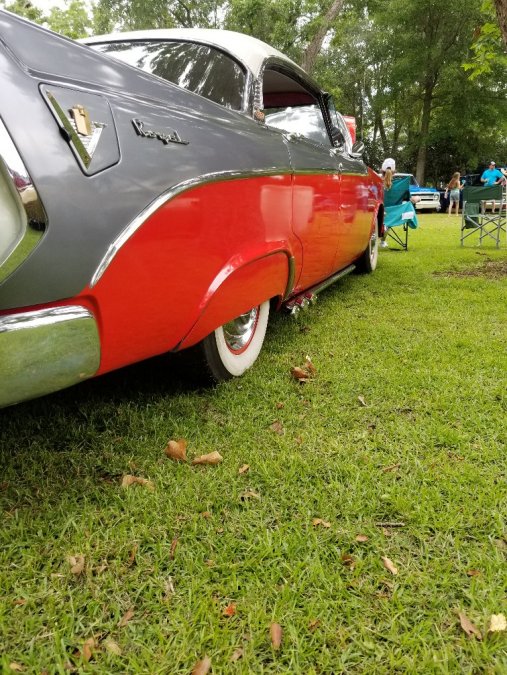
beautiful Coupe, Robert! (don´t tell: I even like the color very much!!") Greetings! Go1 point
-
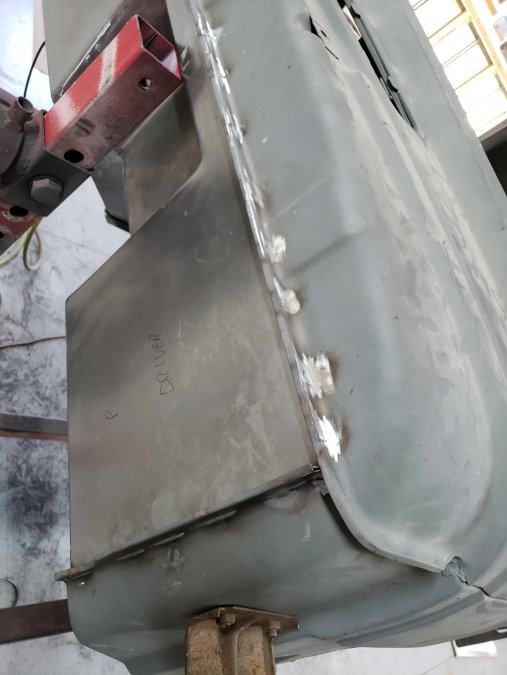
Back onto the frame for fire wall and floor mock up.The fire wall and floor is made with 1/8” plate. Then onto the table to square the cab and welding in the floor and fire wall . Everything is drawn up on the computer then CNC plasma cut then bent on the press brake.


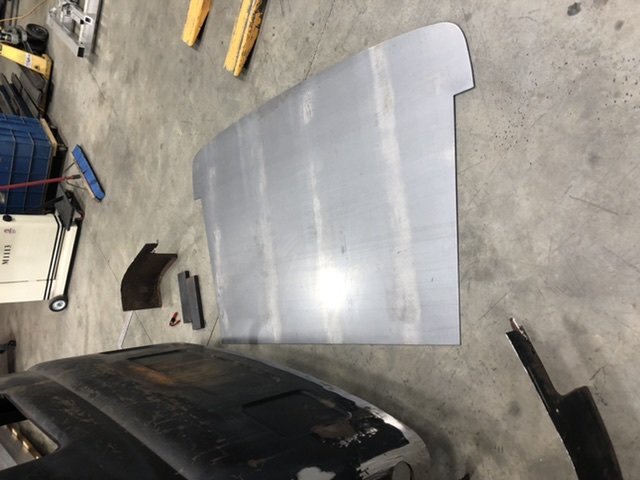

 1 point
 -
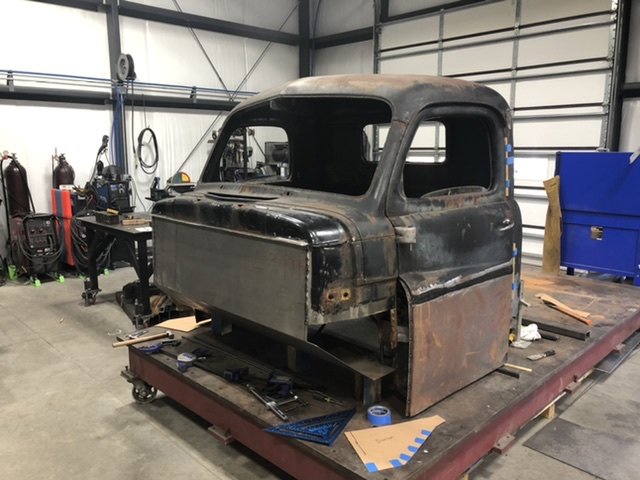
I started cutting out the floor, fire wall, and rotted back of the cab


 1 point
 -
I have the motor trans and cab mocked up for alignment along with the motor mounts and transmission mounts fabricated


 1 point
 -
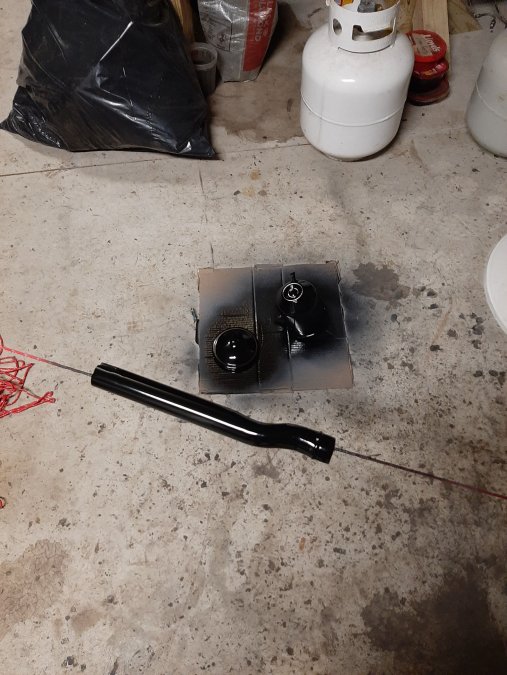
Lake pipes
 1 point
 -
Or not, now that I see them together. Lol1 point
-
https://www.vintagepowerwagons.com/ Please check out vintage power wagons if you haven't already. Much of the B series truck parts are interchangeable. I believe there a mentions of power wagons in my B series shop manual. Good luck. I am sure many of us are eager to see your progress.1 point
-
No problem, Dodgeb4ya! I got the correct bolts...no harm done!1 point
-
Great to hear. Congrats on getting it home. Now you can work on it at your convenience.1 point
-
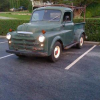
6-27-20: It barely fits in my garage, and I have to back it in! Reunited with the Meadowbrook ?1 point
-
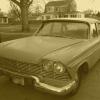
6-27-20: Yes! I got it, but it wasn't fun. I borrowed my brother's multimeter and made sure I had power from the key switch to the coil and from the coil to the distributor. I reset the points, but realized the little screw that holds the points in place feels somewhat loose and possibly stripped. I think that is my biggest problem at the moment. Upon startup I believe the points are thrown off and have a smaller gap. I'm going to put a completely different distributor in it with fresh points and cap etc. Anyway I finally got it to start after putting new plugs in it. Here's the foolish adventurous part of it all....I drove it 45 miles home! I took the back roads. The truck was only good for about 1/4 throttle; after that I couldn't tell if it was starving for fuel or just didn't have enough spark. I'm gonna go with not enough spark. Temp gauge read between 150-160. Oil pressure was 40lbs the whole way. I tilted the smoker's window all the way so I got plenty of fresh air. Speedometer wasn't working but I estimate I traveled between 30 and 40mph the entire trip, which was plenty fast on the old tires. Even though the truck wasn't running correctly, it got me home, and I enjoyed every bit of the drive! I got lots of thumbs up too. With the temp near 90F and the likeliness that this truck probably hadn't been driven even 25 miles in over 50 years, I have to say I'm quite impressed! Pic #1: driving down a country road wondering if I'm going to make it home! Pic #2: Made it! Photo is from my garage looking out. The neighbor lets me park there if I need to since he doesn't even live there.1 point
-
Ok I see it should be on the inside, it's always been how it is since I've owned it. I can fix that as I rebuild it, but my main concern is what will that broken spring do to how the carb operates, as I'm not sure how I'm going to find that spring. Good eye Andy?1 point
-
This is the puller you need: https://www.ebay.com/itm/Tapered-Axle-Drum-Brake-Wheel-Hub-Puller-Universal-Remover-Tool-Bearing-Mechanic/402307836174?hash=item5dab6a690e:g:WPAAAOSwAhxe9dun1 point
-
Here is an assortment of 3M Finesse-It products on Amazon: https://www.amazon.com/s?k=finesse-it+3m&crid=J62BZI8WMNSV&sprefix=finesse-it%2Caps%2C170&ref=nb_sb_ss_i_1_10 You will easily use a quart on the whole car. Here is the particular product I used most recently: https://www.amazon.com/3M-05928-Finesse-Machine-Polish/dp/B0006GBTP8/ref=sr_1_4?crid=J62BZI8WMNSV&dchild=1&keywords=finesse-it+3m&qid=1593306822&sprefix=finesse-it%2Caps%2C170&sr=8-4 I use a lambs wool pad on a large buffer, either an orbital or rotary. Wet sand the paint down to at least 1500 grit then settle in for quality time with the buffer. ? Also get a spur tool for cleaning the wool pad: https://www.amazon.com/Polishing-Revitalizing-Polisher-Compound-Canopus/dp/B073HKBHX8/ref=sr_1_3?dchild=1&keywords=wool+buffing+pad+rake&qid=1593307218&sr=8-31 point
-
Oh boy I screwed up on size?.yes they are a 9/16" hex head not 5/8" ....I have taken many out and installed many I'll go sit in the corner for the rest of the day.. Sorry for the bad info!1 point
-
Ground wires in the harness.1 point
-
Cleaning and painting all the engine parts while the machine shop has the block. This is the before & after of the exhaust manifold and re-cored radiator.
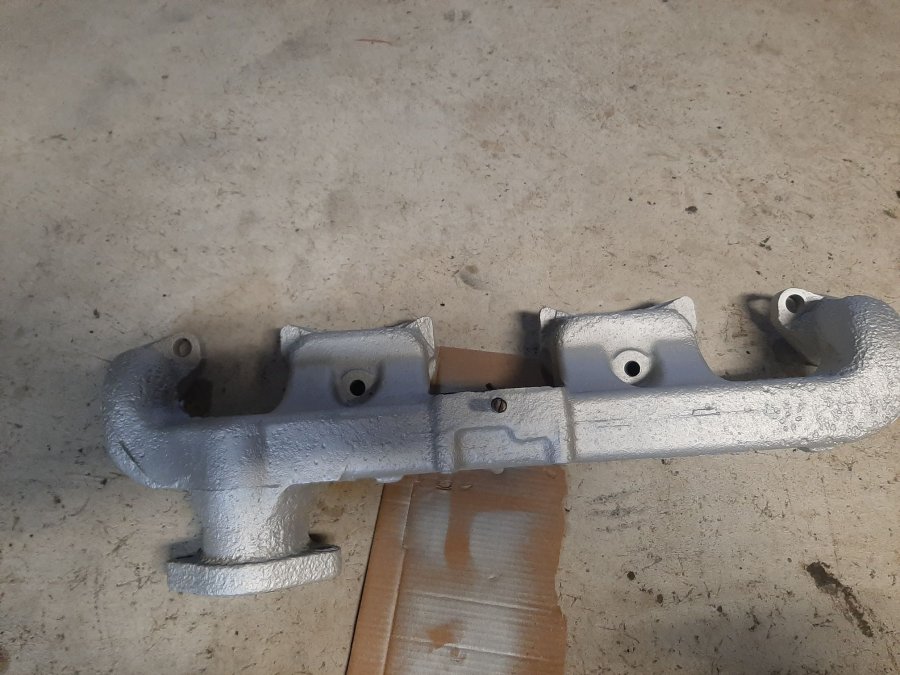

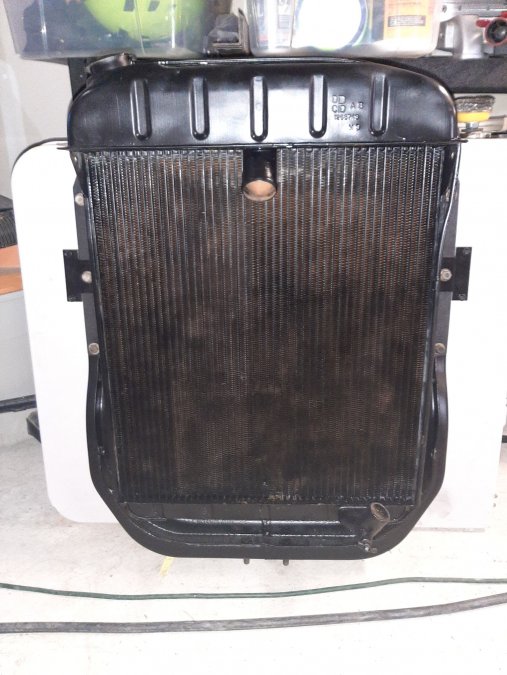 1 point
 -
Nick, money spent on professional finishing compound is worthwhile. Find a local auto paint jobber and get their suggestion. I've used a product called FinessIt, don't know if it is still available, may have been replaced by something even better. ALL the orange peel must be sanded off and then.....a lot of buffing. The proper pad is also important. The hood looks good, but there is still more gloss to be had. ?1 point
-
This was my first run at a full cycle of wet sanding, compound and polishing. It's still not where I would like it to be, but for a first timer I like how this turned out. I am now confident enough that I'll get better by the time I'm ready to paint the full car. Not even close to going to "The Show" yet, but worst case, I would have no issues driving this around town.

 1 point
 -
did you count to 13 the number of fasteners removed....bottom center is very hard to get to and often as hard to see...1 point
-
I used to work in a plating shop, and we used muriatic in the plating process, especially for cadmium plating. If you were delayed after taking something out of the acid soak tank, you could literally watch it rust before your eyes. Muiatic acts much faster than phosphoric does in removing rust, but has that unwanted after effect. I bought some straight phosphoric from the shop, and had my own vat at home. Toward the end of when I was actively stripping parts, I had soaked an extra part I had, and just hung it up to dry. That was nearly 40 years ago, and that part is still not rusted, and the only 'coating' is the dried phosphoric acid. That was a piece of heavier steel, but i also have some sheet metal parts I never painted after soaking, and they are only slightly rusted. I'm guessing that I must have rinsed those off, because they don't have the characteristic coloration of phosphoric acid residue. Oh, I forgot that I also have some extra wheels I soaked - those are also unpainted, and not rusted.1 point
-
Oddly, California had a black plate with white lettering for 1945. The 1946 validation tab was yellow with black letters.
 1 point
 -
Not done yet...You might have noticed I'm a pick nitter, so I will touch up the edges of the 8. The 3 is probably fine. I don't want it to look too good, they didn't originally. I used a dense foam block to sand, 2000 grit. But I pushed too hard on the 8 and it deformed over the edge. that why the bottom right looks like that. I started on the other end and was rushing a bit by the last character. The CAL at the top and 45 on the other end are the only other parts that still need white. Then clear over it all to give it some protection.
 1 point
 -
Painted some more parts while the block is at the machine shop. I'm happy with the results of the duplicolor paint but the fumes are no joke. Even with the doors open, a fan going, and a mask, I'm sure I lost a few brain cells tonight. I'm going to need to wear a better mask when I paint the entire block.


 1 point
 -
Radiator is being re-cored so I cleaned off a hornets nest and rust off the mount and painted it. Also cleaned and painted the oil pan and bellhousing. Ran the new brake lines to the rear drums.


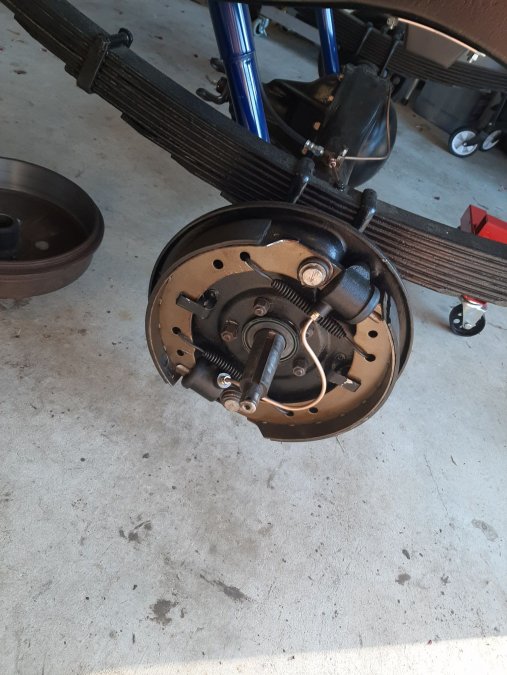
 1 point