
Leaderboard


Popular Content
Showing content with the highest reputation on 05/30/2020 in all areas
-
Some possible extra good info... Be careful with that "Y" control valve. Tough to find anywhere and no rebuild parts are available. Early "Y" valves are cast iron but the more common later ones are aluminum and can break off at the head. The picture Donald shows is most likely correct as early cars like your 1946 use more metal tubing than late 1947 on to 48 which use more of the rubber hoses. The routing looks kinda messy compared to the steel tubing set up.1 point
-
Start the engine cold. The upper radiator hose will remain cold until the thermostat opens. When it opens the upper hose will become hot.1 point
-
Photo of my DeSoto cowl, with the dual heater:
.JPG.fd5ab143c6de27ed2df3a767adeac80f.JPG) 1 point
1 point -
Is the engine overheating? A properly working cooling system and a 180 degree T-stat it should run at 180 degrees. No idea what temp your T stat is. If you are having a over heating issue, checking the T-stat is one of the first things to check ... I put them in a pan of water and as long as the T-stat opens before the water boils .... I assume it is working.1 point
-
Pretty sure Desoto 1939 meant brake "linings" not brake lines. Also, my shop manual for Plymouth 1946-1954 does not show the brake shoe hold down springs as shown in the picture of Post 14 at the 2 and 8 o'clock positions. Is this something on newer Plymouths. May be a clue of where these 10 inch brakes came from.1 point
-
Back then mopars were setup to keep you from locking your keys in. That's why it unlocks when you lock the inside and shut the door. The front doors on my 64 plymouth still work that way. It should lock with the key from the outside.1 point
-
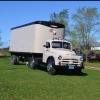
Looks like a big change coming up, i landed another truck with a floor shift 3 speed and a lever type park brake. Looks like the top cover will swap over without issue just have to find the time. Opened back up for business and have been playing catch up for a couple weeks. No truck time for now.1 point
-
Back when I converted my Diplomat to stick I replaced the two lower bolts with appropriate length dog point studs. They functioned as both the alignment and fastening device. I wonder if we can do something similar here?1 point
-
Or you can scab together a tranny cradle out of scraps in the shop that looks wretched but works wonderfully: I just put the jack under the transmission while it was still in the car and started adding scraps until the jack cradled the trans. The hole is for that little bump on the bottom of the three-speed. The 2x2 props up the shift housing and keeps the trans from falling off the cradle. Putting the jack in juuust the right place keeps everything balanced. ? And you need guide pins: A couple of flats filed on the pins make it easy to use a wrench.
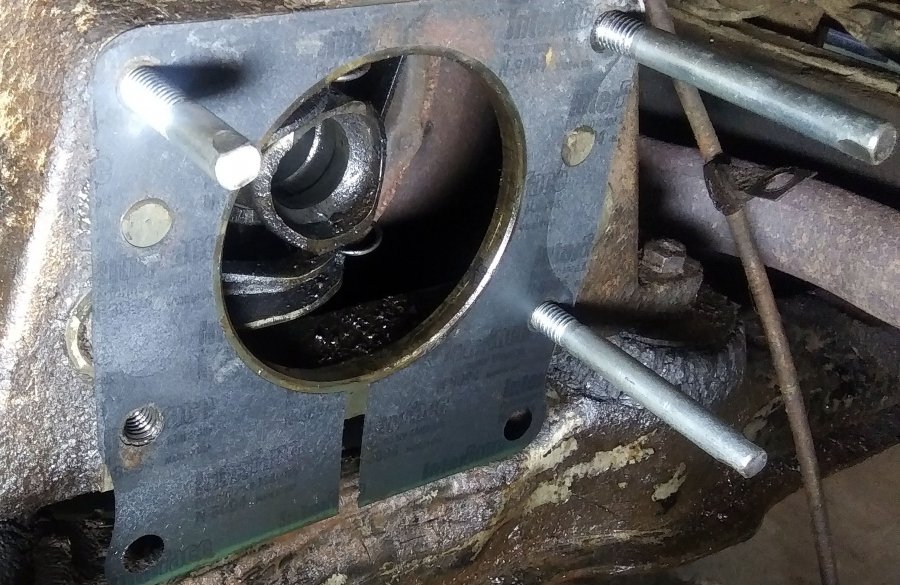
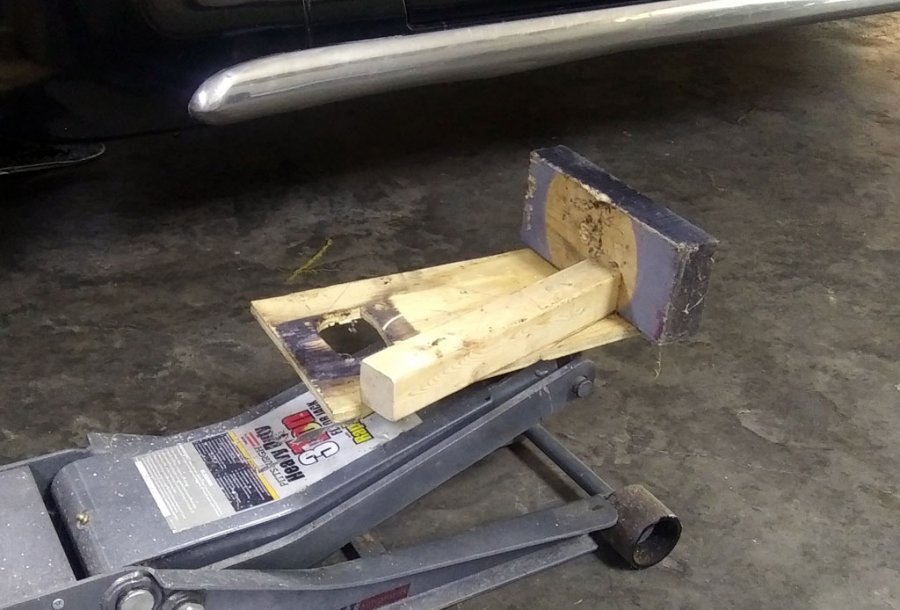 1 point
 -
Really glad you are keeping the inline six in it. So many people "upgrade" to a V8. I just love inline six engines. So does the trucking industry as most engines in semis are inline six diesels. I have heard from many sources that the inline six is the best naturally balanced engine design. I have a friend who did a cross Canada tour of Canada both ways (nearly 10,000 miles) in a 1962 Chevrolet pulling a small trailer. The old inline six, with a lot of miles, ran perfectly with no issues. They have pretty good torque.1 point
-
have fun bleeding both wheel cylinders on each front1 point
-
Thank you guys for all of the response. Mike over at mopar-direct was helpful and has already sent me new 10" shoes/pads. Also, thanks for the tech advice... I bought the adjustment tool from Keithb7 (thanks Keith). Lastly, without this forum there's not way I could have rebuilt my brakes. As I said previous, these old Mopar are fickled and not for the faint at heart. Have a great weekend all. Dave1 point
-
Here is the door panels I made to go with the seat
 1 point
 -
That is the original backrest the bottom is comfortable. It is rough but also my first attempt. I’m not a fit and finish kind of guy but my whole reasoning behind this truck is to do all reasonably by myself so I can’t complain about anything if I did it myself.1 point
-
Funny my bed had a taper to it as well- 5/8” if I remember right. I went away from stock where the chassis holds the wood and the wood holds the box. On mine I made a 1” .120 wall square tube frame for the bed that uses poly iso mounts on four pedestals on the frame. For my wood I used ipe- should be the last time I buy wood for it. My buddy gave me three boards free and I spent $225ish on two more. I did use 5/4 or whatever they call actual 1” thick boards though. I did the notched out profile thing on the tablesaw- like 6 trips thru per board. I also shaped my outside boards tightish to the tubs with no edge angle strips. I got the mar-k stainless strips and drilled them where I needed the holes for my non stock bed. Some have crossmembers and some have fender washers underneath.

 1 point
 -
I added an additional spring,figured out there was a missing return spring and jigged it up. Haven’t tested it yet,but im sure its better. will be getting a conventional e-brake eventually,as the 8.25 rear diff has it.1 point
-
10-4-19: Tomorrow I will move the truck one space closer to the Meadowbrook. I might slide it over on wheel dollies as there is no garage door there. 4 car garage, 3 doors ?. I'll need to park my work car where the truck is now. Getting close to window scraping weather here. BTW fellas, there was nothing under the seat!1 point
-
My son wanted to put the license plate on, so I let him do that.1 point


.thumb.JPG.1aa9ab49db333d63ce3414ec88506ed7.JPG)
