Leaderboard


Popular Content
Showing content with the highest reputation on 05/27/2020 in all areas
-
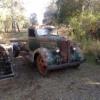
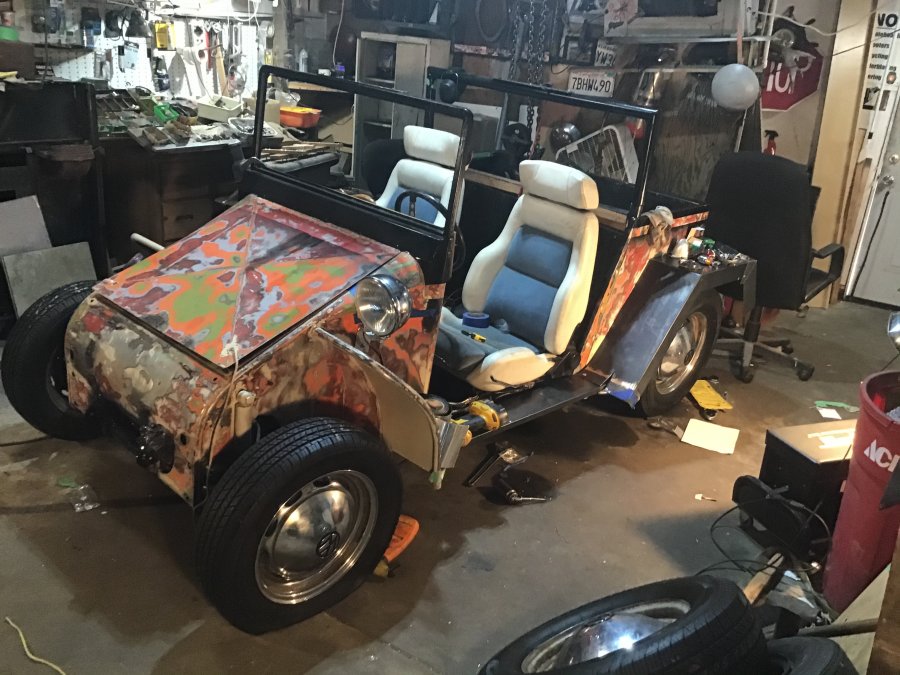
Ok a pile of super fun guesses....no one got it right.... Drum roll...... TA DA.....hooks to get chains on the cab (pass thru the holes) so I can lift the cab off the frame with my engine hoist by myself.
 4 points
 -
I said I would post back when I changed my transmission oil. I ordered and quickly received 4 quarts of Red Line MTL 75/80W synthetic transmission oil. I ordered four quarts because I could use it in my other two Mopars as well depending on results. Also there was free shipping once I got to four quarts. As mentioned shifting from 2nd to 3rd caused grinding unless I shifted really slowly which quite often meant modern day drivers were up my tailpipe in no time. Shifting 1st to 2nd was OK but still not as smooth as I would like. Anyway, drained the GL-5 80/90W and replaced with the Red Line. Easy job and did not take long. Took the car out around the block and shifting was smoother but still some grinding 2 to 3. This afternoon took the car out and put around 30 miles on it. Shifting got smoother and smoother and by the end the car was shifting very smoothly and 2 to 3 was quick, smooth, and noise free. I reckon that once the oil warmed up and really circulated and got into the brass syncros that is what made the difference. Transmission seemed to run a bit quieter as well. I am very pleased so far. I will see what it is like starting off cold and report on that in a day or two. My guess is that results will be good. I will also check for any leakage from the tranny as the oil is a bit thinner than what was in there before.3 points
-
There was also a pinion bearing angle change in 1951 too.2 points
-
Toliet paper rack for the big Taco Tuesday make up party...... 48D2 points
-
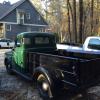
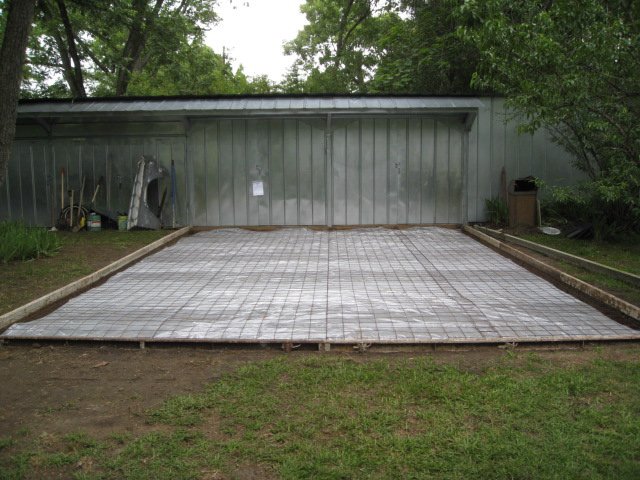
Been doing a bit of digging of dirt....placing the moisture barrier and wire tomorrow morning....shooting for a Friday pour....
 1 point
 -
My thanks to Ulu (Greg) who cane and helped me. 1) how to solder. Learned what tinning is, tat a ball of solder will stay on the soldered tip for application. 2) how to make a secure joint, A, wrap a snake wire around the new joint, then solder it all, 3) how to make a wiring diagram for a new rewire. He had the specification diagram taped on a board, over that tracing paper. Then drew the new wiring diagram on the tracing paper. Genius. Always something to learn. The above probably known by most, but exciting for me. Now, with his instructions I can complete my Sportster. Photo is curren status. Will take today off to get new required parts.
 1 point
 -
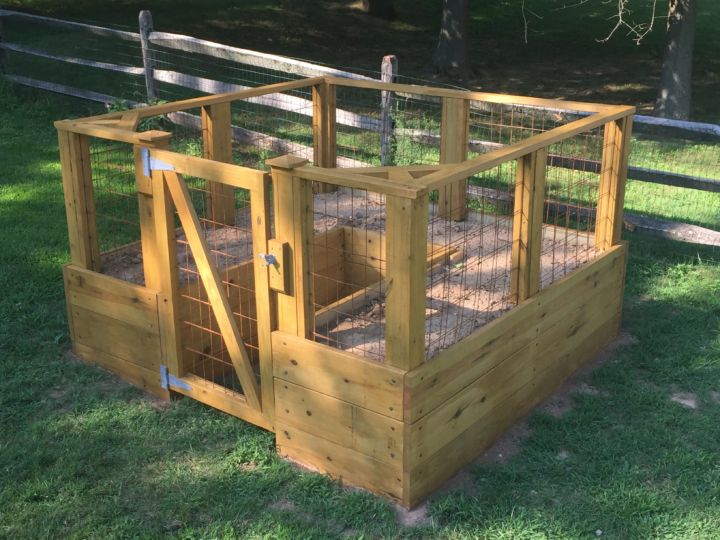
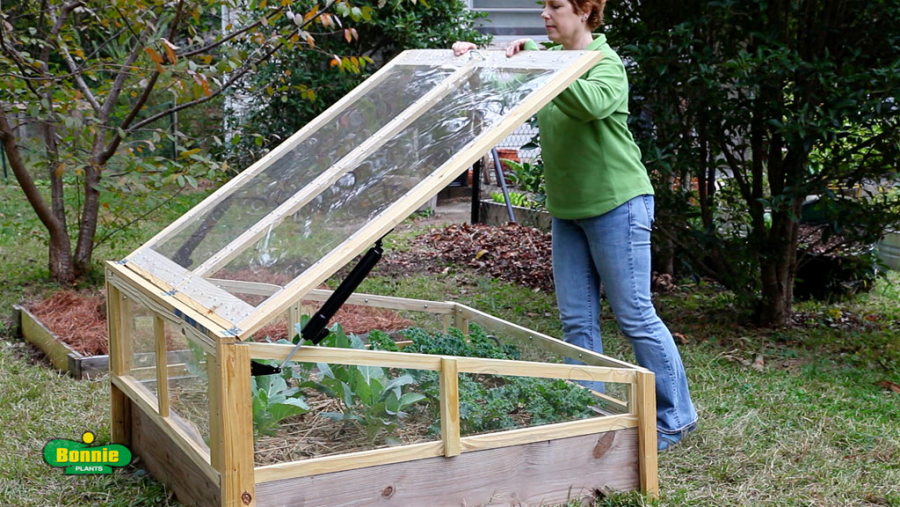
In my original post I mentioned my end goal was to lay down weed fabric, build a small deck, 8x10? then put the boxes in a horse shoe shape on the deck. Here is a photo of what someone else did. I have a similar idea. Mine I will need to step up onto the deck, wire will go to the top of the boxes and trellis above, one end will have a small work table with shelf underneath for supplies. I will run water underground to it, and then have it on drip irrigation. More effort now to build it, but later is as low maintenance as you can get. Right now I need to figure out where I want to set it in the yard. Will be interesting my first year growing a garden in this area, I will see what I can get by with in the hot weather, but looking forward to fall. You build a top kinda like this on 1 box, open it on warm days and close it at night, in our location it is possible to have a fresh green salad year around. Lettuce, spinach, radishes, onions etc... December, throw your steak on the grill and walk out and harvest a fresh salad.
 1 point
 -
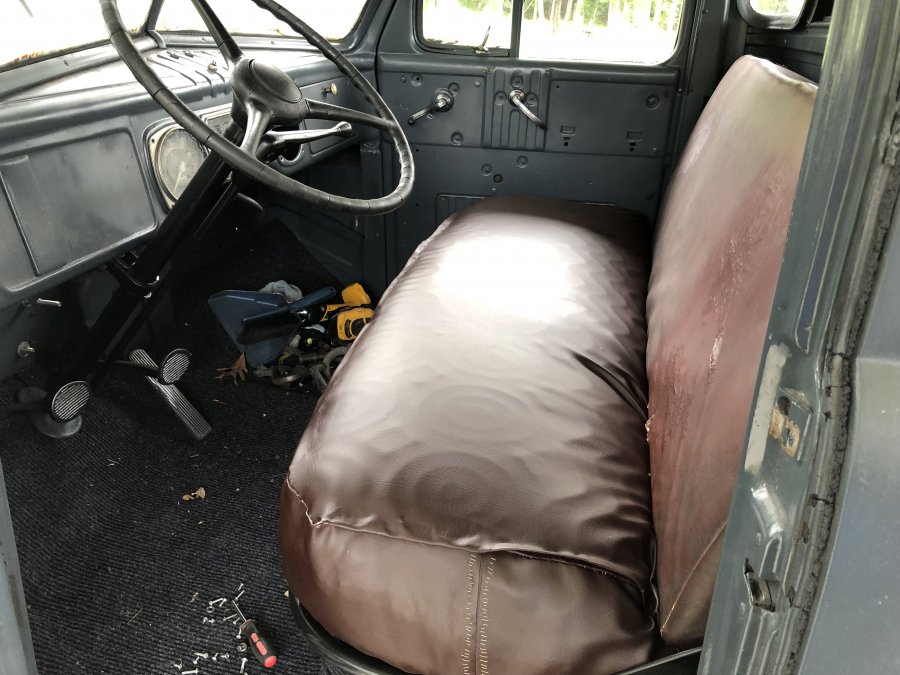
That is the original backrest the bottom is comfortable. It is rough but also my first attempt. I’m not a fit and finish kind of guy but my whole reasoning behind this truck is to do all reasonably by myself so I can’t complain about anything if I did it myself.1 point
-
yes...location is a big factor in prep for about any building scenario....the hardest part of this build is behind me...the prep of the pad. I ordered my carport for this pad yesterday and have a 2 1/2 to 4 week estimate on delivery and setup....hope it does not extend much further out than that. I am just wanting the sparks, flame and dirt/dust out of my main shop...I have a lift and such in the main shop that is ideal for mechanical work. Not what most folks here would want but is what I want...I have tons of indoor storage/space but I do not like working in doors of the barn. It was built just for storing my cars...I do have two bays I have done some ongoing work and welding was acceptable out there..but body work, concrete pad outside is I think going to suit me best...light brush finish is planned as this will be prone to getting damp/wet. little dirt....hose it off and let the big dog eat...1 point
-
Nice job . 37 to 48 had the same axles 49 was 49 only then 50 to 52 . 53 to 56 same length as 49 to 52 but finer splines .1 point
-
ah...no fair....this is a temp fixture...….1 point
-
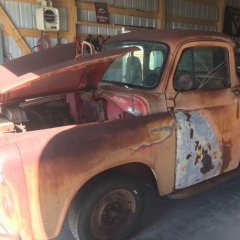
The lower center intake manifold bolt was only finger tight. Both manifolds are off. The split manifold is not a true split. It's just has two outlets. The weld has a crack on one side, but I'll be installing a stock single exhaust manifold. I drilled out the 3 broken bolts that connect the two manifolds together and have them re-tapped. One of the two center exhaust manifold bolts broke off and has about a 1/2 inch stub. I have it soaking and will try to move it back and forth tomorrow.1 point
-
Funny my bed had a taper to it as well- 5/8” if I remember right. I went away from stock where the chassis holds the wood and the wood holds the box. On mine I made a 1” .120 wall square tube frame for the bed that uses poly iso mounts on four pedestals on the frame. For my wood I used ipe- should be the last time I buy wood for it. My buddy gave me three boards free and I spent $225ish on two more. I did use 5/4 or whatever they call actual 1” thick boards though. I did the notched out profile thing on the tablesaw- like 6 trips thru per board. I also shaped my outside boards tightish to the tubs with no edge angle strips. I got the mar-k stainless strips and drilled them where I needed the holes for my non stock bed. Some have crossmembers and some have fender washers underneath.

 1 point
 -
Hook them on the front and back of the bed to make a shelf/tonneau cover type deal?1 point
-
don't work on GM cars...so no worry of a twisted frame......?1 point
-
little update....plastic and wire in place....father's day gift arrived a bit early.....
 1 point
 -
auxillary running board mounting brackets....the tilt and fold style....1 point
-
we have open season on hogs.....should include armadillo and squirrel...AND IF SASQUATCH did exist...what classification and bag limit would their be?1 point
-
You can always go back to the Hemi later and adapt it to the 1967 Transmission. Hopefully it is a 727. Let us know....1 point
-
Optional B-3 Squirrel hide drying rack.1 point
-
Tilt nose bracket?1 point
-
That's a stumper.1 point
-
Could be the center section was swapped at some point....always a smart idea to check the bearing numbers and confirm as you did ! Interesting the axle had so much sludge inside. I suppose that had to do with the mineral type lube originally used in these things.1 point
-
1 of a pair, correct. Front and rear bed stands to keep fenders off ground? Chin up bars for Elf on the Shelf competitions?1 point
-
Truck mount to hold horns to play Dixie like the general.1 point
-
Typical teenager, talking on the cell phone while driving. Lol1 point
-
Here is a short video of my first drive https://youtu.be/nfRBovLJIWk1 point
-
1 point
-
A combination gravity boot / chin-up bar for maintaining your swimmer's physique ?1 point
-
A rack to display your collectors addition 1977 Star Wars plates from Pizza Hut?1 point
-
Hanger pole1 point
-
Steps for people with tiny feet?1 point
-
His and hers towel rack?1 point
-
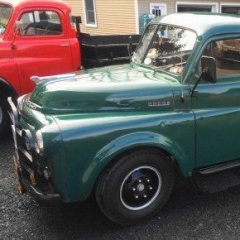
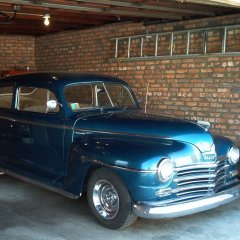
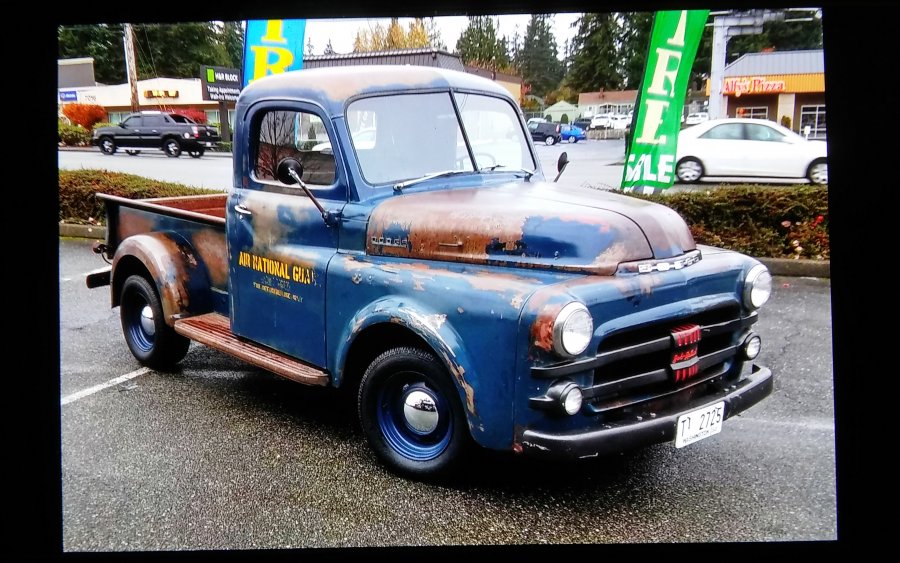
Cool ! Finally able to upload a picture of my 52 ! Thanks. This beauty spent its life on the Mt. Home Idaho AFB. Has 57k original miles and runs and drives like a dream ! Lots of looks and thumbs up ! It's a boyhood dream come true. I intend to leave it in it's original "patina" ! I figure it's earned it !
 1 point
 -
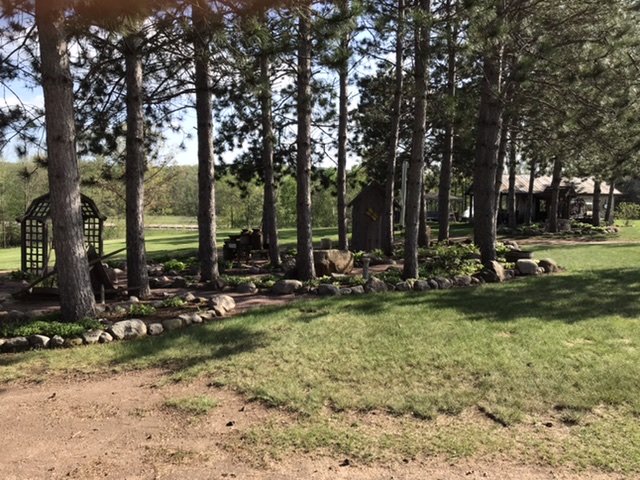
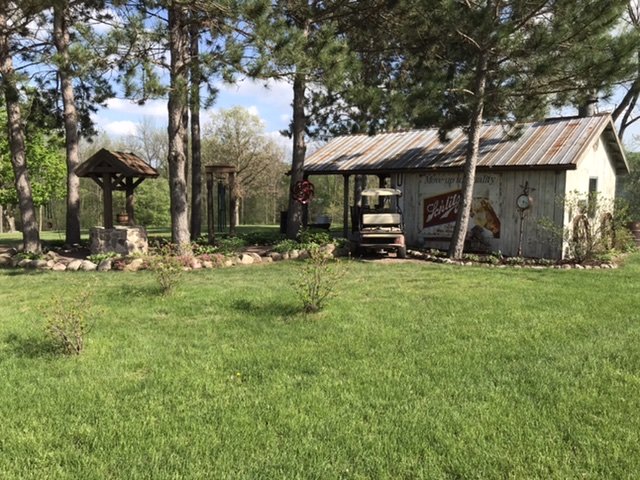
This a picture of one of our “rock” gardens. Hope it counts. I am done for the day and we just put steaks on the wood fired grill. My friends always say we are crazy for all of our lawn and outside projects. I tell them it’s cheaper than having a therapist.
 1 point
 -
You’re gonna fit in here real well. Welcome to the “I’d rather bust my butt all weekend rather than pay anyone a dime to lay a finger on my old Mopar” - car club. It’s a long name for a club, but there sure are lots of members here.1 point
-
I redid mine with foam from an old mattress pad and hand sewn it was cheap and is comfortable
 1 point
 -
Dug into my used parts today and took apart a set of manifolds to get a good look at the flapper valve. Grasp a better understanding. Then I wired my ‘38 flapper valve closed. I Went for a drive. Warmish day here. Sun beating down. I indeed suffered fuel starvation while pulling 2 different long hill climbs today. Back up electric pump saved me both times. When I got home I shut off the key and let heat soak take over. 15 mins later...No start. I am comfortable now and have mastered the fuel boil start procedure. Electric pump engaged. Mash the throttle and hold it down and crank. Then it’ll start. I’m somewhat happy I can deal with this interim. I’ll proceed to get a phenolic spacer. All metal fuel lines. Maybe wrap them in some type of heat wrap insulation too. We’ll see. Also will fix the exhaust flapper set up. We shall overcome!....Hopefully.
 1 point
 -
Something like this I assume @Dodgeb4ya? https://www.dashman.net/product.html?id=2641 point
-
You are getting prepared for the Viking season. A place to dry your crying towels.0 points