Leaderboard

Popular Content
Showing content with the highest reputation on 12/22/2019 in all areas
-
Take a look at almost any aircraft piston engine and you'll find a LOT on Helicoils. Excellent repair. Drill straight, tap straight, install with the tool, break off the install tab. Perfect threads that are much stronger than aluminum or original cast iron. Of course the inserts of various types work good also and have specific uses.2 points
-
https://www.ebay.com/str/HowardEnt?_trksid=p2047675.l25631 point
-
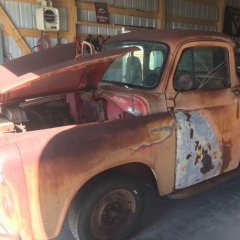
Had some great weather this weekend, moved the frame outside, brought the cab inside onto a rolling stand. Pulled the engine from the corner and started knocking off the gunk that's been there forever. Got the oil pan pulled and found the inside of engine to be extremely clean. Tear down will start after the valve spring tool arrives. Yes, I know there's some dirt and grime inside the valve train, but still in tear down so it's a clean as it goes. We really think that someone accidentally drove this truck into a mud pit and let it sit before dragging it out. We've found nasty clay mud everywhere on this thing. I still gotta figure out a way to get the stubborn steering wheel off the shaft though.......1 point
-
I have used a Makita angle drill to successfully drill out studs in tight places and perhaps while overkill I used cobalt drill bits starting with small diameter,even managing to save original threads....
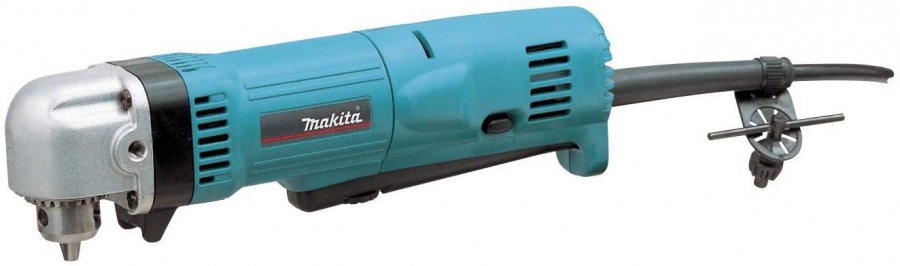 1 point
 -
You definately need a new shop.....a sleeve should be in the 100-125 range.. Eight sleeves??? Buy a new block Even nice 392 blocks can be had for less than a grand............. Forged pistons? $850..........1 point
-
again I disagree, there are proper methods for installing the heli-coil that it seems so many here are missing....properly installed you will not even know it is there.1 point
-
Better photo of reamer, the small one i used and the larger two as examples of what is your typical king pin reamer. on the small one the two collars with wrench flats are your adjusters, one way expands, other reduces diameter.
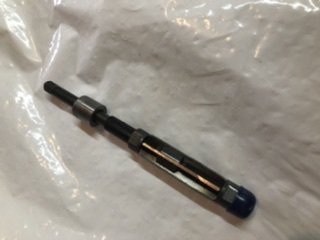
 1 point
 -
As you can see, there is a flat on king pin, has to line up with lock bolt in axle. Retainer to hold lock bolt. also i need to mention there are shims, go above or below bearing, to take out vertical movement in knuckle. end caps drive in easy with a socket, mine are staked in.


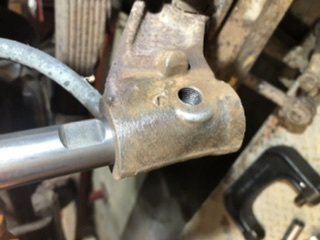

 1 point
 -
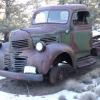
My new addition to the herd. 1949 Dodge Routevan, 117" wheelbase model.1 point
-
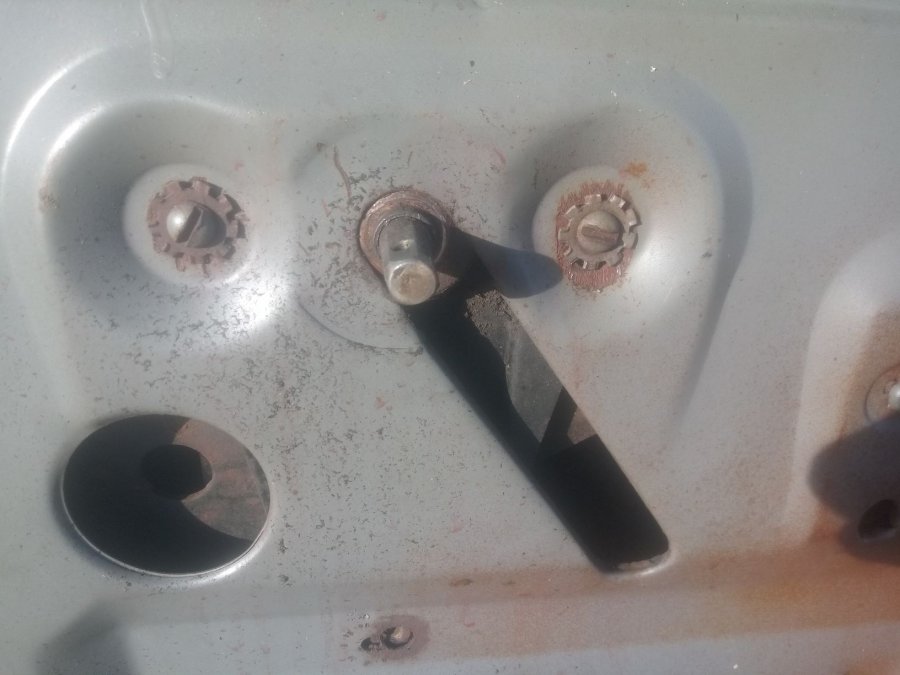
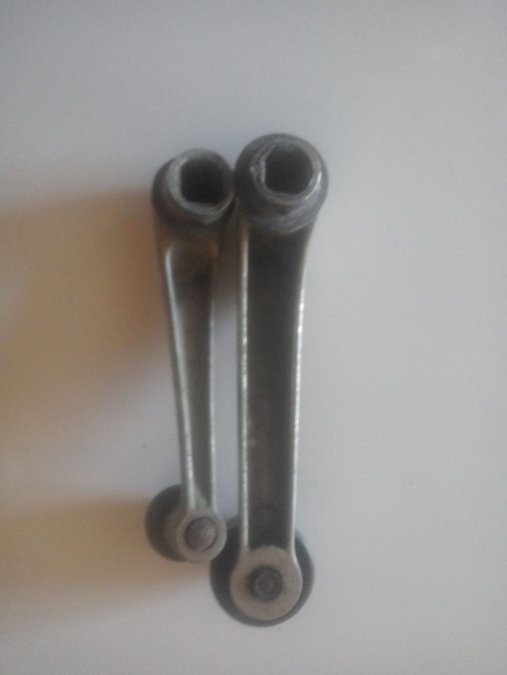
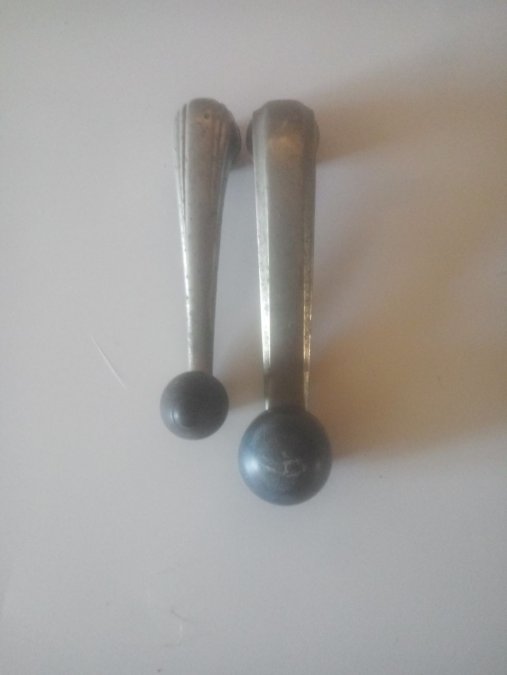
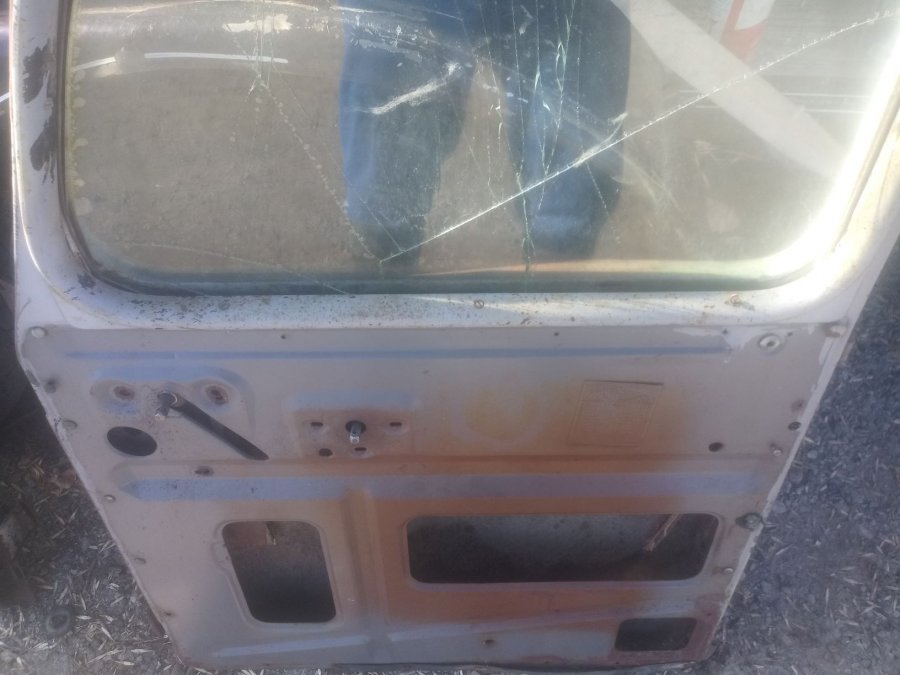
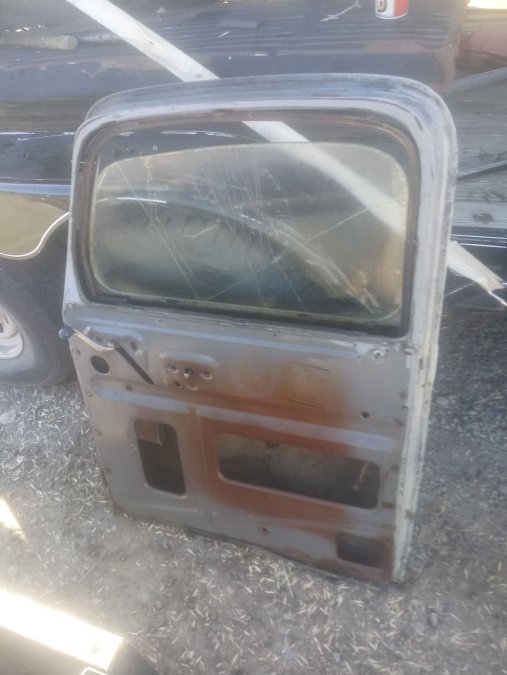
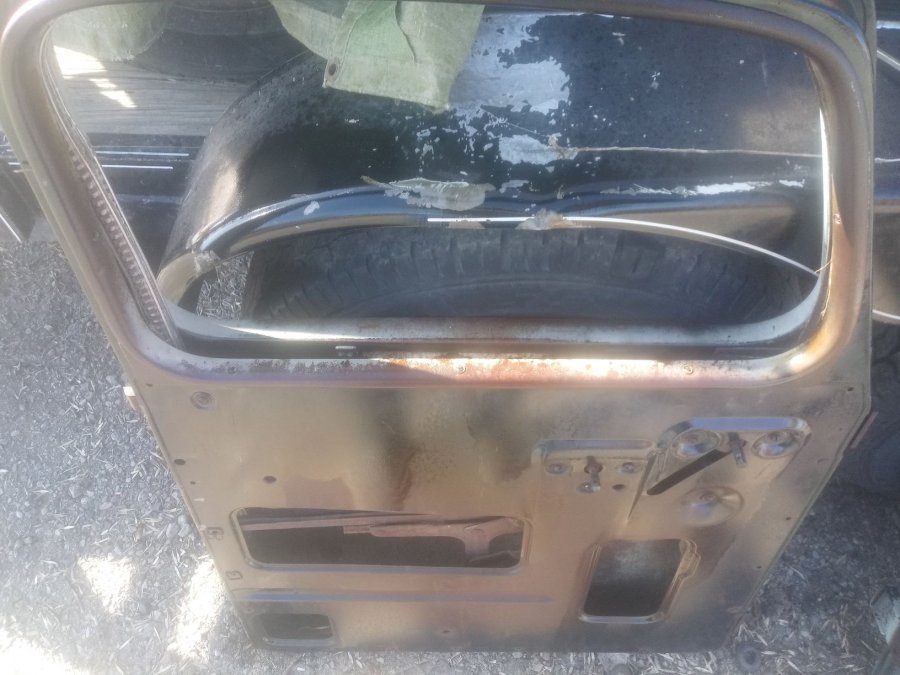
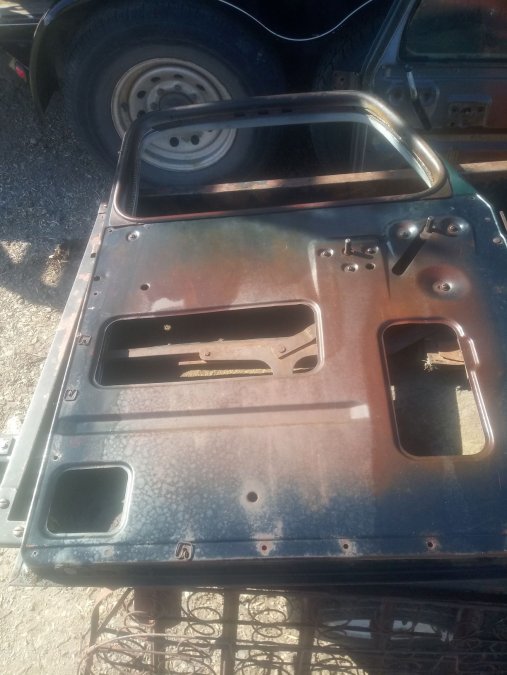
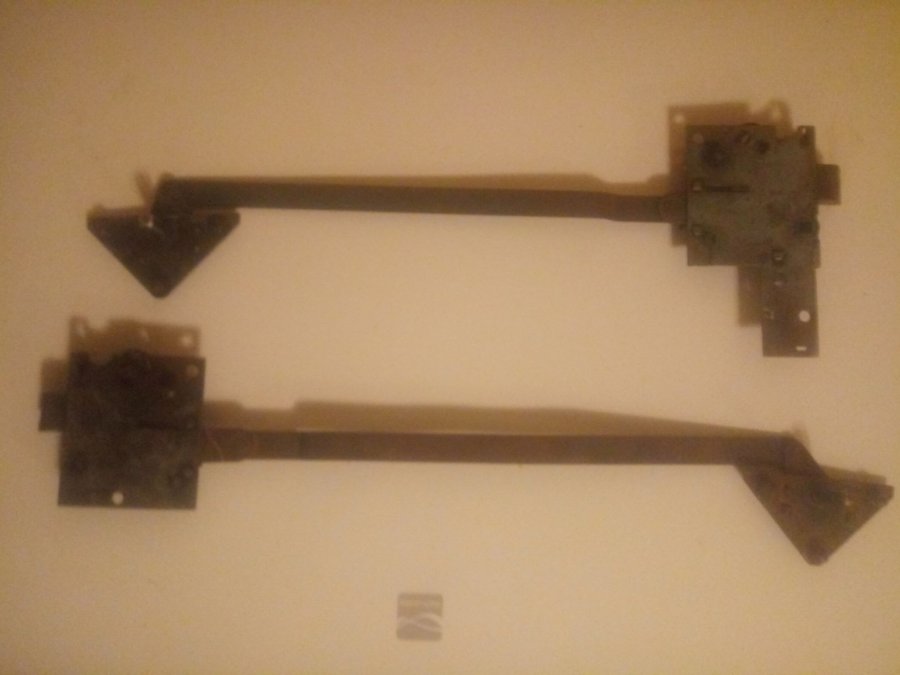
Tying to help answer this post today. https://p15-d24.com/topic/51657-38-dodge-pickup-window-regulators/ Wrestled with the doors working on removing the hardware to get the window regulators removed. Got most of the door hardware removed, but held up by some rusty fasteners. Photos of the window regulator handles and mounting. Appears to require a square attachment and not splined. The handles removed from my 1938 are obviously not the same, and at this point do not know if either, or neither, is correct. Passenger's side window glass is broken and the window regulator was difficult to operate. Finally managed to get the window down. Was able to remove both door latch mechanisms, but still working on removing the window regulators. Removed the interior window frames from both sides. The 1938 has two door strikes per door. One on top and one on bottom. Unlike the single door strike near the latch on the B-Series trucks. Missing one door strike. Soaking the rusty hardware before attacking with the screwdriver. Last photo is getting late in the day and into the afternoon sun.

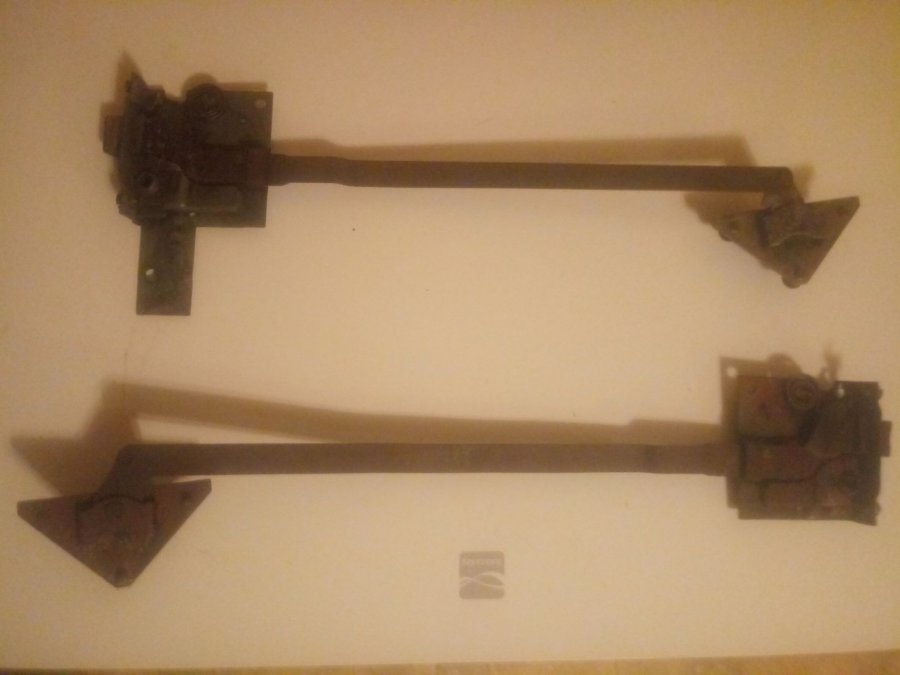
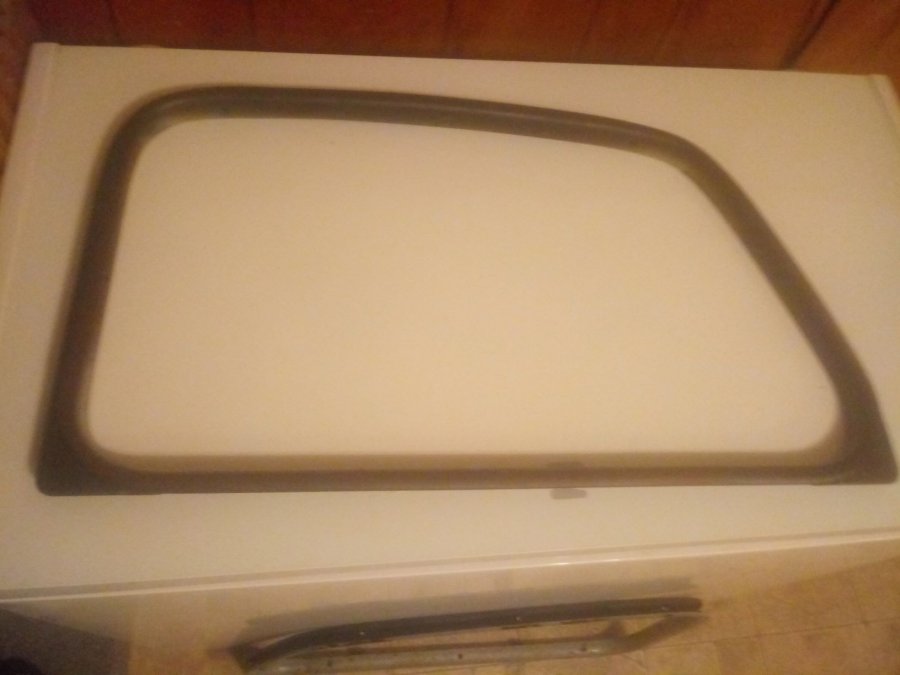
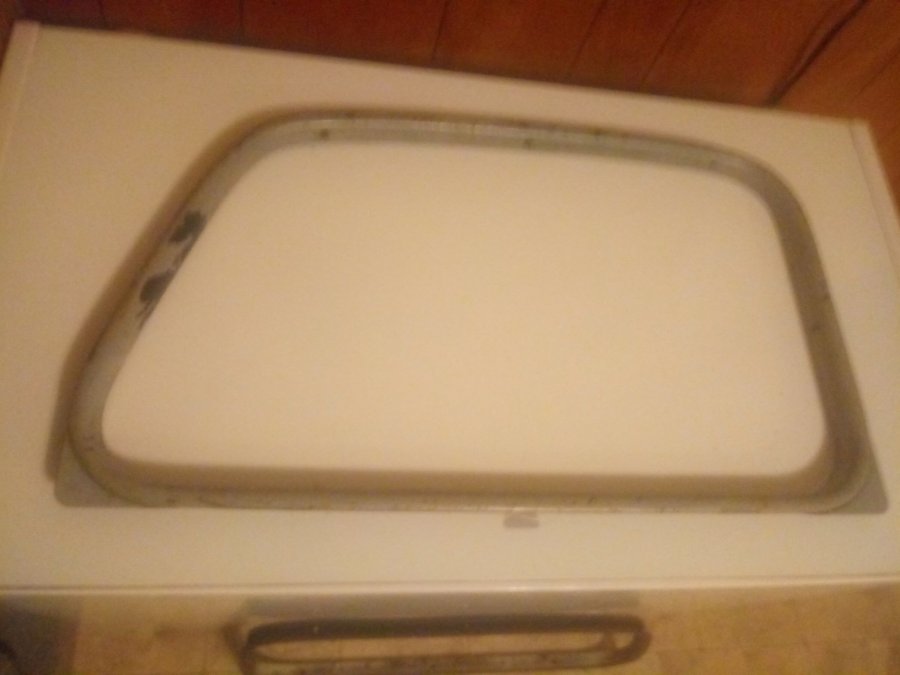


 1 point
 -
We'll be holding our 6th Annual P-15 Picnic in the UK next September. If you're in the area, come and join us. We'd love to see you there... https://www.facebook.com/events/1476121095874040/
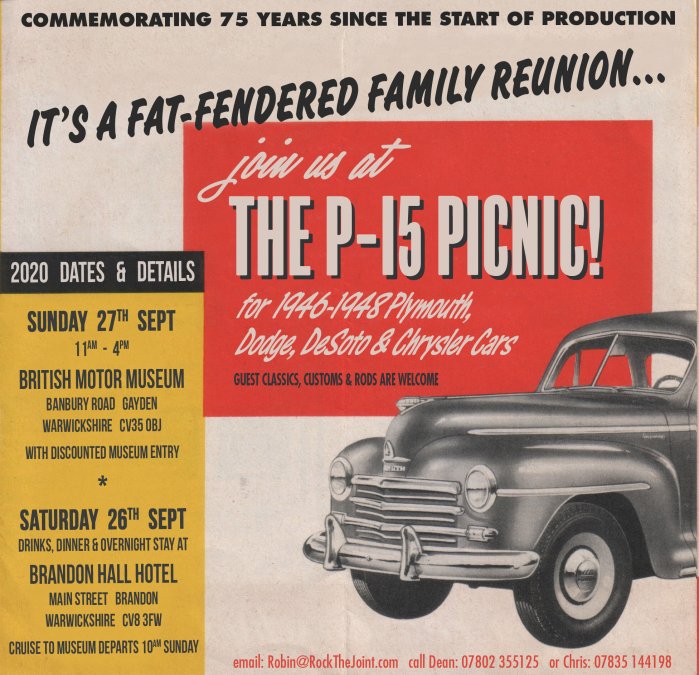
 1 point
 -
A heli-coil will allow you to use the same diameter bolt.1 point
-
I agree that extra clamping is not needed and that is not the reason that I used them on mine. Here are four pros and cons that I see with studs. For me, the pros outdid the cons. Pros: 1. Original bolts are often corroded and won't seal properly into the water jacket. Original style bolts might be hard to come by. 2. Re-torquing. With studs, the thread sealant down in the block is not disturbed in the process. 3. The fine thread nuts with machined washers provide a more consistent and accurate torque reading, which translates into more even clamping pressure across the deck. When my engine had bolts, I blew out the head gasket a couple times. Since studs, no blow-outs. 4. Studs look cool and generate banter. Cons: 1. Increased initial cost and labor. 2. difficulty installing and removing the head when in the vehicle. 3. If not painted, the stud tips, nuts, and washers eventually rust. Bolts can be painted with the block, but the paint gets disturbed when re-torqued. 4. Difficult removal if the thread sealant leaks (only on Ferds, though!) EDIT: Photos below.

 1 point
 -
Hello and welcome. Yes by all means, make sure the sender has a clean ground connection. A poor ground could certainly produce symptoms like you a describing. Good luck to you. John R1 point
-
If it only does it when running, it may not be heat related. Actually, most heat caused issues get worse when the gas is no longer moving. I'd check the line from the tank to the pump for air leaks. It is possible that a small leak can be sending air from the pump upward, causing bubbles in the gas.1 point
-
Do you have the usual heat shield on your fuel pump ? When you touch the fuel lines are they hot ? Some guys have re-routed their lines away from the exhaust manifold ... as much as they can anyway . Others have wrapped their lines with insulation or covered the lines with rubber tubes .1 point
-
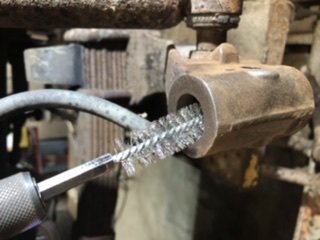
This is a typical picture of a machine shop hot tank cleaning of a Mopar oil pick up...they dont remove the tin cover to fully clean it...I always do... This one I had to R&R the screen ....re-crimp it... a hard thing to do right. Definitely check all machine shop cleaning of all oil passages! Leave No debris anywhere...1 point
-
The 1951-52 Dodge D39 (Kingsway), D40-1 (Crusader) and D40-2 (Regent) are all based on 1951-52 Plymouth P22 (Concord), P23-1 (Cambridge) and P23-3 (Cranbrook). Next to nothing on the American Dodge D41 (Wayfarer) and D42 (Meadowbrook / Coronet) will interchange with the D39 or D40. The D41 and D42 bodies are both longer and wider than the Plymouth bodies. The D42 body was shared with DeSoto and Chrysler. The major differences between the 1951and 1952 small Dodge (D39, D40) is the rear nameplate,license lamp housing, and fender side nameplates. The 1951 version was carried forward from 1950 while the 1952 moved the name down to the license lamp housing. The nameplate on the front fender used block letters in 1951 while the 1952 models used script. The Dodge hood ornament was changed for 1952, but I am not sure what was changed. The hood ornament and the letters on the hood, except for the middle "D", are some of the few parts that are the same for the small and large Dodge models. One thing about working on old cars - Never assume that what is on the car today was on the car when it rolled off the assembly line. Many things can happen over the years. An incorrect trunk nameplate could be the result of someone using an older trunk lid to replace one damaged in an accident. Or transferring the nameplate from one car to another. By the way, the serial numbers for 1951 and1952 D39 models - 1951 : 97,004,001 to 97,006,504 - 2,504 built 1952 : 97,006,601 to 97,007,582 - 982 built Bill Vancouver, BC1 point