Leaderboard


Popular Content
Showing content with the highest reputation on 10/24/2019 in all areas
-
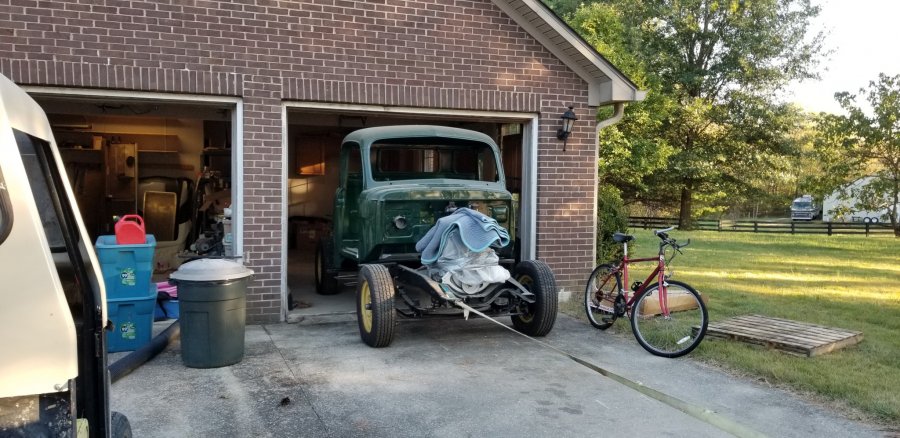
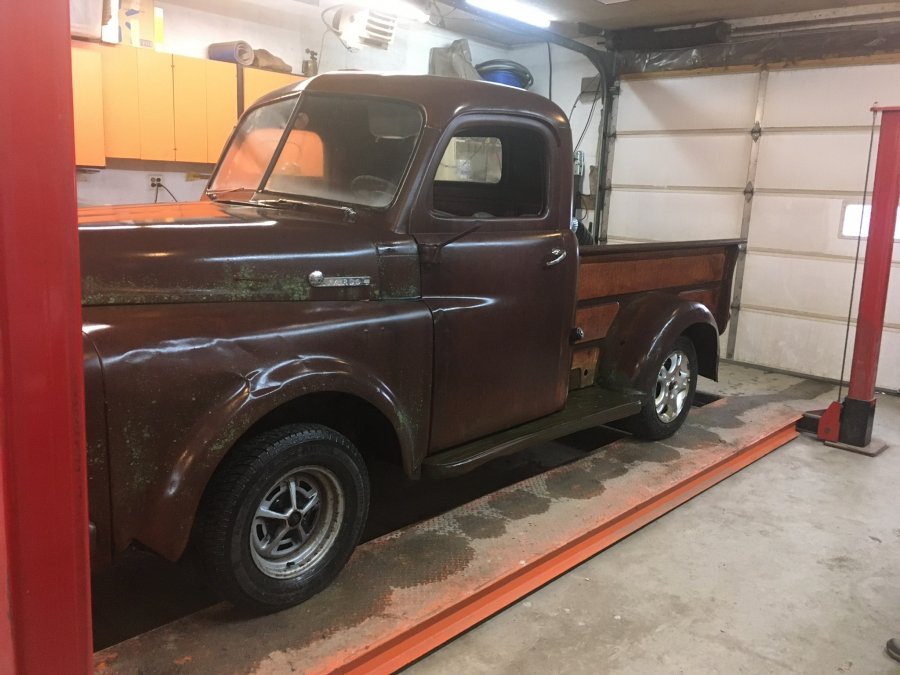
It's been 5+ years since the last time my B3 saw daylight. Yesterday after work I pulled it out of the garage so I can wash it down to get rid of 20 years of grime from being in storage all that time. This also gives me a chance to clean out the garage to make it easier to actually work on it. For the last 5 years the garage has a accumulated way to much junk. That will soon be remedied! Brad
 4 points
 -
...And we all hope that is indeed the case, (in the event due to circumstances),should we decide to part with a vehicle at auction. ?2 points
-
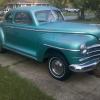
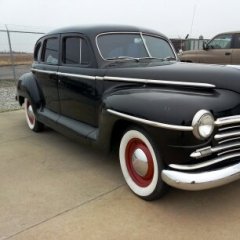
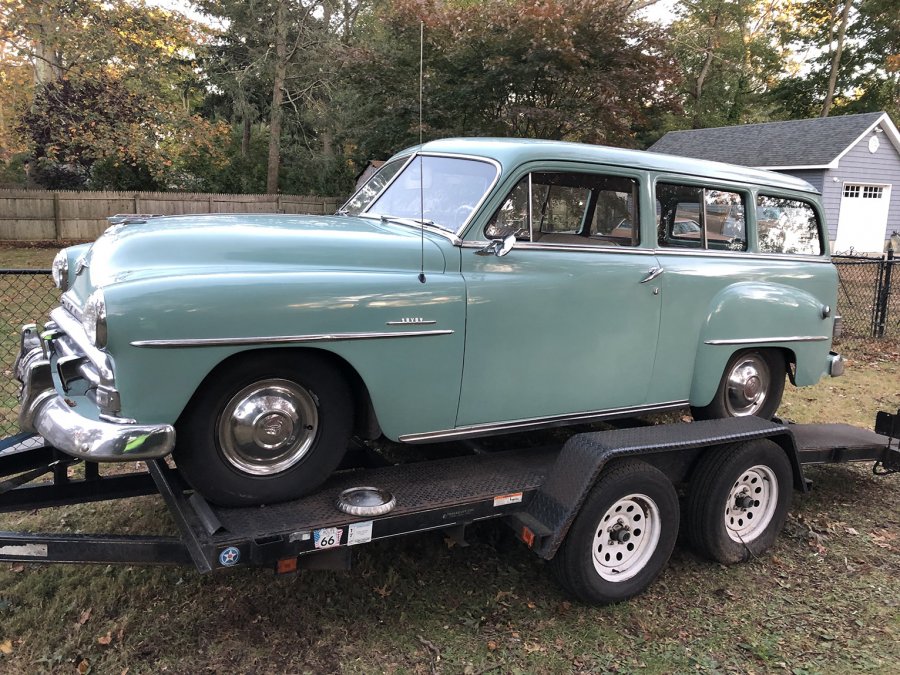
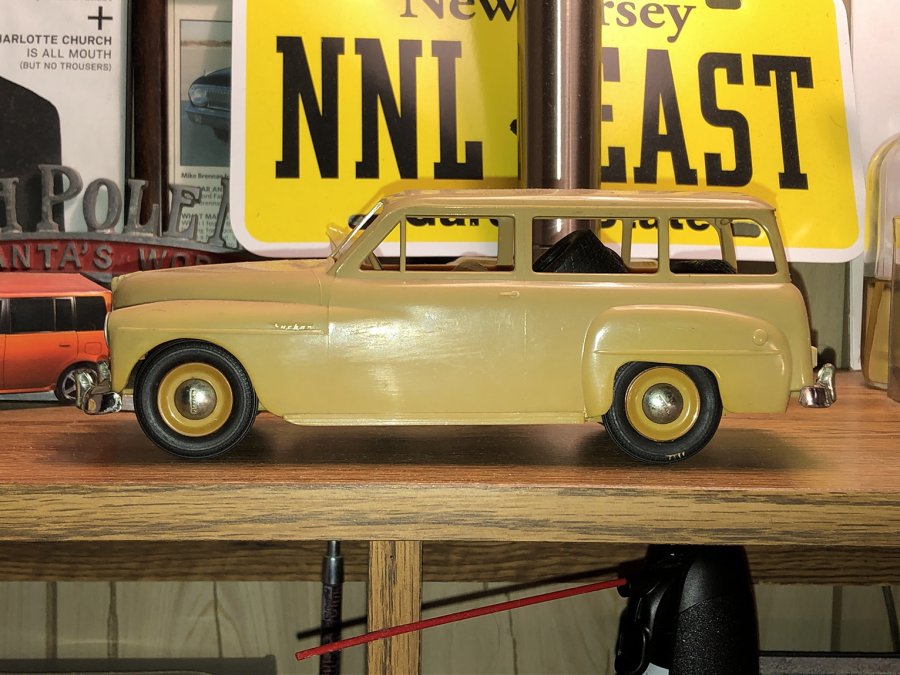
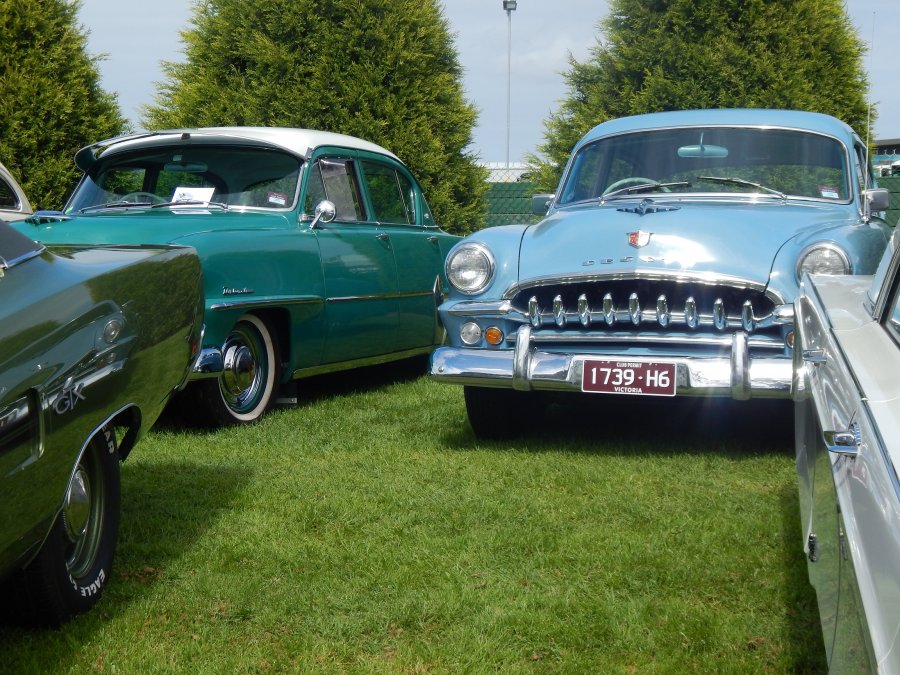
This is My Latest Wheels A 1951 Plymouth Savoy Suburban Deluxe I picked up In Wisconsin....

 1 point
 -
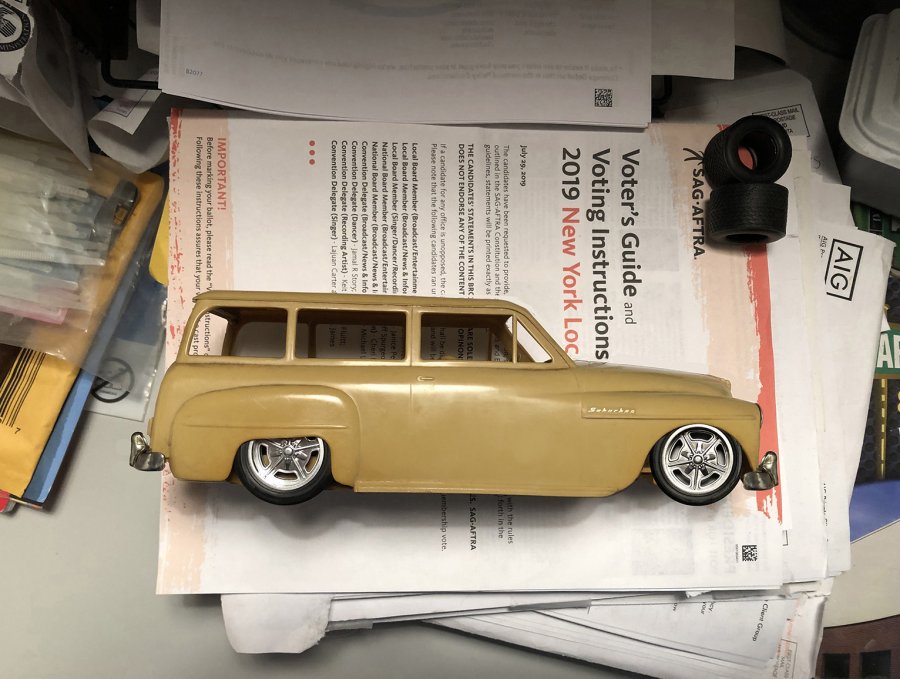
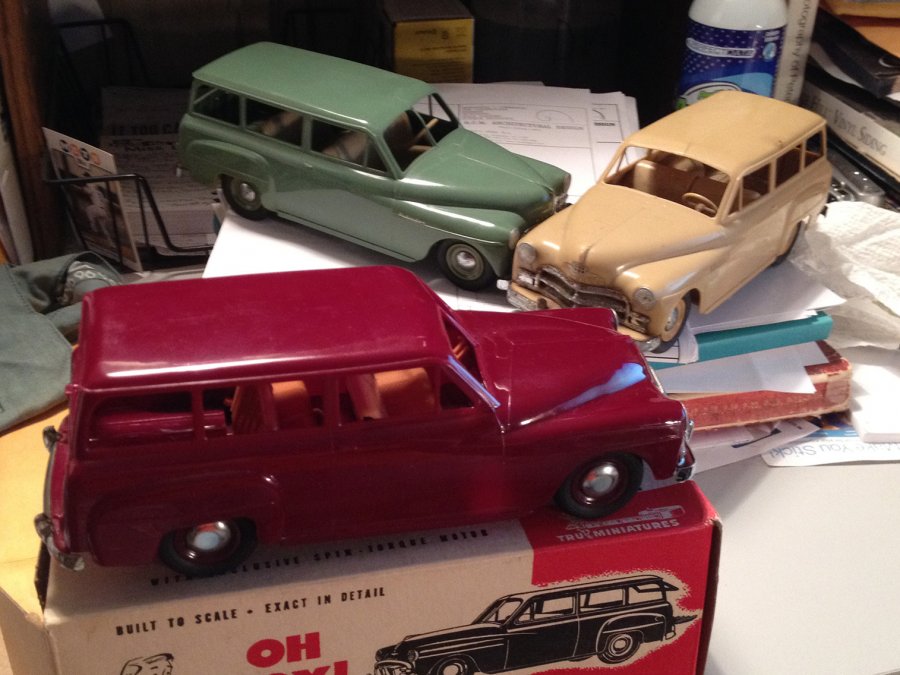
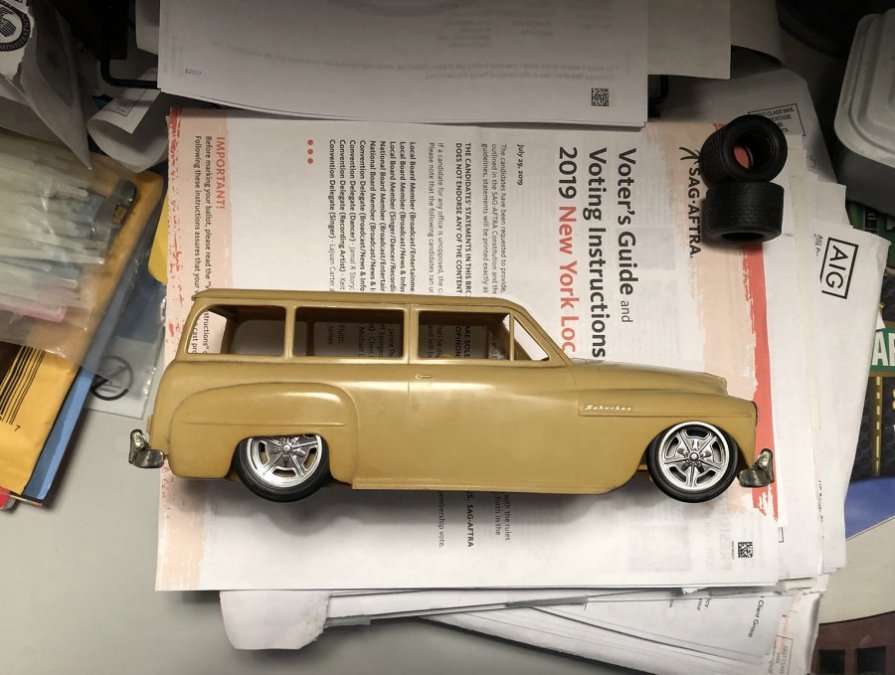
These are some of my wheels not Full Scale but wheels on one of My '50 Plymouth Suburbans. In 1/20 Scale By "Product Miniatures". The wheels were made for me by 3D Scale Parts....


 1 point
 -
Twenty four thousand dollars for a clean fargo 1/2 ton?!?! There must have been two rich guys there that both wanted it.1 point
-
Pics?1 point
-
Spray some penetrating oil between the wheel hub and shaft then try a couple of good 'taps' with a 5lb sledge.1 point
-
JSabah, You might also try an air hammer with the flat bit and the hammer turned down low on the puller bolt. That should send vibes down it to help loosen up the wheel. Just use short controlled taps on the trigger. Joe Lee1 point
-
I had to drill one of those new fittings larger once. I did it on my drill press and a clamped down vice on the drill press. First I found a drill bit that matched the hole already in the fitting. I put that drill bit in the drill and lowered it to align the hole (drill Not running) straight when I put the fitting in the vise and tightened the vise. That assured the drill was directly centered to the hole. Then I put the drill bit in the drill that was the size of the temp bulb (or Slightly larger) and drilled to the larger size. The fitting worked well for me with Teflon tape on the larger thread part of the fitting and installed it and then the sender in the smaller part. Done.1 point
-
Not a fan of other than Mopar stuff in my MoPar.
 1 point
 -
cha-ching…..lol1 point
-
Here is a good video on how to rebuild these carbs, they are pretty simple.1 point
-
Tempered and laminated glass start out as float glass, both would be cut to the correct shape, slumped over a form to curve them, then two pieces would be laminated together with a sheet of clear vinyl between them or a single piece would be heat treated to temper it.1 point
-
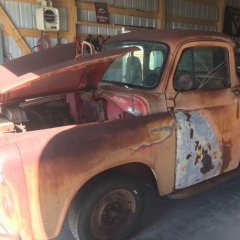
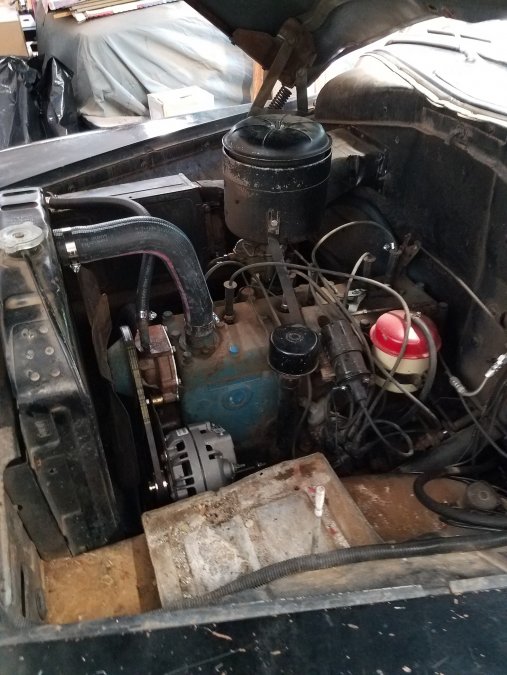
So,a follow up,unsiezed,unstuck valves and cleaned carb. Tested points for open/close. Plugs out and cranked it. Great spark. i did get a reman starter, my original had bad field coils. poured some gas in carb and it made a few bangs. tried and tried. Just a few pops. so turned distributor and opened the idle mixture a couple turns and it fired off! patched in a rad and fired it again. ran it for 30 minutes. Debris in block plugged rad,frost plug leaking and water pump is pouring coolant. Im excited!! so i wired the ign switch,and started it,and tried clutch. It felt fine so put it in reverse. I backed it out of shop, and into storage. Next round is sort cooling system and build alternator brackets.
 1 point
 -
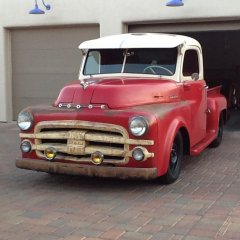
So-Cal swan necks on my P15...

 1 point
 -
Ford Explorers, at least the ones I've seen; use a Spicer-type U-joint just like most modern vehicles. They use a companion flange to attach the u-joint to the pinion. If you get an Explorer rear end be sure to get the flange.1 point
-
Little show time this weekend.
 1 point
 -
Won a trophy today at the Chrysler Restorers Display Day. Runner up in the 1955 to 1960 category.

 1 point
 -
If that isn't postcard material....1 point
-
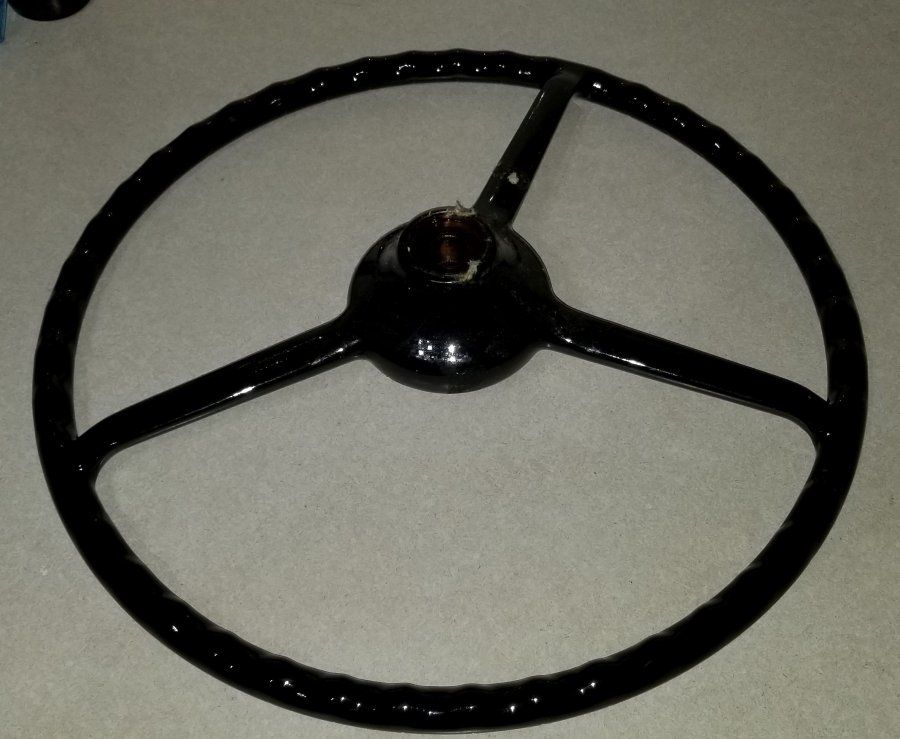
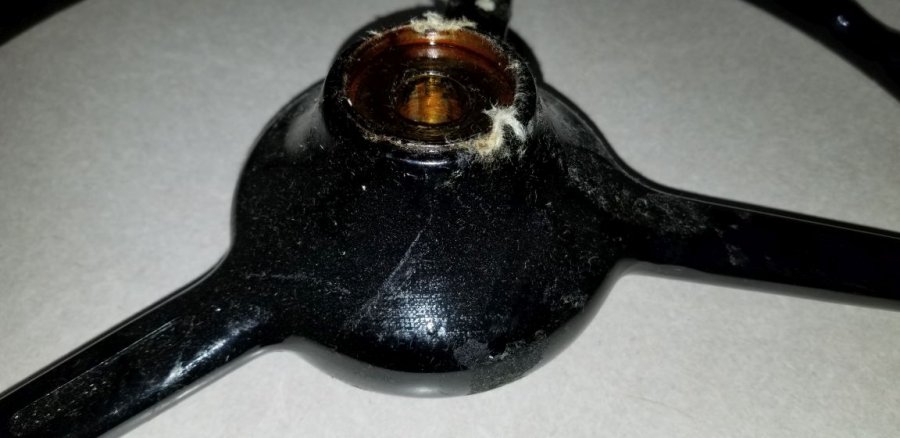
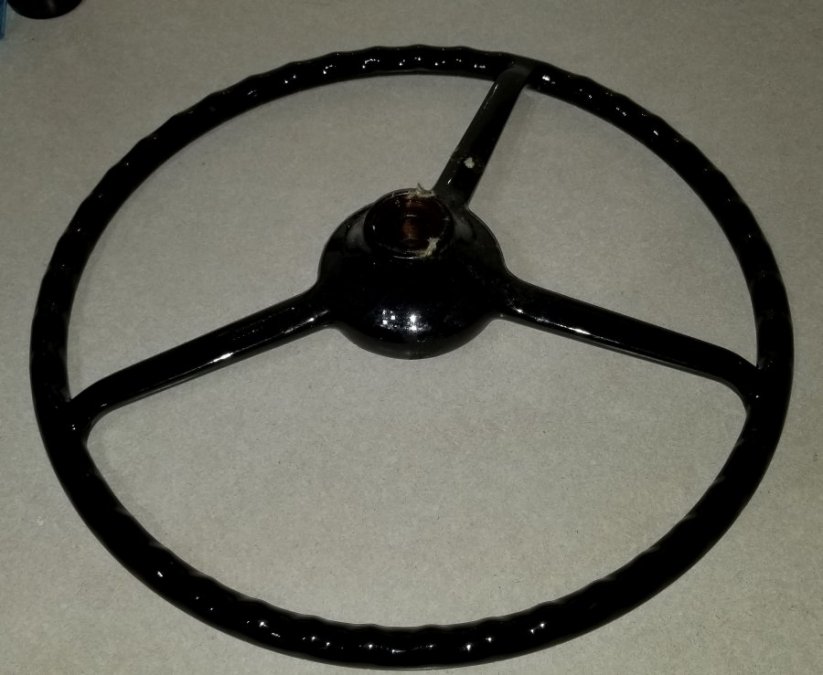
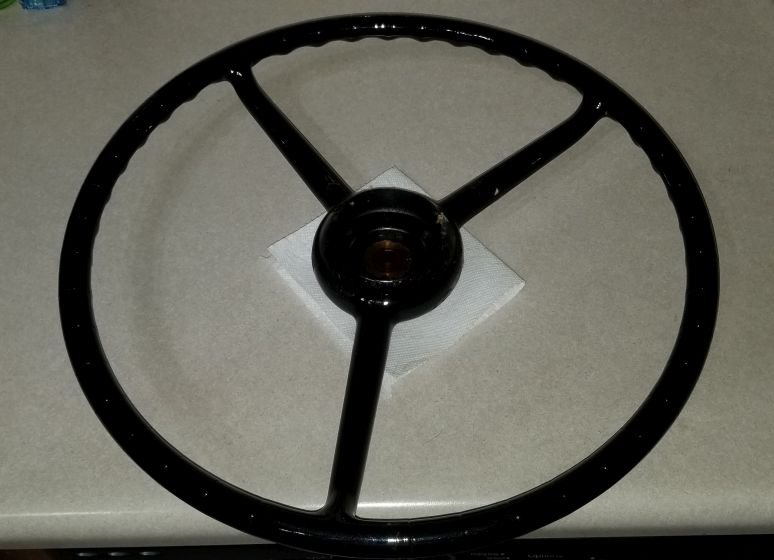
I pulled the NOS steering wheel out of the box this afternoon. When I bought it back in 2008 I only took a brief look at it before putting it back in the box. The wheel itself is spotless. The gunk on it appears to be cosmoline. I'm not sure whether it leaked onto the bakelite over time or was smeared on at time of application. Any suggestions on how to remove the cosmoline without damaging the bakelite? Thanks, Brad

 1 point
 -
Took her out to a local cruise night burger joint. Definitely need to get the new tranny installed and a heavier clutch built. Maybe once car show season slows down.
 1 point
 -
Most all tachometer's use the same connections.1 point
-
Have removed hundreds of them over the years. Use a quality puller and don't be a "Pansy"! Never had to wait on one. In the shop get-er done-now. Never stripped one or needed heat either. They always come off. I tighten the screw up really tight with an impact holding the puller with one hand to absorb impact shock. Then tighten some more by banging on the dogbone. Wack the screw end a couple times-tighten the screw up more-repeat if necessary and BANG-off she comes. The early 60's Chryslers are the really hard ones to get off, but they too come off. Got to let the car know who's in charge! Keep the nut on the axle if you don't want to hold the drum with your hand to stop the drum from flying across the shop!!!1 point
-
Agreed Tim, I wouldn't do this unless driving with loose axle nuts and just using the puller the normal way doesn't work. And be patient and hit it gently with a small hammer! From the manual: Do not strike end of axle shaft to loosen hub because of possible damage to axle shaft and roller bearings. I think this is intended for those who would try to skip the puller and just use a giant hammer. Still, yes, last resort method!1 point
-
also can do internal damage to the carier..this practice is advised against in the repair manual..do not recommend this approach..user take caution..1 point
-
Go to my earler post. It will work.1 point
-
We can get you a good deal on Forida beach property right here in South Georgia..it is just a matter of time before the Florida panhandle slips into the gulf...less money out your pocket..however you must have patience...1 point
-
Don't knock it till you try it. Have done this for 50 years. BILL1 point
-
Loosen wheel nuts 1/2 turn. After reinstalling cater pins drive until you hear a pop. You'r drum is now loose. BILL1 point