Leaderboard
.thumb.jpeg.28cb36506a6b17cd30e7d4a22504384d.jpeg)


Popular Content
Showing content with the highest reputation on 12/14/2018 in all areas
-
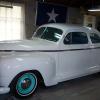
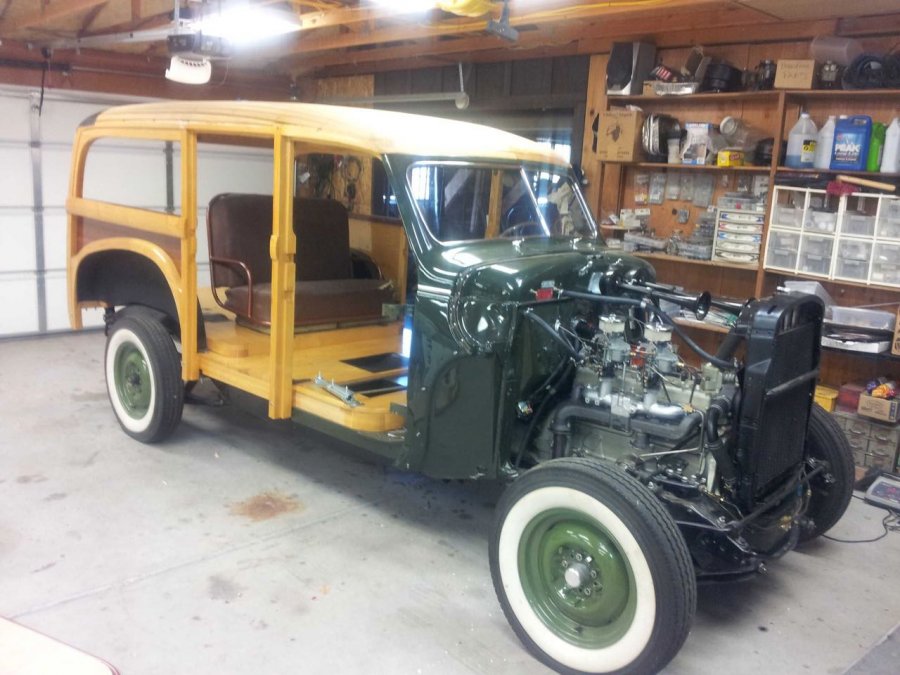
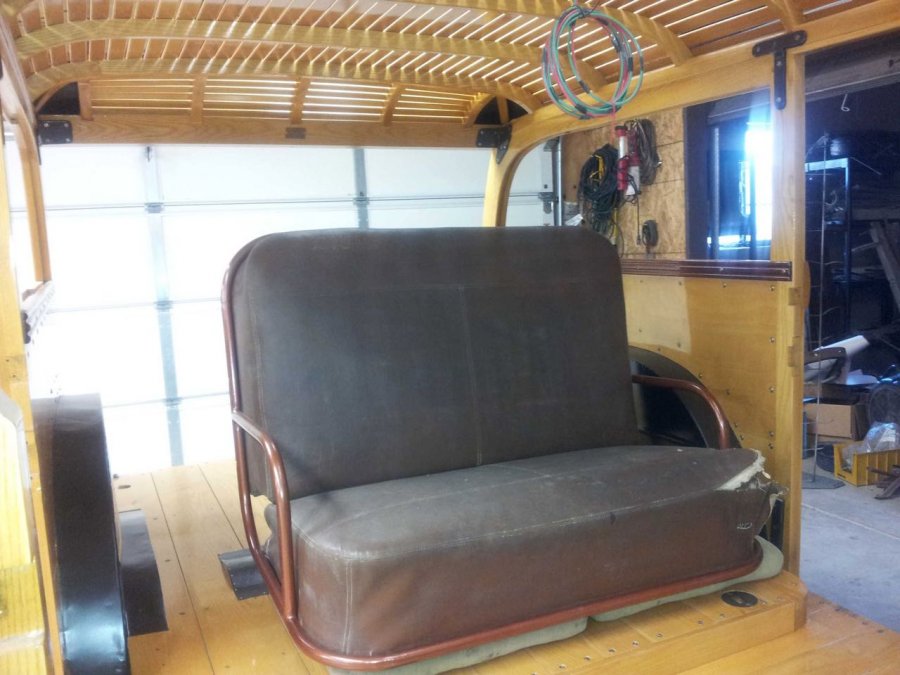
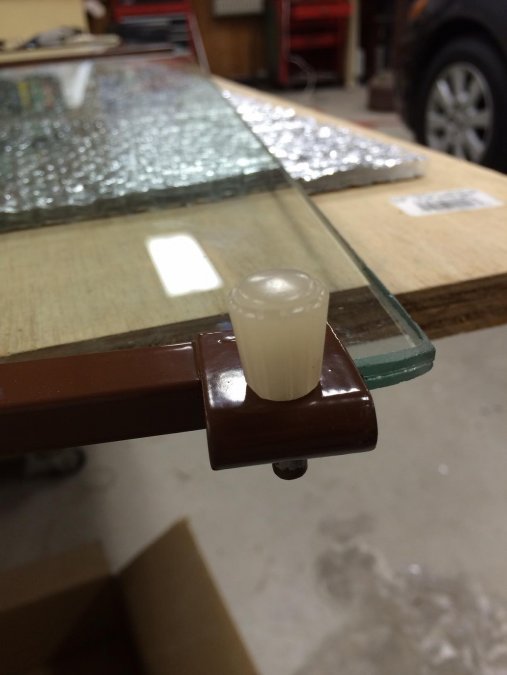
Thanks! I took my time and spent a lot of time searching for parts. One of the hardest choices was what color to paint it? Mother Chrysler made the '40 wagons (and earlier) kind of like a beige blob going down the road -beige paint, tan roof, non-contrasting wood, yellow brackets etc. One of my goals was to highlight the craftsmanship of the era, so I went with the darker green, contrasting ash structural pieces with mahogany panels, and powdered coated the brackets and seat frames with bronze, and copper. Found a local upholster who duplicated the original french stitch on the seats. Tom Gagner ('41 Plymouth woodie owner) and I had the original window sliding knobs reproduced, by an old radio restorer, etc. Details are what make a good restoration, and Forum member's advice kept me from quitting many times! All yours now for only $4.95!


 6 points
 -
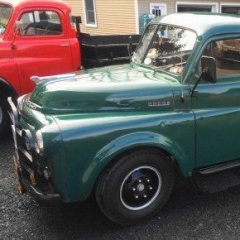
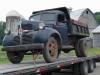
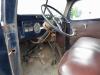
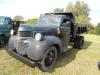
I got a call about this Sunday evening from a relative of a person I worked with almost 20 yrs ago. He had remembered that I was in to old Dodges and had seen my 49 1 ton when I got it in 85. Anyway, he told me he had this 46 2 ton dump for sale that had been sitting in a barn for many years. I wasn't, but went to look at it anyway. It's now sitting in my driveway. Everything, and I mean everything on this truck works-even the fuel guage. It has new brakes all the way around, and new king pins. The interior is complete with all of the original panels in very nice shape. The sheet metal is extremely solid. The only issue I can see is a stuck intake valve that I'll be working on. I'm not going to restore this one. This will be cleaned up, preserved, and used. And she'll be going back inside.
 3 points
 -
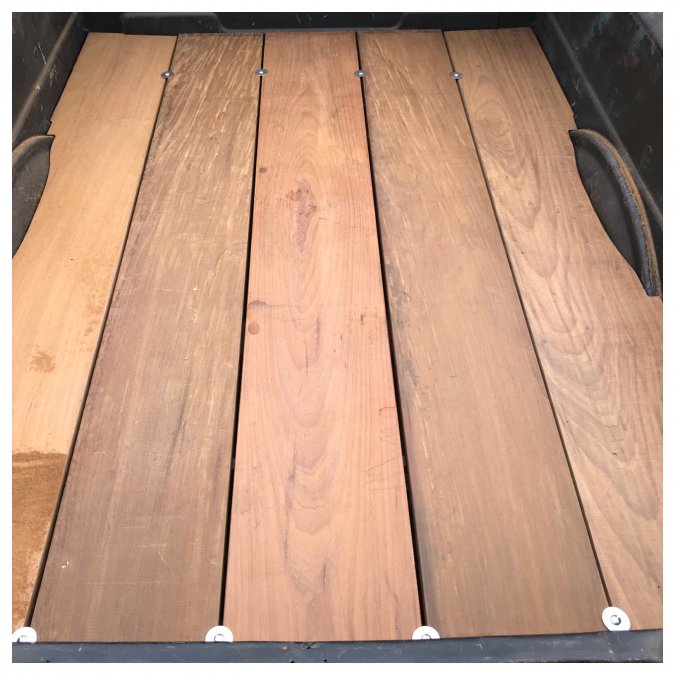
Gotta head out to work then band rehursal till 1:00 tonight. Fridays always kick my butt. I still got out in the driveway and got cracking for a couple hours this AM. I got the side pieces angled 5/16”, verified that the center gap is now even, and ripped 5/8” off the second and fourth boards. Now I have the 1/4” I need for my bolts to drop through plus a margin for expansion. The gaps are even and square. Now I gotta get the strips and the boards will get a few more trips through the tablesaw, a bunch of sanding, and some oil. The leftover from ripping off 5/8” is looking like possibly a nice cap for the front corner of the wood. Still planning on a metal cap in the back.
 2 points
 -
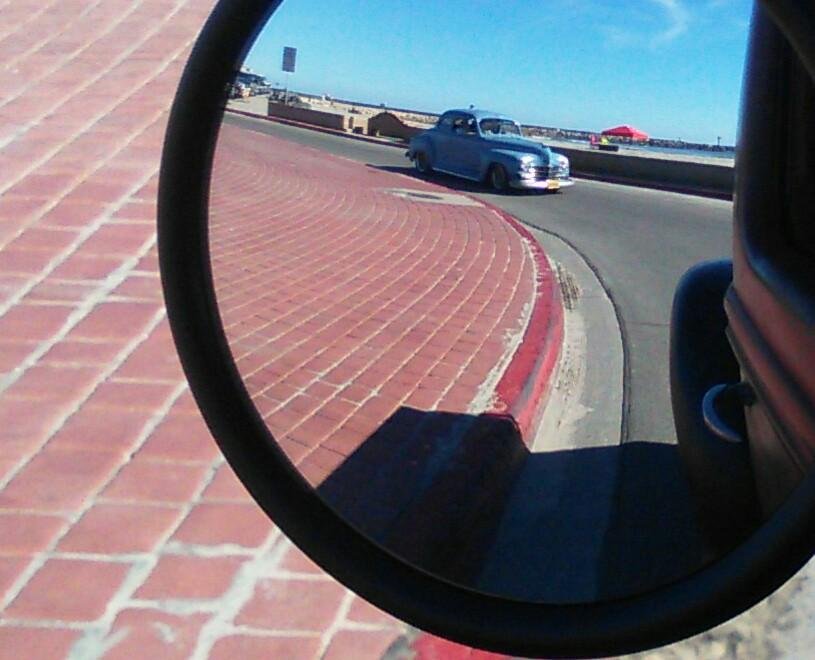
The picture was taken in sew motion.
 2 points
 -
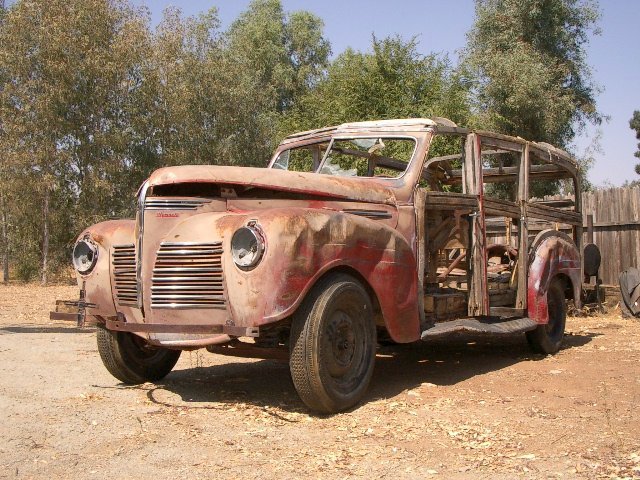
I was absentmindedly thumbing through the latest issue of Old Cars Weekly, when I saw an ad saying there is still time to buy your "Old Cars Weekly Riders Ride 2019 Calendar" The B&W picture was a woodie that had to be a '40-'41 Plymouth. They are the only production woodie wagons that I know of that all four doors are full rectangles -all other have a dogleg cutout for the second set of doors. As I looked closer I realized that it was MY wagon! I had forgotten that I sent pictures to OCW six months ago for the 2019 calendar, but they never told me I had made the cover! Below is a picture of when I found the wagon on eBay in 2003, and last year after I had it pretty much finished. So I guess I should say get your calendar now?

 1 point
 -
Your welder most likely has one of these to make quick work of your flange. Well the whole page comes up on my posted HF. What I tried to post is the large disc sander on that page like that I used to do exhaust flanges that warped for old Mopar flat motors at work many years ago. DJ Search results for 'disc sanders'.html1 point
-
chuck that sucker up in a vice...get a nice large flat mill bastard file and proceed to work it level.....be quick and easy and the only way shy of a milling action that will assure a degree of being flat....1 point
-
I know Jim and received lots of great advice from him. I visited his place in SoCal and rode in his '40- very impressive guy with tons of knowledge on Plymouths, woodies and I'm sure many other topics. His woody is featured in a couple of books.1 point
-
you need a giant sander/grinder to do the whole thing at once.1 point
-
That really looks nice, You get a atta boy from me1 point
-
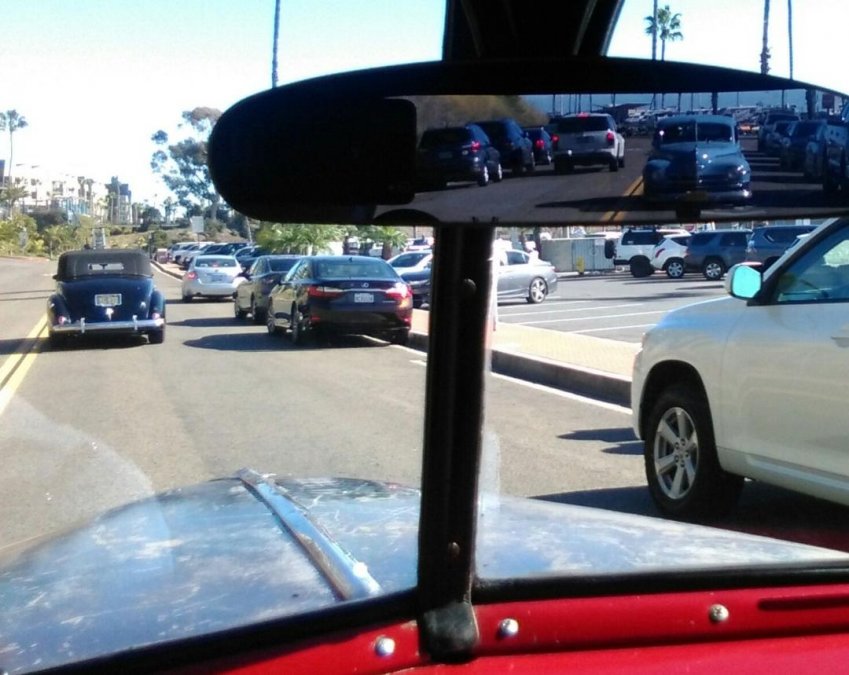
These are views in Steve's rear view mirror(s) and Given driving my Plymouth.
 1 point
 -
Good friend Jim Dugue' introduced me to this forum after buying a '40 woody pile of kindling about 100 years ago. He's still working on it. I sent him this link for inspiration. His will be spectacular too,......some day.1 point
-
By the way folks, that phone is still hooked up & working. Smart phone too. won't let me fall for "press one to hear more options."1 point
-
Almost like cheating, is underneath and nobody going to see it, meat that is left is now very manageable. And the end result is nice. Little putty, little paint, make this ol carpenter what he aint.1 point
-
I think that is what Los was saying too which is exactly the opposite of what I was saying. Which is why you guys are awesome- sometimes when the world is upside down I just need a friend to tell me I’m standing on my head haha On the rightmost board when I got done shaving the high spots until it sat with an acceptable gap to the flats was 3/8” wider in the front. I did exactly like you said los- scribed a pencil line, cut most of the meat off the fat side with a jigsaw, and finished with the sandpaper disc up to the line. It left a nice straight edge. There is enough material to keep going tighter and tighter to the sides but I think I’m happy with the side gaps. The easiest and best plan of attack is definitely to split the taper in 1/2 and take it out of the insides of the edge boards. A 5/16” wedge will melt off in a few minutes with a fresh flap disc and would be clean enough to show even though it will be hidden under the stainless. The fit on the sides I have about 1/2” of material that could get burnt up getting a perfect fit but I dunno it’s a farm truck not a show truck. The difficult thing is that not only is it bellied and warped on the sides but the tubs get almost 2” wider at the bottom of the wood than at the top. I’ll have to see if I’m still happy with it the next time I have the cover off. Honestly I liked it just fine in plywood and rough pine with no strips I just don’t want to do it all over again a third time any time soon. Thanks for the super helpful suggestions!1 point
-
Best is still the best. I had similar issues with the Felpro I fitted first. And re-torque at least 3 times at short intervals after it has come up to operating temp a few times. Hth, Jeff1 point
-
before replacing a newly and low mileage gasket due to failure, read the crime scene and determine reason for failure....is your head flat without warpage issues and the block also flat and even....get a good machinist parallel bar and verify you are not installing a new gasket on a less than optimum engine component...1 point
-
Well we ain't getting any younger my friend......START YOUR ENGINE! Cya there MB 48D1 point
-
Is it possible to thin the width of the metal band to add clearance in a small area to move the switch downward a hair?? A flashing light in the gauge panel like they added to 49 Plymouths onward(it flashed green weather the switch was on left or right). It was just tapped in the flasher wire going to the switch.. One hole in the gauge panel or wherever you want it or just use a warning beeper as Plymouthy suggested. Just some thoughts, DJ1 point
-
I'd be leaving NY state right after the New Year's Holiday if I was driving this out to the barbecue. She cruises at 45!1 point
-
Been doing some cleaning and painting to preserve the patina. Boy she runs nice, and everything works except for the horn, and that'll be fixed shortly.
 1 point
 -
Now put on some chrome rims, radial tires, remove the box and hoist, and build a nice cabin on the back. I 'm with the others, that is NICE. Will haul a lot of snow!1 point