Leaderboard


Popular Content
Showing content with the highest reputation on 08/16/2016 in all areas
-
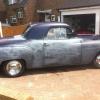
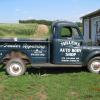
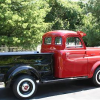
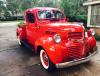
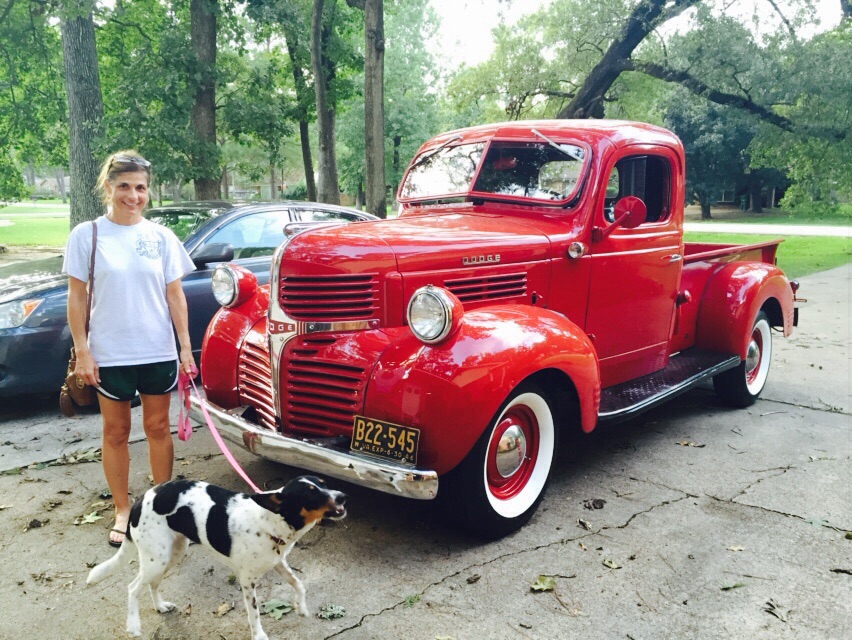
I have a beeeeeutiful 1946 1/2 ton dodge pickup. Inherited from Dad, who is passed, and taught youngest son to drive in it. He will get it when I croak. I've rebuilt engine, brakes, steering gear box, etc.... And it drives wonderful. Only issue: has a 3 speed tranny and is so low geared that 50 mph feels like the Rpm's are excessive. I would really like to give it a lower gear ratio. What's the best way to accomplish this? I'm thinking a new differential with lower ratio is the answer, but I don't know anything about diffs. Can someone explain what I would need to buy to make that happen? I can check the diff casting numbers if that helps. Im not sure it's the original rear axle to begin with. I'm hoping a new set of gears can be installed in the current axle. If so, is there a a place you can direct me to to acquire the gears please? Btw, I don't want to drive the truck at high speeds. I just want to shift less and not over rev the I6. Thanks! And please call me at 713 817 0528 if you want to discuss instead of doing the endless message thing. Chris Fischer in Kingwood, Texas
 4 points
 -
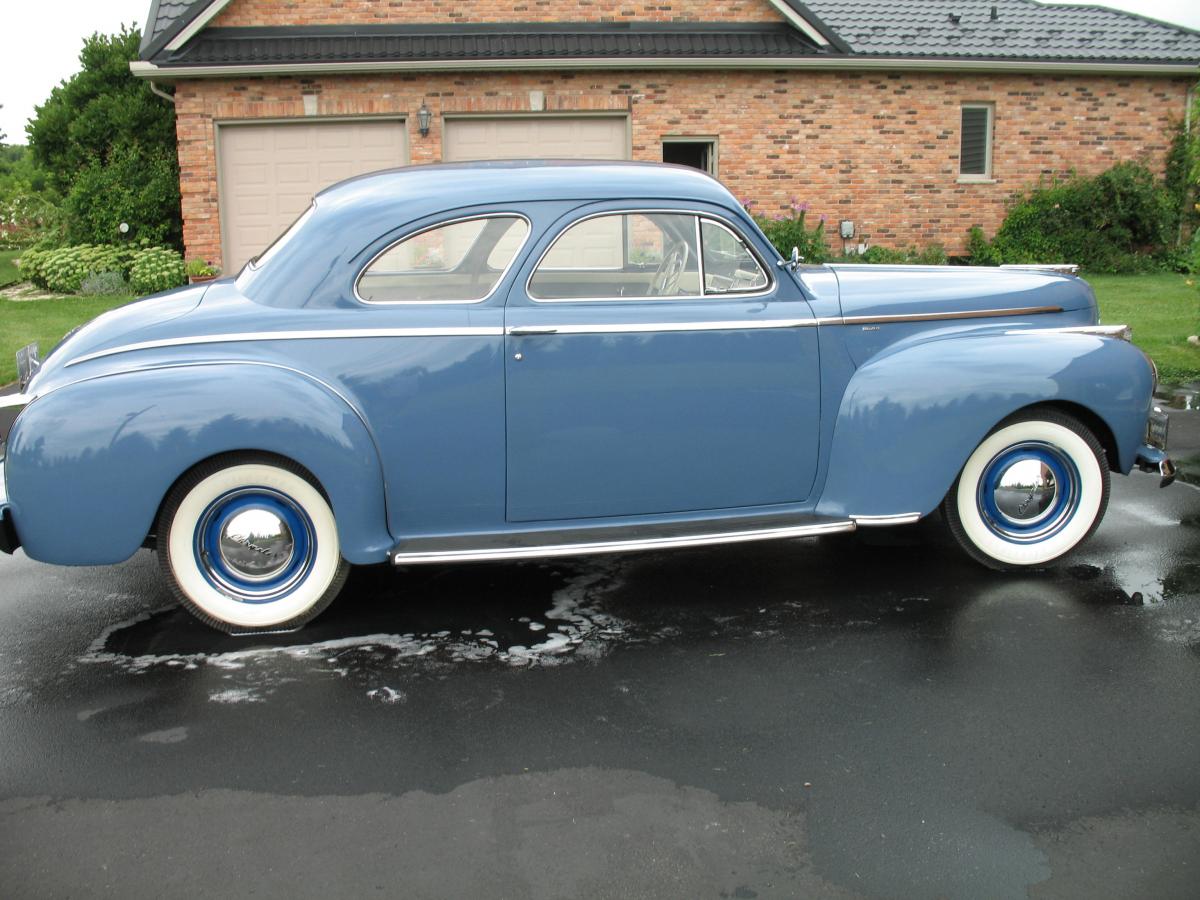
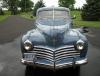
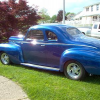
A beautiful weekend, so made it down to the local car show at the beach with the jalopy. Older Mopars are still hard to find, but my blue beast fit right in. Enjoy some of the other older cars. Like this '51 Pontiac V-8. Or this '48 Cadillac. (The rear wheels stick out further than the front). How about a 1947 Hupmobile. Finally, in pulls a 1935 Plymouth 4 Dr Deluxe. Nice. The guy bought it as a teenager in 1959. Original interior. Still going strong. Also being Superboat weekend, here's one of those too. Next car show is Labor Day.1 point
-
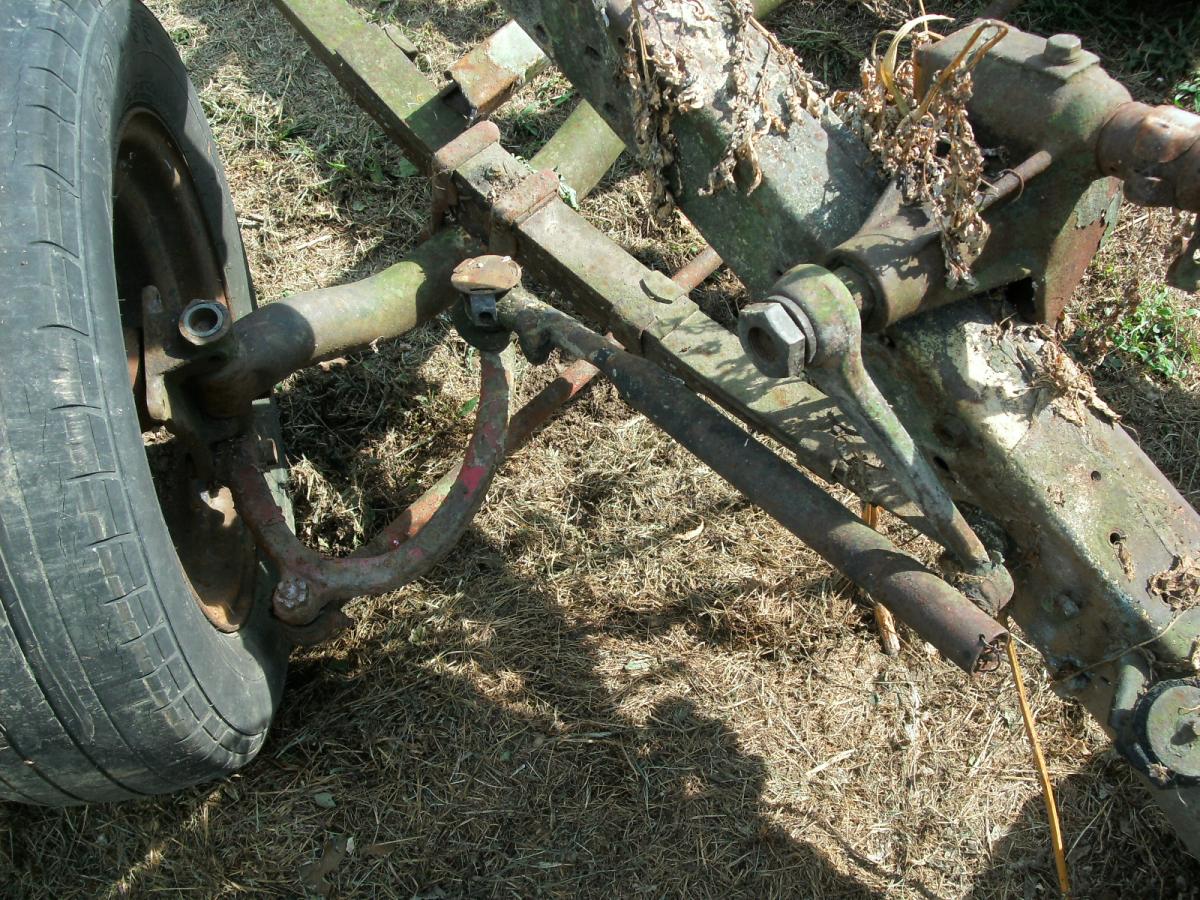
If it is built like the one on my '33, yes there is a bit of adjustment. But. . . Chances are with 1/4" to 3/8" play at the tire you have a number of worn items. As Robert suggests, a careful inspection and repair/replacement of all out of spec parts may be needed, not just a drag link adjust.1 point
-
Another way to check wheel/tire straightness is to jack up front of car with tire just clear of ground and take a wood block and place at side of the tire and slowly rotate tire/wheel moving the block very close to the side of the tire. Does it move in or out away from block? If so put a straightedge higher up on block to hold against the wheel bead area of the wheel rim to see if the tire is the problem area or the wheel. OK,? Then move block just in front of the tire and rotate tire and make a center line scribe with a pointer of some point and see if tire run true and then also watch from the side to see if the tire runs out of round. Really only takes a minute or two. Repeat one wheel/tire at a time, front repeat steps on the rear. Less than 20 minutes total when the test is completed. Just helps with this easy/quick test before moving on to other Good ideas already posted. Best, DJ O1 point
-
There are many parts to the suspension. If any one or more has play, you will have a problem. Try jacking up the driver side of the suspension with a floor jack. See if the tire will move left or right, up or down, or tilt in or out. I changed my king pins years ago, the driver side had a little play.
 1 point
 -
couple pics where I met Dennis Gage ." My Classic Car " @ .Elkhorn car show & swap meet .2016 .

 1 point
 -
as noted, several times, you do not need to remove the throttle linkage or the floor pan to remove the master cylinder. The pedal arm will slide off the pivot and can stay in the car. the cylinder then comes out from underneath.1 point
-
For my last exhaust project I picked up all the pipe on my own, made careful measurements of bend locations and degrees and ends to be expanded (double and triple checked), and marked up the pipe. I took the works to a local shop and tossed them a few bucks to make the bends as I watched/instructed. When I got home I slapped it all together and welded it up. I don't know if that is an option for you but just thought I'd throw it out there. Heck, you could even use swimming pool noodles for about $1 each to mock it all up and make sure your routing is sound before moving on to the pipe.1 point
-
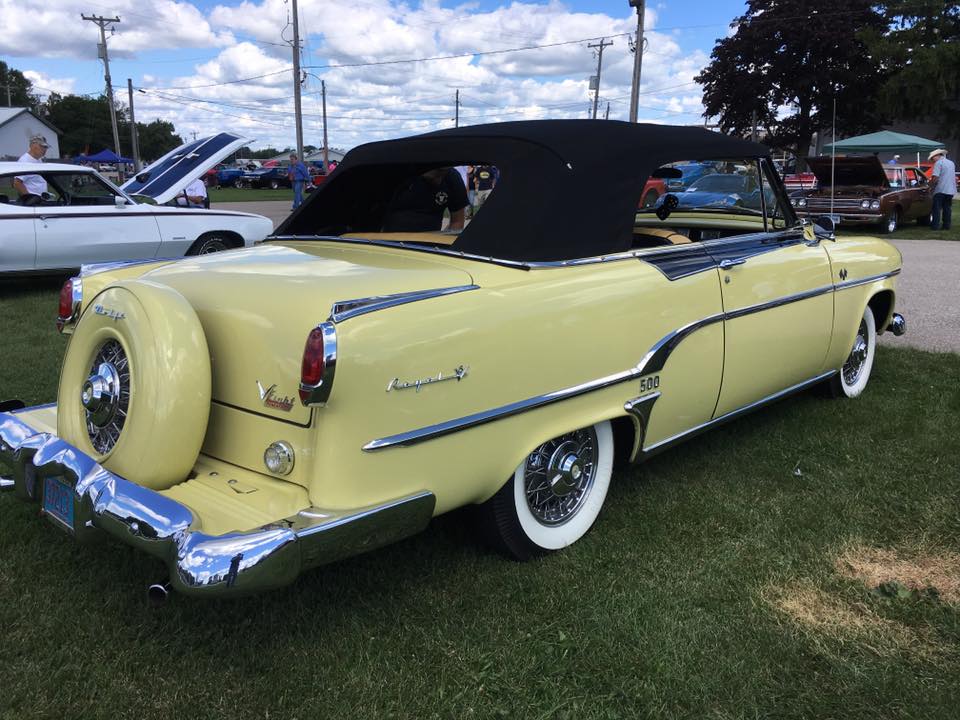
didnt know you have 10 to 1 pistons must make a giant difference over the 7 to 1 stockers,,,when is your car going to be on my classic car ?1 point
-
that's gonna leave a mark...1 point
-
concentrate the heat on the head of the screw...this will bust the rust....I suggested two heat cycles as this is normal for a bolt in a hole unlike the heat on a nut that when heated will enlarge the diameter of the nut slightly...do get it red....you have a few threads on the average past the nut plate that usually is pretty rusted....if this get very tight half way through removal.....stop...reapply the heat....do not hurry...haste makes waste...1 point
-
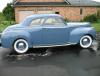
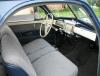
Here are the requested photos She spent most of her life in Arizona and she is cleaning up great. Very happy.


 1 point
 -
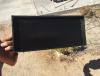
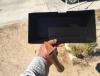
I got the heater mounted fully this weekend, all that is left is the heater hose, and a new rheostat, both have been shipped. I redid the glove box this weekend too. It isn't very big now, but as it is in the photos, it still just barely fits. Exciting to get the heater in and it works so well. I did a lot of modifications to get it right. Very pleased with myself (patty myself on back as I type)

 1 point
 -
If your car has a division window and a partition, you have a limousine. If you do not, you have a sedan. The limousine also had exterior locks on the rear doors. If you locked the rear doors on the limousine with the partition window up, it would be a little difficult to unlock the rear doors without the exterior key access. A sedan limousine is a limousine. There is no difference between the two after the early 1930's. Up to that time a limousine had an open air driving compartment while a sedan limousine had an enclosed driving compartment. By the late 1930's the word limousine meant a closed sedan with a partition, opening glass window between front and rear compartments, and usually jump seats. So the differences between a sedan and a limousine are quite simple and straight forward - partition between front and rear compartments, division window that opens/closes, exterior key locks on the rear doors - limousine. None of the stuff - sedan. All Chrysler Corporation long wheelbase sedans and limousines built after WW II were eight passenger models - front and rear seats seating three on each plus two fold away jump seats. Many claim they are seven passenger models, but I have never understood how you could take a six passenger sedan, add two jump seats, and end up with a seven passenger sedan. For production of the 1950 LWB models - Dodge Coronet/Custom - 1,300 eight passenger sedans, 0 limousines DeSoto DeLuxe - 235 eight passenger sedans, 0 limousines DeSoto Custom Suburban - 623 nine passenger sedans (3 seats and no jump seats) DeSoto Taxi - 2,350 sedans (built in white with no interiors) Chrysler Royal - 375 eight passenger sedans, 0 limousines Chrysler Windsor - 763 eight passenger sedans, 174 eight passenger limousines Chrysler Crown Imperial - 209 eight passenger sedans, 205 eight passenger limousines Total - 5,855 eight passenger sedans and 379 eight passenger limousines The DeSoto Custom Suburban was what Mr. Cunningham drove on Happy Days, before the family car became a Studebaker Lark. The DeSoto Taxi bodies were shipped mainly to a firm named Waters who fixed them up to meet New York taxi regulations - see them all the time on old movies. DeSoto built them from 1936 through to 1954, when New York City changed their taxi regulations to permit regular sedans as taxis. .1 point
-
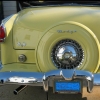
update : august 9 2016 . my 1954 dodge royal 500 indy pace car is running great ! The hemi is running stronger every time I take it out..Huge improvement with the updated High compression 10.1 venoila pistons . I met at the show , MY CLASSIC CAR host "Dennis Gage " . He loved my car and said he never seen a car like mine before . come to think of it ................I've watched quite a few of his shows and I never seen a 1954 convertible dodge either. let alone a pace car like mine .1 point
-
Could be that the Chinese believe that most Americans cannot spell and will not notice the difference.1 point
-
Hey Casper, haven't been around for the summer so just catching up. Progress is great, looking really good, well done. Makes a big difference being able to use cuts from other cars and replacement panels, but good to see your fabrication skills coming to the front on the patching and fender panels. If you haven't already have a look at the metalshaping and metalmeet forums, some really good insights in there. Started back on mine this weekend, so hope I can catch up!! Cheers, MM1 point
-
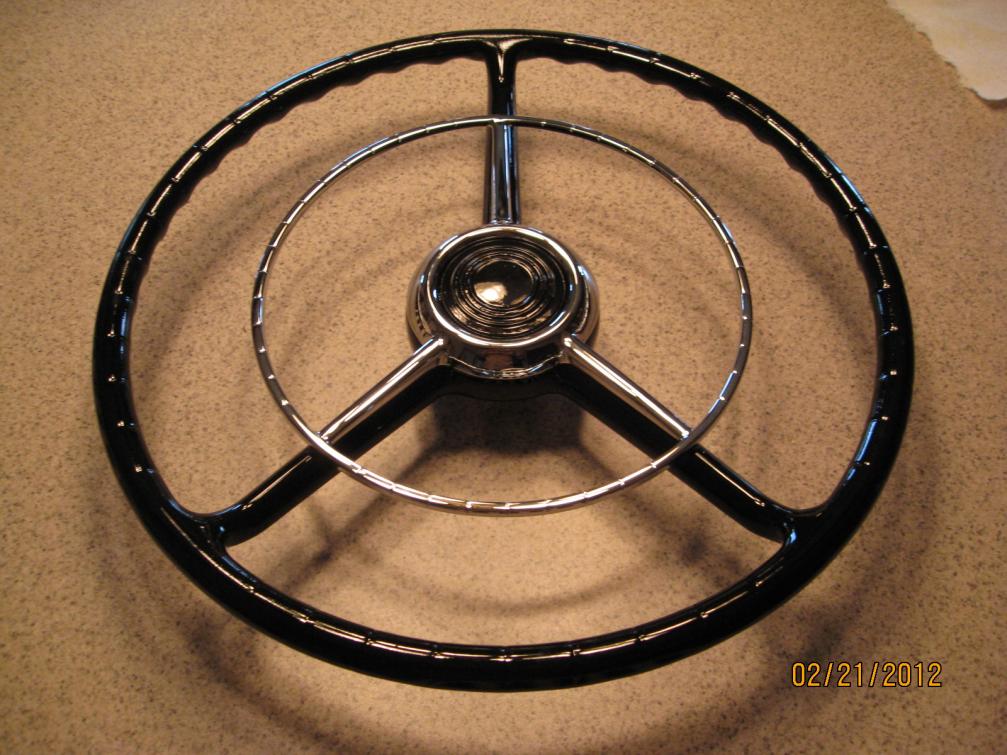
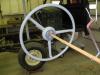
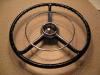
Repainted horn ring: (1) chrome paint dries very slowly, (2) clear paint 'clouds' the paint. I put the wheel in the cab and the cloudy ring looked terrible, so I resanded it and repainted it. It is not pure chrome but I think you will see the difference, it shines more than the picture shows. Edit: I did not notice til I put the last paint on that the horn rim DUPLICATES the wheel, including the beauty 'rings' on the outside rims.1 point
-
Going shopping for that paste. The wheel looks quite good. I shot it with acrylic lacquer, one coat. I have it under a heat lamp and will let it set the reminder of the day. Then the paste and a 2nd coat. I really appreciate the input.1 point
-
Used PC-7 to fill many cracks followed by sanding, priming with sandable primer, and painting with acrylic urethane. I was pleased with the finished product.
 1 point
 -
PC-7 finishing: I wondered how hard the PC-7 would get. After 12 hours it is easy to work with. First some heavy grit then very fine grit. I am guessing that the epoxy will get much harder when it gets cured. By using an old bolt from the bed, with the large carrage head, tight in the bench vice, it is quite easy to work on the wheel. I'm going to refinish the wheel, then let it cure in the house for a day or two, then recheck for places I missed. Rockwood, Looks like your hub was in worse shape than mine. What color are you going with? Fun stuff. Great forum. Color: I invite those who have good pictures of your refurbishished steering wheels, to post them, car steering wheels also.1 point
-
Here are a few vendor sources for items that most of us will use in the restoration process, which are not found in the links section of this web site. Perhaps they should be added some time. Three-point Pilothouse seat belt kits $69.90 plus 9.00 for hardware kit Wasco Performance Inc. 215 Ramona Place Camarillo, CA 93010 888-738-5970 Remote oil filter adaptor for full-flow filters - $12.95 Great Plains GPASC 4312 North 136th. Street Omaha, NE 68164 402-493-6507 Floor shift and emergency brake boots Mac’s Antique Auto Parts 6150 Donner Road Lockport, NY 14095 716-210-1370 Pilothouse bed rope hoois Austin :Hardware Supply Co. 950 NW Technology Drive Lee’s Summit, MO 64086 716-246-2800 Inexpensive wire, terminal ends, junction blocks, etc. Sherco Auto Supply 5431 NW 15th, Street #9 Margate, FL 33063 954-975-0012 Stainless Grill Repair – Excellent David Turner 4388 S. Willow Fresno, CA 93725 559-237-0892 Remote Master Cylinder Reservoir Pegasus Auto Racing Supplies 2475 South 179th Street New Berlin, WI 53146 800-688-69461 point
-
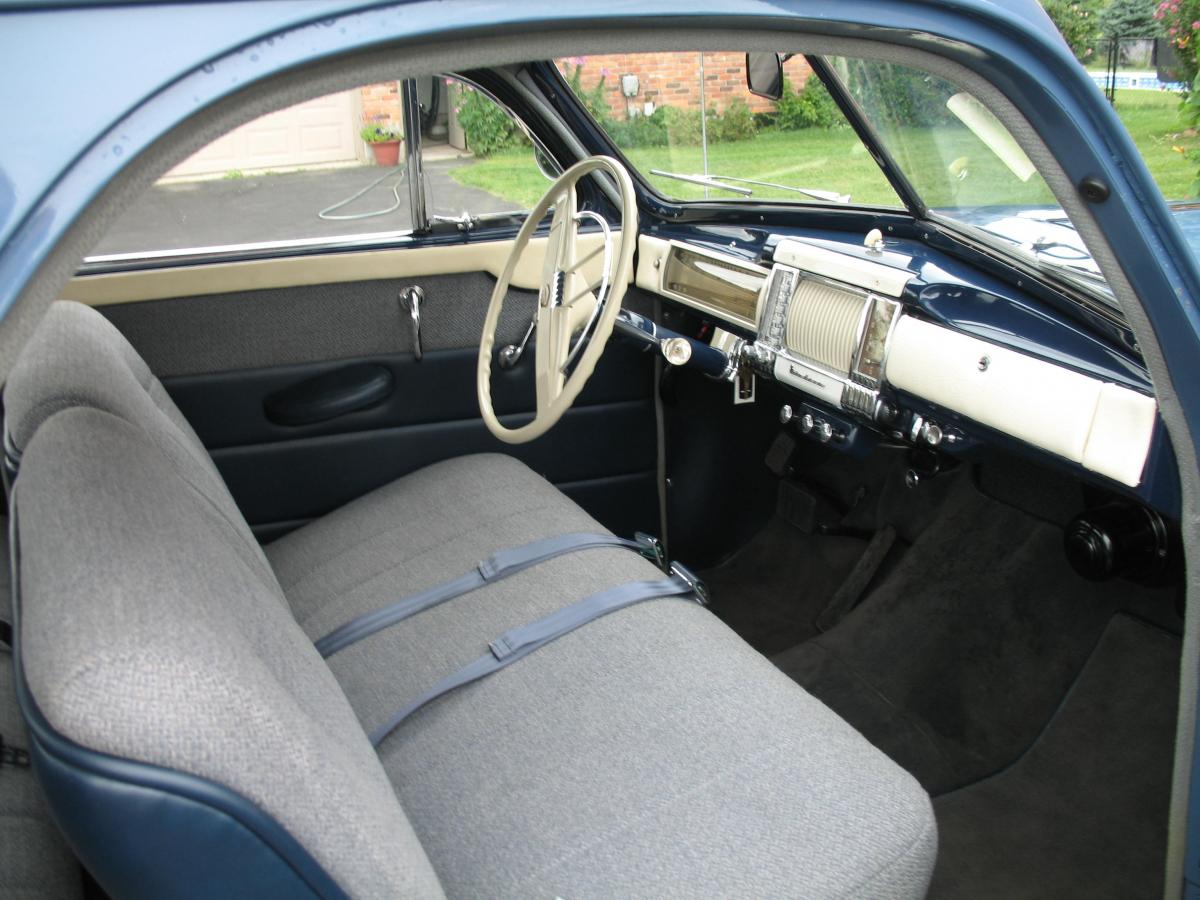
The belts are from www.julianos.com I will post photos of the installed belts and how they are mounted under the seat1 point


.thumb.jpg.52b659814cb5758b70f78e52ab046bdd.jpg)