.JPG.6b49242138e95ebe1d9e846ba135c814.JPG)
.jpg.cbb066c2f869715a380d39e06e97e54f.jpg)
50s-coronet
-
Posts
18 -
Joined
-
Last visited
-
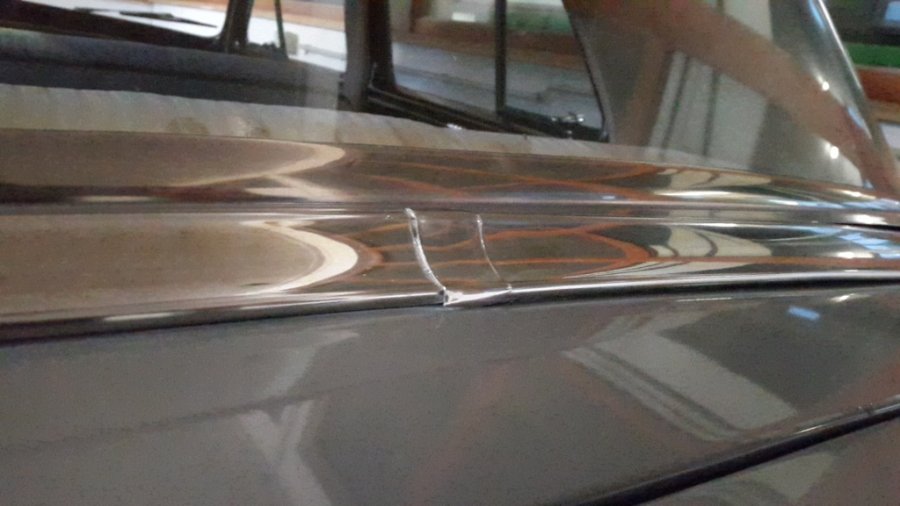
Hi all! I started to remove the rear window and sealing of my D34 as it was leaking. However, window and seals are out but to reinstall the window and the new seal, I have to remove the trim mouldings. And that is the point where I am stuck now: the lower trim is somehow connected to the body with a wire and some kind of a line. And this connection is so tight and stuck, that I couldn't release it. So does anyone of you have some experience on it? Maybe have some pictures how it looks like or maybe has (successfully) removed AND reinstalled? Just for information: The trim is not the part needed to replace the rear window seal but to loosen the screw which holds the mouldings of the bottom corners of the window (and the second trim above the one mentioned above). The mouldings (and the second trim) I do have to remove for reinstalling window seal and window. The workshop manual is not very precise in this point (it just states "pry off..."). With body work and especially regarding trims and mouldings I am very careful, as they are in really good shape and hard to find... some of you may know... Thanks a lot in advance!
-
.thumb.jpg.cac8eb9749ca469c7109314a4157f968.jpg)
ANSWERED How to remove cover at rear fender?
50s-coronet replied to 50s-coronet's topic in P15-D24 Forum
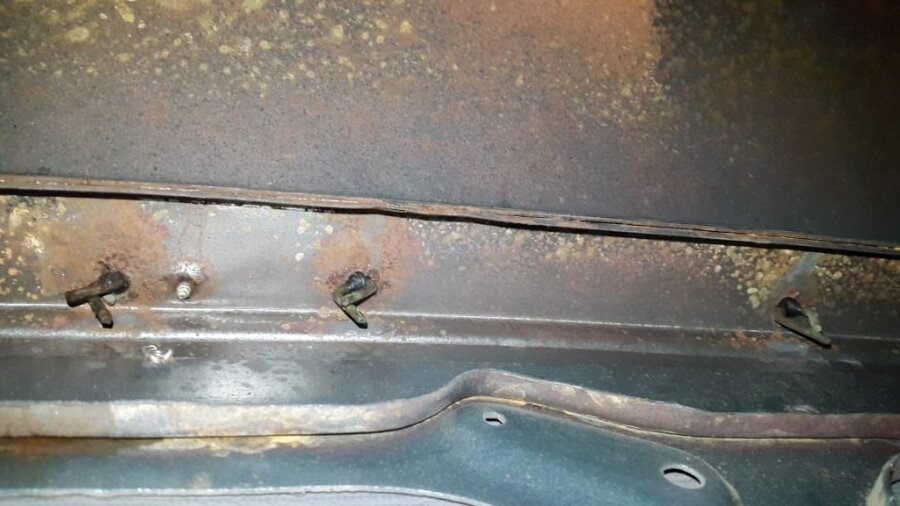
And there it is: an evil rust spot! And there are some more at the openings for the clips of the molding. But I think it's not too late to react. The plan is to properly clean the inner of the beam, bring some rust blocker in and some grease.
-
ANSWERED How to remove cover at rear fender?
50s-coronet replied to 50s-coronet's topic in P15-D24 Forum
Very good, Dodgeb4ya! If someone wants to see. .. By the way, I think, the best way to pry off the rocker molding is to wrap it from the bottom to the top. Other experiences welcome!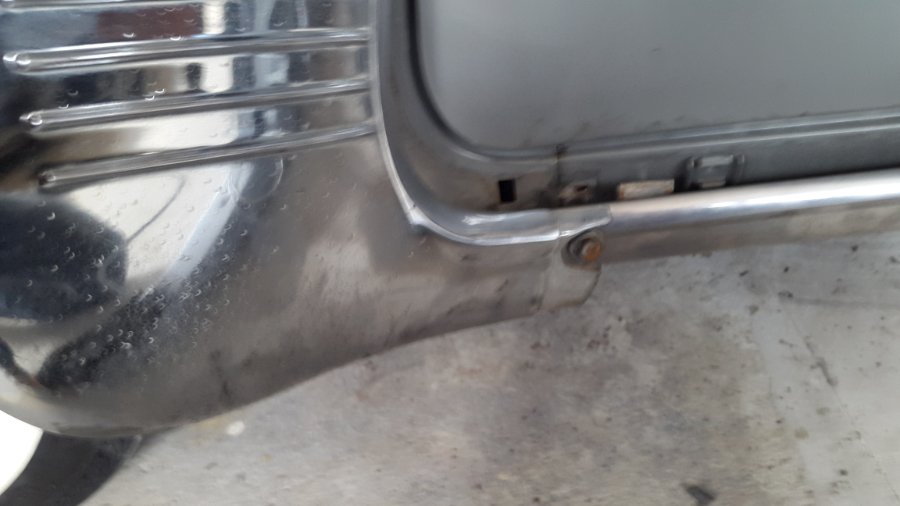
-
Hi all! Just a short question: does anybody know how to remove the cover at the rear fender (im my case a D34)? I have loosen the 3 screws from the inside of the wheel case but it seems that there is still a fixation at the bottom strip (see the arrow in the pic). I still haven't used all my power to pull it off as my feeling says that there is one more screw to loosen. Can anybody tell?

-
No restistance at the brake pedal: Master cylinder worn?
50s-coronet replied to 50s-coronet's topic in P15-D24 Forum
@keithb7, I think your post did save me some two hours and a lot of nerves! (; many thanks! ! So parts were assembled, system was bled and flushed with fresh brake fluid. Afterwards I took the vehicle to a few test rides. The result was absolutely satisfying with regards to the performance of the brakes. After some 50 miles I took a look into the reservoir of the master cylinder and saw that the filling line was still at the level like before. The plan is to monitor the master cylinder more regularly. Would you agree to this strategy, @dale? -
No restistance at the brake pedal: Master cylinder worn?
50s-coronet replied to 50s-coronet's topic in P15-D24 Forum
lot of time passed by in the meantime (I had to move and new job etc)... I've taken out the master cylinder because it was the only suspicious one and disassembled it... or let's say the parts popped out. the rubber parts were worn and I ordered new ones. the only thing is, that the kit is not identic to the drafting in the shop manual. So the question is, where the correct placement of the rubber ring is. I assume it's between the piston and the cup. can anybody tell me? (this rubber ring has already been in the "old" assembly, maybe it also was not original; however, the ring is required to get the correct pedal way.

-
No restistance at the brake pedal: Master cylinder worn?
50s-coronet replied to 50s-coronet's topic in P15-D24 Forum
Oh, the Master TEC! How could I forget about him! @TodFitch: indeed the car was standing for about five or six months. But when I drove it the first time, the brakes still worked fine (although the travel of the pedal was already a little longer). The second time then there was no more resistance. So this weekend I will start to have a look at the wheel cylinders. Since the pedal could be pushed down to the floor, I assume it's a leakage. And no parts are ordered. Just some brake fluid might be required... Thank you all so far for your advices! I will give an update soon with some pics again. Regards -
No restistance at the brake pedal: Master cylinder worn?
50s-coronet posted a topic in P15-D24 Forum
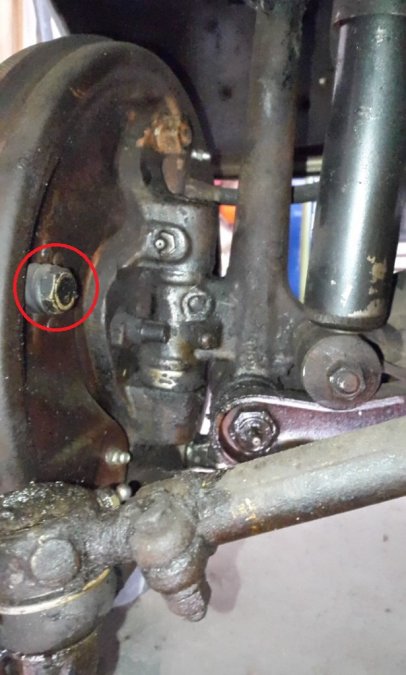
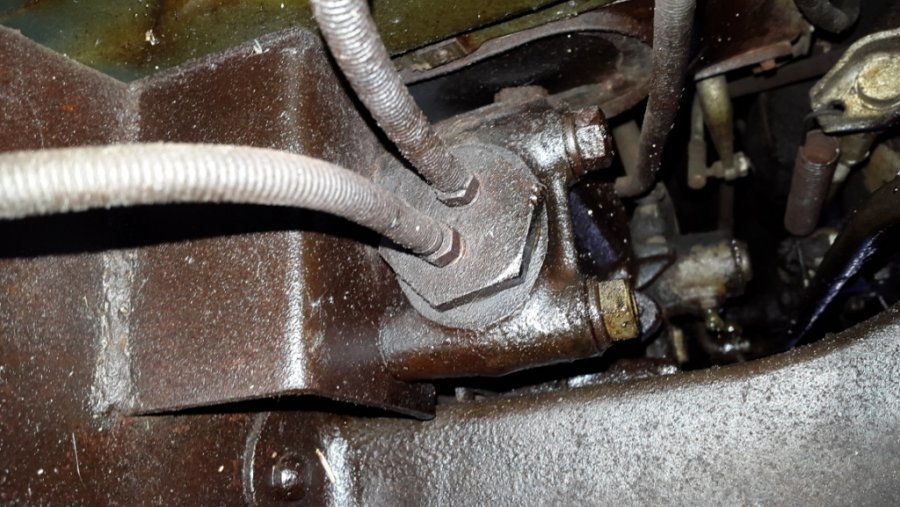
Hi all and happy easter! I noticed (fortunately in my garage!) that the resistance of the brake pedal of my 1950 dodge coronet was drastically reduced until I could touch the floor with the pedal. My first guess was that there might be an issue with the master cylinder. I took some photos from below: In the 2nd picture it seems that there is a leakage of the master cylinder. I have never done an overhaul of the master cylinder before, so I'd appreciate any information on it. Is it something I can do in my garage? In the workshop manual they wrote that for bleeding I need a special tool. I also found on Andy Bernbaum's an offer for a master cylinder kit (Part # G142), which might be required. Any experience/recommendations on it? Thanks in advance!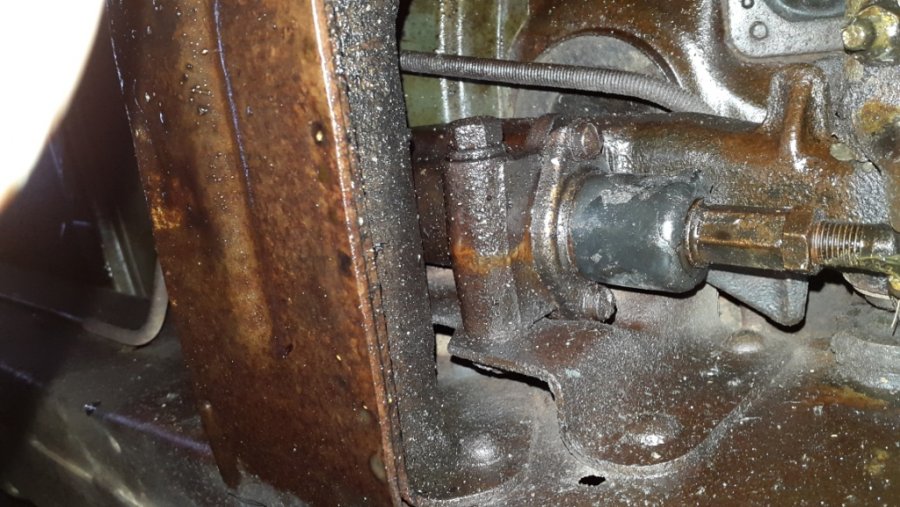
-
Ok, thanks guys! Definately helpful! So unless there is a mayor overhaul required in near future (which I definately don't hope and wish), I will keep the wiring as it is. But I will also have a look on how to route the cables under the carpet or somewhere under the chassis... Could be an alternative.
-
Hi all! Now I've been searching in the formum for several hours but didn't find any useful information on my issue. I think about re-wiring the tail lights since the calbes are still all original. "Thinkin" because still they work properly and I also have to consider the effort which is required for that. It's more for prevention... As I've seen the wires come from underneath the dashboard, up the A-pillar and then down the C-pillar and continue to the consumers. And that brings me to my question: Is there any possiblity to re-wire without taking down the whole headliner? Maybe only on the side the cables are? Any recommendations/experiences?
-
50s-coronet changed their profile photo
-
Let me connect to the discussion above about the ignition cables. I purchased the same as mentioned above, it seems. However the connection to the spark plug does not have insulation and the vendor says that this was common practice for cars of the 1950s. Is that true? And is there no hazard from un-insulated spark plug connections? Any experiences or recommendations? Never seen something like this before but however... By the way: I also had trouble with the brass connector!
-
Well, it came how it had to come: after replacing the wheel studs I recognized that the brake drum is distorted in a really bad way. this may have happened while trying to remove the studs using a hammer - although I did not apply too much force or at the shop, if they did not unterlay properly a support. lesson learnt. However, the studs fit perfect! for the time being, the damage was limited as much as possible by turning the brake drum just to keep the car running. it was done and checked by a professional mechanics. but as soon as possible I need a new brake drum. if someone has one, let me know! see also my other post: However, thank you so far for your kind support.
-
True. tomorrow, some workshops will get a visit by me and the brake drum... thanks again for your advise and patience!
-
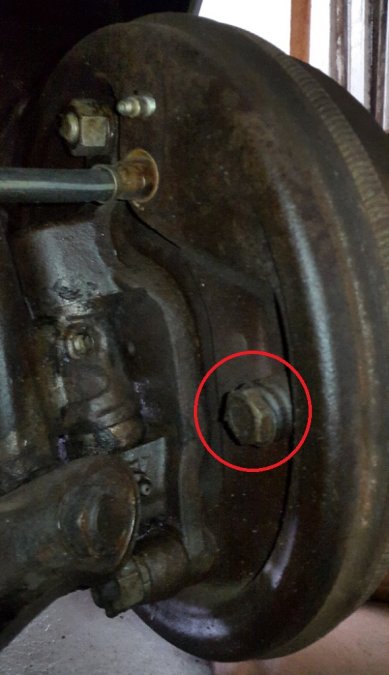
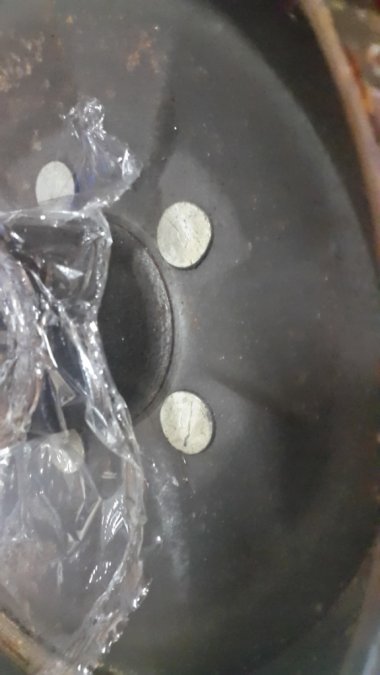
In my case it was not the reason for the broken threads. But however, thanks Andydodge and Plymouthy Adams for your good advise. But you can be sure, that I will recheck - better double check before I touch critical parts. Unfortunately, in the shop manual there was no description of how to take off the outer brake drum. Maybe this was too much basic. However, following your instructions, I was able to take off the drum. Thats what it looks like from the inside: Does anyone know, whether this is what it looked like ex factory? A retailer said, that they are fabricated with lug bolts. could be that this was just for export cars. Anyhow I tried to hammer the studs out of the drum but they don't move at all. maybe I'm still too gently.
-
The next step might be to take off the outer disk. I suppose, it is fixed with the two nuts on the front and rear side of the back-disk. I've also seen, that there is a spring pushed down by the nuts. Is the prestress hazardous when opening?!