


Sharps40
-
Posts
759 -
Joined
-
Last visited
-
Days Won
5
Content Type
Links Directory
Profiles
Articles
Forums
Downloads
Store
Gallery
Blogs
Events
Classifieds
Everything posted by Sharps40
-
ANSWERED 38 Plymouth rear body mounting detail
Sharps40 replied to westaus29's topic in P15-D24 Forum
Good. Hard to see inside the frame rail access window but by feel I'm positive its a bolt head not the bottom of a stud with nuts on both ends. -
ANSWERED 38 Plymouth rear body mounting detail
Sharps40 replied to westaus29's topic in P15-D24 Forum
Just looked at my 37 dodge 4 door hump back. D5. 5 passenger. All original mounts. Same location on mine as yours. 1. Simple bolt. Head inside frame. Nut inside trunk. 2. Bolt goes thru the left and right lower legs of the x brace between trunk and rear seat back. 3. Stacking is in this order from head in frame to nut in trunk. A. Bolt up thru top of frame rail B. A rubber doughnut over bolt shank and resting on top of frame C. Body sitting on top of doughnut D. Rubber doughnut over bolt shank inside trunk and resting on the floor/foot of the rear seat x member E. Big steel washer, 1/8 or more thick over bolt and on top of the trunk doughnut F. Nut pulling the washer down to secure the assembly. Simple set up. Basic hardware. Luck -
Soon I think. I want to have Dad drive it a bunch while he still can. Exhaust shop said to call them about 2 or three weeks ahead that way when we bring it in, it'll go straight up on the rack. Going to try to run a system tucked in and through the x member up above the lower frame rail. Going to have them do a reverse y pipe off the manifolds and all the way out the passenger side with 2.25 inch tube and a nice quiet muffler. But Ill get the brakes and drive shaft up to snuff first so we ain't pushing it around hells half acre to get the last bits of heavy lifting done. Probably weld the motor mounts and steering brackets and weld up the chopped sections of the x member in a couple weeks, seeing that road time and tuning/tweaking time coming up fast.
-
Thanks. Gonna take a break for a few days. Got a couple small weeps to take care of then on to brakes and drive shaft. After that, Welding, Tuning and the exhaust and I can finally hang the sheet metal for the last time.
-
Dad, Prepped and key on at 1030 7 March 2020. Last run was fall 1991 when she was struck and parked. Video is a compilation of the 45 minute break in. 15 mins at 2000 rpm, 10 minutes at 1500 rpm and the remainder at 1000 and 700 rpm. BigTen blew fuel to the front, primed the line from pump to carbs and took care of filling the trans and radiator while I bumbled around and tried not to poop my pants or puke. I love this car. Some minor weeping at the pump and thermostat to correct with new gaskets, but everything else is fluid tight. On to the last of the mechanical and hydraulic systems now and then we'll get to tuning and exhaust. Your Gal is almost ready to gallop! (I recon we'll start a trend. Give it a month and all the youngins will have flex pipe exhaust running out the front of their tuners!) https://www.youtube.com/watch?v=C8FD0Dn-Vag&t=44s
-
Staging for start up completed.....
-
Dad, About ready for start tomorrow. Tool laid out, including fluids. First thing I'll get fresh gas and put 4 or 5 gallons in the tank. I'm placing a real time temp probe inside the radiator and we have the Infrared Gun to match against the gauges. Engine already primed and was making 55 psi oil pressure on the small electrical drill. Push her out about 10 am. Stage the tools, giant fan and tie down the exhaust pipes. We will blow fuel from tank to pump and prime the main carb, stand by fire extinguishers and should be cranking by 1100 hrs. I'll call you just before we turn the key so you'll be on hand
-
Dad, 10 am Saturday, final checks and blow fuel from tank to pump. Should be key on by 11 am. Just need beer now.
-
Dad, Final checklist. Counting down to Ol Bessy back from the grave....I am a nervous wreck.

-
Dad, Just like you taught me and just like we did all those years scraping by to keep her running.......when in doubt, run flex pipe out...on coat hangers! So, couple sections run forward and to the sides/out of the way so we can roll her forward Saturday for first start. Charged battery is in. We have power to starter and the Dizzy and everything else. I'll pull the chrome valve covers and check the lifter adjustment tomorrow. Probably also pull the choke cable and dizzy and see if there is enough room to get a drill in place to prime the motor. Fingers crossed. Sat is the day with Sun and Mon as back up days for my screw ups.


-
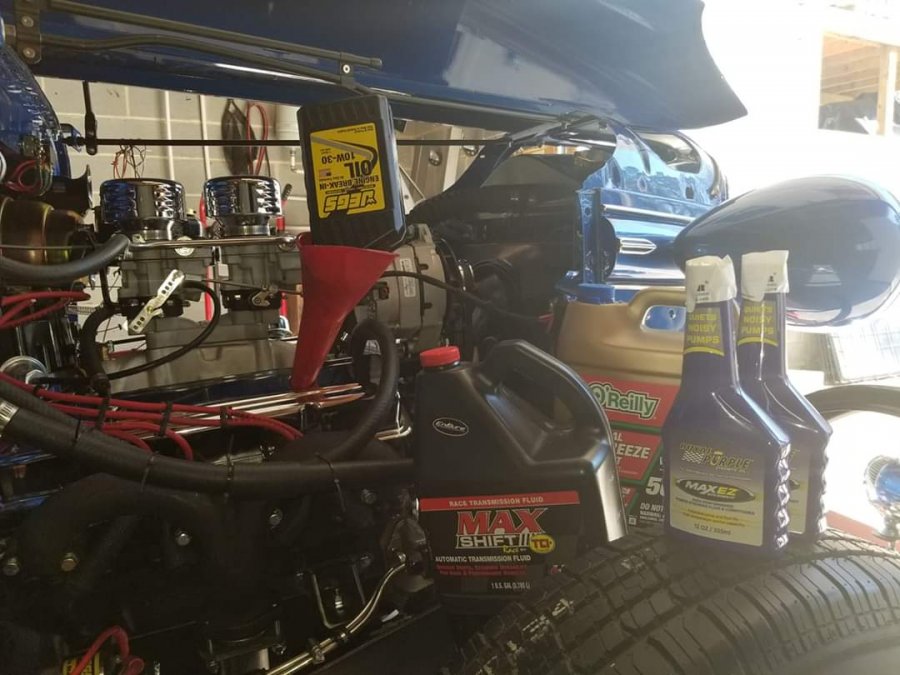
Spanky new battery is on the charger at 2 Amps to bring it up full. Shouldn't need back up batteries but have the Nissan and should have the t bird here by then just in case. I wanted an 800 amp 34 or 34/78 series but the largest that would fit the hole in the floor is a 750 amp. So, thats what i got. Drivers side manifold reinstalled. Trans cooler hooked up and tubing secured on bracket along the oil pan. Picked up 12 feet of flexible 2.25" pipe to hook up to the down pipe stubs so we can run the exhaust out from under the car to the side or, since we'll be working from both sides, out the front away from our feet. Broke the bottom out of the brake light switch on disassembly so ran out and got a new one. Hooked up the charger to the car and the rear sockets are wonky/loose on the bulbs so may replace those, if so, I'll split out the brake lamp from the turn lamps at the same time by adding another single filament bulb to the rear buckets. But, the brake lights work! Still not seeing any oil, fuel or trans fluid leaks. Gotta remember to pull the plug off the transmission tail shaft before we start it and put it in gear. Fuel gauge responds to power now. I'll put clean gasoline in it Saturday morning and let it sit a few hours to check for leaks before we fire it. About all that's left to do is rotate the engine to check the valve adjustment, prime the oil system and drop the dizzy back in at TDC. I think we'll break it in at 0 to 4 BTDC and then once we get it on the road in late March, see if it likes 6 to 8 Before top dead center. Gonna be a long wait to the weekend! Guess I'll put the battery in tomorrow and program the stereo to link up to the phone for calls, texts, navigation and streaming. Prolly oughta pick up the Tbird in there too......
-
Dad cant make it for 2 or more weeks but he said start it asap. Shooting for first start since 1992 on sat sun or monday. I should be ready to go by then. Roll it forward and kick the motor into life. Fingers crossed!
-
Dad, Get busy thinking on when to come here. We are 6 hours and two exhaust stub outs from having you turn the key and starting your car! Come sooner. BigTen, Once again, thanks for coming on board and over to lend assistance and professional advice. I have a few days delay while i settle up on the purchase of the Tbird but, Sunday and Monday I should finalize the transmission plumbing on the Dodge. In the meantime, as we discussed, the steering hook up has been my nemesis so far. The new borgeson single steering joints came in along with another section of DD shaft. I lad it out on the car and confirmed, the current set up is a bit steep at the center. On removing the second support bearing and the center double u-joint, I installed a single joint in the center and some new shafting. With that huge double joint out of the way we have all the room in the world to do as you suggested. 1. Straighten the shot from the rack to the firewall by bringing inner end of this shaft upward and inward. We can make a near straight shot to the belly of the rams horn manifold above the doughnut seal. 2. Install a single joint in the center and we'll be able to shorten the shaft out of the steering rack thereby easing the angles on both of the other joints. (It won't be a straight shot from rack to column like Dads 47 Chevy truck but it will be a lot straighter and no interference as the engine rocks on the mounts.) 3. Remove the rear steering support bearing as it will no longer be needed. 4. The forward support bearing can be moved from inside the frame to outside and mounted on a very simple flat steel bracket. Overall I think we can come up 1/2 to 3/4 inches and in at least 1/4 to 1/2 inch with a much simpler set up. I'm on it. Thanks.
-
A shout out for BigTen, THANKS!Good day, and productive, spent together working on Ol Bessy.While I drained the antifreeze, fixed a lousy completely soaked and saturated and ruined leaky china made paper thermostat gasket (by replacing with an o-ring housing) he muscled his way completely through the fuel system. Took off all the new stainless steel lines and swaged flares on the ends to help retain the rubber hoses, then got it back together. So, we can now pronounce the fuel system from filler cap to carbs, "Ready for First Start." (Note to self: No more stainless steel fuel line...its a bear to bend, broke my tubing bender, and must be a heller to flare given the smoke coming off his hands trying to cinch down the flaring tool!)Meantime, I was fiddling with the wonkey, wobbly steering double u-joint and second support bearing (fiddling...taking the dayum thing off so I could potentially drop it all in the spare parts bin, thats another story) he managed to nicely convert a late model Chevy Truck brake-light switch and bracket to fit an aftermarket under dash brake pedal system in a 37 Dodge. So, instant on brake lights instead of the slow wind up to brake lights provided by the old style hydraulic switch. While he was under there and in the time it took me to remove 3 bolts in a steering bracket, he also mounted the brake pedal and got it nicely set up at a comfortable position and slightly higher than the gas pedal for safety.Somewhere in there I did the really hard job though, (not right to give all the harder jobs to your pals)......So, I shoved a 1/4" vacuum tube in place to hook up the transmission modulator. Glad I got the skills for that but did have to jack up the car a bit since its sitting at ride height and the running board snags my gut on the way under and back. Car might be too low.
-
Dad, Getting real close.... She gulped 3 gallons of antifreeze and wants more. Big radiator!!!
-
Dad. 16 ft of stainless steel fuel line in. Pre and post filtration and ready now to clean and final install the fuel tank.

-
Dad, Sorry, been down with the flu for a week. Just got to feeling a bit closer to right today so hooked up the throttle cable and managed to rough in the gas pedal without cutting the floor. Still might need to clearance the floor for carpet but at least its in and functional, I'll start plumbing fuel and transmission cooler now. https://www.youtube.com/watch?v=1zLS0j6RrrY
-
Just wired my 37 dodge. Grounds are now... LR body to frame. Fuel sender to frame. LF body to frame. RF nose to frame. R bell housing/block to frame. Battery negative to frame.
-
So, maybe I can set the fuel pedal without cutting the floor.

-
Dad, For seeing backwards. I never liked the clip on mirrors for the doors. Decided to go with a bolt on style that looks pretty good, or at least period style.


-
Ok. Making and installing a custom power steering hose is the same ass pain as fiddling one that's supposed to fit and almost does. So, a brass insert shy of completion because, Naturally, i had the wrong brass fitting on hand!

-
So....after fiddling for weeks to get power steering hoses to fit Ol Bessy, I ordered a length of hose and 2 fittings. If it goes together as easy as it looks I'm gonna be really irritated.
-
Yep. Top mount too Easier on the clearances
-
Dad, Shifter is in, and it works. https://www.youtube.com/watch?v=O5tqLhygkq4
-
