


Frank's 49
-
Posts
89 -
Joined
-
Last visited
-
Days Won
1
1 Follower

Recent Profile Visitors
1,619 profile views


-
Stock brake line routing advice
Frank's 49 replied to David Tweet's topic in Mopar Flathead Truck Forum
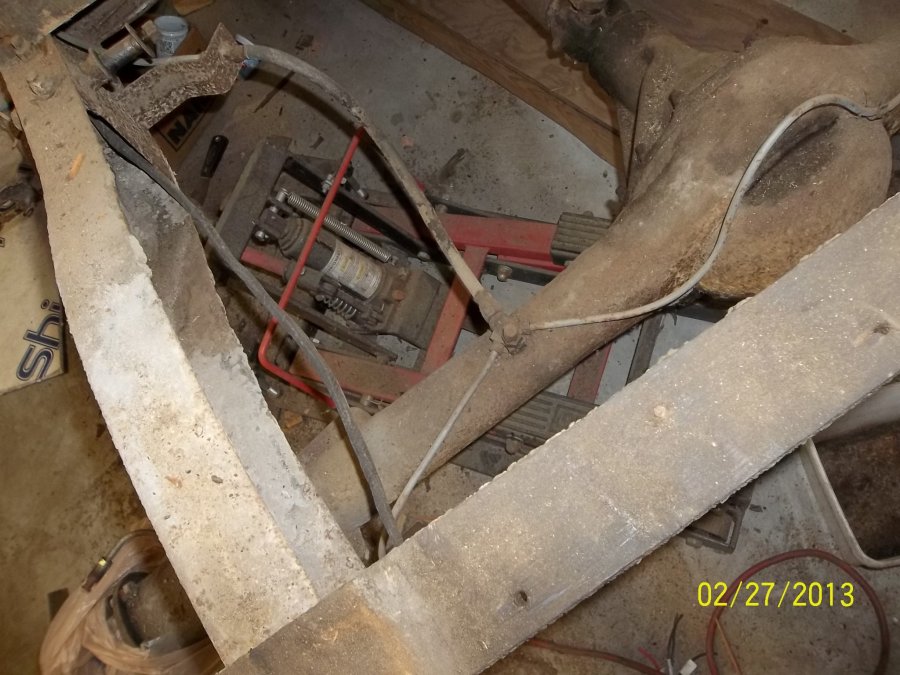
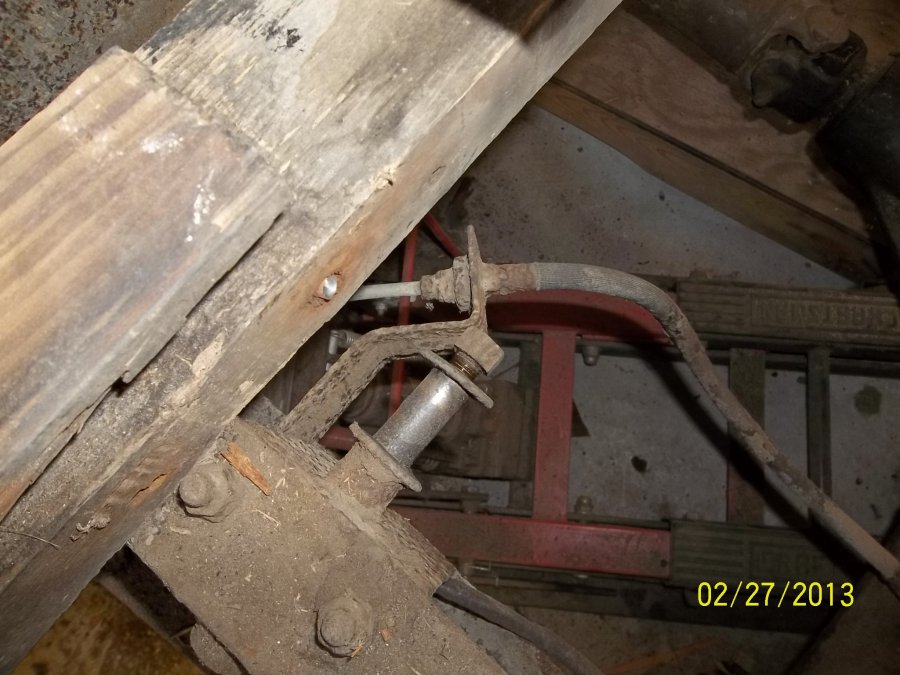
Some photos of the rear of a 1948/9 B1B 108 (before any clean up!!) The lines run Under the rear leaf springs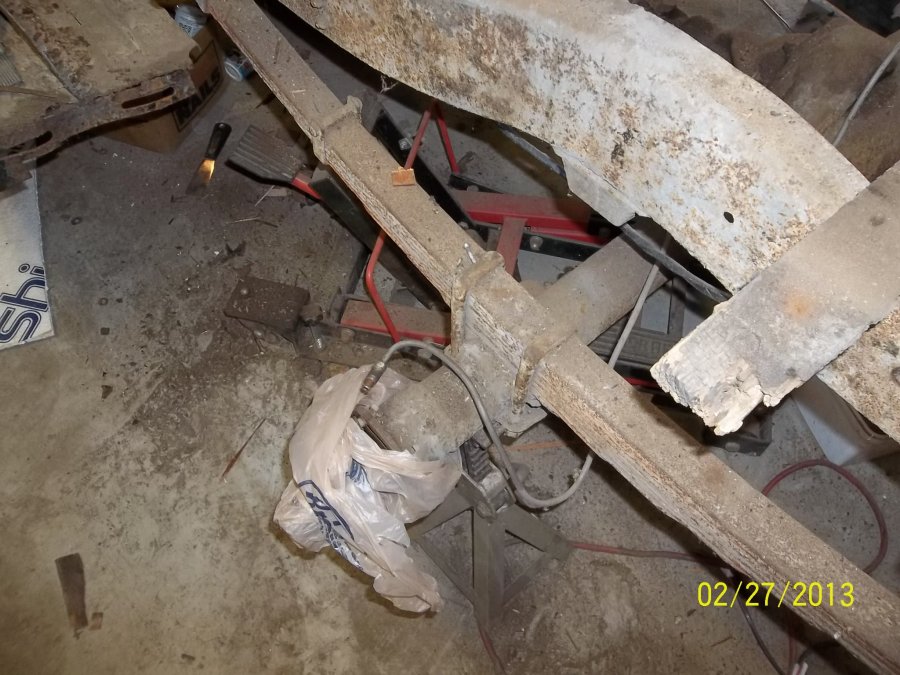

-
Finally found an old photo that showes the "oil tube clamp". Not sure if I attached it correctly, but I will try again if this does not work.

- 10 replies
-
- 2
-

-
- oil filler tube
- oil filler
- (and 2 more)
-
Mine also had about a 1/2 inch wide metal strap that wrapped around the oil filler tube, and then one end extended over to where the coil mount is bolted to the head. The section that went over to the bolt had a notch in it. The notch slid into place under the bolt, along with the bracket holding the coil.
- 10 replies
-
- 3
-
-
- oil filler tube
- oil filler
- (and 2 more)
-
this was behind a PH pickup at Coker's Chattanooga cruise in back in April 2018 . Truck was just a step up from a rat rod.

-
In the article, mine would appear to be close to what they call "the club". Only that looks like it might be on a slightly longer wheelbase. My car originally had a full bench driver's seat, then a 2 person seat, with a walk through to the rear, on the right side, next to the door, and then another 3 person bench seat, and behind that just a large storage area. Dad bought, and upon getting it home, removed the 2 person seat and moved the rear seat forward. This provided seating for dad, mom, and my baby brother in the front, and myself and my other 2 brothers in the rear. And the load area was used for delivery of newspapers. At some point the 3 person seat "disappeared", and by the time I got it, the front seat no longer had the factory frame.
-
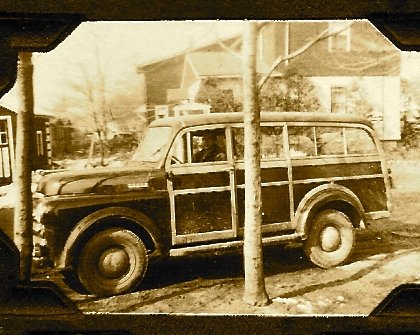
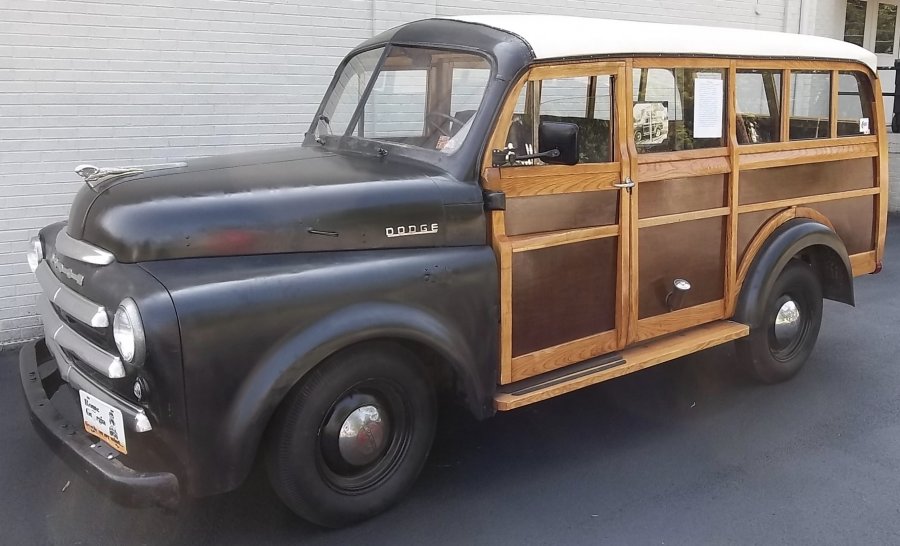
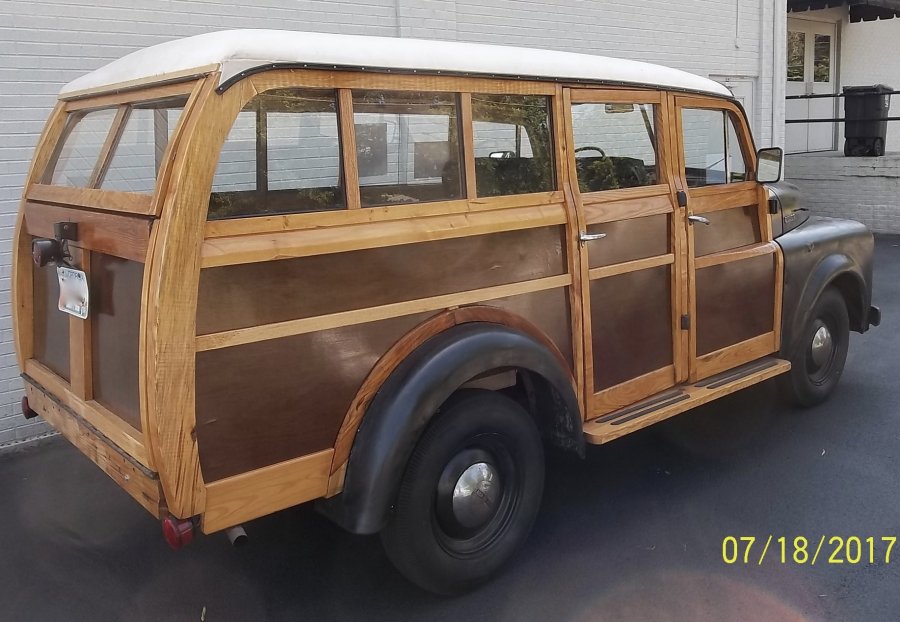
I am trying to determine just how many Pilothouse Woody wagons remain. I am primarily interested in a count of those built by Campbell Body Works aka Mid State ). The company was located in Waterloo, New York, and built wood bodies from sometime in the 30's up until at least 1950. The used multiple makes of chassis, but I am interested in the Pilothouse Dodges. Mine is on a 1949 B1B 108 1/2 ton chassis. I have seen pictures of several on the internet, and this forum, but can never get a good count of how many still survive. Several of the ones I have seen were built by Cantrell. There are several differences in the ones built by Campbell and Cantrell. The Cantrell units are four doors, while the 1/2 ton Campell units have 3 (a driver's door, and two doors on the right. The tailgate on the Cantrell cars is a good bit taller, which results in about a 4" narrower rear window. Also the Campbell cars have the gas filler externally, with the gas cap located in the center of the panel behind the drivers door. That is where the rear door is on the Cantrell cars, and I was told the gas filler is beneath the drivers seat. Not sure about Cantrell, but I know that Campbell built units using everything from 1/2 ton to full size "school bus" units, probably on a 1 ton chassis. If you know of one of these units please post the information and a picture if you have one. I am just curious how many are left, and how many are still in operation. I have attached pictures of mine. When Dad bought it new in 1949, and as it appears today. It is a Campbell unit. (they may have been called Highlanders, but I am not sure.) Mike
-
I think you will find that the gap is set when the valve is completely closed. You can asure that is the case if the "opposite" valve is fully open. So just watch both valves on a given cylinder and do the following. When the exhaust is fully opened, adjust the intake to the desired gap. Then rotate the engine and when the intake opens all the way adjust the exhaust. Really does not matter which one you do first, and you don't even have to do one cylinder at a time. Just make sure you eventually do all the valves.
-
if you hook it to a 6V charger, or the the battery, I would make sure you put a fuse in the line somewhere. As a matter of fact, I would use a meter and check for dead-shorts to ground. Might save you cooking the motor.
-
I don't know about the kit, but when ordering from onedayglass.com you can specify what type you want. When broken LAMINATED GLASS can shatter into large pieces, but since it is actually two layers of glass, with a plastic member between the two sheets, it is supposed to basically remain intact, with the plastic holding things in place. TEMPERTED GLASS is a single sheet and is harder to break, but when it does break it just sort of crumbles into small pea sized particles. But they are still glass and will still cut you (just small cuts though, so that's OK. Right? )
-
That kit that B1B Keven posted a link to looks like a good solution if you need all new glass. My winshield and front door glass was OK, but I had to add new tailgate, rear door, and all new rear side glass to the woody. I ordered it from https://www.onedayglass.com/order-online/ . The link goes to peninsula glass co., I think. In any event, you can either trace you old glass and send a template, or just straight measurements, and they will cut it to fit. You can order any type you want, including what type of edge treatment you need. The prices were pretty good and they shipped it all with zero breakage. Very good packaging.
-
New gas tanks for pilot house??
Frank's 49 replied to austinsailor's topic in Mopar Flathead Truck Forum
The original tank and filler pipe on my woody had the same problem. Took forever to fill and it was hard to determine when it was full, or if it was just "burping". I solved the problem by inserting a section of clear plastic pipe, inside the filler pipe and extending as far as it would go. I use the plastic pipe to fill the tank, and the original, surrounding pipe acts as a vent, letting air out. Not sure what type plastic the pipe is, it is clear plastic and I bought it at home depot. I soaked the end in gasoline for a week to make sure there was no reaction to the gas. Every thing is working fine and I have had it in place for about 6 months now. I guess it is the same type plastic that I have seen used for fuel lines on some hotrods. Just make sure the pipe you get is large enough to insert the gas pump nozzle. -
S-10 Chassis for B1B body install
Frank's 49 replied to doogan's topic in Mopar Flathead Truck Forum
The company offering an S10 conversion for older trucks (Dodge included) is Code54. There website is http://www.code504.com . They offer several options, including a package deal with power brakes. Not sure how much of the S10 has to be retained, and how much of the Pilothouse can be kept intact. You might have to use the S10 dash etc, which I would not care for. I have a 19 B!B woody wagon and at first they said the kit would not work. But after speaking to the owner, we agreed that it would work, but I might have to do some additional fitting, since my truck has a flat wood floor and not a pickup bed. Mike -
I'm interested in the name of the company offering a swap kit for the Mustang suspension. Is it a complete front end and a direct swap? Bolt up, or welding required?
-
Thought I would post a heads up for anyone with a none operational temperature gauge. I just fixed mine using the repair procedure outline by Tod Fitch, on the site ply33.com, which is site based on Early Plymouths. The repair procedure will work for probably most mechanical temperature gauges. On mine the old tube had been twisted off (most likely in a vain attempt to remove it from the head. Before my time.). I purchased a new gauge, for less than $20 at Advance Auto, and used the capillary tube and bulb as outlined it the repair. The only other item needed was a 1 inch piece of 1/8 inch tubing. The whole job took about an hour, and the hardest part was standing on my head to get the gauge out of the dash! If you to fix a gauge, the process is found at the web site under repairs. Probably some other places also, but Tod give a very clear explanation. One other idea which might be interesting was the use of a cooling spray to chill the sensing bulb. Electronics people use that stuff for trouble shooting. It is basically liquid nitrogen in a can.
-
The way I see it is, these truck did not have any belts when they were new. Nor did they have any sort of "crumple zone". When/if you hit something, it was with a solid whack, the truck stopped, and the driver just bounced off the steering wheel. So, if you add any sort of belts, even cheap ones, it is better than nothing. Either that or wear a chest protector, football pads, and helmet? Mike
