jhm1mc13
-
Posts
108 -
Joined
-
Last visited
Content Type
Links Directory
Profiles
Articles
Forums
Downloads
Store
Gallery
Blogs
Events
Classifieds
Everything posted by jhm1mc13
-
I'm using my stock sending unit and fuel gauge with 12V. Seems accurate and so far no problems. Jim M
-
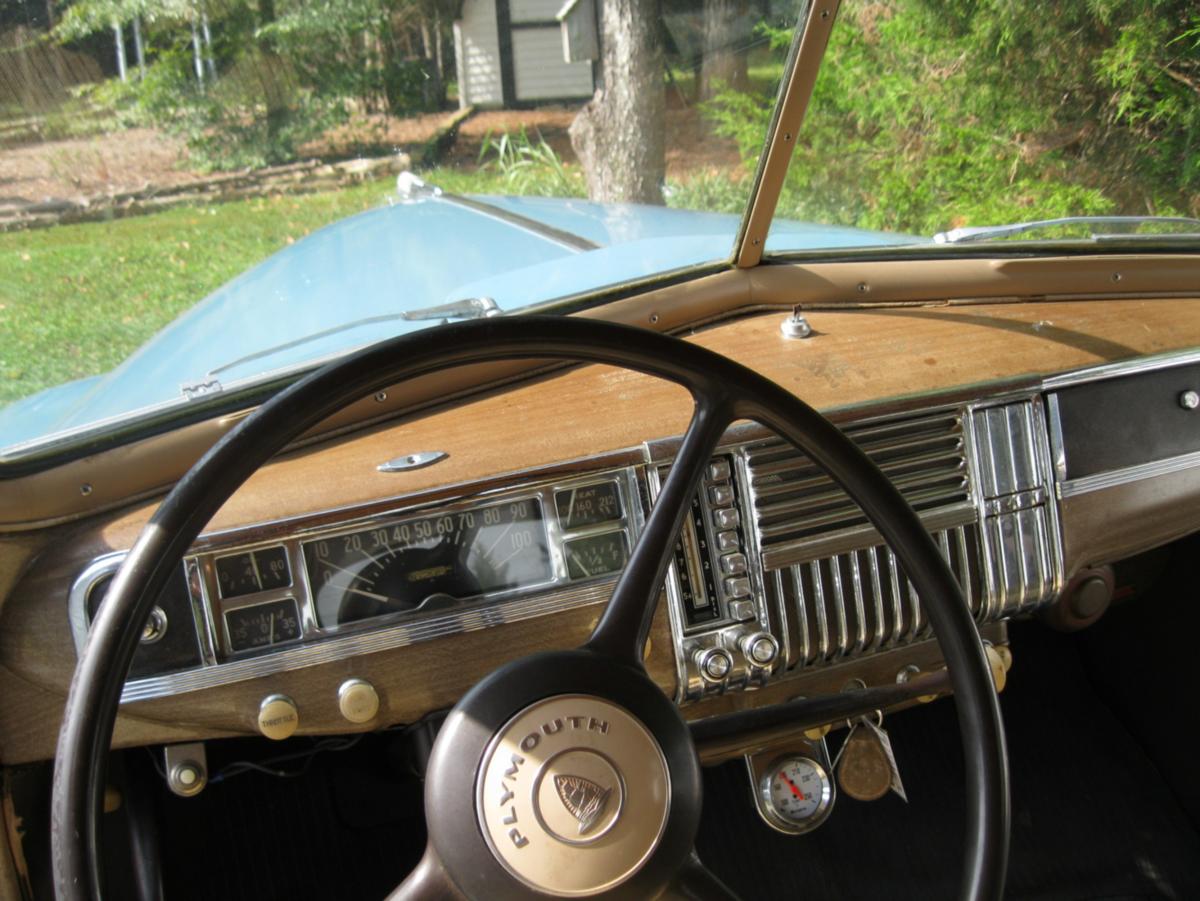
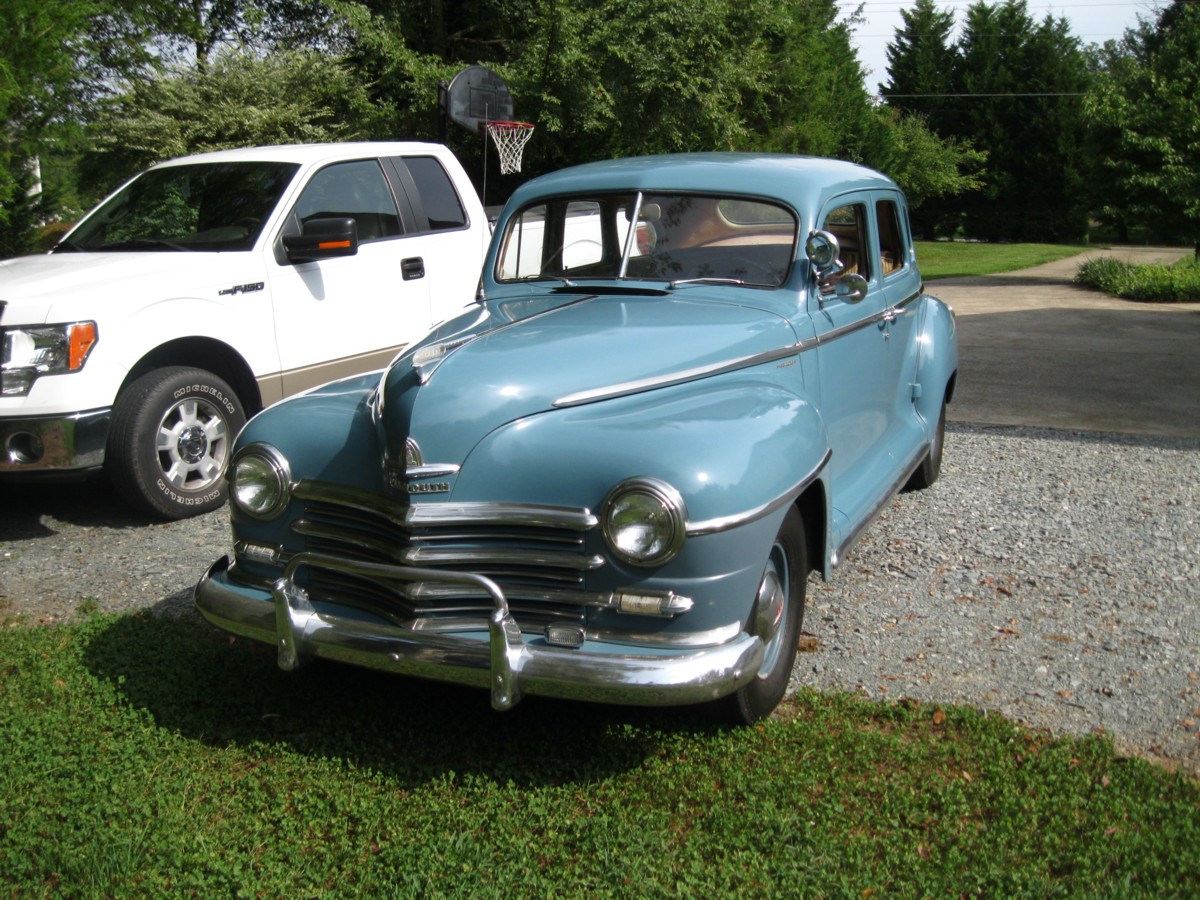
This is a picture taken at an Atlantic station in Atlas PA 1964. The 1950 Plymouth is my first car which I paid $35 for and was over charged by $15. It forced me to become a mechanic. After the six quit I put in a 1955 Plymouth V8. I called it Mrs Ruby because I had an Earl Schribe $29.95 ruby maroon paint job until I accidently folded the drivers door against the front fender hence the primer color. I may write a book on the dumb things that happened in that car. Jim M

-
Patrick, I replaced my leaking vacuum advance with a NOS one which also leaked a little which made me buy a rebuilt one that works fine. Moral of the story is old rubber parts are old, go with the rebuilt. Jim Magennis Clover, SC
-
Rodney, I suggest cleaning out all old gas and go to non ethanol which may be found at marinas. The boat people are having a fit with this ethanol. Be prepared to pay premium prices. Jim Magennis SC
-
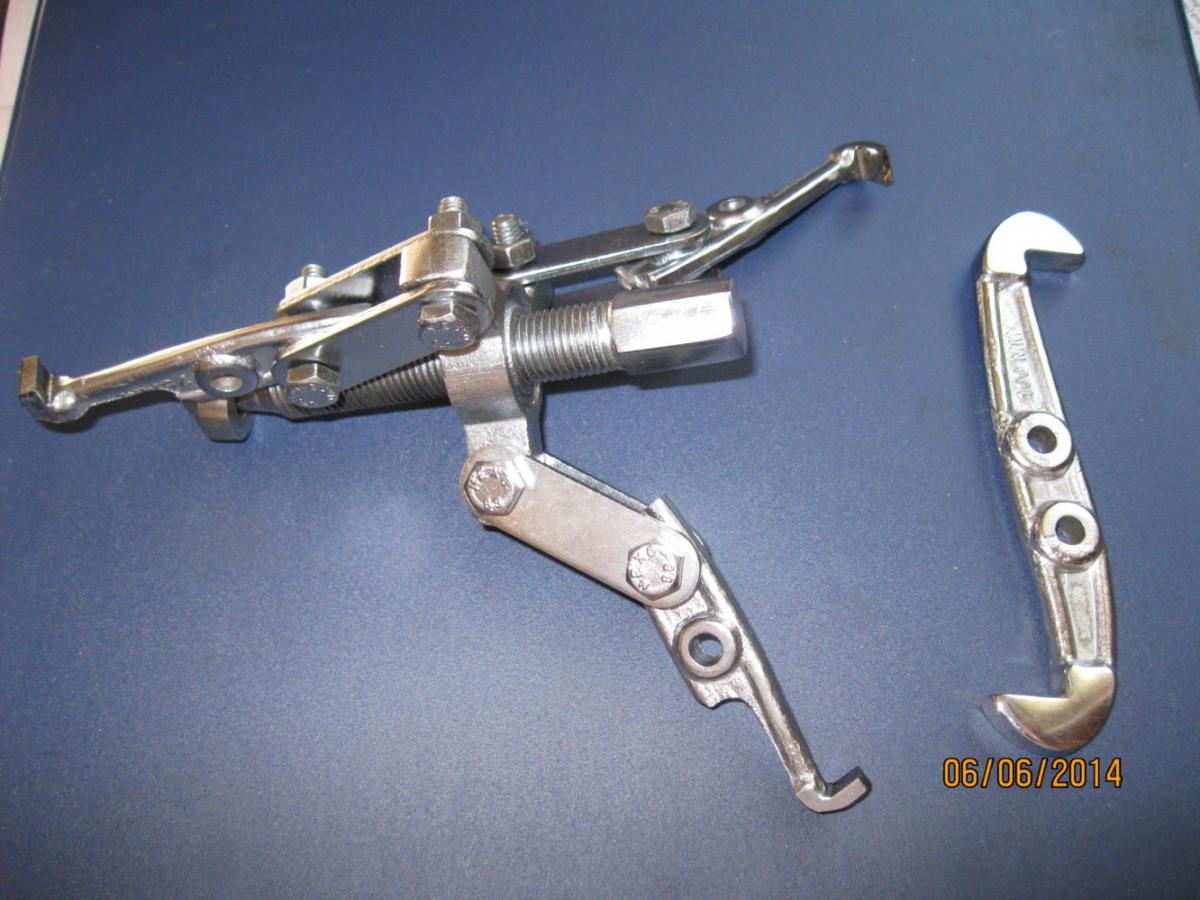
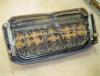
Here is a puller I had to make to pull the stubborn rear transmission seal. I used a cheap Harbor Freight puller and a lot of grindstone to make it fit with the claws facing outward. The original seal is one inch deep and would not move by the usual pry method. Jim Magennis Clover, SC


-
After converting my P16 front brake I had problems with the rear brake locking up and had to repace the hose and ran a wire through the steel lines to clean them out. Seems to be OK now. Jim M
-
Try Andy Bernbaum they are fast. See ad on top of page. Jim M
-
I hate doing this but I need to contact bloodyknuckles. Ron would you contact me at jhm1mc@comporium.net or 803 712 8377 Jim Magennis Clover, SC
-
Don, You can remove the screws and seperate the front and rear halves and clock the connector to the top. I did this to my 10SI alternator which came with instructions in the box. I can't remember where I put the paper. There is a hole on the back side that you put a paper clip in to hold the brushes back for reassembly. Jim M
-
Steve, Great looking truck and the '38 looks like a fantastic find. Jim Magennis Clover, SC near Charlotte. Any members close?
-
Seeing as I started this I should report that I bought a carpet from Stock Interiors. I had to return it because the heel mat was out of place. I'll be kind and say the fit was poor and after a week long fight it still isn't a good fit. In hind sight I should have done it myself. Hopefully someone makes a real prefit for a P15. Jim M
-
Nice, but you shouild have left the Jack jug in. Jim M
-
Don, Thanks for fast reply. Jim M Clover,SC
-
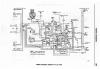
This diagram may be clearer. I did my own on a P15. The numbers on the diagram are wire gauges, you will need different sizes to match the load. Try to use many colors that match the use, like right side turn signals. Label what the wires are for. I added wires for a future switch to 12V and spares for new lights etc. One thing that made old wiring so poor was the lack of ground wires. Add ground wires to everything you can. If you end up with a EFI engine you will probably need to run it straight to the battery. Each roll of wire will set you back $6-7. I worked on complicated wiring for years but this was challenging . I made my own diagram that put the components in place. The dash was hard as I added circuit breakers and fuses that the P -15 didn't use. Good luck Jim M
-
Can anyone help me with a P15 gas pedal removal? Does it just pop off? Jim M
-
I hope this helps. Jim M
-
Holy cow that motor looks like it could rip the dash apart. Jim m
-
I have come to the point in my '46 Plymouth project that carpet is next and I am wondering if anyone has any suggesions on a good source of pre fitted carpet? Stock Interiors .com seems interesting. What do you think? Jim M
-
Guys, Thanks for the responses. I bought my cloth headliner in taupe from Original auto interiors. The modern foam backed stuff just didn't have the original look I was going for. I am almost done installing it but had to wait for the wood grained trim to cut in the rear window. I will cut out the hole tomorrow, gulp! Wish me luck Jim M
-
Here is an interesting link from Hemmings. http://blog.hemmings.com/index.php/2013/11/27/recreating-history-the-bbc-wants-your-1941-plymouth-sedan/?refer=news Jim M
-

Windshield & Cowl Vent Rubbers and Door Locks
jhm1mc13 replied to 1947coupe's topic in P15-D24 Forum
I just replaced my '48 windshield and would recomend looking at youtube and reading everything you can about installing the windshield. You will need help, two on the inside and someone to pull the cord on the outside. The inner rim should be squeeky clean and smooth. Some lube will help. Have a squirt bottle of dish detergent and water handy so the glass is free. When seating the rubber push on the rubber because to much pressure on the glass will break it ( don't ask how I know ). Take your time. It can be done. Good Luck Jim M -
Mr Bill, Let me try this again. Jim M

-
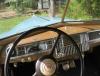
Mr. Bill, There is a small diameter welt between the dash and garnish. See attachment of '48 Ply. Jim M