

48Dodger
-
Posts
4,307 -
Joined
-
Last visited
-
Days Won
81
Content Type
Links Directory
Profiles
Articles
Forums
Downloads
Store
Gallery
Blogs
Events
Classifieds
Everything posted by 48Dodger
-

Love it or hate it progress...
48Dodger replied to slicknapier's topic in Mopar Flathead Truck Forum
Of course it can be done. Feel sorry for the guy on HAMB whose's afraid of hard work and adventure. Here's another idea. might not work for you cuz of the up and down travel. http://www.moparmusclemagazine.com/projectbuild/155_0406_1989_dodge_diplomat_torsion_bars/index.html I would consider keeping the struts paralel to the frame. It'll help protect your ackerman and slip angle's better. It'll look like a four link set up. Cut the torsion bar brakets and throw in a cross member, then the tabs for the strut. You got the Towers framed up nice, all you got is those struts and you can call her done. 48D -
Never seen that on a 48.....hmmmm....mind taking a picture of them "in position" against the truck? Just curious. I looked in the diagrams too and didn't find them. Which manual do you have? Looks like the corners Merle pictured are part of yours too, but with an extra baffle. could these be a Fargo design? 48D
-
Rear Quarter Windows in my 52 B3B...
48Dodger replied to SteveMelchiorre's topic in Mopar Flathead Truck Forum
Nice work! 48D:cool: -
Don't have any idea per se, but I did find a site that has some info about all vehicles from the 40's concerning pricing. Didn't list the Dodge truck price, but the truck itself is listed. I'll have to dig a little more. http://www.thepeoplehistory.com/40scars.html 48D
-
Don't know if this will help. These are a few videos I did of a 48' tear down. http://www430.pair.com/p15d24/mopar_forum/showthread.php?t=16161 48D
-
I dont think we got off topic. You mentioned serveral possible vibration noises with the hard pull being the most noticable. The picture of the motormount is the rear mount off a 48 1/2 ton. You don't have one? Isn't your truck a 48' ? Maybe the previous owner swapped out the originals for something he had in the "parts box" . Here's another look at the mount attached to the motor/trans braket. 48D
-
"Timothy"... Its what me mum named me...got a problem with that??? lol 48D
-
2 rubber discs per rear mount. 48D
-
Yes! I won it....lol. Something else to frame and put on the wall of trucks. 48D (68dodgerboy) "Dear 68dodgerboy, Dear Timothy, Thanks for your payment. I have left positive feedback for you and will ship to you, today, June 26th. By the way, I happened to see your note and & checked out the discussions on the photo on that website. That is really interesting! Thanks for letting me know! Best regards, Murray"
-
Hey Ed, There is no rubber in the front, but in the 48-53's there are 4 rubber discs in the back between the 2 motormounts. 48D
-
1948 hood/fender/grille removal 101 videos
48Dodger replied to 48Dodger's topic in Mopar Flathead Truck Forum
I remember those pictures.....didn't realize that was you Bud. lol. Looks like it works great. I have a Crane and winch to remove the cab with, but I know that's not possible with most guys. My son and I were talking about the best way to do a removal with the most common tools, ie floor jack, jack stands and engine hoist. The main part of the cab removal video was going to deal with prep for removal. Maybe you could post your hoist idea again and we can put it in with the video. 48D -
1948 hood/fender/grille removal 101 videos
48Dodger replied to 48Dodger's topic in Mopar Flathead Truck Forum
Not fair....that's a 46-47 style front without the radiator. I leave the radiator in to make it an easy removal. Removing the raditor alone is unnessisary if the whole front is being removed. Lifting the front end off the frame for the first time in 60 years, requires a little bit of finesse and force....as far as my mention of 2 guys in the last post, I was refering to the handling of the floppiness of the 3 piece hood. Personally I can pick up my whole truck and throw it across the yard when I get mad. lol. 48D -
1948 hood/fender/grille removal 101 videos
48Dodger replied to 48Dodger's topic in Mopar Flathead Truck Forum
Cool. When you lift the hood off, I found that 2 guys lifting from the center section works best. Lifter one gets a grip from the very back of the center section, and lifter two grabs from the front. Let the side sections of the hood "hang" and go along for the ride. Why's the hood coming off ? good luck Brad. 48D -
Should be some big fat rubber disc shaped insulators present. Not soild. If you dont have any ( or are really flat ) I just removed a pair off a 48. I'll take a picture for you if it helps. 48D http://dodgepilothouseclub.org/know/ph_parts/b_9.pdf page 9-3 part # 9-71-5
-
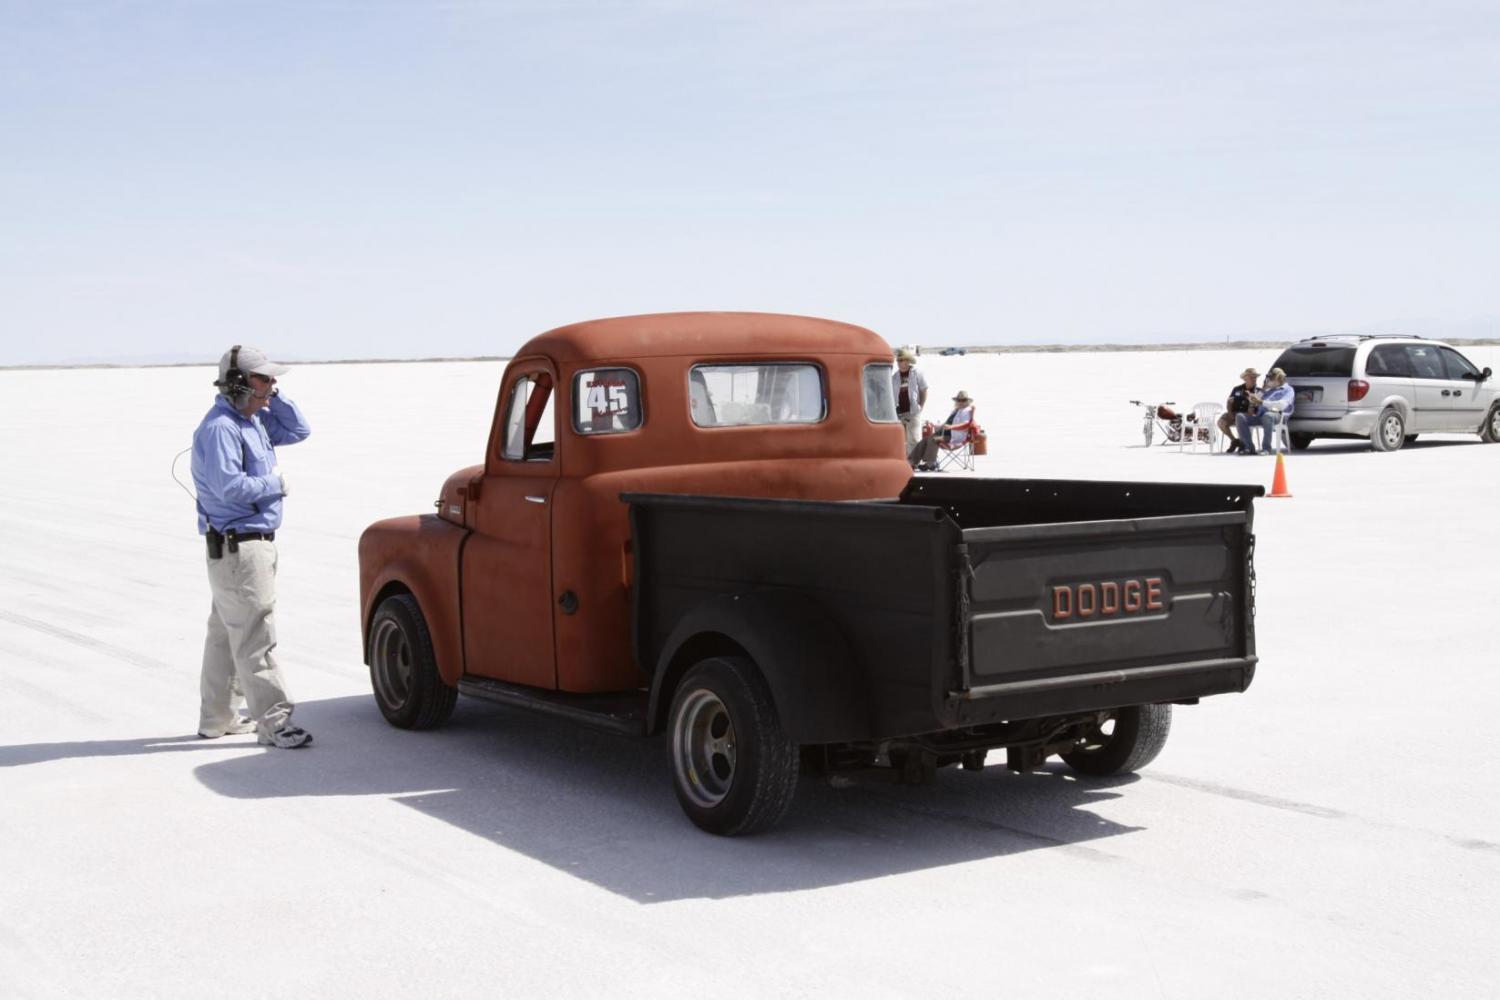
Like anything, you start thinkin' you know exactly what you need and someone throws a little reality at you. Dutch (Vintrader) is a great guy to talk to. He offered to donate the rims to the Bonneville run, minus any shipping costs. Very cool. But as he and I talked about back spacing on the old style rims, bolt patterns, etc.....its starting to look like I'll have to spend time at a custom wheel shop to get what I need for the trip. Part of the problem is tire speed rating and size availabilty in that size. I need a "V" rated Tire, 149 mph. So I may have to go to a 16" rim to get a narrow tire at that speed rating.......still got some homework to do. 48D http://www.tirerack.com/tires/tiretech/techpage.jsp?techid=35
-
I went to look at a truck this morning...
48Dodger replied to Don Coatney's topic in Mopar Flathead Truck Forum
I say we take up a collection and help Don get a truck....I mean, I'd pay to see that. lol. There's no denying your Mopar blood Don, just knowing you'all went to "look" at a truck made me smile. Guess it's only fair I should go see what the P-15's are all about. 48D -
I "got" that the door was the best you could find, that's why I didnt suggest getting a different door. Not to mention the frustration when you think you found a better part and BAM! It has its own set of hidden problems. On a different note, a guy fixes a door like that, paints it, not many will even know what'ca did. Its a personal victory. Unlike chopping, frenching, or slammin', where the curiousity level is high. Fix'n a door like that, is good for the soul, its one of the reasons why I love the old iron. 48D
-
Judging by how deteriotated it is....I would suggest tearing the whole door down....bolts, glass, registers, rubber, etc. Get it stripped down to metal via sand blasting or better yet, acid dipped. Here's a DIY link: http://www.jefflilly.com/chevelle-restoration/acidtrip.pdf ) When you can see all the rust damage, then you can better judge the project. You can cut in new steel, fiberglass, lead fill, etc.... I think welding would be best, but there are some metal bonding compounds that are great for bringing together older "thin" steel and a patch panel. Here's a link: http://www.autobodystore.com/metal_bonding.shtml Either way...I would completely expose it, so you know what'ca got. 48D
-
1948 hood/fender/grille removal 101 videos
48Dodger replied to 48Dodger's topic in Mopar Flathead Truck Forum
I'm working on the cab removal now....hopfully it helps members who are completely new to these trucks, and maybe it'll help get some involved. And maybe my narrations will get better too, gotta learn to relax a little when talkin'. I'll keep the transmission video in mind. I don't want to spead myself to thin right now....got a bunch going on. I have 3 different type of trannys laying around here and I think I could put together a pretty good presentation with those. You're right Merle, 2 more bolts to mention. I'll try to edit what I have and update the first post. Again, thanks for the kind words everyone. 48D -
1948 hood/fender/grille removal 101 videos
48Dodger replied to 48Dodger's topic in Mopar Flathead Truck Forum
Well...it IS one of The Three Sisters...and I am showing how to strip them down.....lol. Maybe your computer program is smarter than you think. Thanks for the kind words Bob and Merle.....I'm gonna look into the 2 other bolts and do an addendum if I can find an example. 48D -
I don't know if anything has been done like this before, but I thought since I had "The Three Sisters" laying around in parts around the shop, I'd take a moment to make a few videos on how I take my trucks apart. I have no prior skill in narrating, so please, be kind. lol. I'm sure I made a few mistakes, so please help me make any needed corrections. 48D [/img] [/img]
-
I don't think its staged....if you look close, you'll see a vent window and side mirror. In the next picture the vent window is gone and side mirror is down...I think they needed clearance to pull him out through the window. 48D
-
Wish I could see the other side of the truck. I bet it got hit harder than it looks, they needed a crowbar and a sledgehammer to get the good door open. If he wasn't hurt bad, he could have climbed out the window, but I'm guessin he was hurt enough he couldn't move on his own. Amazing pictures. Oh yea....I bid on it.lol 48D
-
Which means......? No welded fenders? The body work looks rough, and the paint uneven. Probably why he went with a satin finish. The description makes it sound like the body and paint is complete, but doesn't come off that way. Otherwise, the guy put a lot of work into it. If there was more chrome, or the color was, say...charcoal gray or silver....the grille would look better, looks cool, but looks like its floating. So if it was mine, I put more highlights in, like black floorboards, unfrench the lights, accent the front with a bumber and/or black out the inside area of the grille. .....someone did ask me, right? lol:D 48D
-
I like it. Maybe you'd like it better Reg, if it was yellow? 48D