

ggdad1951
-
Posts
8,084 -
Joined
-
Last visited
-
Days Won
84
Content Type
Links Directory
Profiles
Articles
Forums
Downloads
Store
Gallery
Blogs
Events
Classifieds
Everything posted by ggdad1951
-
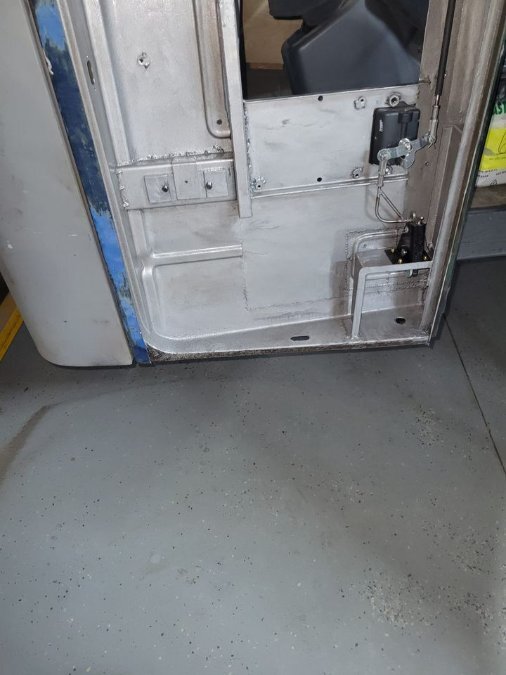
Under dash panels edge power hammered. Time to strighten and such before putting in holes and mounting brackets.

-
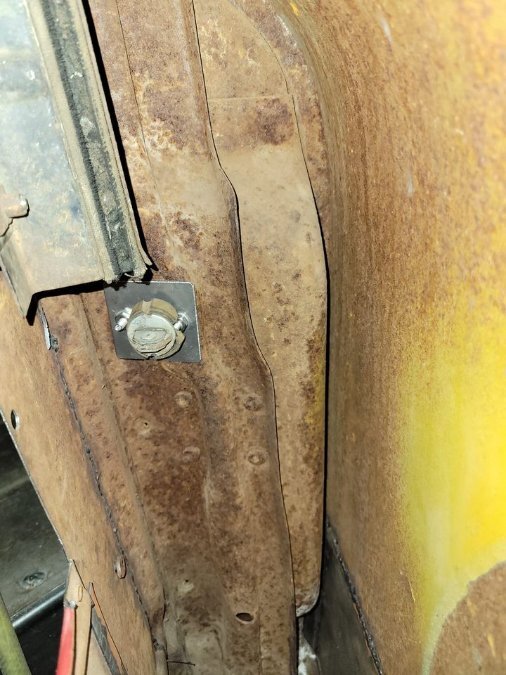
Added some metal to stop the interior door handles being lifted to lock the doors w/o a way to regain entry.


-

51 B3B build thread - after all these years
ggdad1951 replied to bkahler's topic in Mopar Flathead Truck Forum
Hopefully my messing with them a few years ago didn't come back to haunt you! Happy to see them being put to good use! -
17th Annual Clements Tailgate, in Clements California BBQ
ggdad1951 replied to 48Dodger's topic in Mopar Flathead Truck Forum
I thought it was "one cow" distance not 6'? -
My B3D goes 60 MPH all day long on my 4.10 gears....engine tach says I am below danger RPM by a comfortable margin (but I also have taller tires than you likley). At that speed I'm more worried about steering and braking with the "smart" people driving modern vehicles wilst on their cell phone than engine RPM.
-
Anyone Heard From Paul Flaming (pflaming) Lately?
ggdad1951 replied to JerseyHarold's topic in Recognitions and Remembrances
he's all over on the book of face. -
From what I've been told TIG puts more heat in but is softer. Meanwhile, under dash panel bucks made and panels hammer and dollied out. Next step power hammer a ridge in and trim up. Will hold the AC vents, AC control and radio.

-
...paint still to come my friend...as well as seam sealer to keep water out....
-
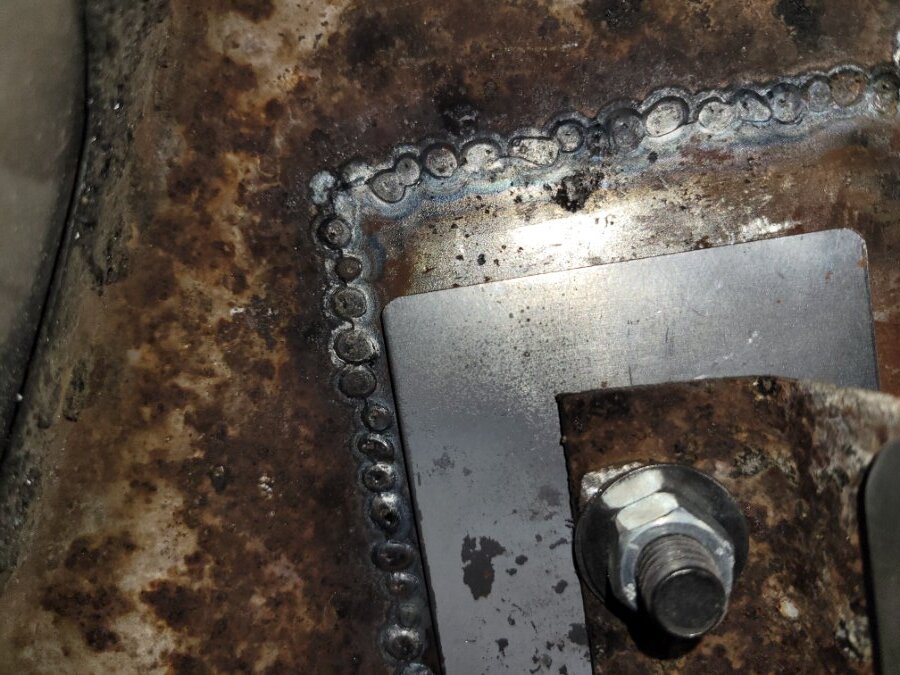
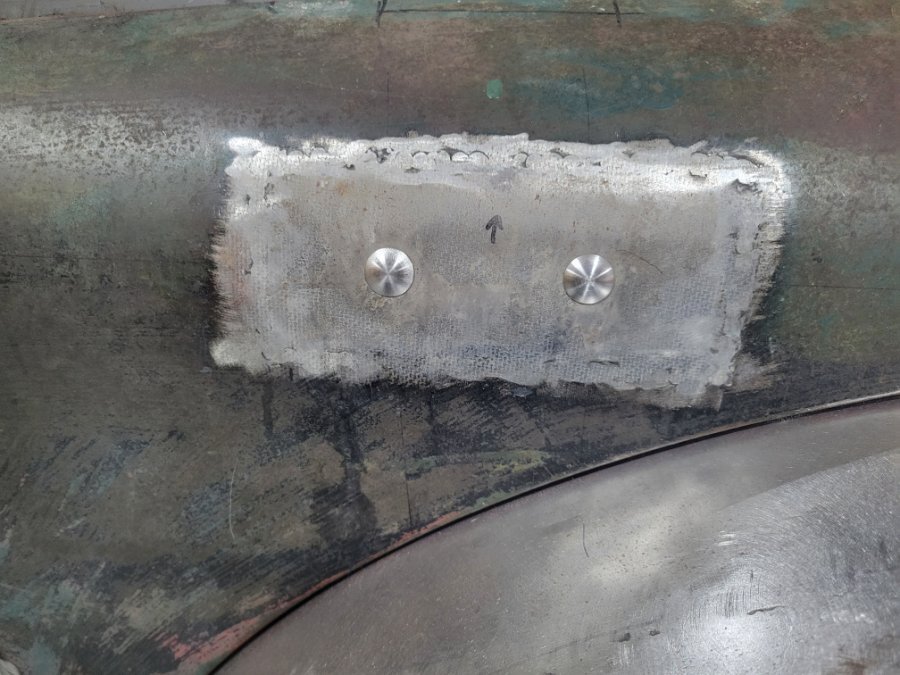
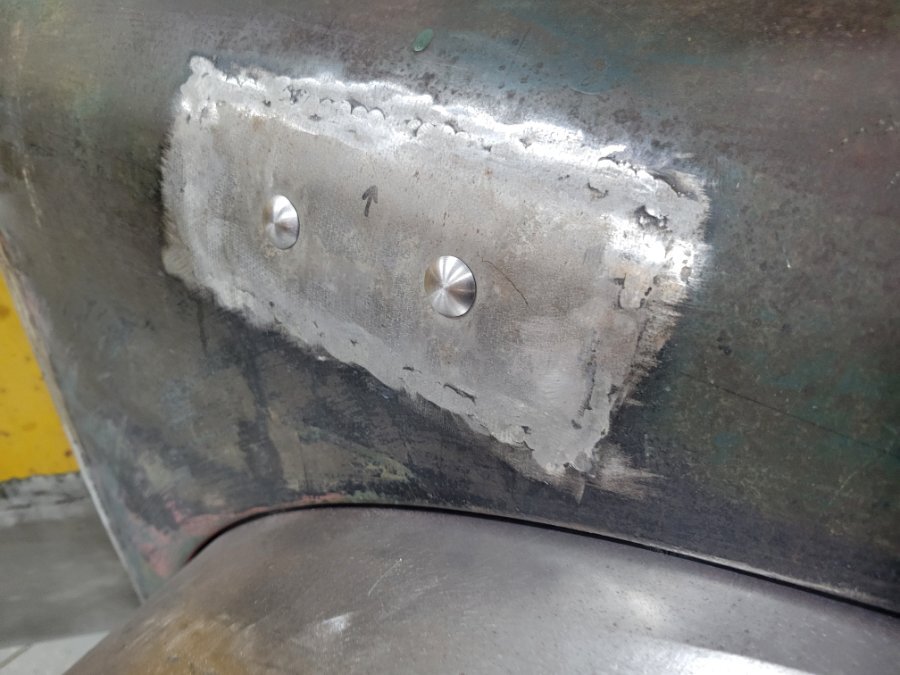
This is the backer plate
-
Clear
-
Fender rivet repair. Turned down 3/8" carriage bolts.

-
3/16" is the goal, that's what my paint guy wants....easy to grind away more if he needs more space
-
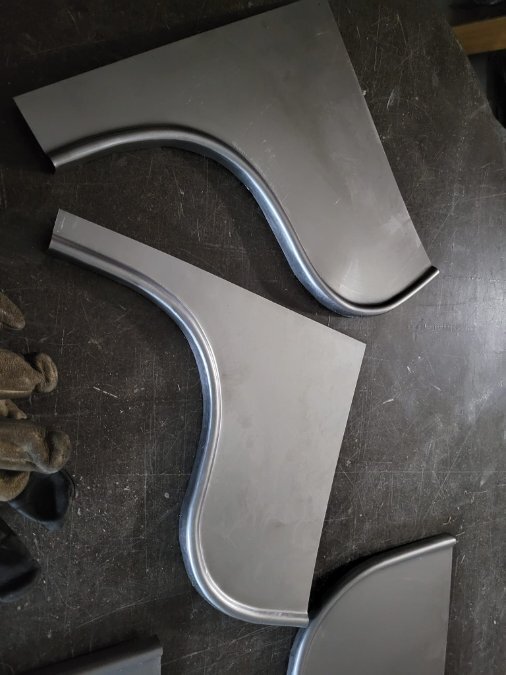
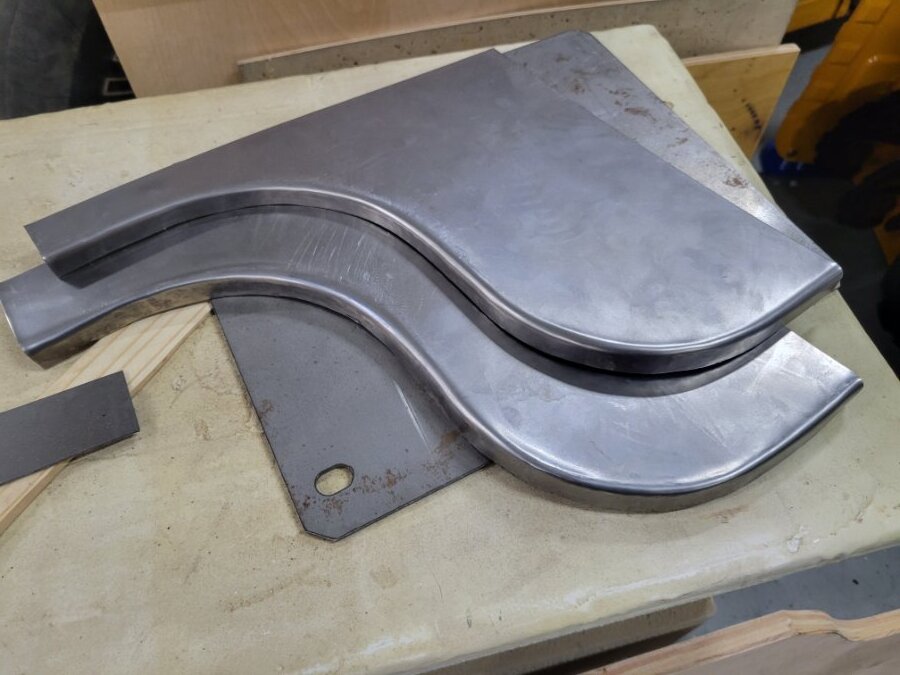
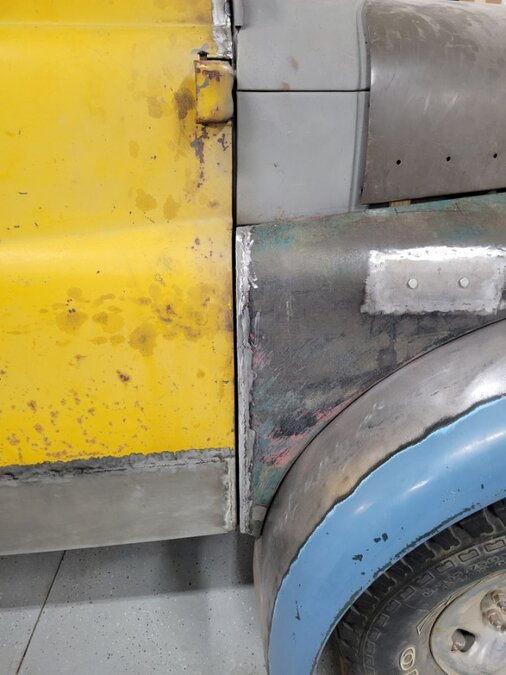
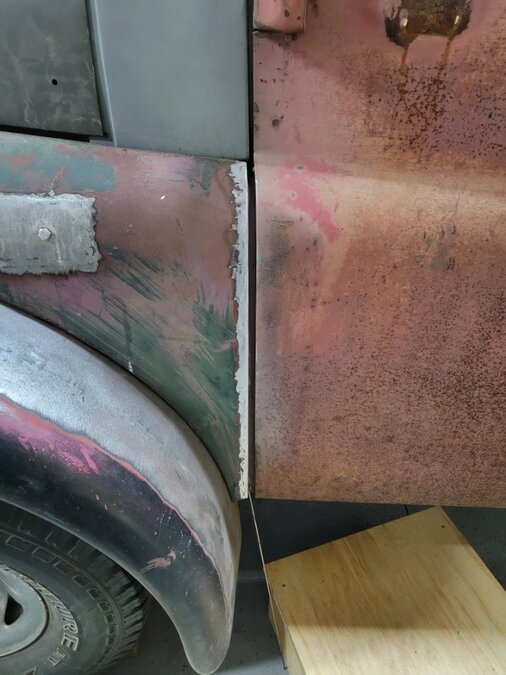
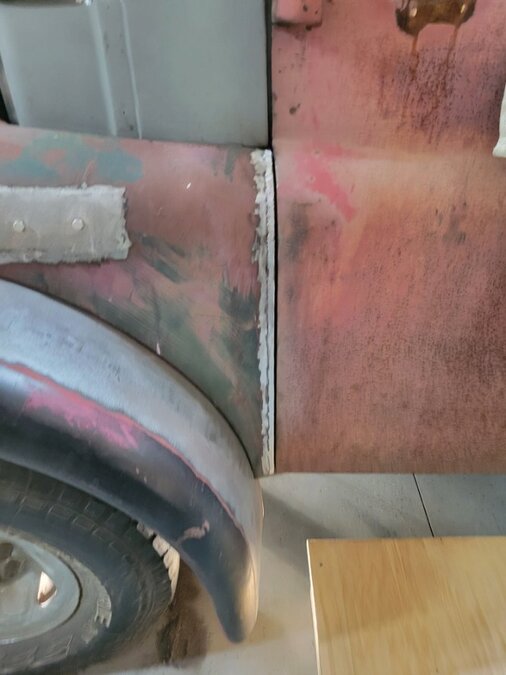
Building out big gaps on seams


-
Arm rests in the center of the cab do fold up.
-
I believe the arm rests both will fold up. If they don't, I'll let you know tomorrow.
-
For TODD I used 2001 Silverado seats, built in seat belts and power seats. BUT, since TODD isn't a stock cab, there is no seat pan. The floor is at stock level still tho, so I welded 2x2 steel to the cab frame and floor and bolted driectly to that. No, idea how they'd fit in an non extended cab.

-
ggdad1951 truck project montage: FEF!
ggdad1951 replied to ggdad1951's topic in Mopar Flathead Truck Forum
Tipping doghouse basically done, some welding needs finished off under the rad support.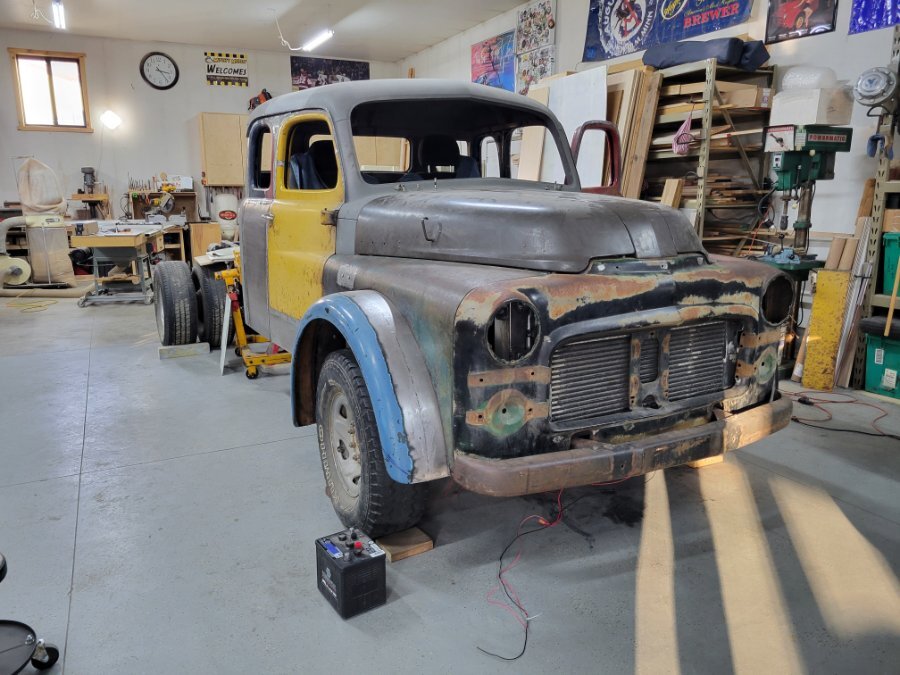

-
that is a NICE blue!
-
ggdad1951 truck project montage: FEF!
ggdad1951 replied to ggdad1951's topic in Mopar Flathead Truck Forum
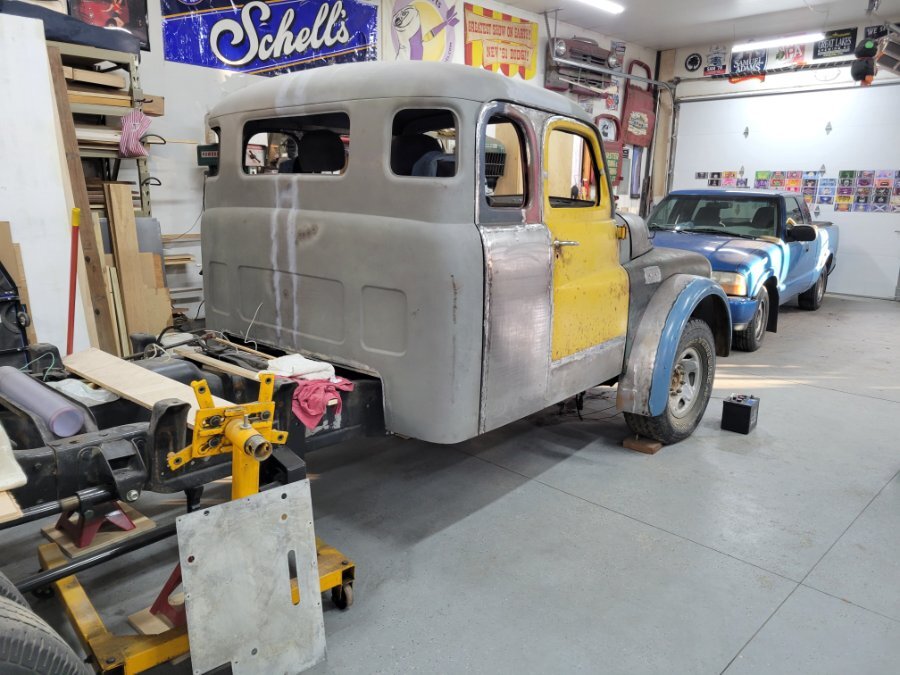
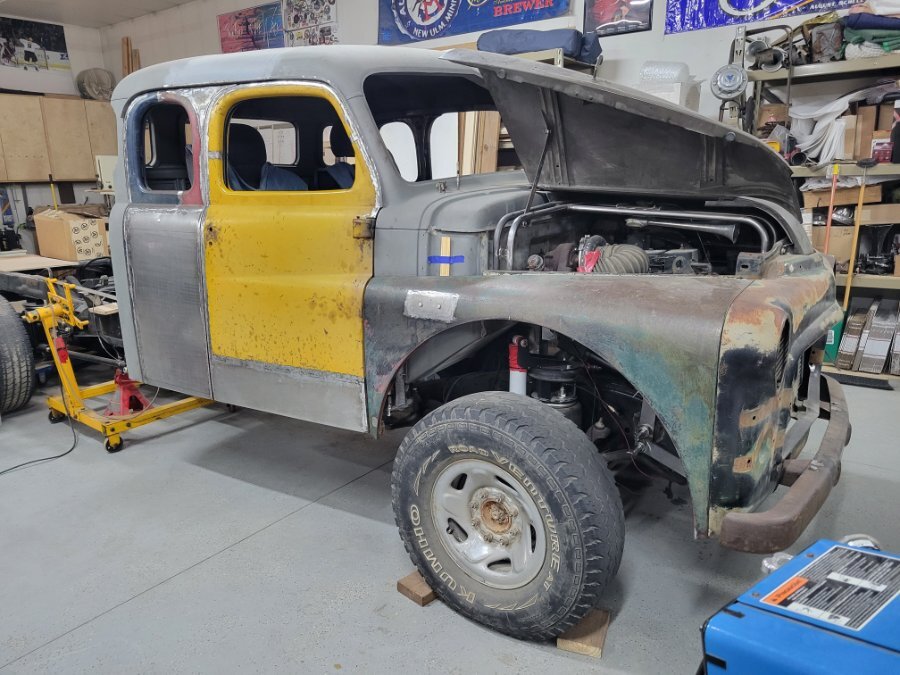
Diver side done. Turned out way better!
-
ggdad1951 truck project montage: FEF!
ggdad1951 replied to ggdad1951's topic in Mopar Flathead Truck Forum
On to the driver side....odd that the second time seems to always go better/easier lol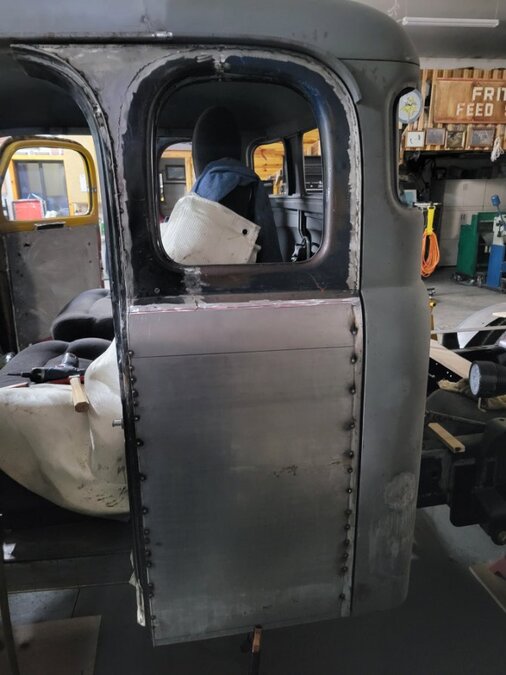
-
ggdad1951 truck project montage: FEF!
ggdad1951 replied to ggdad1951's topic in Mopar Flathead Truck Forum
So either it's done or I have more work to do. Have to finish door gaps yet on the rear for sure.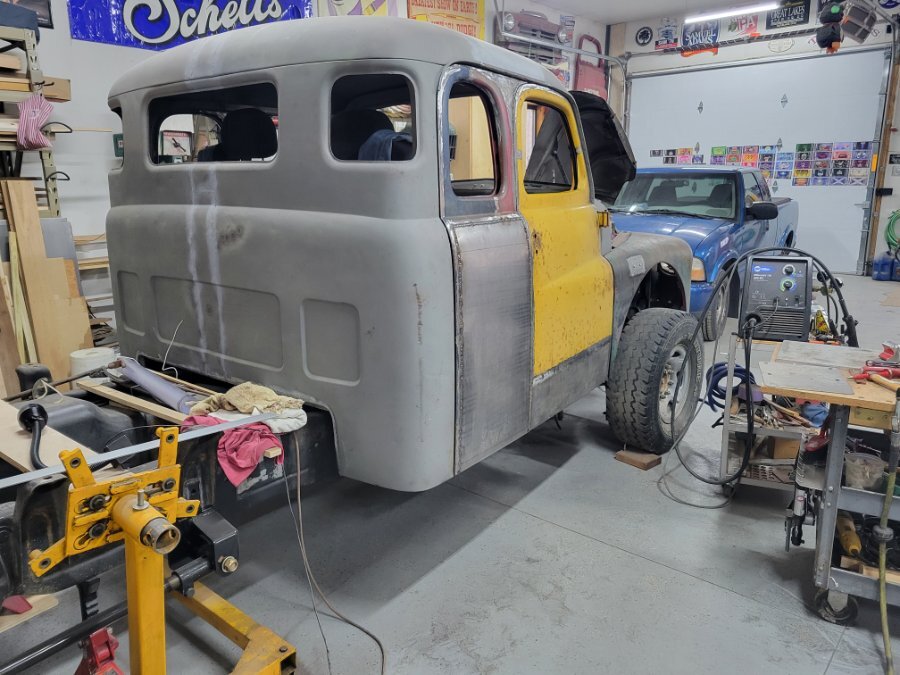
-
ggdad1951 truck project montage: FEF!
ggdad1951 replied to ggdad1951's topic in Mopar Flathead Truck Forum
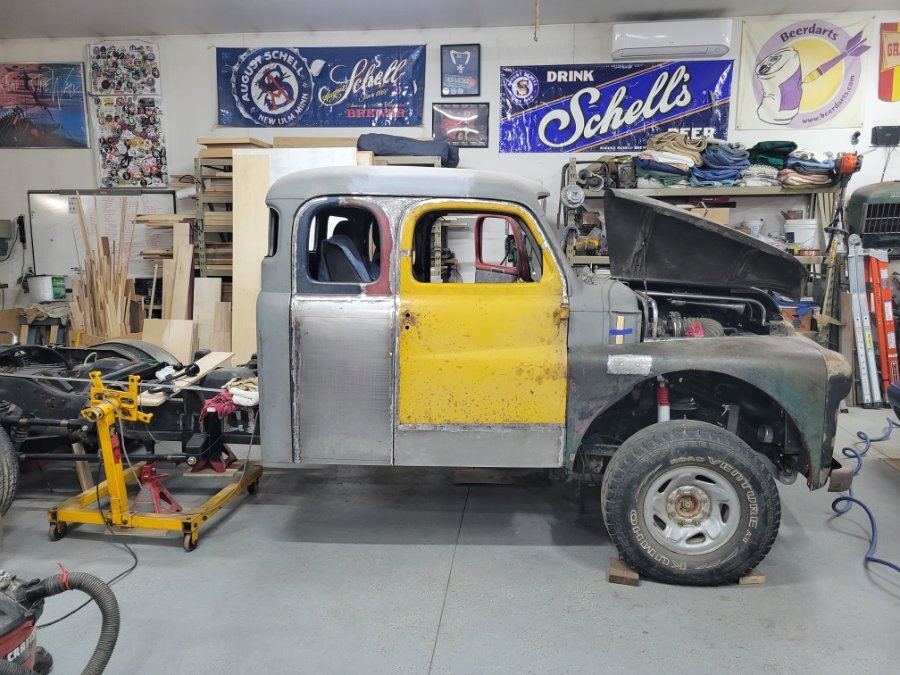
Passenger side tacked on...fingers crossed! Oddly a few things moved around putting it on. Should be simple to adjust back


-
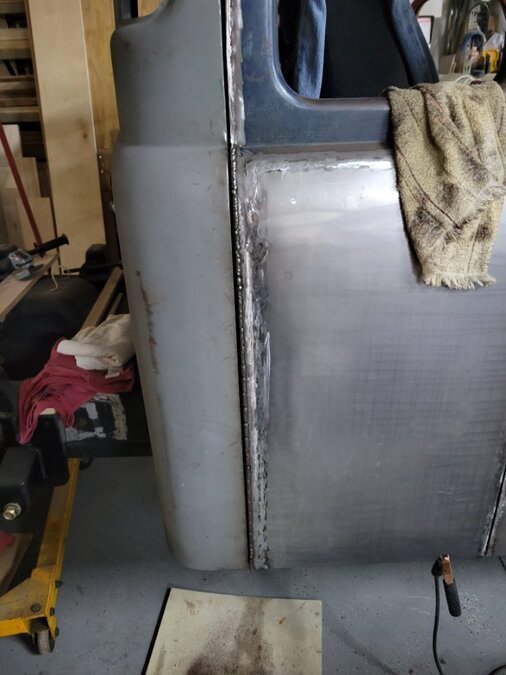
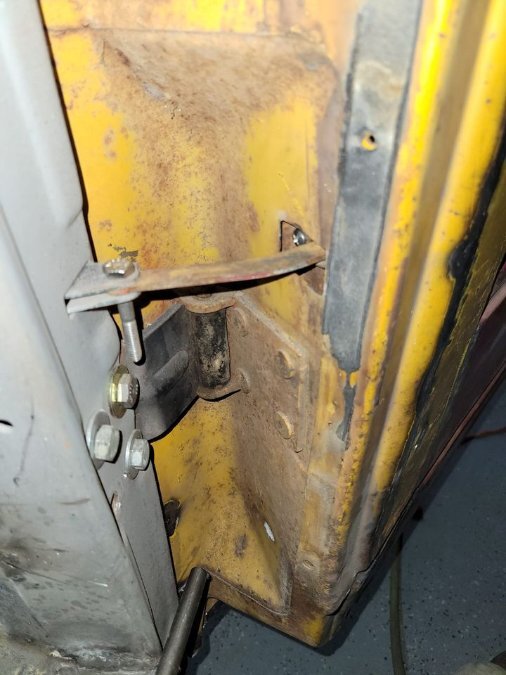
Rebuilt the door check arm area on both doors: replaced the broken/missing keeper section and re-enforced the area with another plate of steel. Cleaned up the rear doors and prepped for skin addition.
-
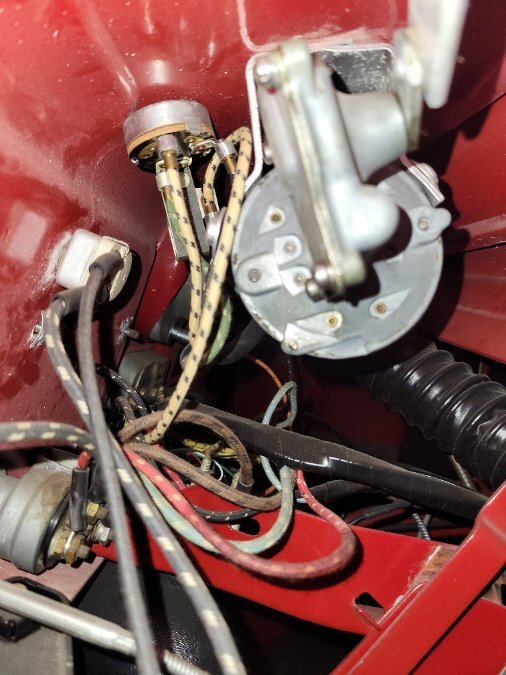
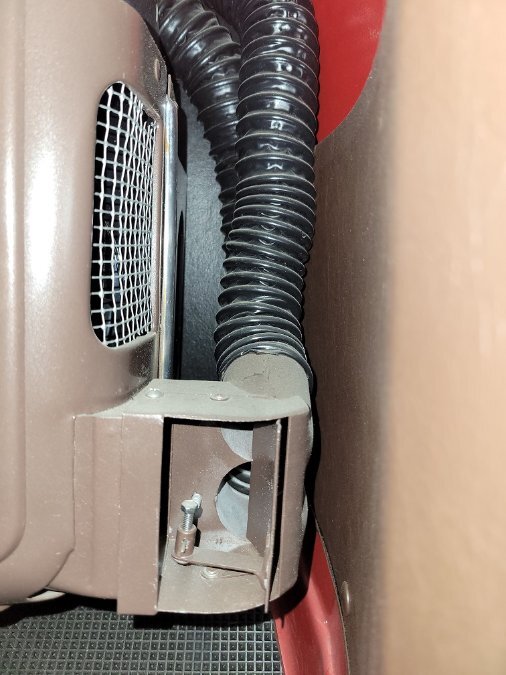
ANSWERED Mopar Deluxe Model 36 Heater Ducting Routing
ggdad1951 replied to jwolf's topic in Mopar Flathead Truck Forum
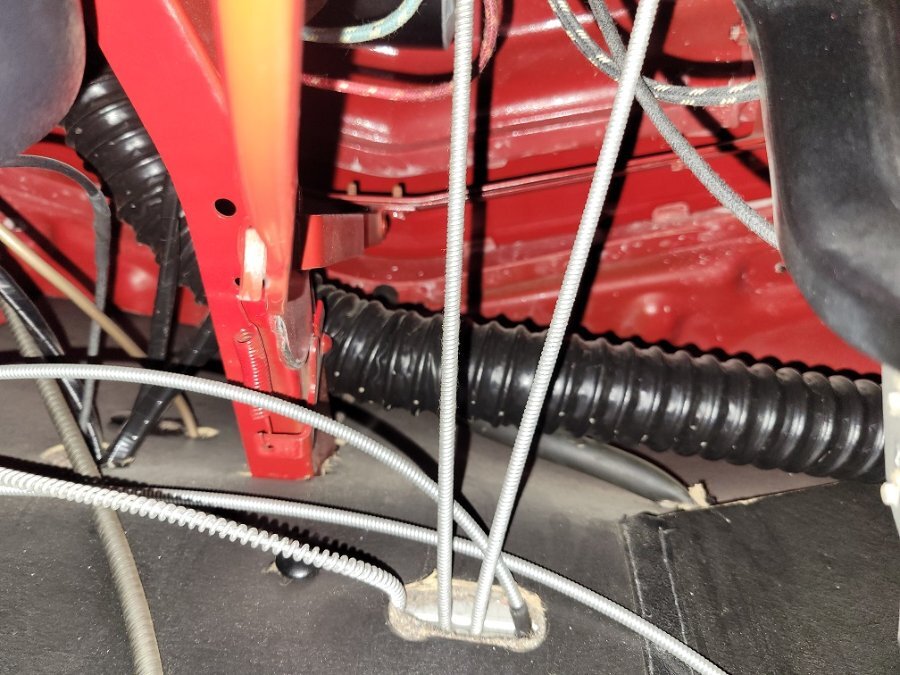
Here are some pics if they help. Looks like I need to dust under the dash! passenger side over glove box center under the cowl vent looking towards the driver side heater distro
-
Final PIN in this is the trailer frame sold and Brad bought the bed sides for his project and I coudln't be happier they are going back on a truck project!

