Jeff.P_46
-
Posts
189 -
Joined
-
Last visited
Content Type
Links Directory
Profiles
Articles
Forums
Downloads
Store
Gallery
Blogs
Events
Classifieds
Everything posted by Jeff.P_46
-
I used a MPM universal under floor style with booster, got it from piratejack.net. They are actually part of of MBM but have better prices. Jeff
-
I would start in the center and just see how it goes. You can also make a slapping spoon out of a mill or basterd file, push up on the area with a dolly, piece of wood etc... and slap the area. The ridges of the file create small valleys in the metal which take up the excess metal. A poor mans shrinking disc can be made out of a worn out 7" grounding disc, you just need something that will cause friction. Jeff
-
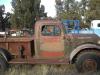
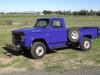
Got it running and now I need to take it in to get it aligned and have the windshield put in and then I'll be able to hit the road Jeff
-
Hi Joe, I bought a shrinking disc and also made one. It's definitly a learned technique. It works better over a rough surface were there's highs and lows, the high spots heat up and when you cool it they shrink. I think you would be better off using the torch just do dime size areas to cherry red and quench them. Jeff
-
A homemade Ute http://bend.craigslist.org/cto/1091386947.html

-
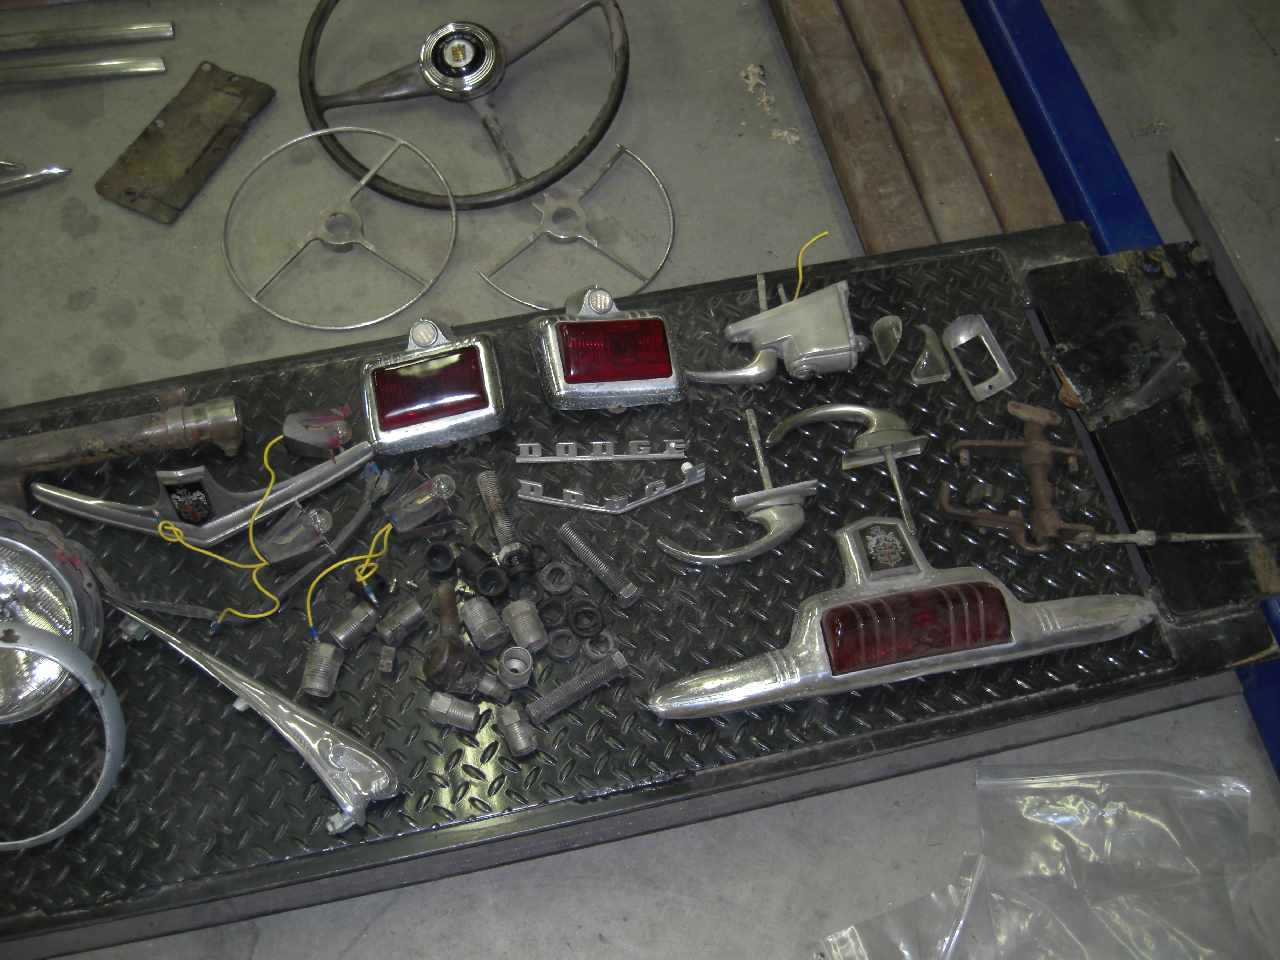
Thought I would add prices on the D-24 parts (off '46 3-window coupe) Let me know if there is any interest Thanks Jeff • Front marker lights, glass/trim good, one bucket has a few rust holes $20 • Front headlight bucket assemblies with bulbs and rings $20 • Front coils, cut $10 • Master cylinder/pedal assembly, rebuilt master $20 • Tail light assemblies, wall hangers, 1 good lens $10 • Brake light assembly, wall hanger, good lens and badge $15 • Door handles $10 • Front end rebuild parts, new trunions, 2 new bolts, 2 used bolts $10 • Nose trim with badge $15 • Nose Dodge piece $10 • Used uprights $10 • Front hubs, complete, new wheel cyl, hose, shoes, seals, drums good $100 • Rear gravel guard, good condition $75 • Gas pedal & bracket $10 • Gas filler $10 • SS body trim, complete set $200 • Rear fender bolts free
-
I don't know why but I always have left-over parts evertime I work on something
-
I posted this over in the parts-for-sale section but thought I would mention it here also. I decided to start selling my left overs, if you sell anything that's interesting to you let me know. Thanks Jeff
-
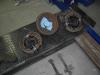
Yep, they are artillery wheels Jeff
-
I also have these non Chevy projects but it will be a few years before I can get to them (and no, I won't be putting a Chevy in them Jeff
-
I do have 2 flat heads, one out of my '61 W300 (I did put a 318 in it) and one out of a '46 dodge truck that we scrapped on the ranch I grew up on (I've hung on to it for 30 years), but they both need to be gone thru. The Chevy was the easiest to get it back on the road in the least amount of time. Jeff
-
I would have put a 318 in it but I already had so many Chevy parts that I couldn't justifiy spending the extra money. Jeff
-
Last pic
-
More pics
-
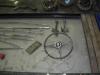
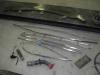
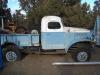
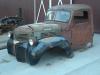
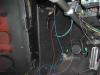
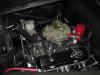
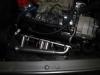
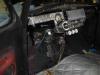
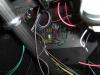
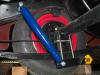
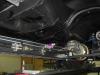
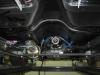
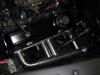
Here are some progress pics of Betty. Had to make shims for the rear end to get the pinion up because I didn’t take the time to check the position of were the spring mounts road on the springs before I welded them. I thought the rear end pads set at the lowest part of the spring. You can also see the under floor master cylinder I installed. The engine is all plumbed and wired now. I’m trying to finish the rest of the wiring so I can start it, I am about 75% done. I installed an EZ-Wiring fuse block and made a large enough mount to add some relays for the electric fan and door solenoids. Since my stock gauges need some work to be functional again I am adding some under dash ones for now. You can also see one of the ABS kick panels I made, need to add some hold sown clips but it sure bets the old rotten masonite ones. I'll need to this in several threads to load the pics. Jeff

-
Anybody Use Eastwood's Extreme Chassis Black?
Jeff.P_46 replied to Bingster's topic in P15-D24 Forum
I used it on my firewall and inner fenders and was very happy with it. It went on nice and seems to be pretty tough. Jeff -
I think you have to bend/swag the hinge point forward, anyway that's what looks like was done to mine. I can see some signs that it was put in a press brake. Jeff
-
I was able to get it thru a local supplier, go to http://www.zerorust.com/ and contact them to see who your supplier would be. The cost is about $61/gal and you can also get it in spray cans. If you plan on the stain black just be careful because it is very easy to get tiger striping. Jeff
-
I put an epoxy primer on the phosphated metal then did some bondo work on top of that followed by some primer/surfacer and finally the Zero Rust. I will probably leave it like this, Zero Rust can be the top coat or be top coated. Jeff
-
Thanks Fred, I used Zero Rust for the seal coat Jeff
-
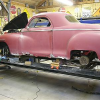
Where has the summer gone? Finally had some time to put a black seal coat on, now I can put all that behind me and start plumbing the brake and gas lines. install the wiring kit I got and get the engine running etc... etc.... Maybe by spring I will be able to roll out of the shop under its own power Jeff


-
Rustmort is a conversion coating for converting surface rust and is not recommended for sandblasted or clean/nonrusted surfaces. It will leave a film on the metal surfaces that paint will have a hard time sticking to. Been-there-done-that Jeff
-
Should be a 7 degree taper Jeff
-
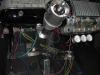
I moved my 350 sbc over 1.5" and made a bracket to shift the LH mount forward to clear the box. Jeff

-
The picture shows the mock-up steering shaft, should have about 3/4" or better clearance. The steering shaft will have a u-joint at the box and one at the firewall. Jeff