

40plyrod
-
Posts
869 -
Joined
-
Last visited
-
Days Won
4
Content Type
Links Directory
Profiles
Articles
Forums
Downloads
Store
Gallery
Blogs
Events
Classifieds
Everything posted by 40plyrod
-
Thanks for your replies Andy. I'll do a little more trial and error and see if I can get something to work.
-
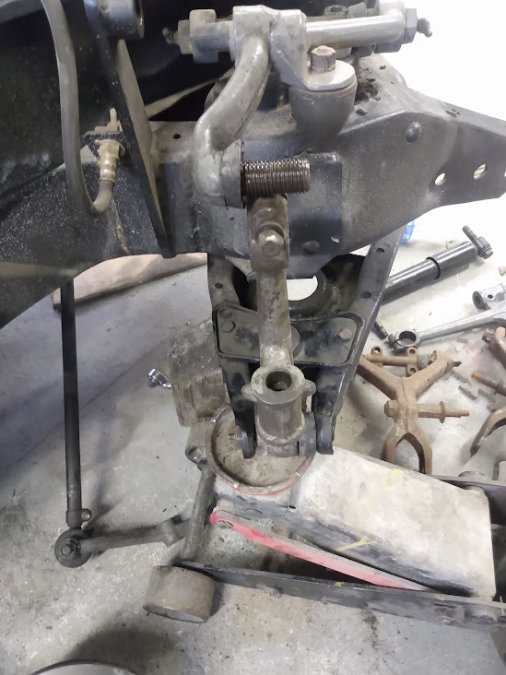
I tried both on the passenger side and took pictures to demonstrate that there was no difference between the two other than the shock mount direction. This leads me to believe that there must be a difference in the lower control arm between the '40 and the '48.
-
Yes, I put both drivers side and passenger side uppers on to check alignment but they both are the same and I'm not noticing any sweep difference between the two. Next step is to either get another upper on the chance I have 2 driver's side (one with the shock mount in backwards) or take apart the driver's side and try one over there and see if it lines up. Thanks again Andy for you help.
-
Thanks Andy for you response, here's a few pictures of what I'm up against. I don't see any offset difference between the left or right upper control arms. The stock 40 upper control arm lines up but the later style is quite a ways out which leads me to believe nothing is bent and I don't think there is enough adjustment in the bushings to get it to match up. That's why I'm wondering if the later lower control arms are different as well.


-
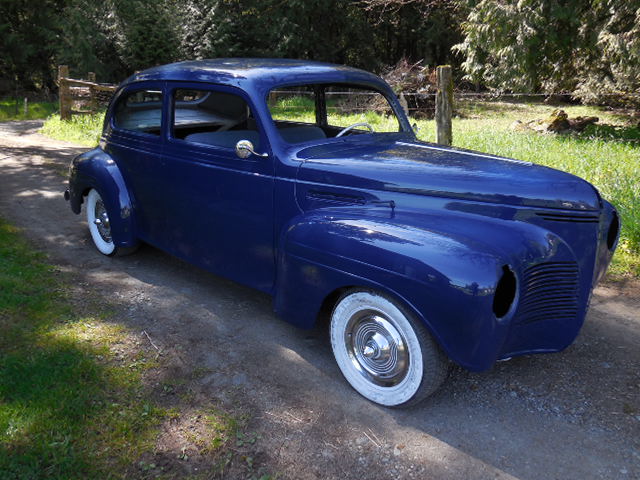
Hi guys, it's been awhile since I've posted to this site, life got busy but I'm back and am having a parts interchange problem. I've got a Canadian made 1940 Plymouth sedan and I'm working to install a set of dropped spindles. I'm trying to swap out the upper control arms from the 40 for a set from a later model (1948 I think). I've learned that some of the 1940 Plymouths used a 2 bolt attachment for the upper control arm but mine is a 4 bolt link so the newer style control arms bolt right up however they don't line up with the lower control arm so I can't install the upright. Is there a difference between the 40 and the later lower control arm? Would anyone have an interchange parts manual that can check this for me? Anyone have any experience doing this. I know from doing some research on this site AndyDodge has done this with no issues. Thanks for any help. Ed
-
 That's pretty rough, I've seen better ones come up but anything is fixable with time and determination. Where are you in Canada? My '40 was missing most of the grill bars and I won an eBay auction for what was advertised as a complete set with extras. Turned out to be for a '41 when it showed up (got hosed when seller asked for extra money to ship and then parcel showed up COD but that's another story) but I was able to modify them to fit (had to wife was unhappy with the cost to start I couldn't tell her they wouldn't work).I think I have some pictures of the ordeal on my build thread.
 -
As a resident of Vancouver Island about an hour's drive from Victoria and coming from a long line of snow haters, I can say we may not get much snow most years (although I'd say more than our fair share)but we hate any snow that we get well before early March. ?
-
A most recent pic, and the story...Share your old Mopar!
40plyrod replied to keithb7's topic in P15-D24 Forum
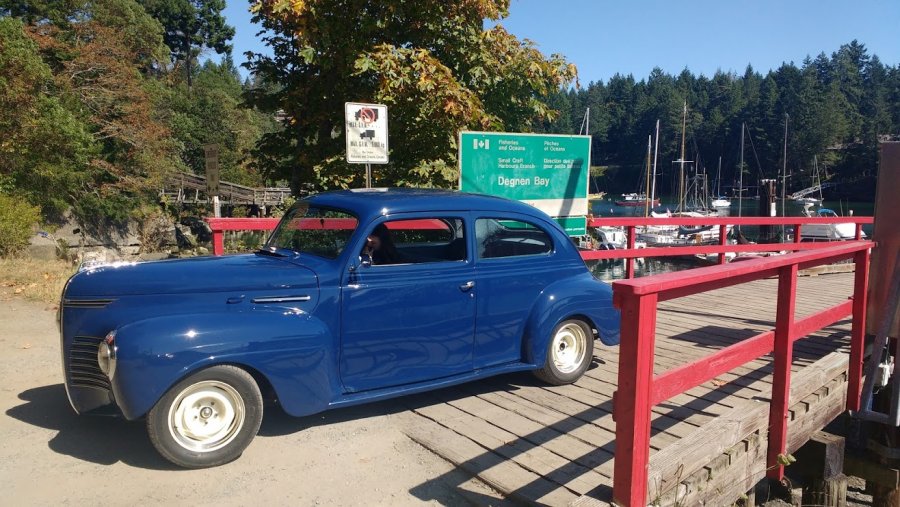
Graduation pictures here too. I didn't think there would be much going on this year so I only insured the Plymouth for the day on my daughter and her date's prom (such as it was). Sure felt good to be out in the Plymouth. I took the longer way back home.?


-
Custom dual master cylinder mount. Clearance concern
40plyrod replied to 40desoto's topic in P15-D24 Forum
The brakes work very well. I used mid 70's camero callipers and a 2lbs residual pressure valve on the front and nothing else. -
Custom dual master cylinder mount. Clearance concern
40plyrod replied to 40desoto's topic in P15-D24 Forum
You mount looks similar to the one I made for my 40 plymouth. I had to heat the pedal arm to go past the master cylinder, maybe that and option for you too? Here's the link to my build the master cylinder upgrade is on the 1st page. -
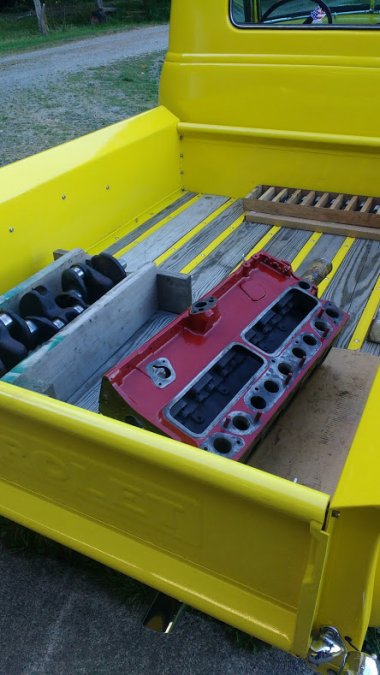
Haven't contributed much to the forum lately so here's a few with the Plymouth from a trip I did with my youngest daughter back in September and a few with the truck from a Day in October that was much too nice to stay at work.


-
Nice car. Stance looks great. Any build pics.
-
I did notice the glove but from the comfort of my living room it looks like a scenic drive in a roadster on a beautiful warm sunny day.?
-
I like that view Bill, where was this taken? Somewhere between California and Kentucky?
-
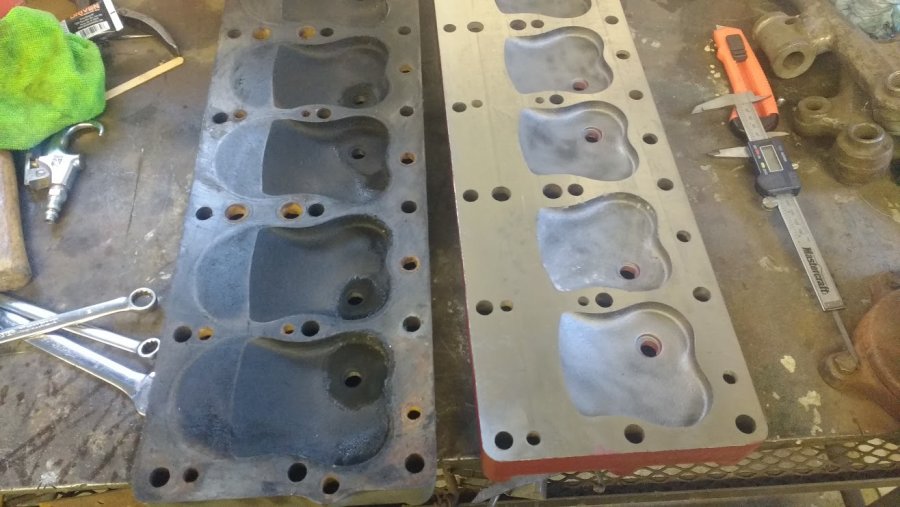
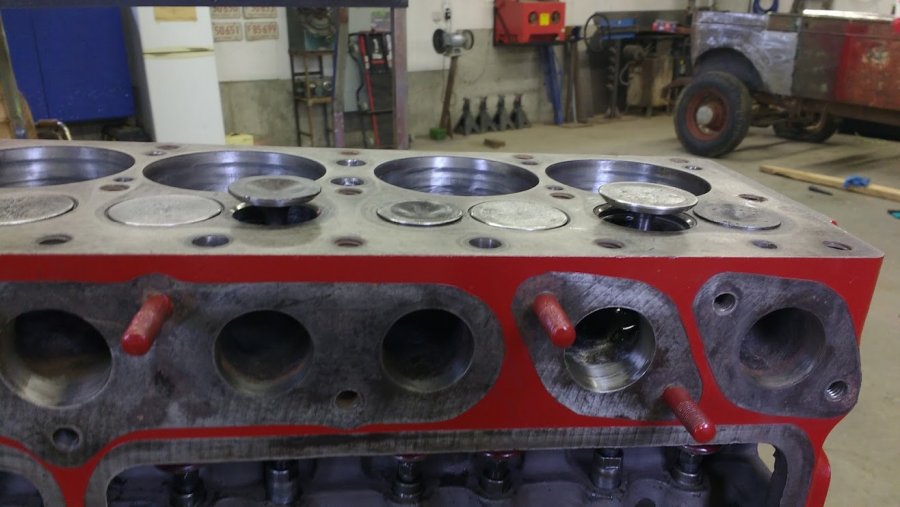
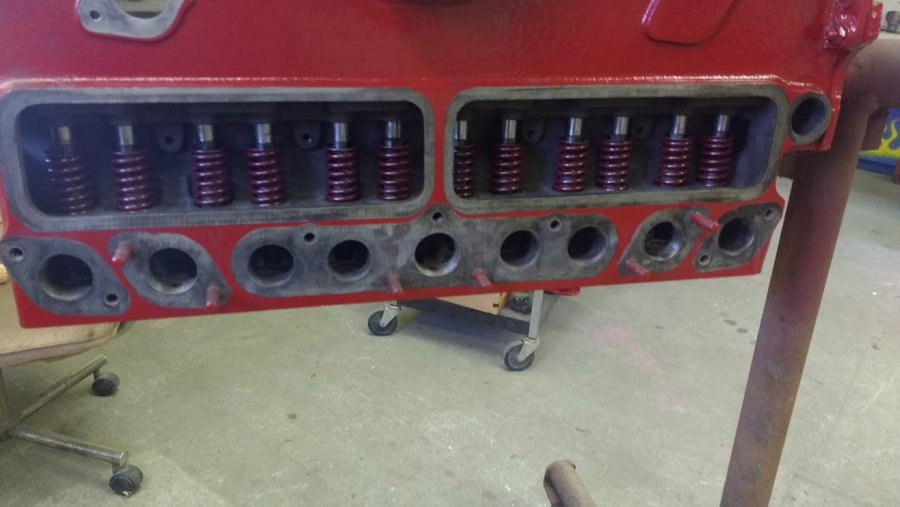
X2 on the use of clay to check you clearances. This is what happens when you just assume that the head hasn't been planed and you ask the machinist to bump the compression (regrinding the cam for performance didn't help either). Machine shop said they only took 40 thou but measuring it to another head it looks like about 1/8" been removed over it's life. Thankful I decided to check the head clearance by hand before tightening everything down and hitting it with the starter!
-
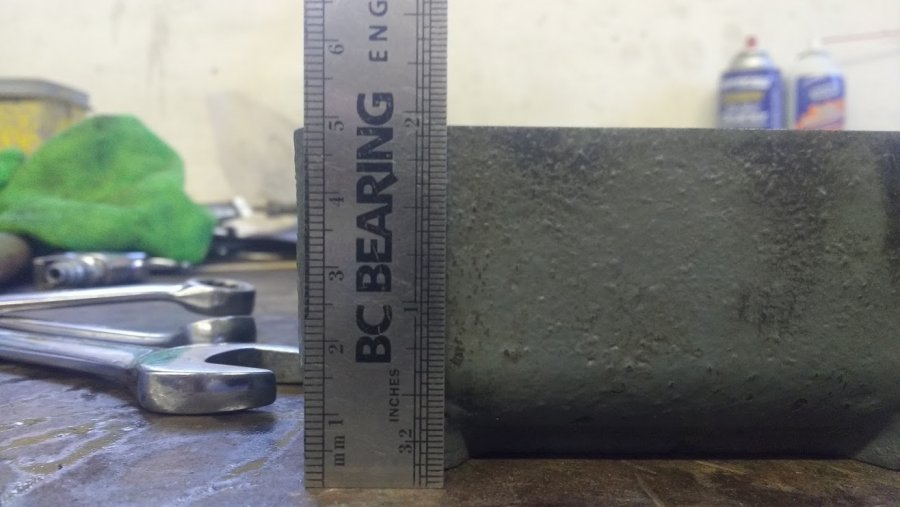
Well, David came to my rescue again and supplied another spitfire head. I'm going to be a little more careful this time, I don't want to deplete the entire supply of spitfire heads. Plans this time call for cleaning up the head and installing the head with gasket and putty in the combustion chamber, that way I'll know how much I have to "play" with. I'm thinking of being quite conservative this time and only surfacing it to be flat. Comparing the thickness of this head to the last, it seems at least 1/8" was machined off. I'm fairly confident that the machine shop wouldn't have taken that much off so it must have been machined a couple of times before and I didn't check it before sending it out.

-
That is the road into the Black Goose pub in Parksville, BC. Use to take my kids to Beach Acres cabins right next door every spring break when they were little.
-
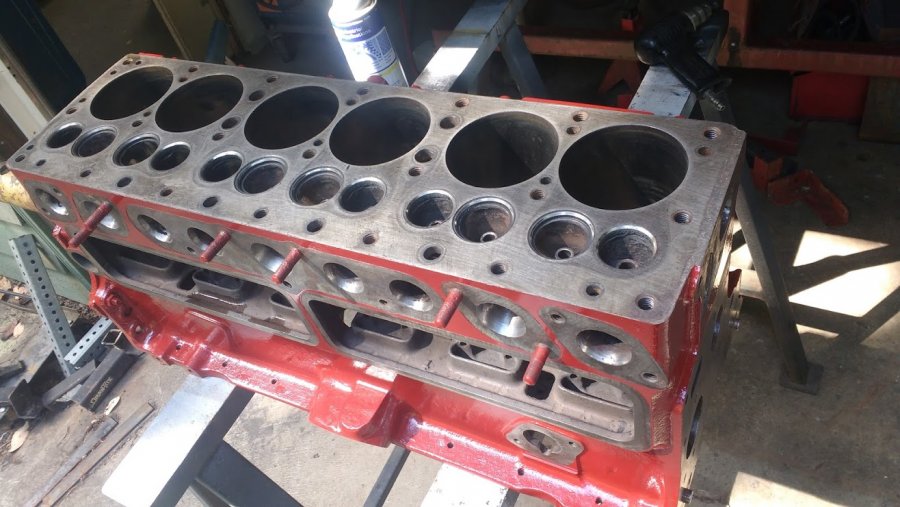
And now for the problem! As mentioned this engine is being put together at home from a mixture of parts from different engines. Parts are being sent out to the engine machine shop, machined there in house or in the case of the cam sent out from there to the cam shop. The only person that has all the parts at the same time is yours truly and I don't have a real blueprint or master plan. My instructions for the machine shop is plane the head a little, make the cam a little "lumpy" with no real measurements, so this is what happens... Yup! I read about how sometimes if you have too much lift and plane the head too much you'll get interference problems but that won't happen to me right? Luckily I decided to put the head up on there to check just in case. I would have hated to find out there was a problem at startup? Turns out that I am able to get the clearance needed with a different head. I think the head may have had too much taken off or had been machined before. This is a very unscientific way to check but if I measure the thickness of the head at the bolt head boss there is a massive difference and the combustion chamber look significantly smaller. Oh well, you gotta learn someway and now I have a great spitfire wall hanger ( almost an offering to the god of speed ?)


-
Lastly install the valves and keepers. I was able to do this but it definitely tested patience. Trying to get my fat fingers to put the keepers in with everything else in the way and all covered in assembly lube...(insert pulling your hair emoji here)

-
It's fun but the worst is yet to come!?
-
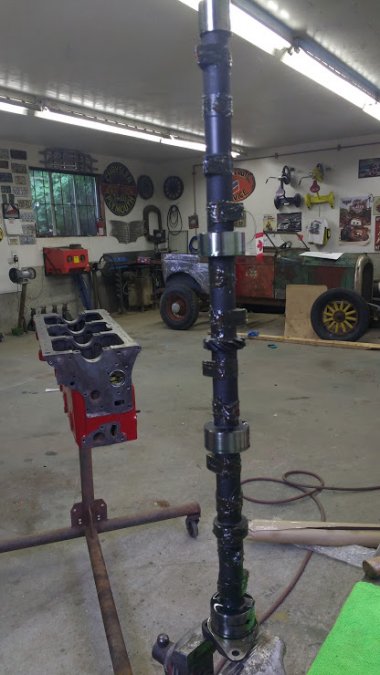
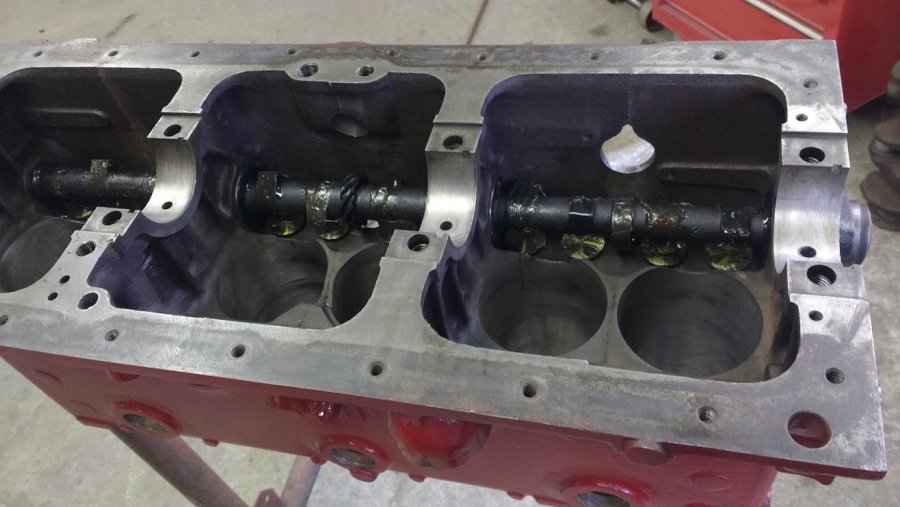
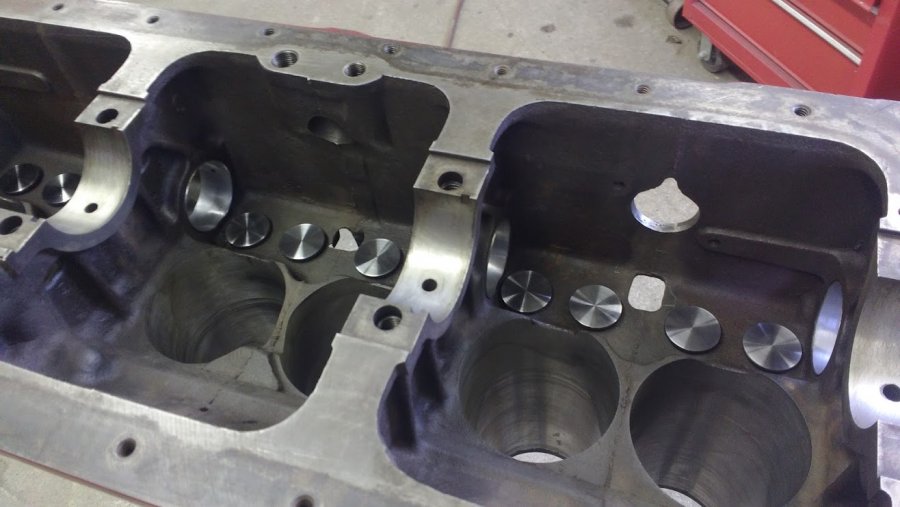
Then heavily lube the cam and install, Yay!! This was the 1st time seeing the cam also. I'm not sure what the regrind is spec-wise but I compared it to an old cam I had hanging around and you can definatley see where the meat has been removed for the heel.


-
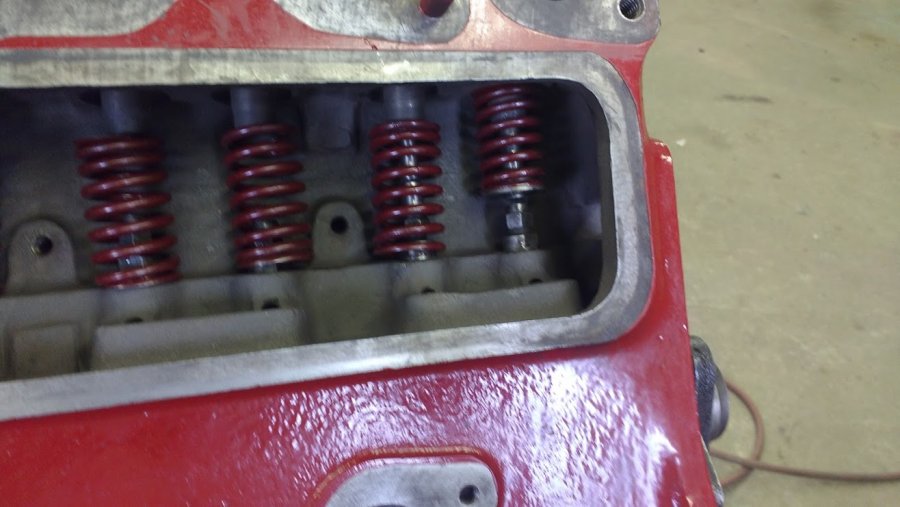
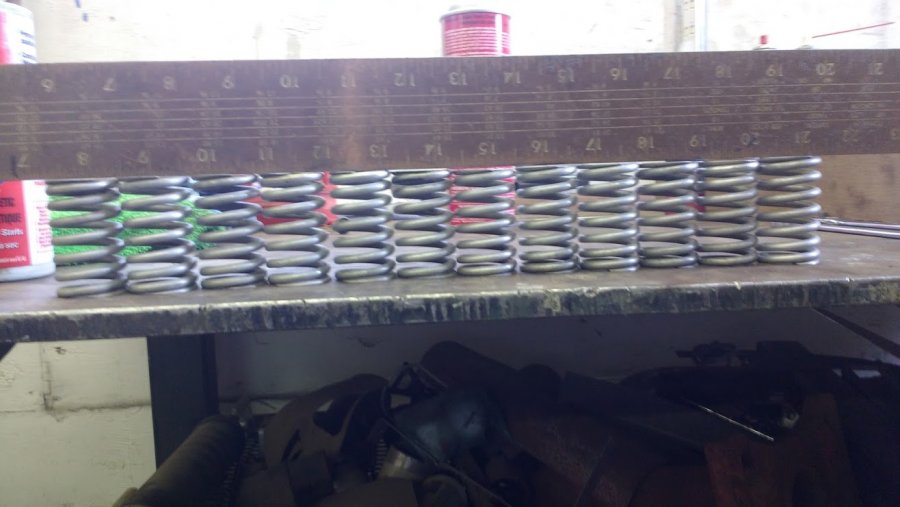
Next step was lift the lifters and install the springs. I had two sets of cleaned up springs, a red set and a silver set. I lined them up and checked them for uniformity. Both sets were pretty good but the red set showed less wear on the ends so I used them. Note this motor is being built from a selection of new and used parts from various motors, I guess more an old school rebuild.?


-
Today was finally the day to start assembly! I have all the important pieces collected, everything has been machined and cleaned and re-cleaned and then cleaned again. I may be doing this the wrong or hard way but I started out today by installing the lifters. I had them resurfaced when the cam was reground so this was my first time looking at them since i got them back. They all looked good and they dropped into place easily coated with assembly lube.


-
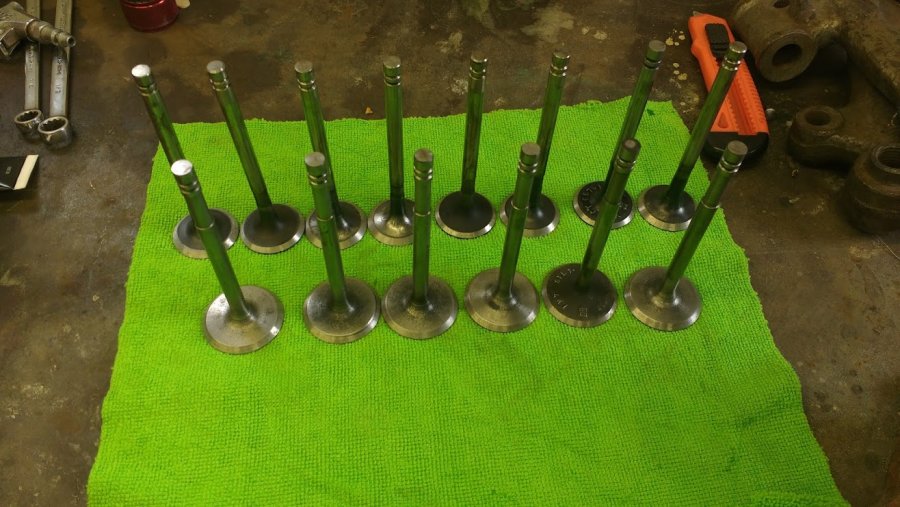
Managed to get to David's place a couple of weeks ago to grind valves and seats. I thought I had taken more pictures of the day but apparently we were having too much fun working and BS'ing to take pictures so only a couple of shots. While grinding valves we found a few that were bent so David produced a few replacements from his collection. Also installed the new cam bearings, no pictures of that process. David also sent me home with another 8 bolt flange 4 1/2" stroke crank as the one we had intended to use was only a 4 bolt.
-
Beautiful car! Persistency pays off.
