Leaderboard


Popular Content
Showing content with the highest reputation on 10/09/2019 in all areas
-
with a little help from some friends....
 3 points
 -
Also a 1934 plymouth tractor with a hercules 4 banger, not a chrysler product...later became Silver King. Sued by Plymouth and forced to drop the name.2 points
-
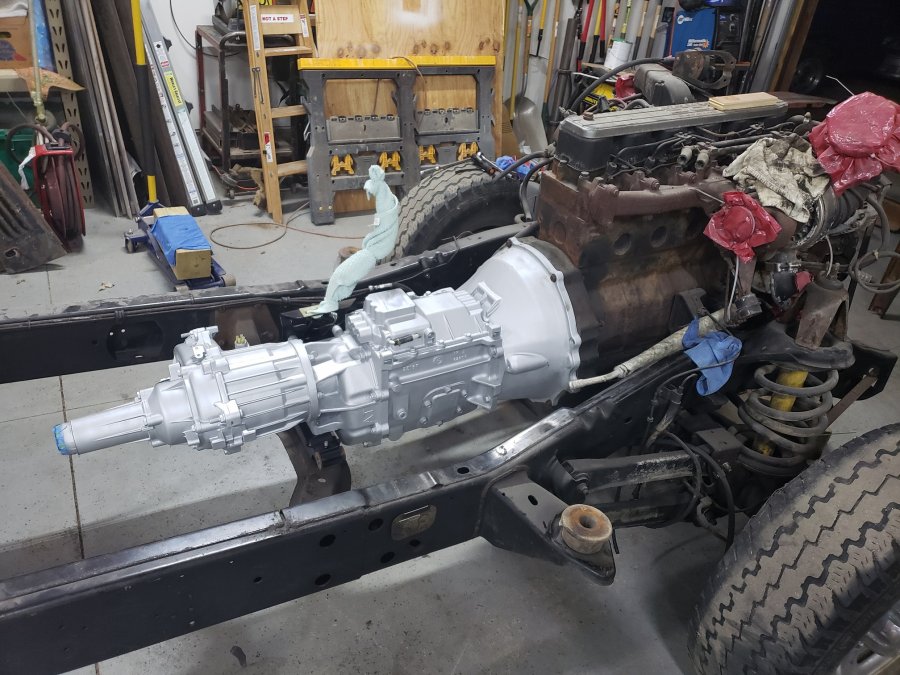
You know me well! I do want to add a Silver King or a Plymouth to my collection. First - though I want to add an actual Chrysler powered tractor to my collection. I have one I am going to look at on Saturday actually..... I was already planning on taking a lot of pictures because I am sure many people have never seen a WWII surplus Chrysler powered tractor before - this one has a 230ci engine, fluid drive, 5 speed??? truck trans (what I have been told), a 2:1 gearbox that was tank surplus, and a truck rear axle with planetary gearboxes on the ends.1 point
-
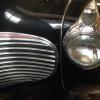
Found it! Right behind that radiator in front of the battery where junker72 sad it was. Thanks guys. I appreciate the help.1 point
-
You can also pull the worm and clean and relube it. Messed job and could stain your rug and upholstery. Disconnect the cable from the gauge. Reach into the cable with needle nose pliers. Pull the square end of the inner workings out. You might want to spread out some old sheets or towels to protect the area, as the worm is about 5 or six feet long and will be covered in grease. Once removed, clean with light solvent let dry then use graphite, or white lithium grease to re coat it as you slide it back in. Reattach the cable to the speedo should be good to go.1 point
-
Driver’s side , top of frame rail near radiator . Under battery area accessible from top1 point
-
I used a small round wire wheel attached to a cordless drill and then some emery cloth. Whatever you do....Do it gently1 point
-
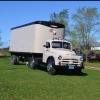
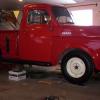
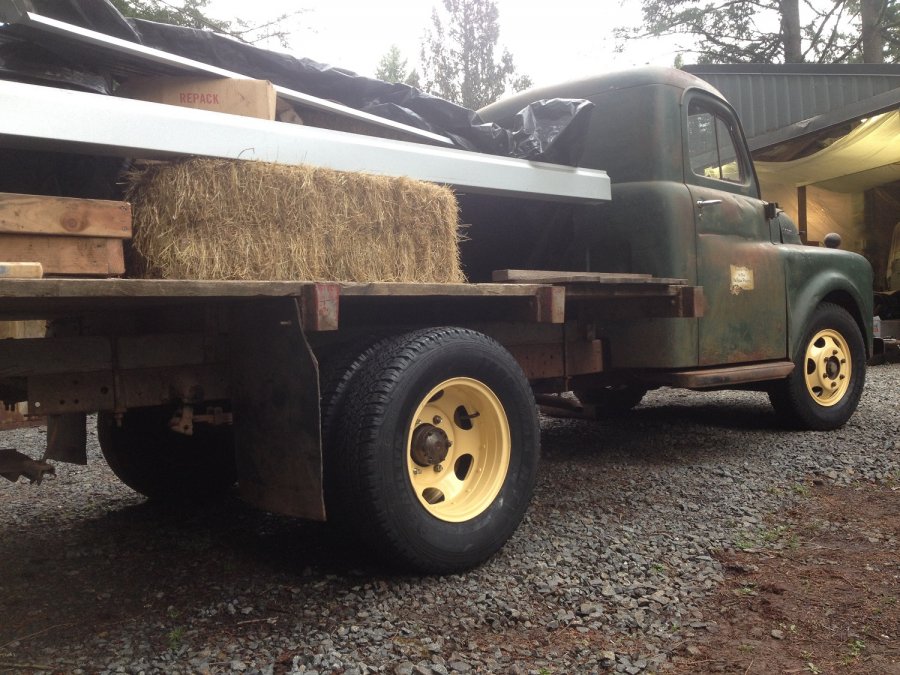
Mostly original, I added the stainless wheel simulators and radial tires. All new sheet metal and wood floor on trailer1 point
-
I had similar problems with my headlight switch this last year. I ended up taking it apart and cleaning all the contacts. Worked fine after that treatment. Fairly easy job on the original type switch. Hth, Jeff1 point
-
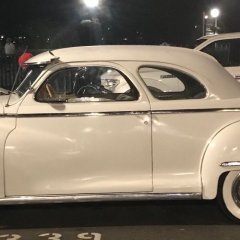
Cruisin the coast 2019! Love it! I take a week off work each year at this time. I live for it each year! Keeps getting bigger each year. I put the 48 on the interstate for 60 miles this morning. Although I didn't pass a single thing, the car did great!
 1 point
 -
gas pedal , arm rests and visors and possibly the trunk latch will fit1 point
-
I'm slowly doing the bed on my 47 project. The hardest part I had was finding boards the correct thickness. On mine I ended up thicker and used thinker crossmembers to arrive at the same total height. However on a newer truck with steel crossmembers that wouldn't be an option. So if you can a source that will sell you a specific thickness then the rest is pretty easy. My other truck has boards from Mar-K. They came with the grooves for the strips already cut. I had to drill the 8 holes for the bed holddown bolts and then it was ready to go.1 point
-
I've seen may kits for trucks, everybody loves Horky, and while Bruce is a great guy, his stuff isn't right for Dodge trucks 100%. Same goes with Mar-K and the like. If you have a small bit of woodworker in you, doing it yourself isn't that hard, especially if you aren't looking for the polished fancy wood route and want a black painted stock bed or one that you will use. Even if you don't have the original boards to use as templates, it's not that hard. I have a whole thread on doing a bed yourself and there are other threads as well.1 point
-
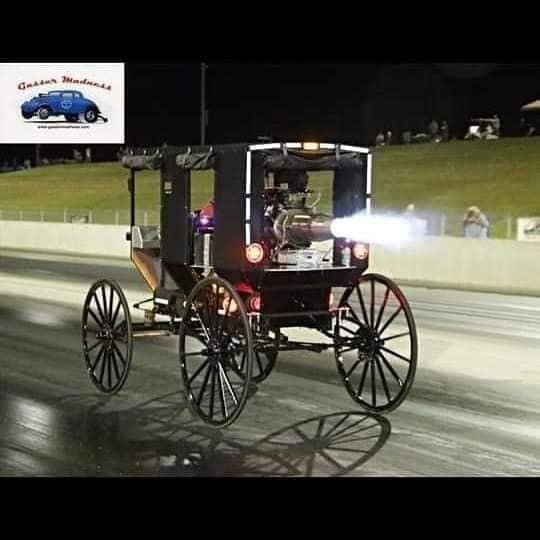
While this isn't my truck I thought everyone would enjoy it. I took this picture yesterday at a local pumpkin festival. It does not look like it has been repainted. Note the pinstripe on the grill.

 1 point
 -
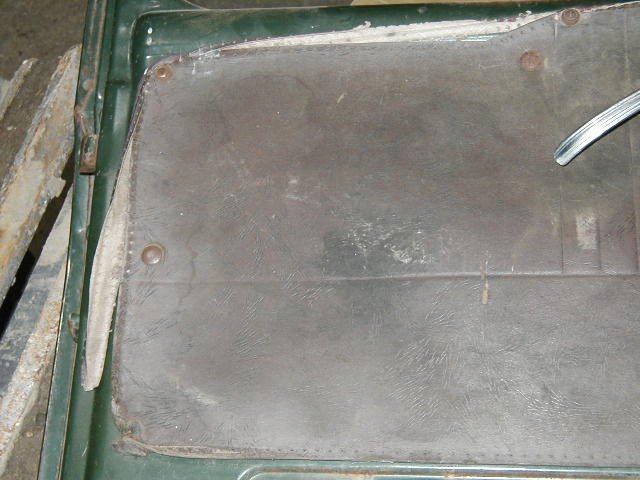
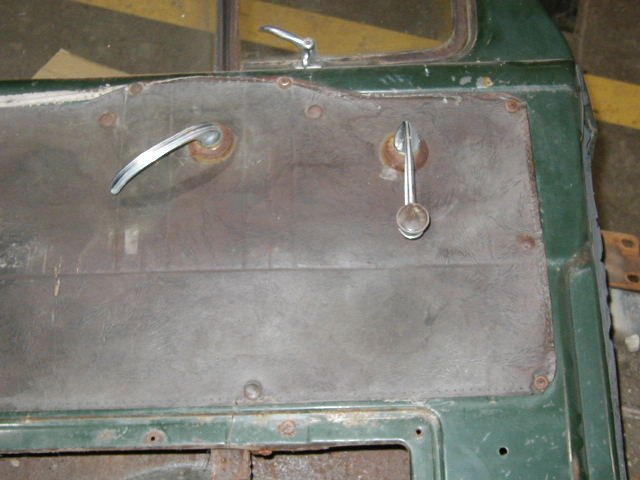
I did find some pics of my doors before disassembly, showing the original cardboard door card installation. I got my interior from Quiet Ride Solutions. https://www.quietride.com/index.html I've been very happy with it since completion. It is made from ABS plastic that can be painted, with the proper paint. I went through some struggles during the install process that I have documented on this forum. I didn't use the push button fasteners with the new one, just new stainless screws with trim washers.
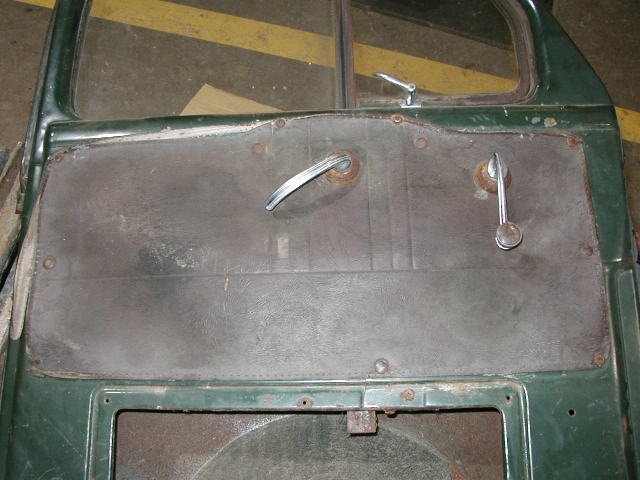
 1 point
 -
I apologize if you have seen or heard me say this before I recently had Les Schwab do mine. (2018) power coated and radials! handles and stops well for me (and I have the drum brakes) good luck on yours
 1 point
 -
I had access to 2 tire shops that would do locking ring rims cuz they did big truck tires, but then the shop in Waco denied ever doing locking ring rims at all one day when I had a flat several years ago, and the shop in Temple mounted my nearly new set of tires with the old tubes because they forgot that they had some new tubes sitting on the shelf 20 feet away I had watched both shops inflate tires with no safety equipment other than a locking air chuck while standing within spittin' distance and was a little bothered by their lapse in judgment. Several years later, I was in a local parts store that had a Ken Tool display with the right hammers, pry bars and spoon bars to do the job myself, all made in the USA, so I got what I needed and started doing research on approved methods and safety equipment. I found some good literature on modern locking ring rim servicing that was helpful, but this video was the best one I could find that was done correctly without a safety cage, using chains instead. I have seen pictures of guys also using their tractor loader bucket or a forklift as other alternatives to the safety cage. This video also shows why it's kinda silly to try to get these rims super pretty with expensive powder coating, etc as they literally need to be beaten with hammers to get them to come apart and go back together. The rims can be cleaned up nicely on a budget, but making them pristine seems kinda needlessly expensive1 point
-
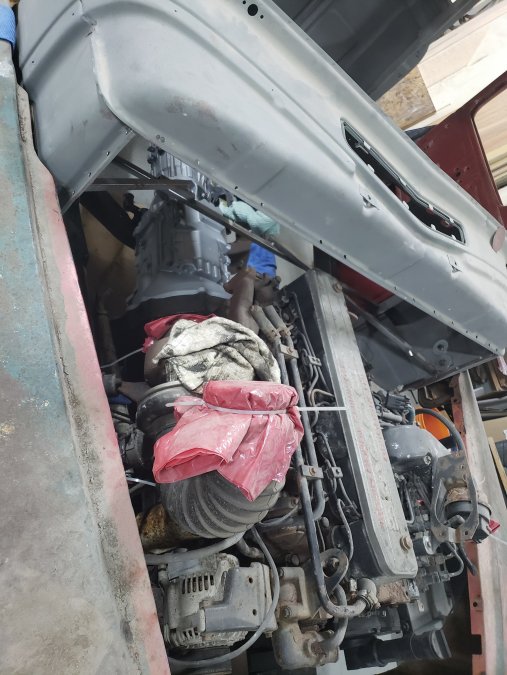
Spent the weekend cleaning, cleaning and more cleaning. 65 years of grime in the engine bay. Slowly making progress. Working my way towards the master cylinder, hard fuel and brakelines. All of which will be renewed. Also a kind forum member offered me their running 218 straight six, for a really good price, which is on it's way to me. Should arrive sometime tomorrow.
 1 point
 -
It'll be tough pulling those truck dents out with a frame rack......the front end is mostly sheet metal bolted together. You'll need to get down and dirty and beat those panels out. It can be done, da forearms will get huge! lol. Hope to see you at the BBQ! Tim aka 48Dodger Estrada Motorsports 1948-53 Dodge Trucks: Water Distribution Tube1 point