Leaderboard


Popular Content
Showing content with the highest reputation on 10/04/2019 in all areas
-
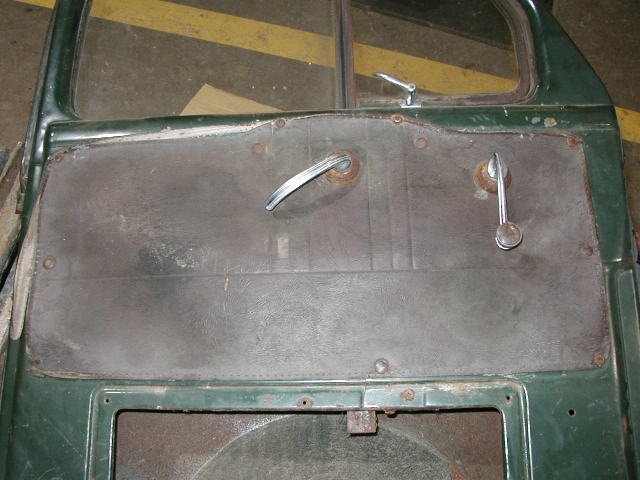
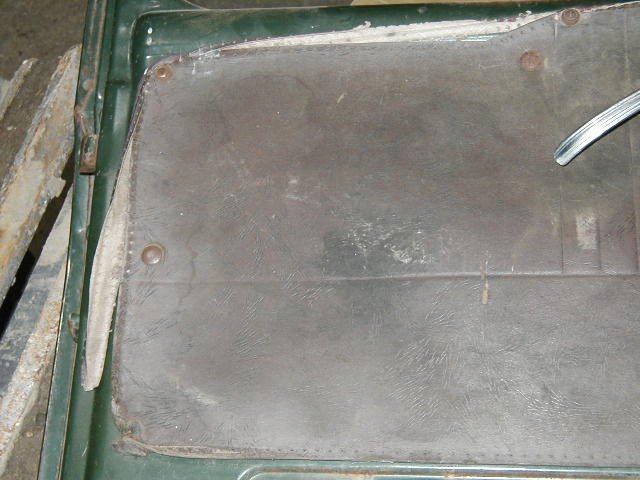
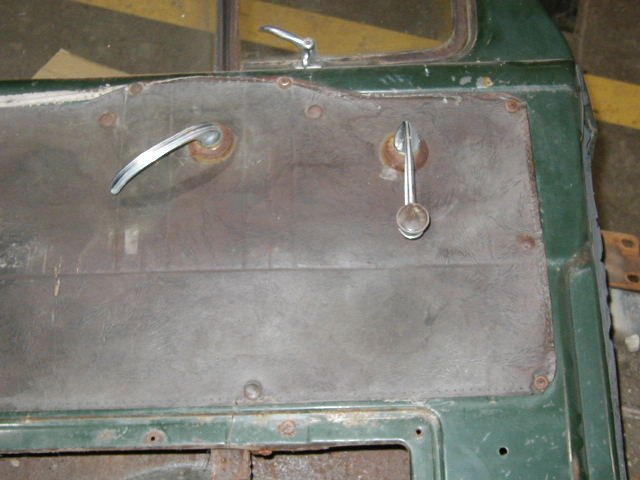
I did find some pics of my doors before disassembly, showing the original cardboard door card installation. I got my interior from Quiet Ride Solutions. https://www.quietride.com/index.html I've been very happy with it since completion. It is made from ABS plastic that can be painted, with the proper paint. I went through some struggles during the install process that I have documented on this forum. I didn't use the push button fasteners with the new one, just new stainless screws with trim washers.
 2 points
 -
The LED 6 volt bulbs don't get hot , use less electricity , and are brighter too .2 points
-
2 points
-
2 points
-
2 points
-
this hit a funny bone....
 1 point
 -
A friend and I will meet for lunch late this month and will invite others to join us. Kettleman City is crazy busy on weekends so it will be mid week. More later, just let anyone interested know early.
 1 point
 -
Hoping this pic comes thru. Please be patient, trying to learn how to upload pics.
 1 point
 -
Great showing.1 point
-
Dad, Got through the rear brakes today. Ordered the right parts to make it stop. On the way is 2 brake drums, brake shoes, wheel studs, wheel nuts, axle brake lines, rear brake hose, brake hose bracket, and the first of the chrome smoothie wheels with baby moon caps. Hunting tomorrow but will inventory the fuel tank and system. Probably just need straps and tubing for that, an easy job that can be accomplished in concert with the brakes on the rear axle. I think the shop had us stuck in a well, and kept throwing in crap. But in fine fashion, we climbed up the ******* pile and are out of the trap. So far, so good and I see Ol Bessy starting to shine. Lots of work ahead but we will make it. Be ready to work between hunting trips when you get here in a few weeks. A photo of your wheel attached. Should be sexxy with a whitewall. We can't afford Cokers but we'll have nice riding radial tires on it. Once I pop it on, I can double check for fit, but right now the 235/75R15s on the car stick out of the fenders. Measurements indicate a good 15" x 6" wheel with less than 4" backspace should accommodate a tire size like 225/75R15 - Good height, fills the wells, doesn't rub or stick out......I hope.....Measure 75 times, purchase once!
 1 point
 -
I really am pleased with the drums, they were pretty new when the truck was parked. The driver side has no ridge at all, not even from normal wear. The passenger side after cleaning it up some. The ridge on the inside is more of a build up of dust and crap where the shoes do not run. Clean the dirt out and that ridge is gone. DCM emailed me this morning and stated the order has shipped (wheel cylinders & seals). One wheel cylinder, the cups will not come out. And this is my fault I believe. I have never heard or seen stepped bore wheel cylinders before. I was simply trying to drive the cups out, from one side to the other. The first wheel cylinder they popped right out. The second cylinder, the piston bottomed out and refused to move further ... so I cleaned and oiled the bore the best I could and beat it from the other side. Now both cups are bottomed out, the aluminium cups are all beat to crap, I have to replace it. If I have to replace 1, I will replace both as a pair. Live and learn, today knowing more about the process, I would try using air to blow the cups out first. I could put a self drilling screw into the cups and pull them out, then see if I can save the cylinder .... new ones are available and seems the right choice here. Been bending brake lines this morning, hope to have them finished and ready for install today .... I still need to brush paint on the frame before the new lines.1 point
-
James, did you do this to 265 rods? If so, would you mind posting a few pics of the upper and lower halves? I'm really interested to know what was done, as I have some 265 rods to go into my engine, whenever I get to that point, and I've always been a little concerned about reusing bolts. I've scoured every source I could find, but NOS ones are not to be found anywhere. As you know, the 265 rod bolts are unique to that engine and very different from most other types of bolts. I even approached ARP with the idea of making some rod bolts, but the cost was going to be prohibitive (thousands of dollars). If you were able to successfully modify your rods to use another type of rod bolt, I sure would like to see what was done. I thought about doing that too, but it seems to me that there is not a lot of excess meat on the upper half to make it fit a standard rod bolt with the common type of head. Thanks!1 point
-
The master cylinder piston is not fully retracting..pedal free play less than a 1/2" ?...or swollen or incorrect master cylinder piston cups if m/ c is or was rebuilt. The piston will not return back all the way holding pressure on the brakes. You need to check that the piston is not blocking the compensating port(smaller) of the two holes in the mc fluid chamber.1 point
-
If you keep conventional bulbs in the front , you won't need a special flasher . Only if all of the turn signal bulbs are LED . Also a rebuilt motor is tighter and runs hotter .1 point
-
Dad, Glass is finally done. Everything fits and works. The last three pieces are a much darker green tint than the original and replacement glass we used in the past. But, she's buttoned up. As for wiring.....I have just about run out of wiring to do. Firewall to rear bumper is 98% complete. Fire wall forward is not being done yet as I have to pull the sheet metal and engine/trans to swap in the new power plant. But gauges, switches and the back end are all hooked up and ready to work. So.....time to start on the rear brakes tomorrow. Time to clean and paint the underside, clean the fuel tank and plumb fuel and brakes at least as far as the firewall. Probably need to order the stereo and speakers now as well. I'll also measure the wheel spaces and order the first wheel and tire to check fit all around. Will likely also convert the points distributor to electronic (of the two on hand, the HEI unit is worn out, the 71 Chevelle dizzy is in nice shape and the smaller size is prettier under the hood with a big coil beside it). At this pace, and barring any heavy duty deer hunting (that's very likely to happen), it'll be time to find an engine hoist and order the motor and trans by or before the end of October.

 1 point
 -
There are so many ways to look at this situation. I suppose a lot depends on how you intend to use the truck and the tools and resources you have available to you. When I started my build I did so with the idea of keeping it 100% original. I even bought all new brake parts and 90% assembled the braking system. Then reality (at least mine) set in. From the very beginning I wanted this truck to be a daily driver. That meant it had to keep up with relatively high speed traffic and it had to stop pretty much like all the modern vehicles around me. If not it simply would not make any sense to continue building it. I just could not see putting something like this together that I would not be totally comfortable driving all the time in any sort of traffic. As I re-evaluated my build ideas It became apparent that I would need to do something about the gearing. Pretty quickly it was obvious that swapping in an axle out of a late model Cherokee with a better ratio for todays traffic was going to be the easiest fix for the gearing. As I started looking into this I found a 2002 Grand Cherokee axle with 3.55 gearing....and 12" discs. Little more digging and the rusty hope disc kit combined with a Cherokee M/C and two major items were taken care of. And a huge side benefit to doing this is I am not going to need any "unobtainium" in the future to keep this truck on the road. Had the wheels off at around 20.000 miles and the pads and discs show very little sign of wear. So after 4 years on the road zero maintenance or adjustments....and stops like a modern vehicle. Another way to look at all this....fwiw. Jeff1 point
-
LOL! I fired my son. After 8 years of promises, I told him if I waited for him to get the bodywork done I would be too old to drive it, so I finished it myself. The headlights and fender tips are 53-54 Buick. I actually had a blast doing those. Did I get the grille from you? It’s been so long, I can’t remember anymore. ?1 point
-
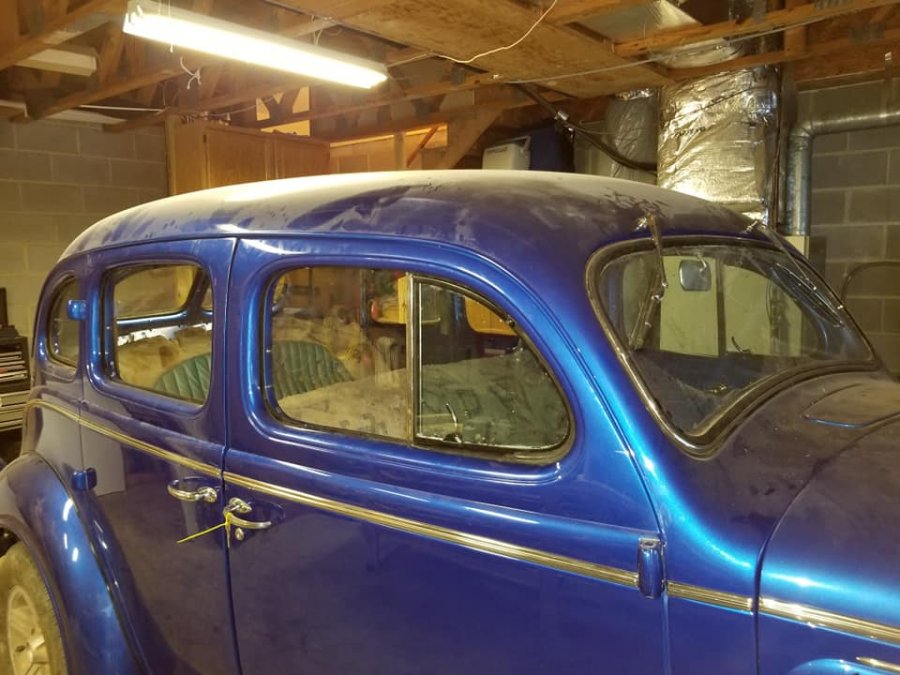
I cut the 4” out under the rear windows so it retains the stock glass.1 point
-
Another likely cause is high humidity, especially in condensing situations. Cool metal, sudden rise in humidity can cause condensation that creates a little flash rust on bare metal, i.e. polished drums. Some lining material is very sensitive to that. I have a '97 F150, bought new whose brakes do that. especially when unused for a few days. the first brake application is touchy!1 point
-
Honestly, I'd worry more about the brake light bulbs burning the lens on your tail lights. My favorite year Plymouths have plastic lenses and those bulbs get hot! Sitting with your foot on the brake for extended periods taxes more than just the Fluid Drive. I'd kick it out of gear and apply the hand brake. Just saying, consider the cost of replacement lenses.1 point
-
I borrowed an Induction heater for stud removal. Fantastic tool. Heats only applied, They are expensive, Here is a video for those unfamiliar.1 point
-
The fluid drive should hold up fine. Cars with the M6 were used as taxis back in the day. I’m hesitant to drive mine in heavy traffic also but I’m more concerned about engine overheating.1 point
-
1 point
-
1 point
-
Repressed???? Madison, AL has the highest per capita ratio of engineers of any city in the country.........white collar welfare thanks to the incredible Huntsville economy!1 point
-
Keep up the great job. One thing I would really like to see “again “ is the name of the next unread thread at the bottom before you push the next button. Crossing my fingers, Todd1 point
-
Compensation is what you might should be giving to the bus driver?1 point
-
Yeah... what he said... ?1 point
-
I’m glad I live in Wisconsin where I’m nowhere near you clowns driving with poor eyesight.1 point
-
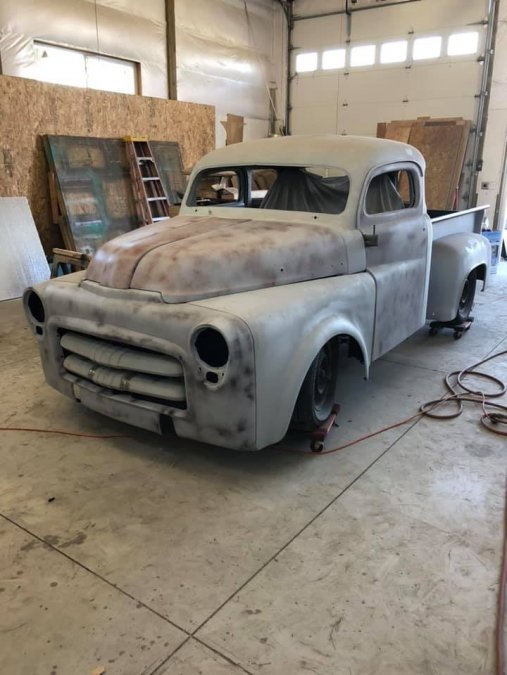
Had Fort Collin's oldest glass shop, Blacks Glass, use my original windshield plates for templates and provided me with perfect matching new glass pieces. With my wife and son in the cab holding the glass and rubber up to the cab cutout, I managed to use the rope trick to pull the rubber seal over the outside flange. The rope was going to tear my seal in the corners so I used a plastic piece to coax it along. with new glass I am no longer blinded when driving into a sunrise or sunset. That old glass was so pitted it made for blinding glare when facing into the sun, or headlights on the highway. Also nice was getting the trim pieces cleaned up and repainted. Finally getting around to replacing the various rubber bits 'n strips. I found a box of rubber trim pieces on Facebook Marketplace for $200. Negotiated down to $100 ☺️ I was told they should fit a '50 Dodge truck. Also in the box was a new floormat and pad. The floormat was a perfect fit. There also were two rubber pads that fit the toor handles, what looks like rear and corner window seals, window channels et. One long rubber strip looks to be suitable for the door opening in the cab so that will go on next. Notice last owner resprayed onto the door rubber, along with other rubbers here and there.1 point
-
If you guys want decent, not extremely expensive and easy to apply sound deadening, consider Rammat BXT, i used it in my Porsche 944 to tighten up the stereo and it worked great for quieting down the interior as well. Check it out. I will use it in my 50 truck as well. http://www.raamaudio.com/1 point