Leaderboard


Popular Content
Showing content with the highest reputation on 09/16/2019 in all areas
-
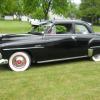
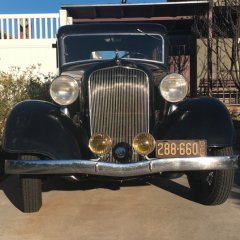
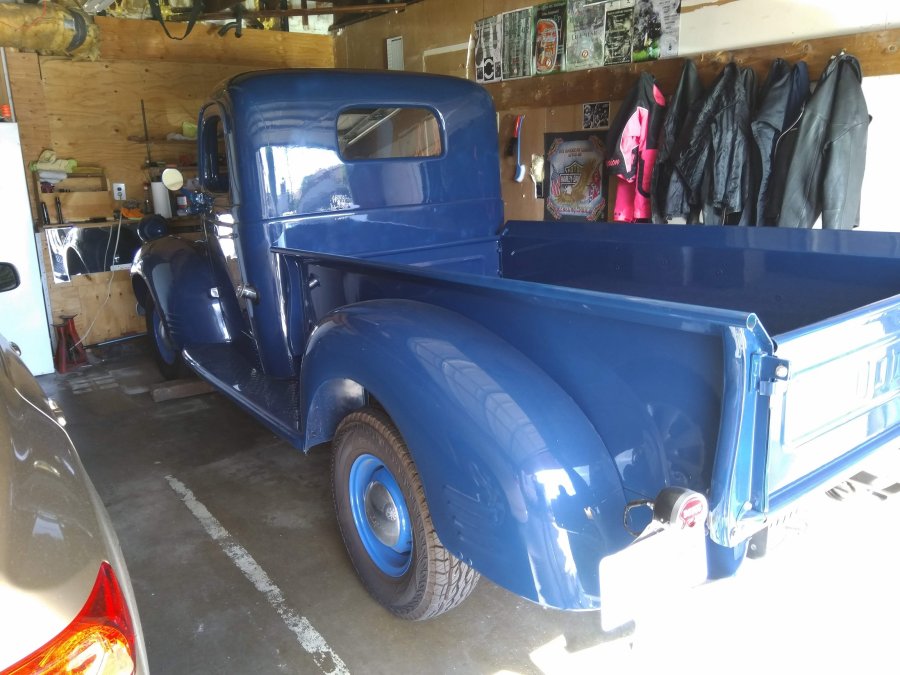
Hi all, I've been lurking here for a little while. I bought my first flathead powered car this year and am finding great info on here! Figure I should introduce myself ? This year I bought another 1933 Plymouth sedan. This one is an original survivor complete with the original 189 straight six. My first '33 was meant to be more of a hotrod. I learned that building a car from the ground up was just a little too much project for me. It's been mostly sitting for the better part of 10 years. Then my husband talked some sense into me... why not just buy one that's already running. That landed me to my current '33 and we sold the hotrod. If anyone is interested in measurements/ differences between the PC and PD models, I can give you info. I took a lot of details shots of the two cars together while I still could. The hotrod was a PC, the black one a PD. Here's some photos of my new to me car. ~Melissa


 2 points
 -
If your hearing the whistle at an idle and it goes away when throttle is applied I'd be looking for a vacuum leak. Id start with the fittings for the vacuum advance and any vac lines coming from the manifold etc.. John2 points
-
Im 16, and I wish this site handled #hashtags# ?2 points
-
And remember to act as a gentleman - https://www.youtube.com/watch?v=_qv2vzMeMCE2 points
-
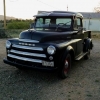
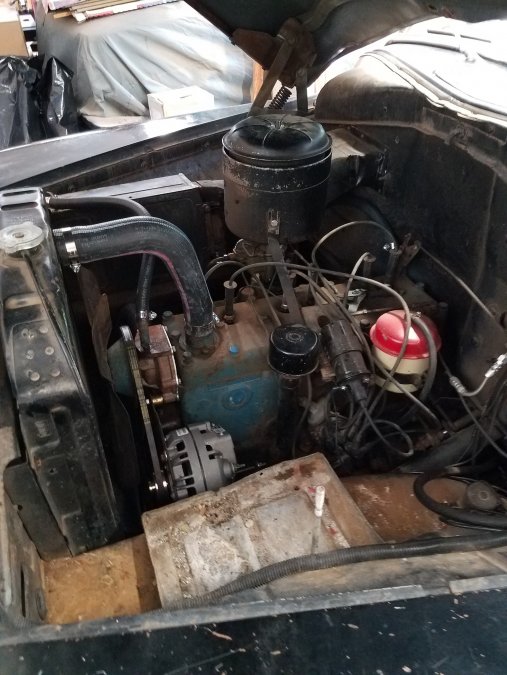
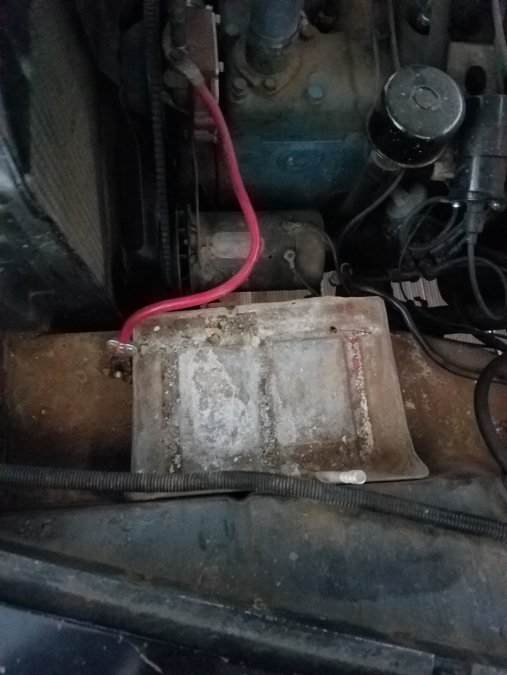
Howdy all, Picked up a new to me 51 Cambridge and in the process of trying to get it sorted for inspection so that i can register it I decided the entire electrical system needed updating. I eventually want to put AC in the car and that pretty much mandates a 12v electrical system. Not here to debate going to 12v, decision is made. So with that said, step one for your review. Removing the generator and putting in an alternator. Being a Mopar guy I am going to keep this conversion as Mopar as I can. So the alternator is spec'd for an 87 Dodge Diplomat, used own one years ago.
 1 point
 -
Still have the original motor to pickup, but she runs fine with the one in her. Need to get the insurance and registration complete before I drive around though.
 1 point
 -
Hey Old CWO , Yepp, I have a couple. First bring good walking shoes LOTS to see, acres of parts. Second, SKIP the first Six (6) rows { all VW parts }. Not alot of Vintage Mopar parts but there are some scattered around. If you are into Vintage or Modern Motor Cycles there is a BIG Swap meet at El Camino College in Torrance. It will be held the Saturday before Pomona ( 12 Oct. 2019 ). It is too bad you will not be in CA on October 26, 2019. The BIG MOPAR Fall Fling Swap meet happens. Way too many parts to take home.1 point
-
Put the nut back on the upper end of the worm tube..and with a block of wood at that nut use a hammer and tap the worm and lower bearing race out of the steering gear box. That lower bearing race is a semi tight fit in the steering box case. Worm and tube can then be fully removed.1 point
-
Well back in the late 60,s they passed that around at the music concerts- I think? ?1 point
-
The GL1 is available for approx. 15.00 a gallon at your local NAPA and the gallon is the smaller container....even if they do not have it on the shelf, they can get it in for you fairly quickly if your local store has good management.....1 point
-
GL 1 is kind of available. This works better and is safe for the soft metals in the std. 3 speeds.
 1 point
 -
http://www.faxonautoliterature.com/1937-Plymouth-Repair-Shop-Manual-Reprint-P21849.aspx1 point
-
Nice story and true. Incidentally, not sure why so many Americans think Robert always translates to Bob. Bob is a nice name but not mine. I go by Robert or Rob. Just saying and certainly no offence taken. Just an educational moment.1 point
-
Up to this point I had underestimated the effort required to get the rusty valve train apart. The valves are very stubborn. Guides and stems rusted together. Valve surfaces frozen to their related seats. What took over 50 years for nature to develop won’t be undone in 30 minutes. I started soaking the parts with penetrating oil. I am not attempting to reuse these valve train parts. I want to get them out, so I can pull the cam and clear out the block. On a positive note, my scissor type spring compressor tool works great! One other thing I learned: When I think about switching an old car over to modern synthetic oil. Pulling the oil pan and valve covers to clean out old sludge is important. However I’ve not heard anyone mention pulling the cam timing gear cover off. What a mess of sludge! There was ALOT of sludge in there. It’s something to consider.1 point
-
I am computer illiterate, but if you check me out on the member list and scroll to June 28, 2014 I had my grandson post some pictures of my '52 Wayfarer. I made the grill from 6 sets of VW bumper guards. Had to cut all but the center one, but was no big deal. Bob1 point
-
significantly better torque too.1 point
-
So you are saying the moderators need to activate the Dad Filter?? ? ? Man...I can't imagine how cool it would be to be able to share my shop with my dad......1 point
-
Should refill with SAE 90 weight lube oil (not grease).1 point
-
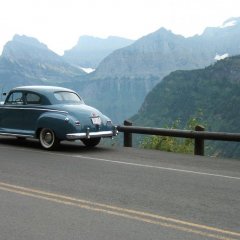
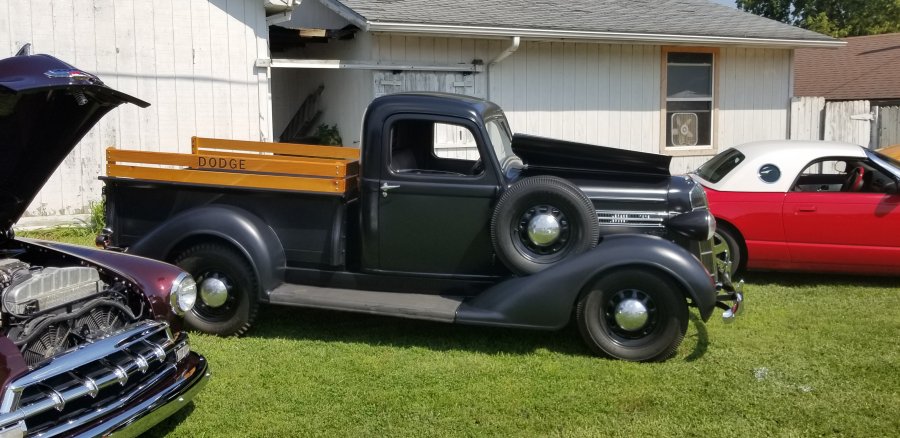
Well, I didn't get to hook up with anyone from the forum, but I ran across this at a car show 20 miles from the hotel today. Really nice guy, not on the forum, was a '36 and it was clean.
 1 point
 -
One choice. Others on this frum have tried a 1bbl. carb from a early Ford 6 cyl. mustang I think it was with good results, however They posted this info but never showed and pics etc. Cannot speak about results for either one myself but I was recently thinking about this. Ended up getting my Carter B&B working good. Saved my $$. DJ1 point
-
I am facing the same choice myself. I can only tell you my thought process as it has evolved. I am missing the original seat, no chance to repair it. I recently bought and flipped a Dakota. One thing I fixed was it had a Toyota bench seat in it that did not work well in that truck. I bought a wrecking yard Dakota seat for $100, The old Toyota bench seat has the right look for a older truck, The head rest may need to go. It does need to be recovered. I can put a seat cover on it. I have to set it in the cab, but afraid I may need to make some blocks to jack it up a couple inches. So we can see, that "free" toyota seat is going to cost me money with the upholster and modifications. And it still wont be stock. Now I think that I will use modern buckets, will be cheaper and more comfortable, can build a console for drinks and junk. If it wont be stock, at least be comfortable. My other option that still considering, is to place a add and see if I could buy the parts I need to be original and have them shipped. I have the base and the back, just not the original air ride bottom frame & springs. So my opinion today, if not going original, at least upgrade and go comfy. Something else I have done, measure the cab from door to door, then measure the width of the seat on my daily driver. Cab is 67", seat is 58" So there is 4.5" on each side, and the arm rest come out from the panel to take up that space. So the Toyota seat in my 49, there will be 3" on each side from the doors. That will work, Your truck has a different width, you will need a tape measure to walk around the yards and figure it out. Do not over look the depth of the seats either. I found a set of captain buckets in a pull & save in a Ford van, I had a Ford work van and installed them. But I already had shelves built in. The seats installed they worked perfect for me, but anyone taller they would have problems. I am 5' 5" and the seat was all the way back, if you were 6" you would be uncomfortable driving it.1 point
-
Fargone my shifter is a stock Hurst for a 79 or 80 D100 Now its positioned high enough for the driver to comfortably shift and to allow a passenger to sit in the middle seat ( barely Im sure) Your option A looks good and should get you where you wanna be. Look forward to your progress.1 point
-
We will have to include a stop at the Prison City Brewery for lunch.1 point
-
1 point
-
Time for a reading break...The original 1938 shop manual assumes the reader has considerable experience in these engines. I suppose the manuals were written for dealer mechanics. If you didn’t already have considerable experience, well you probably shouldn’t be employed at a CPDD dealer. I’ve started collecting books across 25 years of CPDD cars. I find the books seem to have different images and different levels of instruction on the same topic. Engine won’t bar over yet. Front cover, seal retainer and front main cap are all that’s left holding the crank. She’s stubborn.1 point
-
I got lined up with an engine hoist today so I placed the original 1938 201 engine on a stand. I want to dig into the bottom end. A learning exercise for me at a minimum. I’m not sure I want to rebuild it. The 1954 228 engine in the car now runs great, and makes more power than this 201. So I have decided to dig in to the original engine. Clean it up. Inspect and measure everything and make an assessment. Cylinder bore, crank bearing surfaces, etc to be measured to gain knowledge and experience at this point. This 201 engine has been sitting since the mid-60’s. Everything has been in the crankcase except oil it seems. I am quite interested in getting into the front and rear main seals. I need to install a new rear seal on my running ‘53 Chrysler. Having never done one before, this 201 engine will give me a great practice run. Crankshaft to come out next. Cam. Front timing gears, etc. I am pretty jacked up about this little side project. Should I start a new thread on my findings and then others can learn from it and follow along? Keith1 point
-
Try cleaning it up, get all the dirt and crap out. I assume they all look the same minus lizards? I do not see any tell tale signs of rust where water got in. The photo only shows a couple cyl though. Then put a light oil in the cyl's and let them soak a bit. While soaking, I would install a battery. First you need to figure out what voltage you need. Is it original 6 volt positive ground, or converted to 12 negative ground? Then use the starter to try and bump it over , just a repetitive tap tap tap ... give it shock and vibration to free sticky rings from the cylinders. The nut on the crank & breaker bar is maybe a better idea, that is one large nut. I think mine is 1,3/4" going to need access to a 3/4" drive socket set. But maybe you have that already. You need to be a bit of a detective with these old cars. What I see in the photos, does not look to bad, the engine is full of coolant, must be antifreeze or would have frozen and cracked leaked out. I am just guessing that it has not been sitting for to many decades. Not long enough for it to be frozen solid. Can you tell when the last time it was registered and on the road? Valves are notorious for sticking on a flathead when parked. Always a couple valves open when the engine stops. Then years later when you rotate the engine, the valve just stick open and the spring pressure does not pull the valve closed. You get no compression on that cylinder, but the engine still rotates. You lube up the valve stem and lifters, rotate the engine and push the stuck valves back down. Repeat until they function again. These engines will run forever. They used the same design from the 30's up into the 70's. Parts are available. When they stopped using them in USA cars and trucks, they were still used in cars/trucks in other countries. Also airport tugs used them for a long time. And other industrial applications. Currently on facebook market place, I see a 1945 trailer mounted welder, powered by a Chrysler flathead 6. Not running, but turns over and has good compression for $600. The problem with the engines, they do not like to be ran at high rpm's. They are rated for 3600 rpm. You do not want to run it all day long at that rate. The bearings will fail at high rpm. Get the right gear ratio, you can cruise 70 mph all day at 2k-2500 rpm and be fine, zip her up to 3k to pass a chevy, then cruise again. 3600 rpm compared to modern engines is nothing. People do not understand, or just dont care. That leaves us with what kiethb7 said. I hate to say it, if the starter does not free up that engine, I bet you will find the issue with this step. Not the end of the world, but if it is a bad bearing, then you would probably want to pull the engine to get the crank out. You would be getting into the engine at this point.1 point
-
Just read this thread, insomnia. I have rebuilt two 218’s. The first included inserts, new pistons, rings, valves etc. it was the first engine I ever built. I knew nothing, just asked questions as I went. These are not complicated engines to rebuild. The photo is my second build. There is very little as satisfying as hearing an engine you rebuilt startup and run!!1 point
-
My 2 cents, do the basics on the motor and start it. Then decide. If it runs 1/2 way decent, then move on to other areas of the car, brakes, fuel delivery, transmission etc. Just get it where you can drive it. The front suspension and brakes on these cars if in good working condition, work very well. Thats my opinion and my plan of attack, get it on the road and then do upgrades in the areas you are not happy with. Depends on your driving habits, you may never be happy with a stock flathead car, but if you have a good running engine, you can sell it to help pay for the swap. You can drive and enjoy the car, while collecting info and parts.1 point
-
You can't weld spring steel, it will become brittle and just break again. You can make almost anything work, but buckets are much more comfortable and allow you and the passenger to make up their own mind how they want to sit. I have a 6 way power bucket seat from a Ford Explorer for my drivers and the regular passenger seat from the same vehicle, the mounts were actually almost exactly right, I just had to heat the one side up a bit and tweak it to sit level. I used the centre console from a early 2000's dakota and just made a piece to go around my shifter, but if you just found a complete set from a Dakota or s-10 you likely could make it fit just fine1 point
-
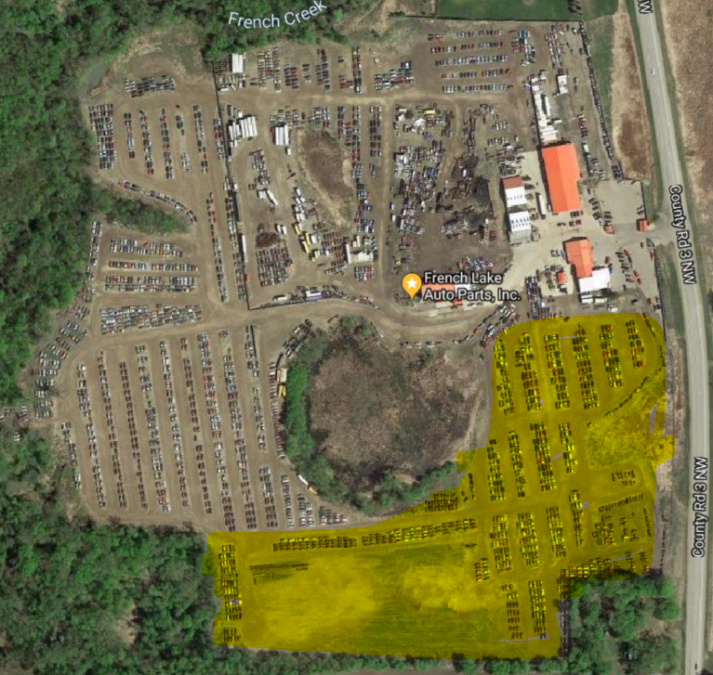
yellow highlighted area all gone at FL....and I might have missed some on the left side of the picture...
 0 points