Leaderboard

.thumb.jpg.cac8eb9749ca469c7109314a4157f968.jpg)


Popular Content
Showing content with the highest reputation on 07/04/2019 in all areas
-
@keithb7, I think your post did save me some two hours and a lot of nerves! (; many thanks! ! So parts were assembled, system was bled and flushed with fresh brake fluid. Afterwards I took the vehicle to a few test rides. The result was absolutely satisfying with regards to the performance of the brakes. After some 50 miles I took a look into the reservoir of the master cylinder and saw that the filling line was still at the level like before. The plan is to monitor the master cylinder more regularly. Would you agree to this strategy, @dale?2 points
-
champaign cruisers 20th annual 4th of july car show
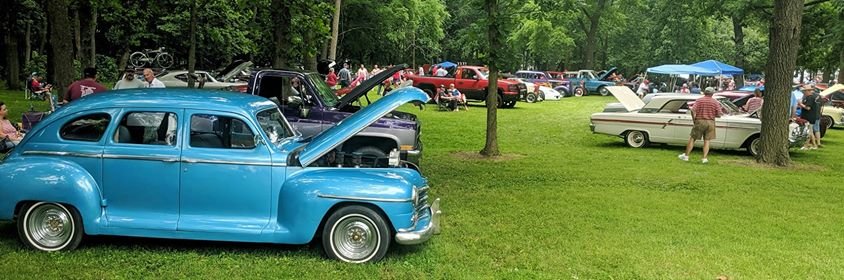 1 point
 -
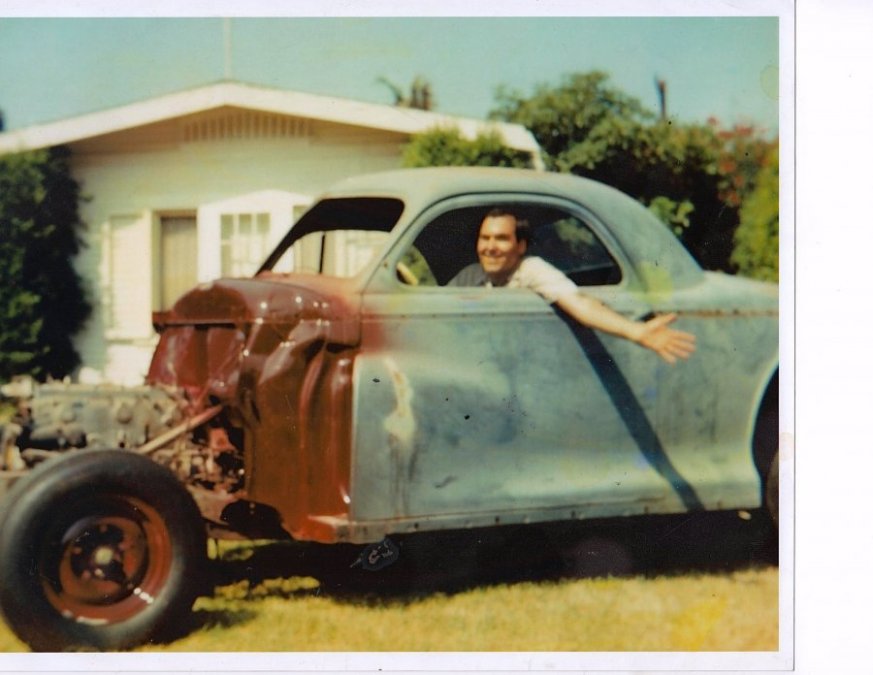
I'm getting to point on my 48 Desoto where I'm going to start shooting some primer. I took auto body and paint classes back in the 1980s and painted two or three cars with acrylic enamel with a hardener back then. I decided on maroon for my car and painted the rims and the firewall that color. I changed my mind on the color choice though, so I'll have to paint them again. I did all my painting with the conventional high pressure siphon spray guns back then. I just bought a super cheap HVLP kit for just $90 bucks at Harbor Freight. It's just for painting fences and maybe I'll try shooting some auto primer with it. It's just a single stage unit, but this demo on Youtube looks promising. There are better kits of course for around five or six hundred. Also I included an old 1988 pic of me in my car showing my painting efforts with the maroon paint.
 1 point
 -
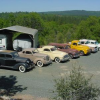
We are enjoying our time out here. Simply beautiful.1 point
-
I don't mind the brand x cars at a car show.......it's when someone enters a brand new [insert brand here] and wins best of show, to me that is idiotic. She looks good Don, you sent her to the right caretaker.1 point
-
He makes it look soooo easy. ?1 point
-
Yes, you have some aviation background. We appreciate your service...enjoy retirement.....and your P15!1 point
-
You can check the quality of your tank’s ground with a multimeter set on the ohm scale. With one lead on the sending unit body and the other one touching a nearby body panel, or bolt, it should show you close to 0 ohms. When I was putting my truck together I didn’t want to rely on the tank mounting points to provide the necessary ground for my sender. I added a machine screw into the body of the sending unit, where it wouldn’t interfere with anything, and added a ground wire from that screw/stud to the chassis.1 point
-
I used a 6 1/2 inch one from speedway motors and gabriel 81676 shocks. Thanks for the info on the springs, at least I won't be too high.1 point
-
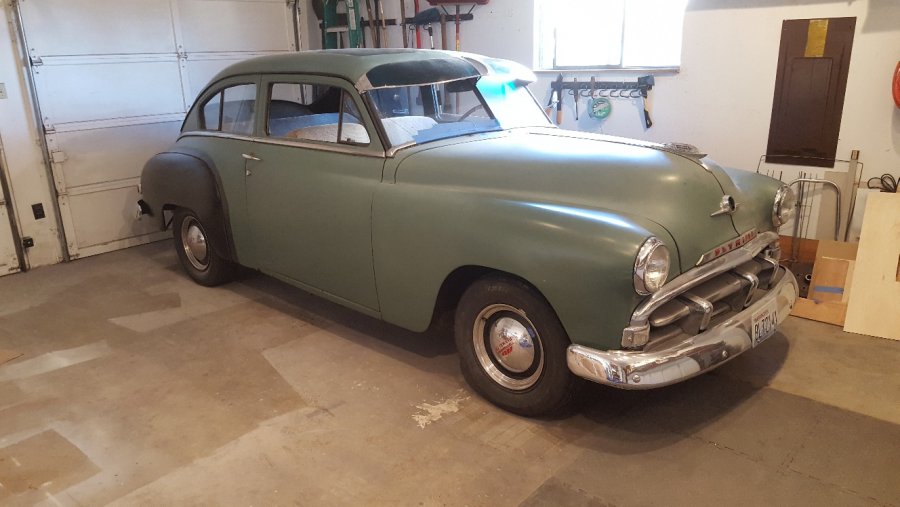
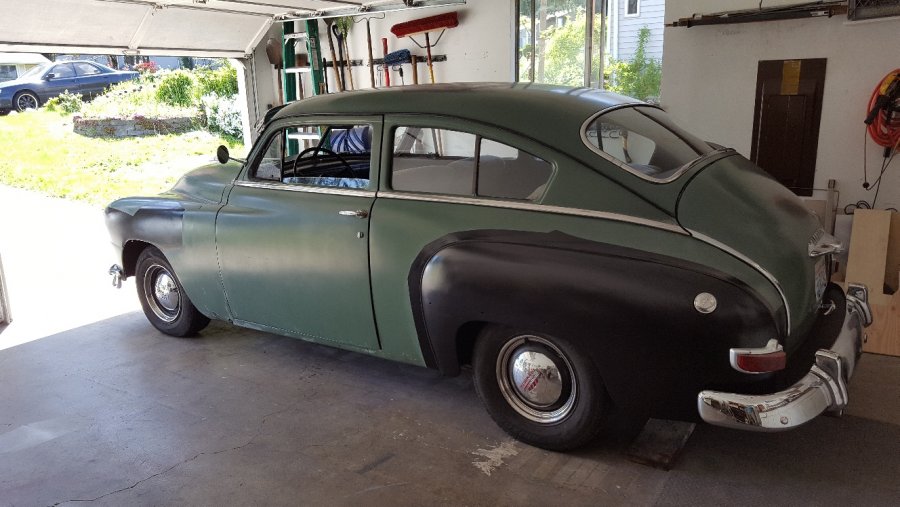
I've driven the car around town and on the freeway after the shock mounts and shocks were installed for a month or so and it really stopped the boating of the front end around the corners and is a lot more stable. It had a sway bar, so I couldn't tell you if a sway bar helped or no. I had previously put on new rear leaf springs because they were flat, new shocks and 2 inch lowering blocks because the back sat a little too high. If the springs relax some, I will take them out. I am very happy with this part of the suspension changes. I do have a little problem with speed bumps and vibration but I doubt it's anything to do with the shocks or mounts. If I slow roll over a speed bump, it is just fine. If I hit them a little harder, the front end bangs a little. It has what looks like the original springs and with the amount of crud on the suspension parts, it looks like they haven't ever been changed....ever. The right side is a lot worse than the left. The crud will come off soon...it will probably decrease the weight of the car by 100 lbs. I have a set of moog cc850 springs coming in. I'll put those on and see what happens. If it sits too high, I'll either cut the springs or swap the lower spring mount, then move on to replacing the suspension bushings. The vibration could be motor mounts, which is a little bit of a story. It started because it would not go into reverse after I would crest the peak of my driveway and go down hill into the garage. It would go into first just fine, but once it was nose downhill, it wouldn't go into reverse. No amount of nudging, clutching, pleading or praying would help. I would have to open my garage door, and get it into the garage to get it level, then it went in to reverse just fine. Thanks to your forum, I attributed it to the rear motor mounts and got a set. I didn't realize that the top ones had sleeves that went in from the top, so I couldn't change the top ones. (I will pull the motor this winter for this, a re-ring and clean up). I noticed though that there were no lowers motor mounts installed. So I put in the lowers and it significantly helped it to go into reverse. Here's a couple pics. It is a work in progress with the intent of a somewhat daily driver and keeping most of it stock. I have a list of things to do on it and am trying to keep things with in scope. It has been converted to 12v, but I've had to do some electrical work to straighten it out. Since the picture, I put on a better hood ornament, front emblem, tail lights and door handles. I put in three point seatbelts from Juliano's which went in pretty smoothly. I had to do minimal fabrication for the B pillar mount. I got it with a split exhaust manifold and dual exhaust. It sounds pretty good. The sisson choke was shot so it had a manual choke setup, but it wasn't well designed. I got an older carb with a manual choke top and it works a lot better. It will slowly turn black as I fix body parts and rust and then it will turn another colour. It's great to run around town in it. I get a lot of compliments\comments on it, even though it is pretty rough.
 1 point
 -
To each his own. But, please read the shop manual. It explicitly states the axle and hub are to be clean and dry. Anything that lubes the surface moves the torque from the designed location, the tapered fit, to the axle key. The key cannot be depended upon to do that job alone.1 point
-
That felt strip on the clutch cover is standard. Don't trim the cork gasket for the oil pan off. Let it stick up about 1/4 or 3/8" above the side gaskets.1 point
-
You can tell if it's a 250 because that would be a Chrysler engine and have the name "Spitfire" on the head. but I'm speaking of 46-50 DeSotos. The specs may have changed for '51. Just looked it up. Yes, the 1951 DeSoto had the 250.6 cu. in. engine.1 point
-
Yeah, Me too! ? ?1 point
-
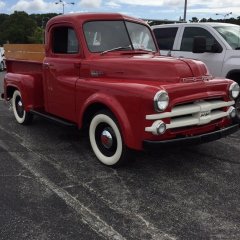
My truck is going to be part of that lineup next year?1 point
-
Cool, a ping pong ball will do the as well.1 point