Leaderboard


Popular Content
Showing content with the highest reputation on 04/18/2019 in all areas
-
This came up and I HAD to buy it. I am partial to Woodie Wagons so I was a goner from the get-go
.JPG.ac04c3811cf65d08da5151c03eb655bb.JPG)
.JPG.5b98b499f8b9f0b95db830f74093cf6f.JPG)
.png.be6cf88bd9acadb5f9de0bacc1dbfe84.png) 10 points
10 points -
2 points
-
Hi All, Part of this post is ego-suck and part of it is being OK with myself as never been raised around mechanical stuff and thus a contribution to my learning curve. OK... that said: I took to heart the advice of the input on this site and for that I'm big-time grateful. I first watched the video that Dodgeb4ya (real name not known) included in his thread and then considered the post made by Marc. It was then that I realized that while I was good about changing out the 12+ quarts of oil on the car - that these quarts only fed the engine and the fluid drive - and not the transmission itself. So the first thing to check was the oil level in the tranny. And, sure enough, the oil level was down about a quart. I had always assumed (bad on me) that the minor oil leak under the car was from the engine proper. Now I know this is not the case. Upon filling the tranny back up with 10w oil to just under the plug, the car's test drive was just grand! While we also checked all the connections while the car was on the lift, there is no doubt (in our minds at least) the oil level was the issue. Bottom line: I'm thankful for the advice provided here and that I was able to use it to help direct the troubleshooting path I took with a generous mechanic who doesn't charge extra for me hanging out with him as he works. Problem solved. All good again, I'm now looking forward to have the car at the Silverado Car Show in Napa in a couple of weeks. Always humbled and thankful for what other's are generous to offer, Dave2 points
-
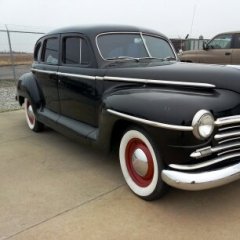
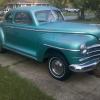
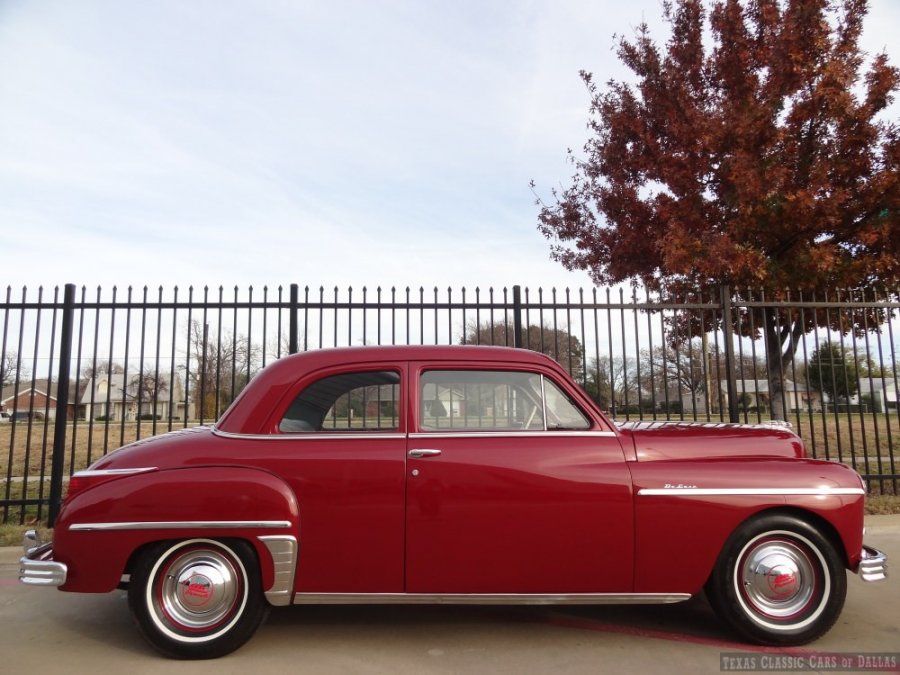
I've been perusing around the forum for a couple of weeks while doing research on the 1950 Plymouth Special Deluxe Coupe before I purchased it. My wants was a running and driving classic car that I could take to car shows, and I didn't want to spend a fortune on the purchase price. I ran across the Plymouth on Craigslist, went for a test drive and fell in love. Overall the car is in pretty good shape. The paint job and interior refresh is probably 10-15 years old, so there's some scratches and things in the paint and the interior has some places where the seams are coming apart. I'm currently going through and greasing things that need to be greased, added a little brake fluid, replaced the generator wires because the insulation was gone. There's some rust on the drivers side rocker panel underneath. Someone previously fixed some of the floor pans, but did a shotty job, so will look at that in a few years. The engine looks mostly original. It's still running oil bath air cleaner and 6 volt system with the generator. The engine belt has a slight tear, so I bought a replacement. The replacement looks to not be quite as wide, so I'll have to figure that one out. I bought the service manual off of Rock Auto, which helps tremendously. I want to keep the car mostly original. I love to tinker with things, so this should be fun. I'm sure I'll have tons of questions. Updates: 4-12-19 -new spark plugs -Replaced generator wires 8-26-19 -6 new wheel cylinders -all new brake shoes -New rubber brake lines -2 new steel brake lines off the master cylinder -new master cylinder -replaced windshield wipers -replaced belt (had a tractor belt on the car) -fixed driver door lock (just took apart and put back together and it worked) -changed all fluids (seems to be self leveling with the leaks, lol) -added oil filter (was empty) -replaced rubber fuel line (started leaking in the garage) -added third brake light (6 volt led) -added rear turn signals -new battery (old one wasn't holding a charge) -cleaned up the trunk -added USB mobile phone charger (yes, it worked on 6 volts) -fixed driver door stop Sometime in Early 2020 -New front emblem 5-7-21 -new tires (stayed with the Cooper 215/75R15) -new stop light lenses (ordered and they are on the way) Still needed: -new trunk lock (another hard to find, the ones I do find are so expensive) -wiring (may work on this this winter) -seat belts

 1 point
 -
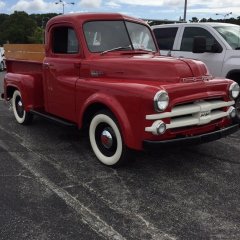
I ordered a nut-sert tool and a pile of 1/4-20 rivnuts to do a better job attaching the running boards. The self tapping screws are cheesy and I don’t trust them to hold up long term but they sure are perfect for locating and making perfect pilot holes!
 1 point
 -
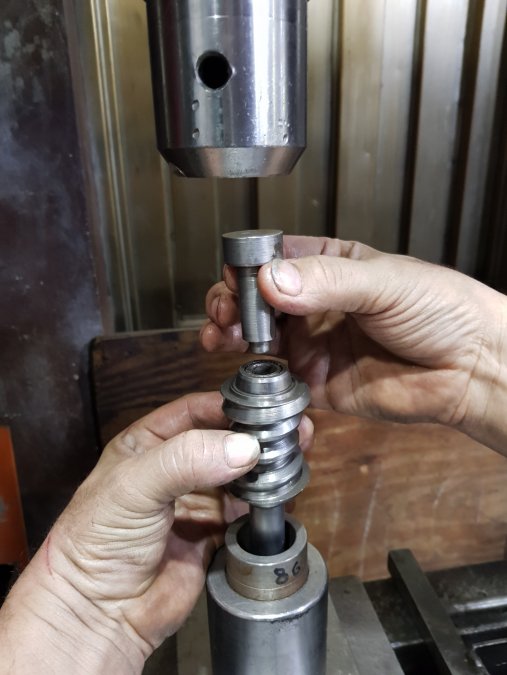
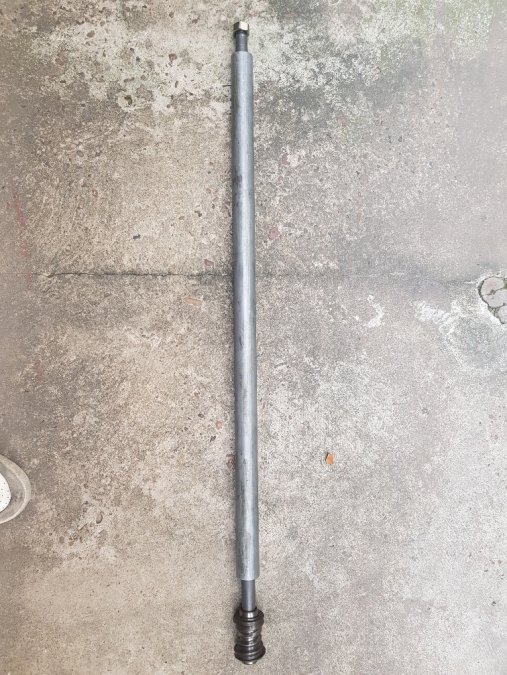
Thanks for the replies. CHS did reply to my request for information and was kind enough to send me some information on worm replacement and the sector roller replacement. Below is the written description for the roller removal: Tips to replace the roller on a sector sector with roller. 1) Removing the used (worn) or old roller. For this there are 2 possible methods: a) Using an oxyacetylene flame torch, heat one end of the roller pin so that the end is heated to a malleable point, immediately after hit this end of the pin with a punch and a suitable holder in order to remove the pin. Attention !!! Do not heat the sector axis. b) With a bank boring machine and an integral HSS drill (approx dia 11 mm), mill a cone or center in one of the ends of the pin of the roller, in such a way that the riveted end thereof is weakened. After this hit this end of the roller pin with a punch and an suitable holder to remove the roller pin. NOTE: all these procedures must be carried out with the appropriate personal protection elements, such as safety glasses, gloves, etc. 2) Installing the new roller. Now with the sector shaft without the roller, proceed to clean it and evaluate if it is necessary to grind or polish its cylindrical parts where the bushings work. Also the internal flat faces of the head of the sector shaft must be inspecting in order to see if it is necessary to grind or polish and keeping its parallelism. With the sector shaft in good condition and clean, measure the width between plain surfaces of sector shaft head in order to adjust the thickness of the thrust washers (side spacers) in such a way that the total width "washer + roller + washer" can be placed on it sliding and without axial clearance. Both thrust washers must be the same thickness. NOTE: All our roller kits include 2 thrust washers (side spacers) approximately 0.1 mm thicker than the original ones. This allows adjustment according to the wear of the internal faces of the sector head. Once the roller assembly, washers and pin have been placed, the riveting or fixing of the pin-pin must be carried out on the sector axis. If you do not have the specific riveting machine (Press Type Spot Welding Machine), there are 2 possibilities: a) Fix it with a little welding point on each end of the roller pin or b) Heat and rivet one end at a time of the roller pin, with the same torch and punch that you used to remove it. They also sent me a brief description and pictures show how they remove and replace the worm gear. It seems to be a pretty straight forward approach. Our method to mount the worm on the steering shaft, is the following: -Use an hydraulic press that allows to place the length of the column. -Re-condition and check the diameter of the shaft where the steering worm will be mounted. (Surface condition and dimension) -Usually this diameter should measure 18.84 / 18.82 mm for our steering worms. -Protect the thread of the steering wheel nut with a long nut. Very important : In order to avoid the buckling of the shaft. we protect the shaft with a common gas pipe a little bigger in diameter but shorter in length.


 1 point
 -
You don't have to mark them... but re-matching used blocker sleeve and input shafts is best advised as they wear in together. On new parts or you cannot find match marks... Be sure the splines of the third speed gear are indexed in the center of the group of three in direct speed clutch sleeve. When assembling the main-shaft into the transmission it will be necessary to rotate the drive pinion to obtain correct registering of the lugs on blocker ring with the slots in third and direct speed gear. .005" is the backlash clearance when fitting third speed gear splines to the clutch sleeve. Keep rotating the clutch sleeve around 3rd gear splines closest to .005" backlash. Done.1 point
-
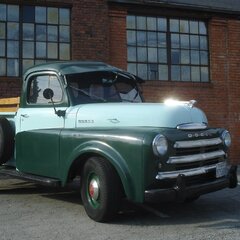
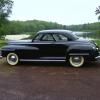
Nice Find. My first car was a 1949 Black 2 door P18 that looked just like yours. A really nice car and fun to drive. That was back in 1959. I gave a hundred bucks for it. Wish I had kept it. ? I bought another one five years ago. It is a nice driving car and equally fun to drive. Right now it is in my shop getting a rebuilt flat head six engine, front disk brakes, an overdrive, HVI distributor, plug wires and plugs, conversion to drive shaft with modern U joints, new radiator, and heater coil. Yours looks very nice. Good luck with it. I'll try to attach a picture of mine. Hope it goes through. James Fuller
 1 point
 -
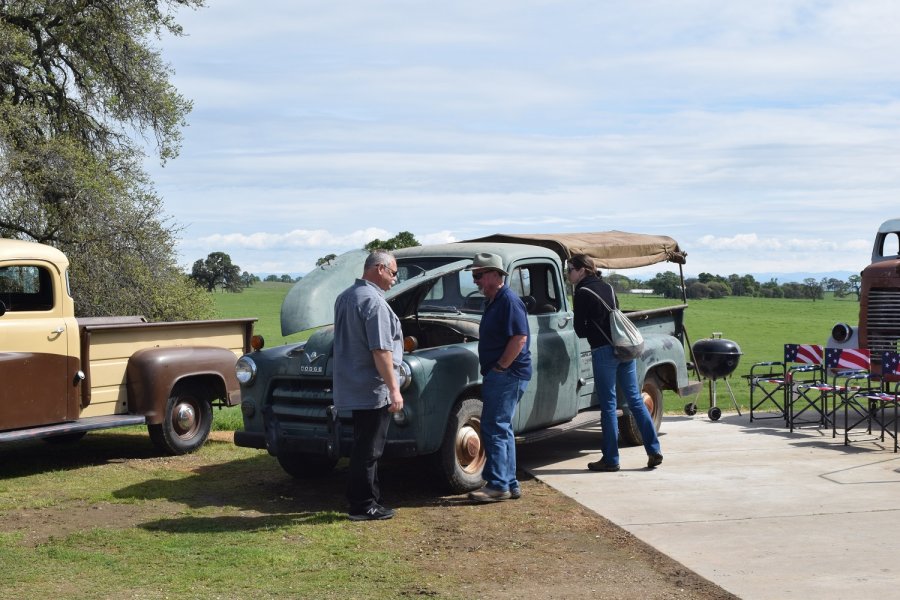
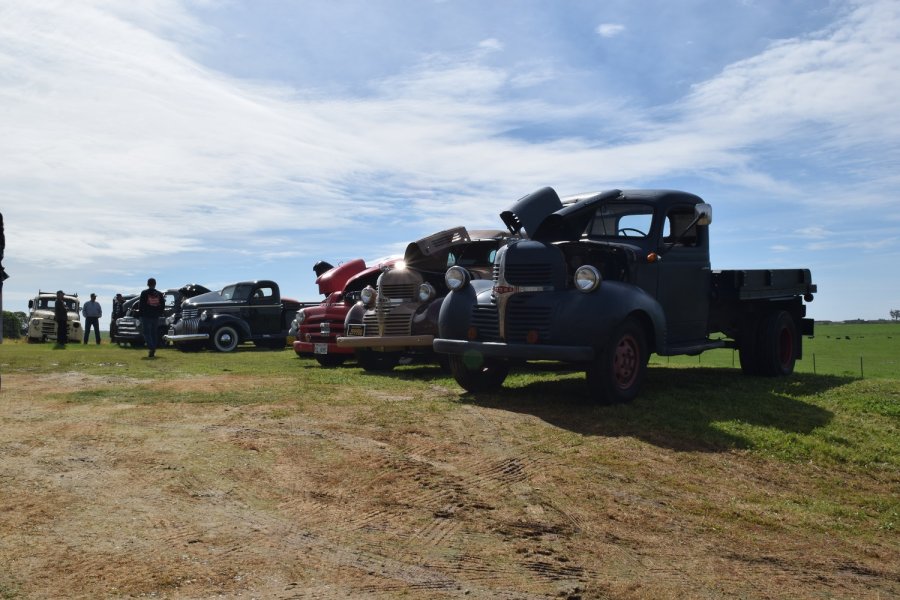
all right all you folks that got to the BBQ at Tim's place, heads up...you have almost a year to select your Tonka truck or other road building implement of destruction ...recondition it and help John next year get that drainage ditch done right.1 point
-
According to Urban Dictionary: overly tight shorts, or pants, which conform to every fold, nook, and cranny, front and back, of the person wearing them. See Camel toe. They are generally the sad result of hot pants, daisy dukes, and spandex being worn by the wrong woman.1 point
-
Got a little froggy before sunset and painted the bumpers too! This gloss xo paint goes on thick and levels out really nicely.
 1 point
 -
I like the after better. But I like nice paint. Even if it is powder coated. lol1 point
-
The regulator does not need to be polarized. The generator must be polarized and this is done at the regulator.1 point
-
I’m considering doing the board tops and bumpers with the gloss black oil paint. edit: I painted the board brackets and the tops of the boards too. That way I can screw them down tomorrow and not have to take them off to paint the rest of the frame. I’m a little nervous about the self tapping screw’s holding power but they’re stainless and all their threaded holes in the brackets are slathered in oil paint so corrosion won’t be an issue and even if they’re tucked in I should be able to get a 5/16” wrench on em from the side
 1 point
 -
Nice car!!! Drive it proudly!!1 point
-
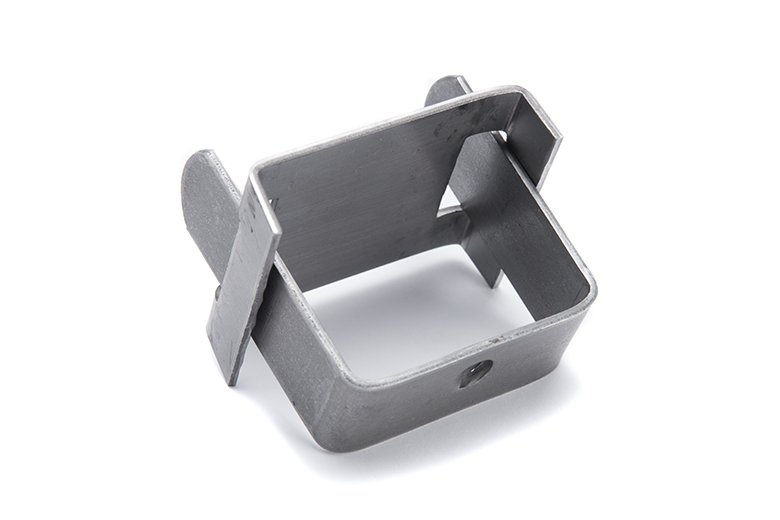
You could just replace them with a universal retainer like this.
 1 point
 -
Can't help with a surround but if thats a genuine Moon steering wheel if/when you replace it don't throw it away.......it maybe worth more than you think............lol..............andyd1 point
-
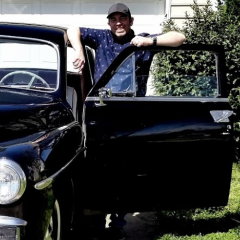
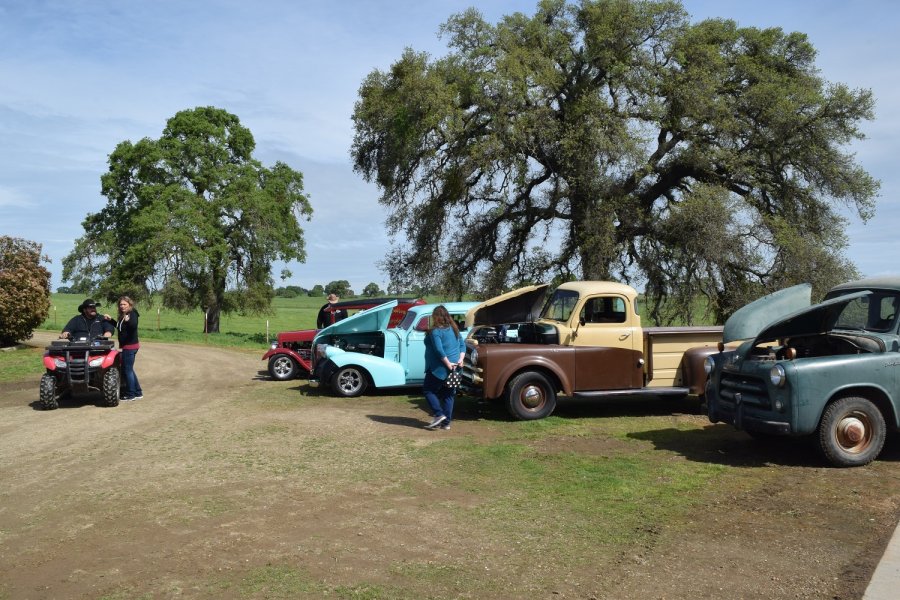
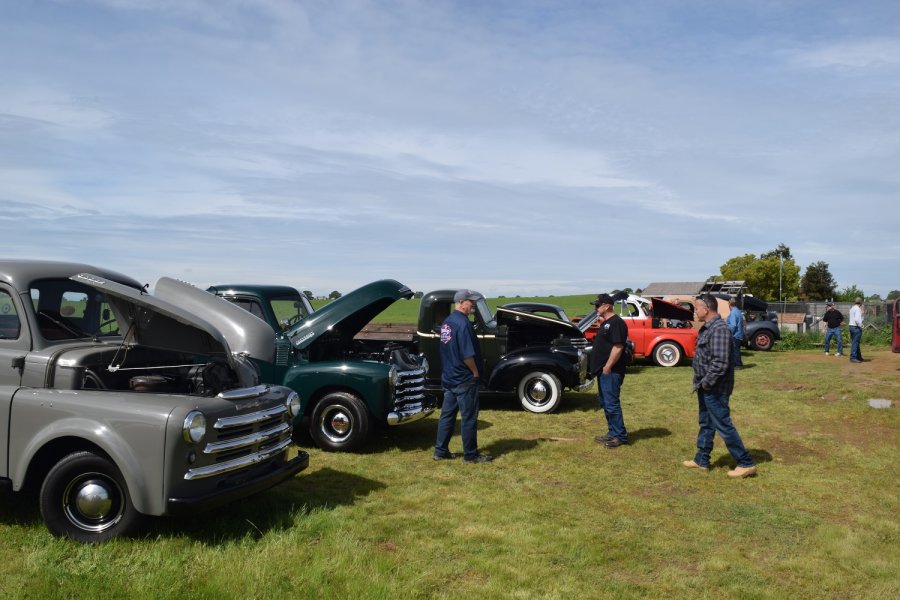
Great day!1 point
-
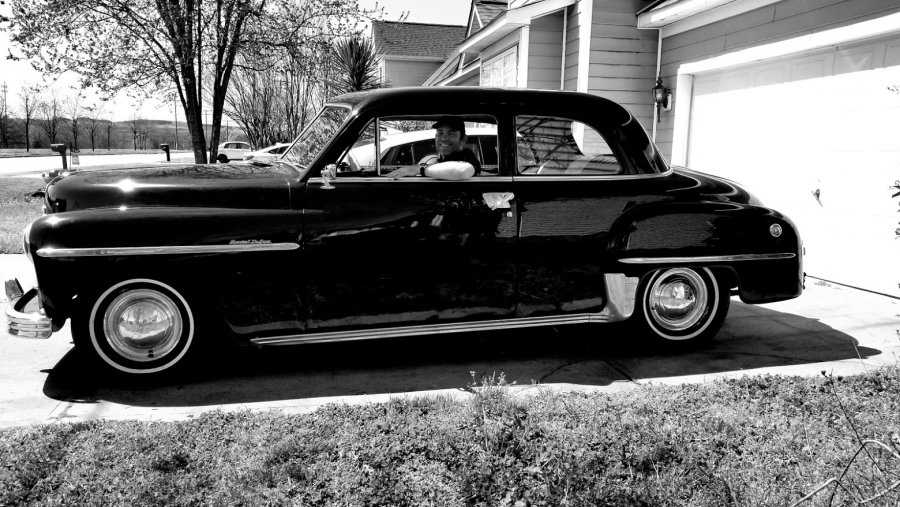
Steve...........neat car, I can live with the engine etc as I'm a hotrodder and any time a 40's Mopar beats up on Frods its a good time.........btw I like the safety gear..........helmet and chin padding..........lol..............regards from Oz..........andyd1 point
-
Here's a few more shots:
 1 point
 -
There is an old trick ... if you cannot find a jet and need to get it larger....one thing, do not drill it. Take a little piece of plywood. Drill a hole that you can mount the jet into. Have someone hold a funnel over the jet and pour water in the funnel. water will run out the bottom of the jet, through the plywood it is mounted in. Stick a cup into the stream and keep it there for exactly one minute. Measure the water in CC's. Then take a pipe cleaner and soak it with course valve lapping compound. Run it through the jet back and forth at 12-3-6-9 with a sea-sawing motion. What will happen to the brass is that you will open the jet while keeping the basic contour. That contour is important that is why drilling does not work correctly. You then measure again until you get the CC you want. Then do a final pass with fine valve lapping compound to smooth it out. Check one last time and use it. This takes some time, but you can increase a jet using this method. You can go into the engineering books and read on how the shape and the curve of a jet is very important. That is why drilling will cause issues. The above will work fine if you are careful as it will take an equal amount of material off the walls of the jet. James1 point
-
Dude that is kinda .............. refined isn't it? And I thought i was being tricky with my heads up display speedo. Honestly I get tired of folks giving me the thumbs up all the time. It has actually gotten old. Still looking for a cloaking device..... Jeff1 point
-
that picture would have meant so much more if you had your TONKA trucks and graders out there and not that silly rake....1 point
-
Have you checked the oil level in the transmission. I had similar problems and saw that my oil level was almost empty!!! The drain cock was loose and dripping!1 point
-
And further to Joe Lee's point about researching this forum...........as mopars from about 1940 were pretty much the same thru to 1948 when you search don't just search under 1940 Dodge as whilst there may not have been someone with the problem on their 1940 Dodge there may well have been the exact same issue on a 1947 Dodge so its good to widen the scope of where you are searching and even just browse thru various threads and you'll be surprised at what you'll pick up............anyway, we still need some more pics of that nice car you have....regards from Oz.......andyd.1 point
-
Hey Larkin, Welcome to the forum. First thing to do is get a shop manual for it. That book will help solve 95% of all the problems you'll have. Second thing is a basic tool kit 1/4" to 3/4" wrenches and sockets if you don't already have them. Two special tools I highly recommend are a compression tester (Harbor Freight about $20.00) and a Vacuum gage kit (again Harbor Freight about $20.00). The last thing is to research the forum. It has had almost every problem listed here at one time or another, and when in doubt ask. We be more than happy to help. Remember this, these cars were built and designed so that the average guy could work on them. The are easy to work on if you have a basic understanding of general mechanics. Joe Lee1 point
-
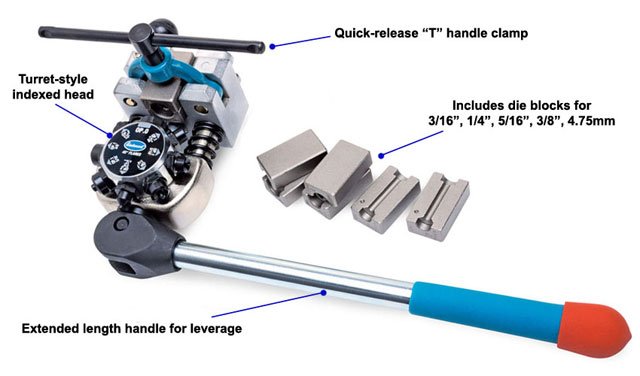
I picked this one up on sale for $120 a couple years ago when I did my old Jeep. Perfect flares every time and very easy to use.
 1 point