Leaderboard


Popular Content
Showing content with the highest reputation on 03/27/2019 in all areas
-
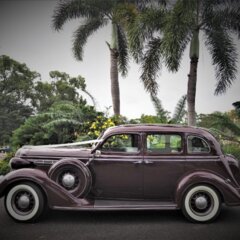
Beer darts are for sissys. Time to step up!3 points
-
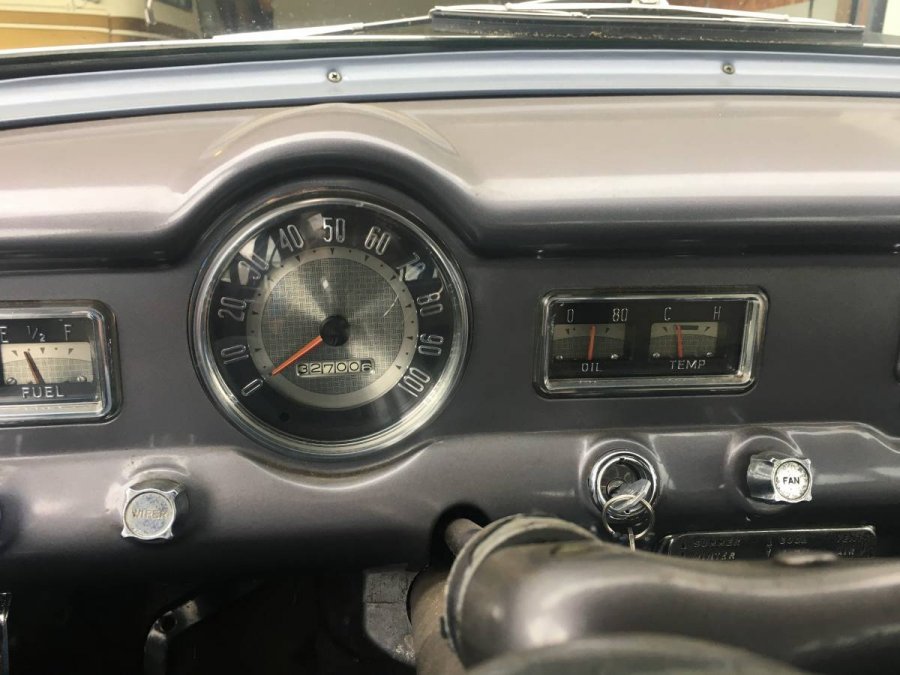
I found out a couple important things- first the fuel vent was getting kinked how I have it folded over in the stake pocket. When I went to get gas (and on my way in to work this morning) it was idling low in Drive at stops and made me nervous since it didn’t do that before. I warmed it up a little (no pump shot, started immediately like a fuel injected motor thank goodness!) then drove around the corner to get gas. When I started unscrewing my non vented gas cap I heard a sucking sound- uh oh. Pulled out the loop of vent and foomp no more hissing cap. Ok gotta fix that. When I filled it I just stuck the pump in the hole and didn’t watch it go in, just waited for what felt like an inevitable shower of gasoline. I could feel air rushing out of the vent sticking up out of the stake pocket. I heard the sound change after about 13 gallons and looked- yup there’s the gas creeping up the filler tube now that the tank is full. I shoved the nozzle in there and hit it again just to see what would happen. Whoosh-click! It shut off like it’s supposed to! Got in and the gas gauge was reading maximum Full. Sweet! All the important stuff is working! Then it was time to pat the dashboard, tell her she was a good girl and give the key a spin to see if I would be walking to the diner after threatening to kill the battery with a molasses slow hot start. Nope! Didn’t touch the loud pedal and it started immediately again not even one crank before fire. Good girl! There was much less traffic on the road and I got to stay in the throttle a few times. This converter seems to flash up to 3k behind my stroker- wow! It really pushed me back in the seat a few times. All the green glow from the gauges was intoxicating and my high beam and turn indicator LEDs were all working like they should. The temp stayed under 180 in the cool night air. I’m pretty jazzed about her actual maiden voyage farther than I can throw a rock. Now I gotta work on sharpening the tune, the fuel vent, her 1st oil change, Dynamat once I catch a warm day, and a mountain of body work.2 points
-
Little more build up tonight... break in on Saturday if all goes as planned.
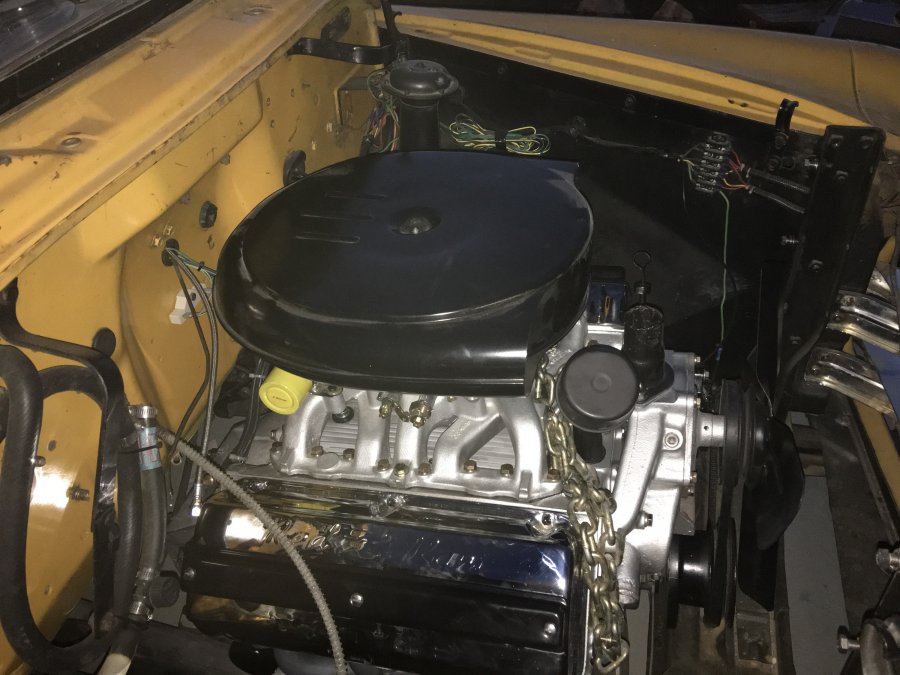 2 points
 -
new guy with a new toy 1953 Dodge Coronet ... barn car 33 k original miles came with a parts car
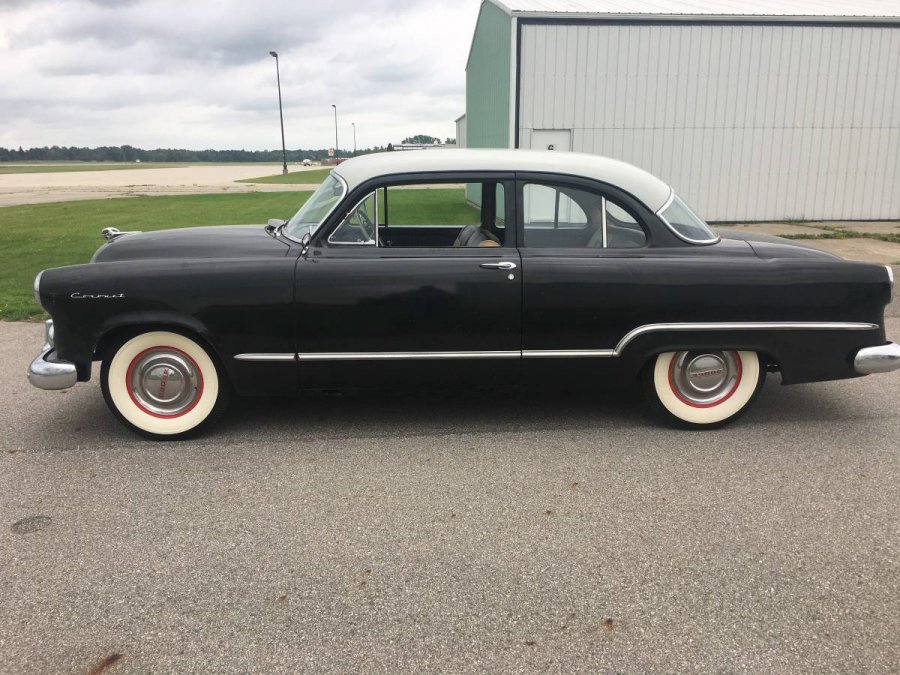
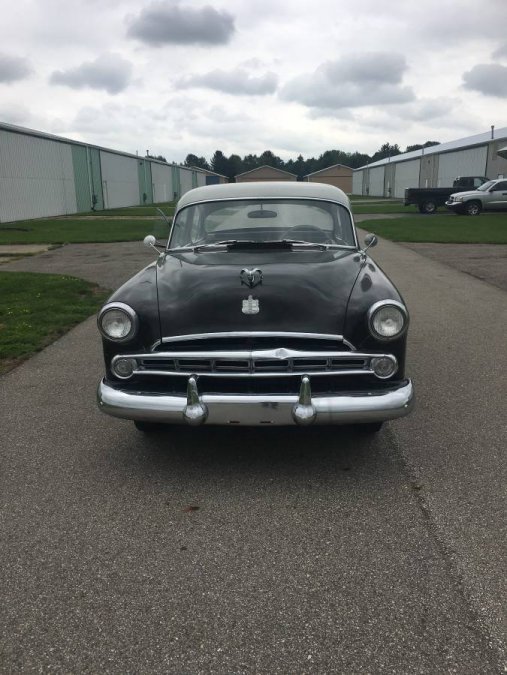
 2 points
 -
Mine also had about a 1/2 inch wide metal strap that wrapped around the oil filler tube, and then one end extended over to where the coil mount is bolted to the head. The section that went over to the bolt had a notch in it. The notch slid into place under the bolt, along with the bracket holding the coil.2 points
-
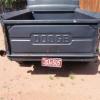
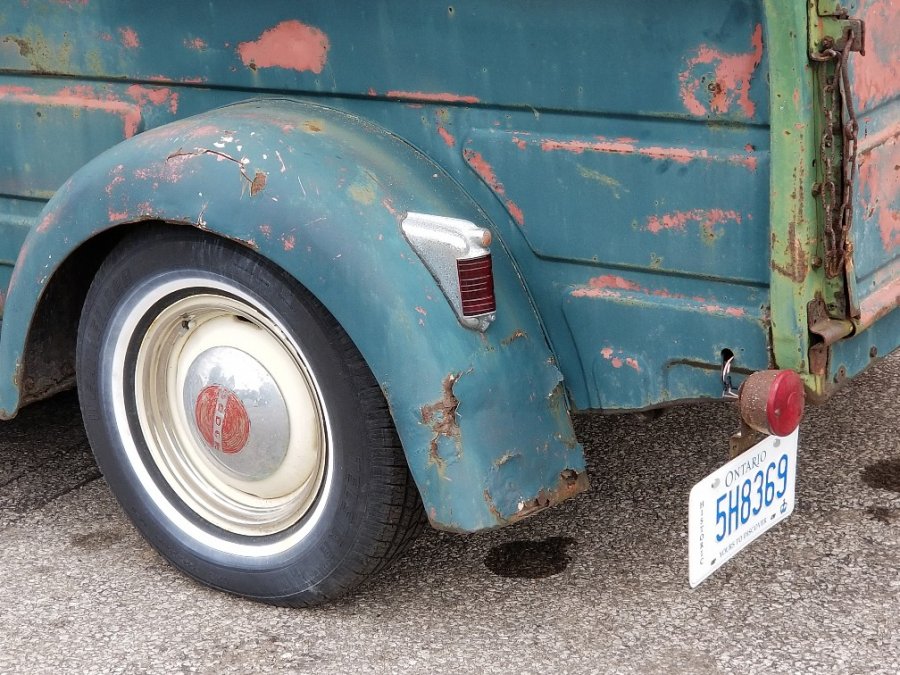
I just got this truck. Engine runs great but frame has some swiss cheese on it. Need to get that done before she goes on the road. I'm looking for some one to tell me if this is the same as the American B2B? Not going for a full restore. Want it to be unique .


 1 point
 -
Any vacuum lines that didn't get connected, such as vacuum wipers, or vac advance? Could the fuel line to the pump be loose, or cracked from working with it? Did you have the engine on it's side, or upside down during the rear main seal project? Maybe some debris in the carb dislodged and is now plugging a jet?1 point
-
parts numbers stamped on items are often a casting number … different from the end use part number1 point
-
yes fabbing takes time but I'll tell you theres no better satisfaction then when you are done. and yep, I love my bikes! I have a 1978 GL1000 fully dressed and all original, 1988 GL1500, 2003 100th Anniversary 1220 custom and a few more miscellaneous bikes. It's a real weakness.1 point
-
My book does not have these numbers. 1942-48 All models 871975 Clutch and brake 1949-52 All models 1125541 Brake 1949-52 Ply 1137758 Clutch 1949-51 DeS Chr 1125527 Clutch 1949-50 Dod DeS Chr 1125789 Clutch 1951-52 Dod (fluid dr.) 1125789 Clutch 1951 DeS Chr (fluid dr.) 1329057 Clutch 1952 DeS Chr (fluid dr.) 1327949 Clutch 1952 DeS Chr 1404323 Clutch 1953-54 All models 1329488 Clutch and brake1 point
-
if a 54 and a 6 cylinder car (114 wheelbase) is a D52 if V8 it is a D53 my source did not define the Suburban in 1953 except to say of Meadowlark series....1 point
-
Got the car moving today thanks for your help all.1 point
-
Your plan depends on the ultimate use of the1T. If is going to be used as a 1T truck, I would seriously reconsider a passenger car based brake system. Weight and planned speed should dictate the brake. 55MPH and a loaded truck, my choice would be the original with a new dual master and all new lines. Freeway speeds empty, disks using pickup or very large car parts. JMHO The tonners have bigger brakes, wheels, bearings and tires for a reason.1 point
-
This is the one I meant to post....sorry.1 point
-
Finally found an old photo that showes the "oil tube clamp". Not sure if I attached it correctly, but I will try again if this does not work.
 1 point
 -
Expand it with a small exhaust pipe expander tool or a socket that's just a slight bit larger...work it just a little and keep checking the fit till it taps down into the block some what firmly. You can also roll a large diameter bar or pipe that just fits inside the tube and roll the oil fill tube diameter slightly bigger. Shown are different sockets and extensions that just barely fit into the tube and can evenly expand it slightly.1 point
-
Or pay someone else to do it....lol1 point
-
I found what I needed. DCM has thermostat housings with the bent tube, but they haven't yet listed it on the DCM website. According to DCM the housing is an exact copy of the original. It seems to me the angle of the tube should bend over a little bit more to put it perfectly in line with the radiator inlet, but if that's how they were made, then that's how they were made. The angle was sufficient to be able to install a straight solid hose without kinking the hose.
 1 point
 -
My 1 ton still uses factory brakes but with a 55-57 T-Bird booster...awesome brakes for my 40 years of ownership. Have driven the heck out of it . No disc's needed for me on any of my old Mopars..?1 point
-
no thanks. I've had 2nd and 3rd degree steam burns over 20% of my body. Been there done that. No more.1 point
-
I spent the last 2 days( not straight) repairing my chassis and mounts. 2 of my mounts on the drivers side were cancerous. but they weren't the real problem. The big issue was that the chassis surrounding the mounts was in pretty bad shape. The side plate of the chassis was rotted around my 2nd and 3rd mounts as well in that area the seam on the bottom of the rails was coming apart from rusting. I've been trying to work out a plan to fix it and as you can see in a previous post on this thread and I thought I had that plan. but I was also searching for perhaps an easier way like possibly buying the mounts. no such luck. we really dont have access to scrap yards locally that would carry these cars and if somebody around has a car for parts they tend to hold on tight to it and not sell anything. so last night I finally had enough and attacked the chassis repair. that went well and between fish plating the weak sides and strip plating the seam it went great. helps that I am a certified welder with absolutely everything I need in my garage to do that kind of job. today I decided to face the fact that I will have to make the mounts. so I did. and I think they came out good. I imitated the original look and actually made the mount like the one I took off. I've added some pics. they show the chassis plated, the mount in place, and the finished area. I've got the hard mount done and now I've got to tackle the easier of the 2 tomorrow.


 1 point
 -
https://www.rockauto.com/en/tools/body,weatherstrip Rockauto has a huge selection, just need to figure out which one works. Im in the same boat, i need pretty much all new seals1 point
-
Just finished putting my motor back in and hooking everything back up. When I put the clutch back on I didn’t use an alignment tool just eye balled it. Trans does not want to slide all the way back in. Should I loosen my clutch around the imput shaft and slide the trans in? Any other ways?1 point
-
Got out the box sides over the weekend. They will need new angles. Got one removed.1 point
-
It is running two carbs with a spitfire head. The grille and doors you think were added later then with the different years? The vin says it was built in Windsor 1950. I am glad I found this site, there seems to be alot of info and alot of people willing to share their knowledge.

 1 point
 -
I just adjusted my valves. I did it while engine was hot and running. It’s nice to hear the sound of the tappets as you are adjusting them. I would recommend using longer wrenches and wear long sleeves and tight leather gloves so you can grip the wrench and feeler gauges. I also separated then feeler gauges from the group, which made it much easier to handle. Just make sure you keep your gloves on. I made a hasty mistake and paid for it!
 0 points