Leaderboard


Popular Content
Showing content with the highest reputation on 02/18/2019 in all areas
-
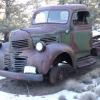
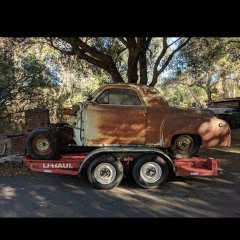
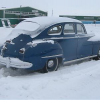
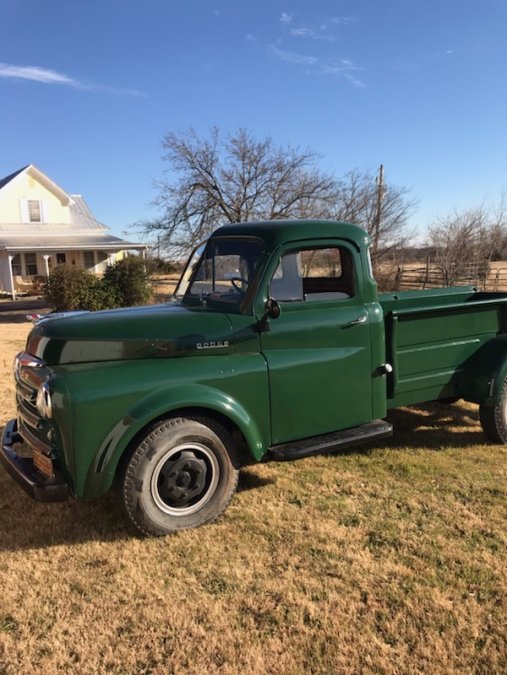
After looking at all of the winter snow photos, thought I would post one of my truck on Feb 17, a winter's day in Texas! About 64 degrees F, but the high for tomorrow is expected to be 48 degrees and rainy...
.JPG.5b3c006042cfc639944544bba59ea212.JPG) 3 points
3 points -
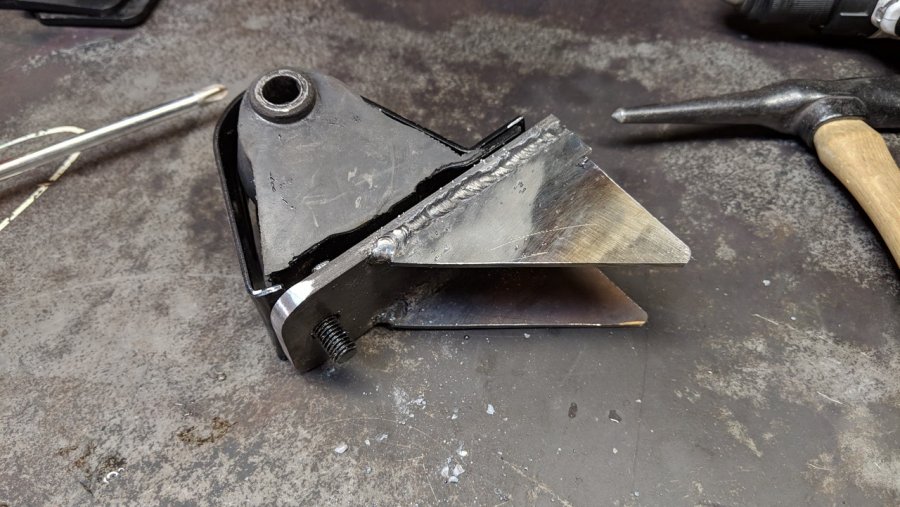
I've been tying to figure out if the hump was patterned after this or this this Holy intersected angles Batman....lol. either way it looks good.3 points
-
It prevents damage to the linkage and parts on the carb when the pedal is pushed to wide open2 points
-
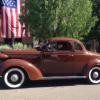
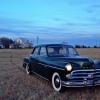
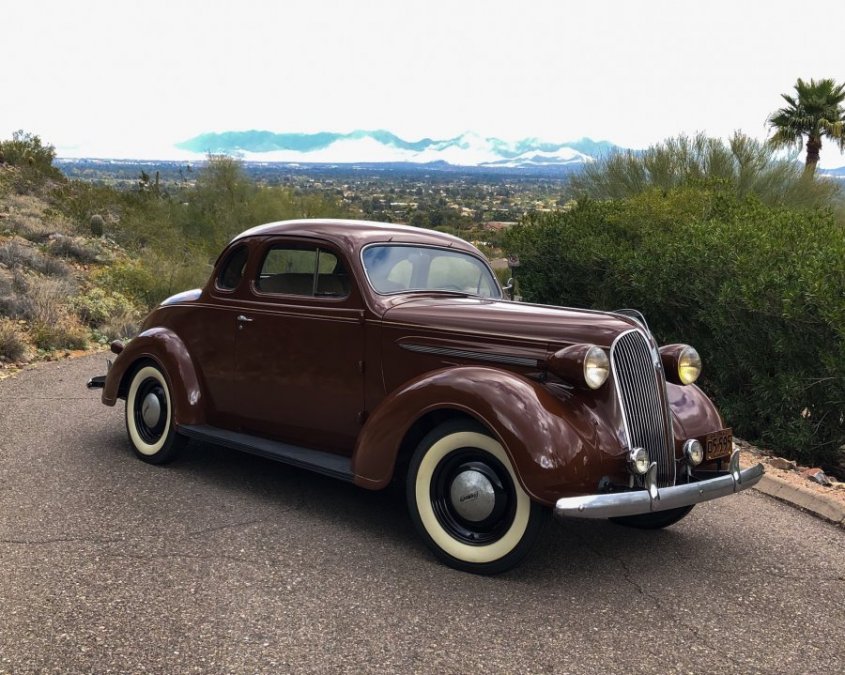
Took a drive over to Scottsdale for the afternoon. Car is running fine... Needing shocks though...
 2 points
 -
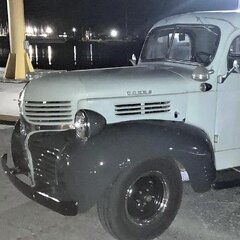
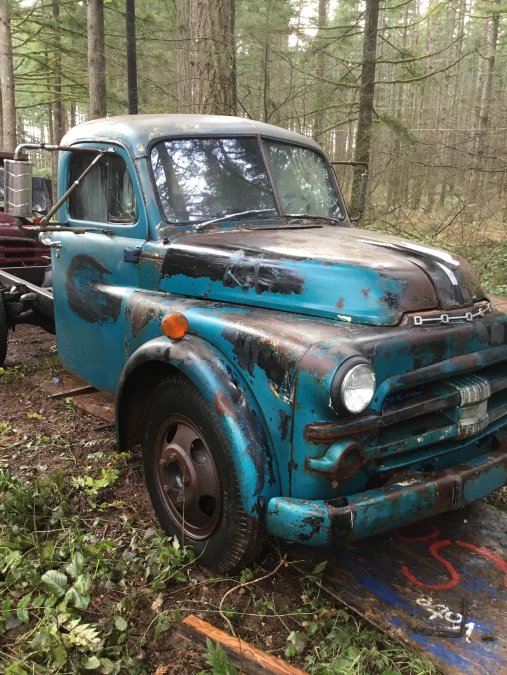
Hey I have a blue (ish) truck ?
 1 point
 -
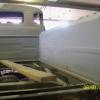
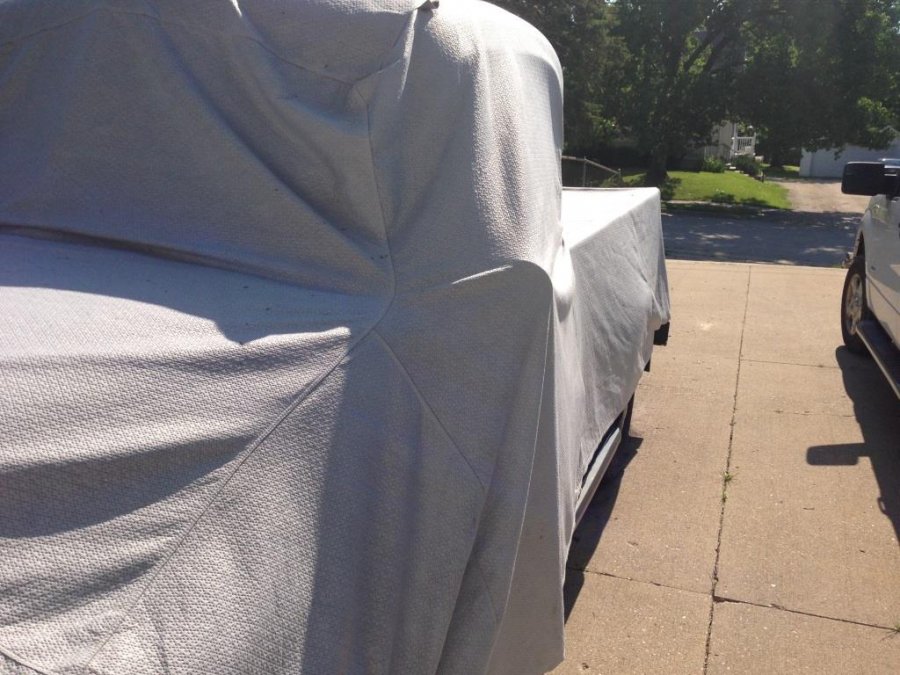
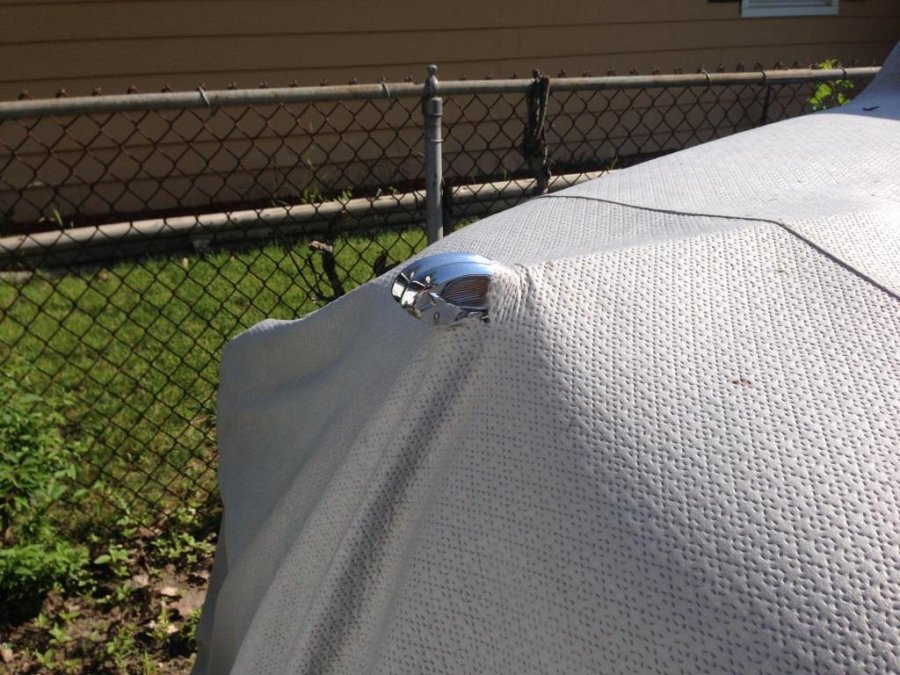
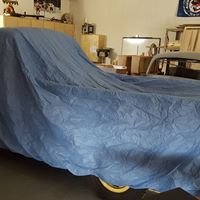
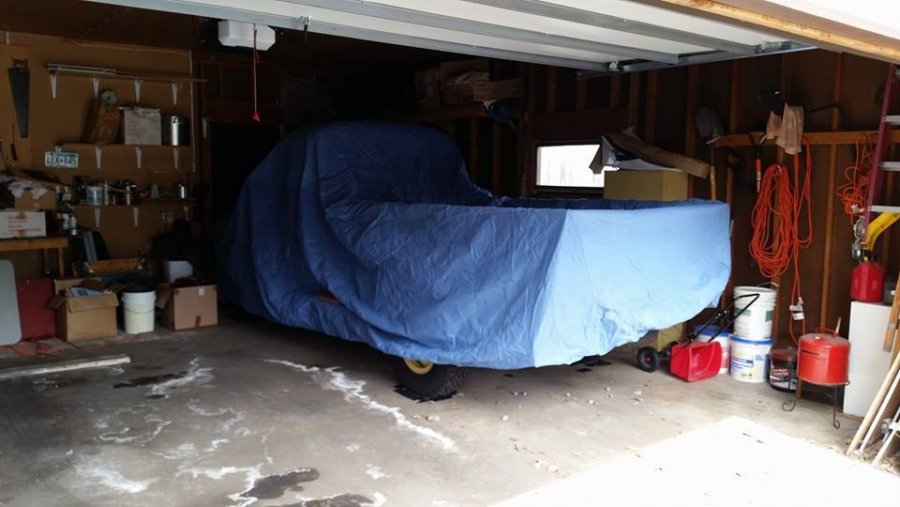
I was going through some pictures in my computer and found this one. Not the best to show overall fit. I think I took this to show CCC why it needed mirror pockets. You can sort of see in the picture how it fits the cab rather well. I used this in the summer months because it would sit in my driveway, so I could get my motorcycle in and out of the garage easier. Now that I have moved, and have a larger garage, it gets to stay inside now. I cut up a couple tennis balls and screwed them to pieces of dowel that I would slide into the top bed roll to soften the corners at the back. And that held well, but after about 3 summers of use the hood ornament started to poke through. This is why I wanted to reinforce that area.
 1 point
 -
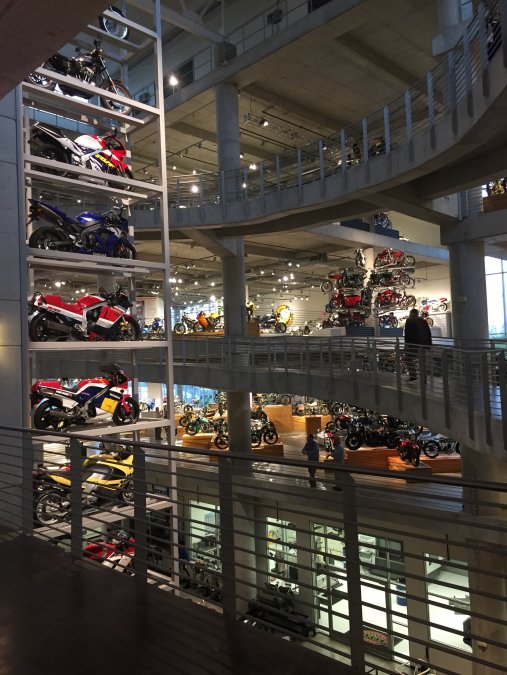
It's a pretty impressive place... 3 floors of motorcycles, and they still have to stack them up... They had just opened a new wing addition when I was there last spring. I'm sure that's all full now. There wasn't much in it yet last March, but they say that they have at least as many bikes in storage as what's shown in the museum. And they claim that they all run and could be taken out for a ride.
 1 point
 -
Maybe its BUDGE...dunno....name on the front and I ignore it! Best I can do for now. It's a generic truck cover, not specific to the B series trucks.
 1 point
 -
Looking Good! Glad to see that you extended the engine mount across the top of the frame. While you're in the vicinity you might also move the shock mount.1 point
-
1 point
-
technically not ON a truck...but my shop man door awning (hood)
 1 point
 -
Thanks guys, I do have the motor manual which goes into pretty good detail. And after watching those master tech videos I’m thinking it may be something dealing with the governor not making the connection to release the pressure on the piston. I tried to remove the cap to the governor today but it wouldn’t budge. So tomorrow I’ll see if I can get it off the transmission and on the bench to try and baby the lid off and check/ clean the contacts1 point
-
My Son Max and I have been to Wheels through Time many times. Its not far from where we live and a must see if you love vintage bikes. Max and his friends rode over last year to an open house event that they had. We have met Dale Walksler a few times and Dale is a great guy. Now Max's favorite vintage bike is a Crocker. The day they were there Dale fired up a Crocker. Max had gravitated around this bike anyway and was close when this happened. Dale saw how excited this made him and grabbed his hand and put it on the throttle and told him "rev it up". Max gently cracked the throttle as one might with a vintage bike of that age and caliber. Dale then put his hand on Max's and rolled it back a few times, really turning it up. This really rocked his world. I had to work that day, he called and was really wound up about his experience. I had a video but lost it when my old phone crashed, Max may still have it. Seeing your post prompted me to share.1 point
-
A small but important update. I made the passenger side engine mount bracket. I'm happy with how it turned out. Driver's side is more complicated as I need to make the engine side and frame side brackets. Thanks Greg


 1 point
 -
My Fathers parents were from Finland and I enjoy seeing what the country looks like. A drive in an old car is the icing on the proverbial cake!1 point
-
The snorkel is awesome. Now I only have to take breaks in laying beads to let things cool down or if my hand gets fatigued. I got smart and ended up welding the vertical up corner over the gas pedal from the engine side of the firewall. The inside just shows a tiny little bead of penetration in the corner which is perfect because it leaves room to screw in the throttle cable fitting. There was some stock firewall left as an unneeded flange inside the motor side of the pockets so I torched that off before painting it to keep the rust monster away. I kissed the welds with a flap disc, painted all of it black and called it a good day!
 1 point
 -
as of this morning I am rained out.....but so far have gone from a stump in the ground to this......fire pit, edgers, landscape and clean up landscape left to do..in time there will be a matching walk way to the other set of steps to the right and a small pad at the water fountain.
 1 point
 -
Here's my testimony. Driving alone along the coastal route "the Seven Bridges Road" from my home town Kokkola towards Jakobstad. August 2018.1 point
-
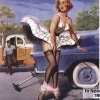
And as promised the link for those interested with more pictures of the traditional "American Made Motorcycle" as it would have come from the factory. https://www.bonhams.com/auctions/23804/lot/223/ If you read through the article they mention Mr. Jim Gallagher and his bike #22. Jim was a friend and fellow collector who pass just a few years back short of Centurion status who loved restoring and driving the old 30s cars and motorcycles. "Wheels Through Time Museum" purchased most of his bikes.1 point
-
Going with the original title here I will add a cool bike that is not mine but one I always considered one of the coolest. I removed the name from the tank in the picture but if you would like to read about it I will attached a link to provide the info.
 1 point
 -
After reading this I was going to change my rank to onion fart as that is pretty rank.1 point
-
So, you are so rooted in your be-leafs that there wood be no stumping for this man's business? How will he ever be able to spread out to open other branches if you don't rake in some customers? I think your bark is worse than your bite you old weeping willow! I'll go sit in Andy's corner now.....lol. I'm nothing but deadwood in this forest....ouch1 point
-
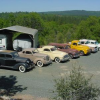
These trucks are all great! Here are my 50 Meadowbrook and 50 Pilothouse truck. I love them both. Never a Dodge guy until I found that Meadowbrook years ago and I've been hooked ever since.
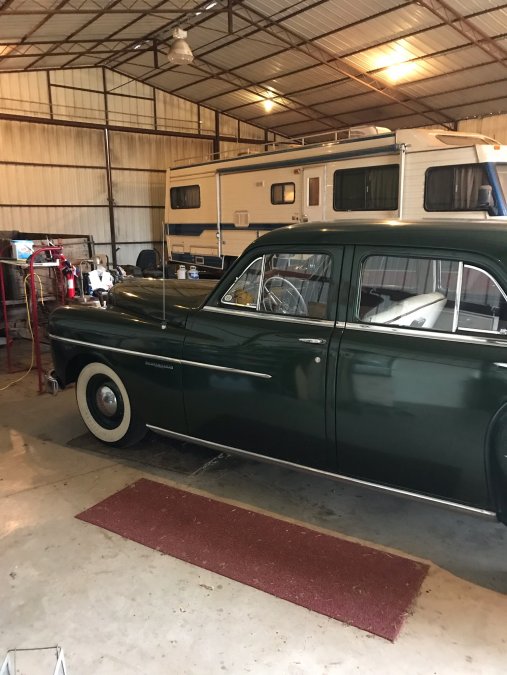
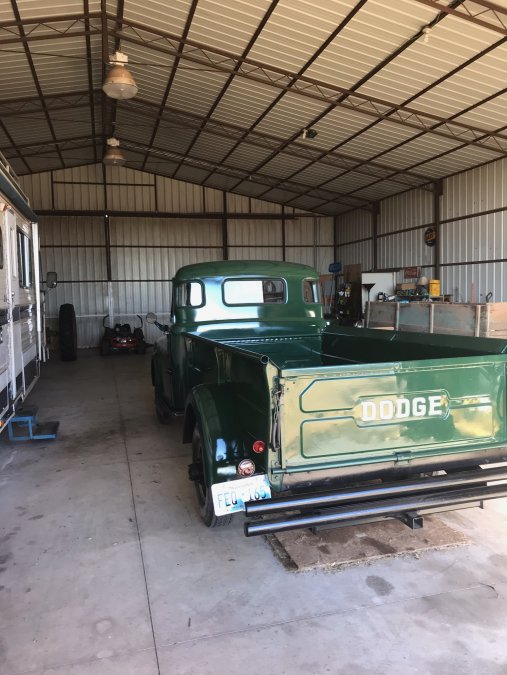
 1 point
 -
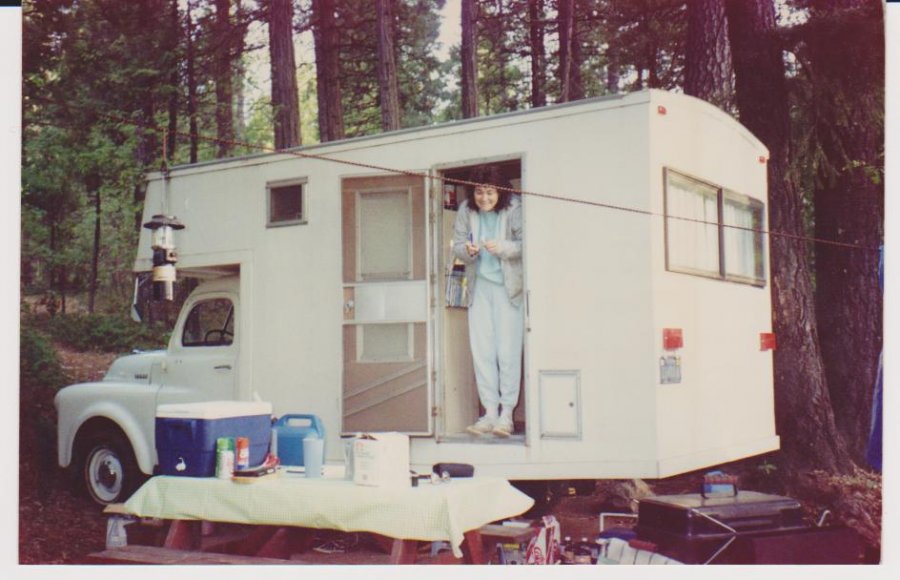
You, your wife, and someone else' wife all fit in there? ?? ?1 point
-
I spent many an night with two different wives in this rig I built many moons ago. It was originally a 52 3/4 ton.
 1 point
 -
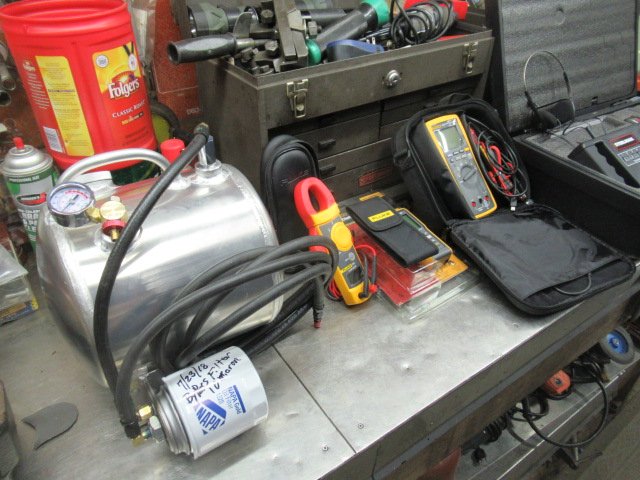
Recent purchases....Fluke Amp Inductive PU/ Fluke Digital meter.... Engine Pre-Lube tank and a chassis remote noise/ sound locator tool set...
 1 point
 -
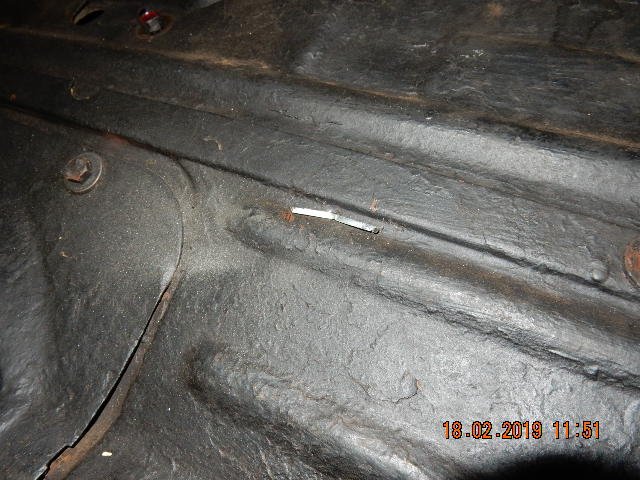
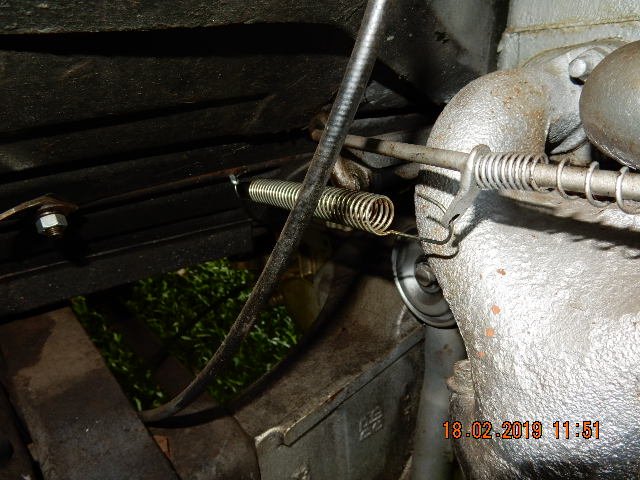
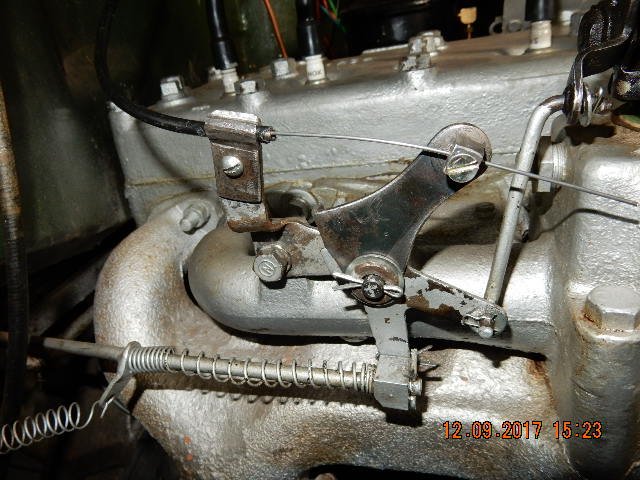
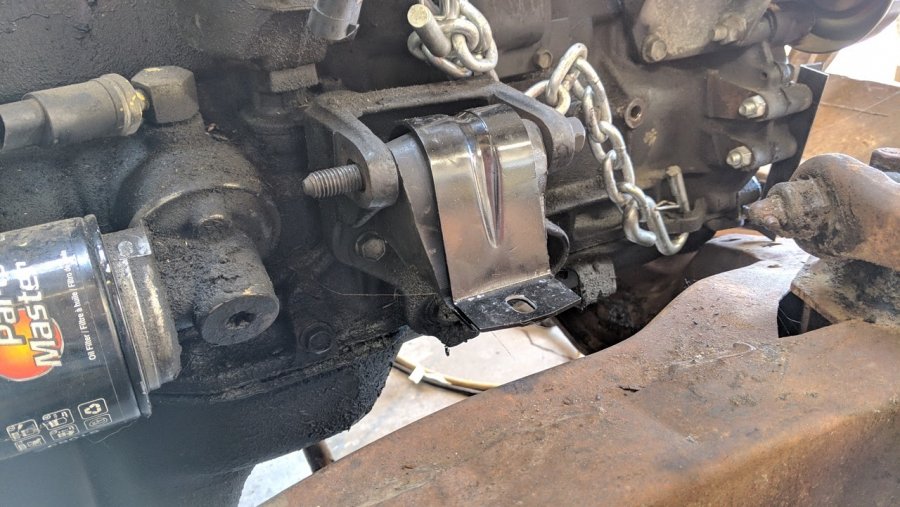
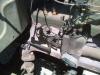
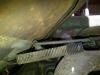
I took some photos the other day of the linkage setup on the '48 with the Ball&Ball on the 218; the '49 1-ton with the Stromberg on the 230 was an almost identical setup (currently partially disassembled for short test runs), as well as the '51 1-ton with the Stromberg on the 230...the return spring is attached to the floorboard with a cotter pin as shown. The return spring has tension on it while at zero throttle. Also shown is how close the throttle linkage on the back of the bell housing gets to the bottom of the cab when the cab mounts are worn and the motor mounts are new. The only other engine setup that I have that is complete is on the '53 Spring Special, and it's a bit of a head scratcher. The engine appears to have been replaced at some point, so I'm not totally sold that the B4B setup is original. The return spring, which is smaller than the ones used on the B-1s & B-3s, is attached at the throttle linkage rod at the pivot linkage as there is no clip present like the ones shown in the manual. This spring is then hooked to the lip on the floor board, not to a cotter pin through the floor board. I could not locate a hole in the floor board for the cotter pin to fit, so I'm kinda wondering if this might have been a running change near the end of B-series production...

 1 point
 -
I don't mean to go natteing on about something no one else is nterested in, but here's jow this job fell out, finally. The new U-joints that fit our trucks are a Chicago Rawhid numger 1-1612BF. I realize your mileage may vary, but for a benchmark to shoot at in your home area, my cost for this part was $36.00, exactly one half the price our friendly Massachusetts Bandits want for the same part in a plastic bag with no number on it. Go figure. If you have access to a torch, it is best to cut the old U-joint cross out, as opposed to banging or pressing it apart. This saves considerable stress on the old yoke. Once the old joint is out, polish up the yoke and the new joint caps press together just fine using a bench vise and a few properly-ized sockets. Bernbumm has the gasket set. if you go to all this work, might as well have the right gaskets. I glued them all in with the same Aviation cement. This baby should never leak a drop, if I have anything to say about it. TThese rear seals are a bear to get in. I tried a large socket, a press, a vise anf finally wound up just banging it in by hand with a soft-faced hamjer. DO use sealer on the outside perimiter of the seal. I used Permatex Aviation gasket cement. Good Luck1 point
-
I believe it’s basically just a dampener for the throttle rod, as well as being a spacer so it can’t slide back through the block on the linkage0 points