
Leaderboard


Popular Content
Showing content with the highest reputation on 11/15/2018 in all areas
-
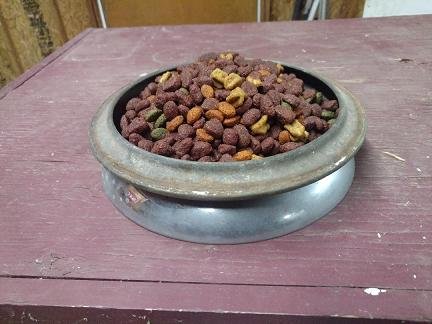
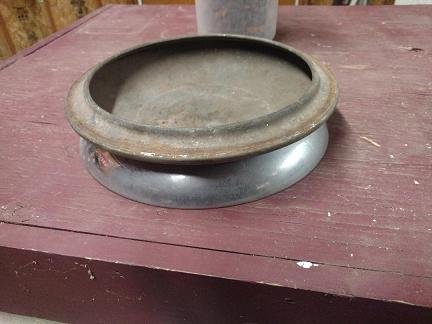
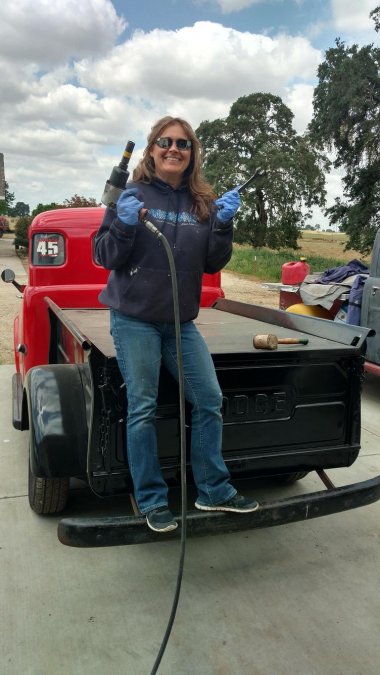
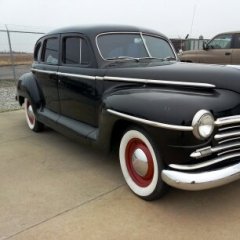
I have a lost dog for the moment.....didn't have a dish handy....or did I ? 48D
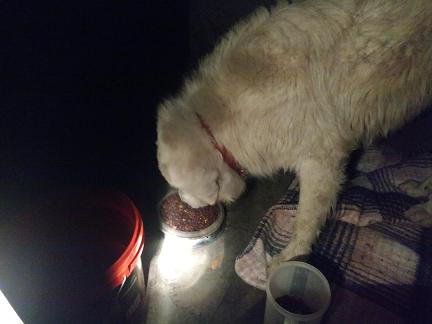
 5 points
 -
I worked as a field service diesel mechanic a long time ago. For ease of future service, my rule of thumb was to never use any type of sealant on the engine side of anything. It is much easier to scrape the old gasket off the part (sitting on the back of my truck) than the engine while it is still in the vehicle. The other reason I do it that way - if you look at the most stable surface, it should be the machined surface on the engine block. Unless it has defects, it most likely won’t be the cause of any leaks. The oil pan on the other hand will flex and bend if/when the bolts are over tightened - that would be the surface causing the leaks. Every Engine has specific places where leaks are more of a potential - generally where joints are created in the gasket material. Those are the only places where I would use a small amount of silicone - just my opinion of course.3 points
-
I would use a little Ultra Black silicone sealant in the corners, where all the gasket pieces meet. Otherwise I don’t like silicone gasket sealant, especially with cork gaskets. I like to use a tacky type of gasket stuff, like Permetex’s #9 Tack and Seal on one side to hold it from moving around. Then s light coat of grease on the side against the block. Don’t over torque the bolts. Just snug them up, and go back after a while and recheck them.3 points
-
Seeing Mack the Fingers post reminds me of a very fond memory of my Mom Dad and I from when I was about 10. We lived in Tucson and we took a little day trip into the desert not far from where I live now to look for "Desert Roses" . Dad brought come Chef Boyardee spaghetti with us to eat for lunch. Well he forgot to bring something to heat it on . So he too the hubcap off our car it was a Vega so no loss there and built a first under it . Then he set the opened can on top of it and let it heat up. After a few minutes I look at the can and the heat had made the contents of the can rise up in a tall spaghetti column like a push pop almost to the point of collapsing onto the hubcap and ground. I brought it to my Dads attention and he hurriedly poked a the wedge shaped end of the still new/ unused tire iron lug wrench into it to shove it back into the can all the time laughing . Dad was a hoot. One night when Mom was at my Aunts house next door Dad decided to make his own corn nuts. He drained and salted a can of hominys and put them on a flat cookie sheet type thing and put them into the toaster oven to roast and get crunchy. Long story short.... after a while all of the sudden they started to explode like firecrackers just as Mom walked in the front door. Dad wasnt allowed to use the kitchen for a while after that. I sure do miss them both. John2 points
-
Kinda odd how something like this can bring back memories.. On a long two-wheeled weekend many years ago a riding buddy and aspiring chef raided a freezer some trusting soul had on his carport and came away with some frozen burger patties. Another stop to liberate a hubcap and he now had a skillet! Nothing tastes quite like a burger with a little wheel bearing grease.. ? I lost track of that old friend in the early '80s after he married a woman who shut the door on his old life. A month or so ago I learned he had just passed away from complications from diabetes. Speaking with his brother at the funeral I learned that my old friend had lost a leg to diabetes about fifteen years ago. According to his monitor he hadn't checked his blood sugar level for several months prior to his death. At his last check it had been over 300. Seems like he'd just given up the struggle. He was one of the most fearless motorcycle riders I've ever known. In the early '70s he rode a Honda 450 black bomber with Z bars, laid back neck, slugs in the fork tubes. Wish I had pics. It was a beast!!2 points
-
yeah, methinks I'll just stick with the sweet ol' flathead!2 points
-
1 point
-
I would only guess, the cabs would be same, the short boards are cab length, I would say they are the same. The long ones for a pickup bed, the wheel base would come into play.1 point
-
1 point
-
Well what I'd do first is get a few wires that you can plug into those sockets and just check the circuits..........I just followed and typed what the wiring diagram indicated..........lol............I'd still not connect it up thru the cars circuits till I was certain that it works as per power in-power out ............doesn't your 49-52 Shop manual have the wiring diagram?..............I know when I wired up my car, the 40 dodge I still use the original ignition switch, starter button and headlight switch all with a home brewed wiring job, I cut the armoured cable that these mopars used from the ignition switch down to the coil and attached a new wire, Oz cars due to the RHD had used a dash mounted starter button for years and the headlight switch just switches, I havn't told it about the 12volts running thru, tho' I did pull it apart, clean & reassembled it and its been working fine for the past 45yrs.........lol..........BUT......I still recommend that you test everything first.........wiring is a black art, best done after whispering nice thoughts to the various pieces and vehicle.............lol............andyd1 point
-
Nut is power out to a 30amp circuit breaker that feeds power to the Glove box lamp switch, power to the stop lamp switch and on the other side of the circuit breaker to the radio and back to the ignition switch................. the ........H is headlight power out down to the dipper switch which switches it to hi/lo beam........P is for front parking lights............... T is for rear tailights................I is power to the Instrument lamp switch, which I think is the toggle switch under the dash.........power goes in from the starter & ignition switch to the topmost pole,ie, that one between the P and T sockets..............this is directly from the P19 and P20 wiring Diagram on page 299 of the 1946-1954 Plymouth Service Manual published 11/53 in the USA..............now some of these connections I am a bit iffy about,so at the very least I'd be just doing a test of the circuits thru the switch by using a trouble light and seeing what send power where...........as for the number of parking lights etc...........you only need in theory ONE parking light wire.....just split it up front/back/left/right as it becomes parking at the front, tailight at the back...........as for a stop light, you run constant power to a separate stoplight switch( ie, from that nut which should I think have power coming from the topmost pole........but check.....lol)) as they have to work irrespective whether its night or day..............anyway hope this helps...........andyd1 point
-
Rusty Hope, keep your factory wheels if you want to.1 point
-
I always trim mine a bit and use Ultra Black on the crack between the gaskets, but never on the contact surfaces, as stated above...aviation gasket maker or high tack is best for holding in place, but I only use on the pan...very hard to get off the block if you need to remove again1 point
-
According to my service manual, they tell you NOT to trim the ends of the gaskets. They are supposed to protrude 1/8 to 1/4 inch so they can compress when the pan bolts are tightened.1 point
-
I just finished installing the pan on my 218. 1) I use permatex Indian head sealer, but others are good too. For ne it's just added projection but if/you remove the pan later, it will be more difficult. 2) I just snug the bolts the first round and I start from the inside out, why, don't know. I set the torque on my electric drill light to start then full torque 2nd. Then I watch what happens when I start the engine and I tighten the bolts one more time with a socket wrench, but never full tight. Let the gasket do its job. This may may not be how most do it but such as it is.1 point
-
Lately we've been carrying change and are splitting our smaller purchases into a few singles and the rest in coins. The cashiers may not like it, but the change jar is getting emptier.1 point
-
Just as a reminder: Offers for parts, even as an unsolicited reply on a thread are not allowed outside of the classified section. You can, of course, PM the person you think might like some of the parts you have too.1 point
-
Wow! 12 already? Seems like yesterday I met Tim and we did the first one. I'll be there for number 12...1 point
-
Interesting choice. As a carpenter I have installed the product a few times. I agree it works just like wood with saws and routers, wears like iron and does turn to a nice silvery finish. First time installing, was a second story deck that wrapped around the house. We spent all morning getting it perfectly straight, west side first, before it got hot. That afternoon before going home, the boards looked like snakes, and the radiant heat coming off them was very uncomfortable. Next morning they were perfectly straight, until it got afternoon sun. As a carpenter, I really do not like the stuff. But for a pickup bed, may be ok. I will have to re-think this option myself.1 point
-
- plymouthy adams: yup thats what Im doing now. Trying to resolve all issues before i make the transfer. - hotrod tractor: i agree but i also need to look at the bank! Im a disabled vet with three little kids so i try to stretch $ where i can unless Garage Squad wants to come get the car! Lol1 point
-
Pilot-House engine/oil pan with dipstick tube attached...1 point
-
Pfaff and Consew user here....most important is setting the properly serviced machine up for your sitting height for good treadle control. Yes they are sensitive but if the women in factories can run them so can us pansy ass men! There is a servo motor kit for those who cannot man up. Read, learn, watch video's and practice.... a lot. Go slow and easy ...you can do it!
.JPG.73a0a4201ec829a4d616541707d551ae.JPG) 1 point
1 point -
Make sure the mounting pad/area for the starter is clean of paint. Otherwise possibly slow or no stater operation....been there on that.1 point
-
Yea....I agree. I decided to leave it and see if it grew on me.......I ended up marrying the help, so I left it. lol. 48D

 1 point
 -
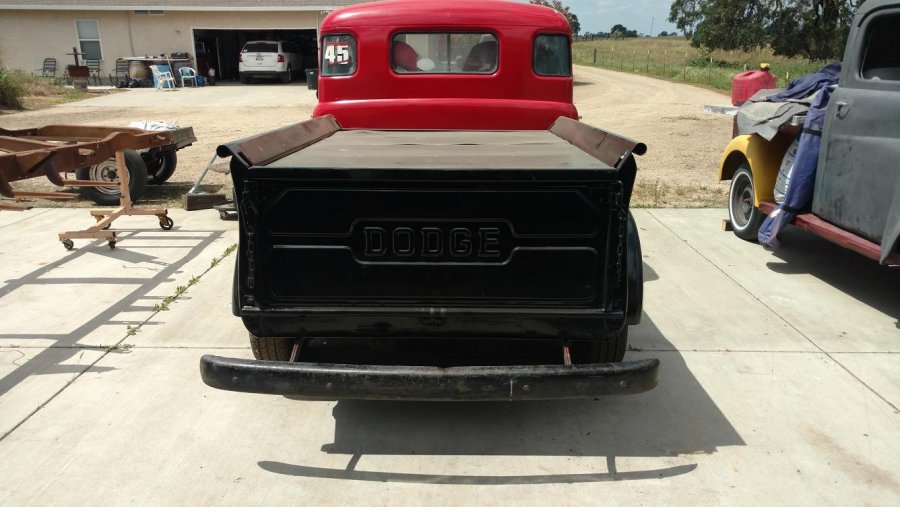
Good job on the bumper. I have never seen one without the drop center in it. I worked on mine for hours on the press. Its better that it was when I got it, but still not factory. They used to pull logs with it.
 1 point
 -
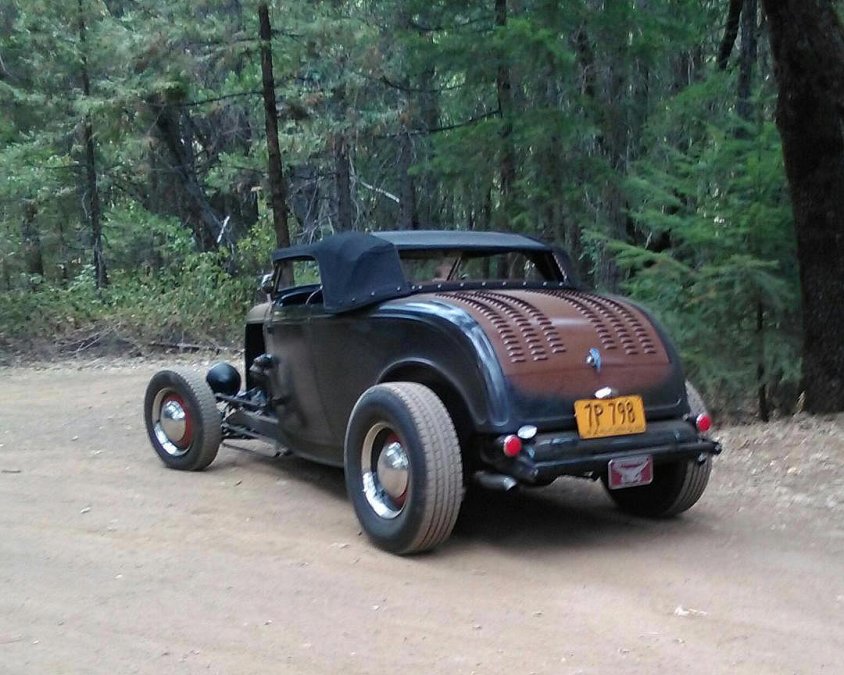
I posted a coupla pics of my Roadster back in 2014. They are long gone. Here's an update. The folding stowable top is a recent project. I may never get to the '40 Sedan. It's perfect for a resto. No one is interested.
.thumb.jpg.5dbde885b7ed7ee003916641533adbe3.jpg)
 1 point
 -
Zinc same as zddp is a lubricant for flat tappet high rpm engines. In my opinion it is not required in these low rpm Mopar flathead engines. Fact is there is more zinc in modern oils than what was in the oil when these engines were new. However it is your engine, your mechanic, your money, and your choice.1 point


.jpg.84ec394c6a7cac8d4ee99cc73806cef0.jpg)