Leaderboard


Popular Content
Showing content with the highest reputation on 10/04/2017 in all areas
-
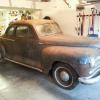
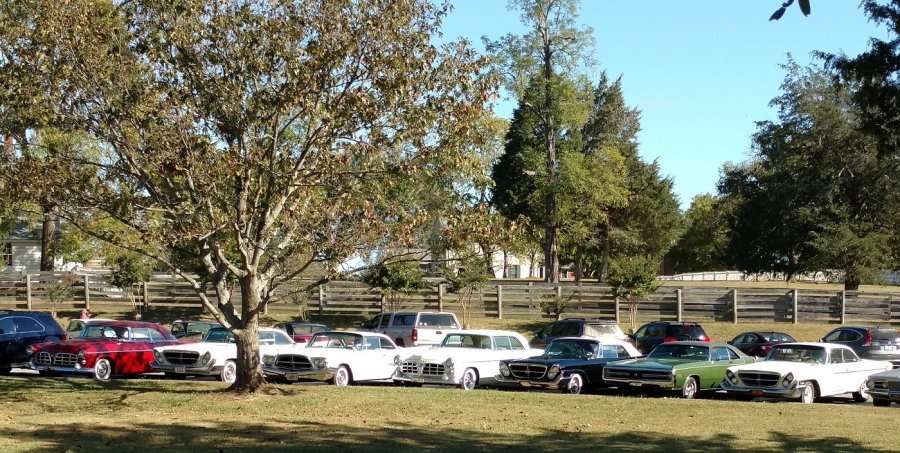
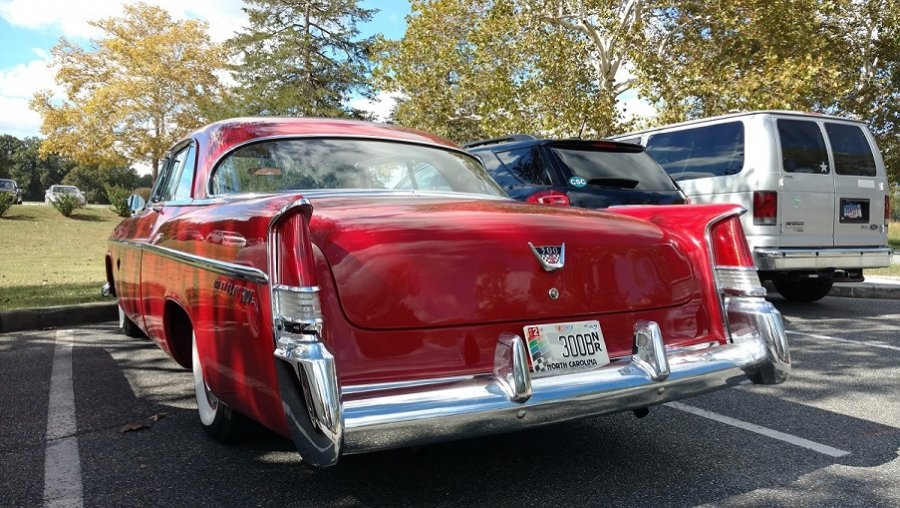
We were on a trip to Virginia over the weekend and pulled into Appomatox Court House and were pleasantly surprised to see the Chrysler 300 group had included it on their itinerary. There were 300's all the way from 1955 through the late 60's represented. If only I could afford it I would love to take possession of one of those beautiful cars. I like all of them but am particularly fond of the 1956 and 1960. (I owned a 1960 Windsor 15 year ago.) They had a gorgeous day to take their old cars out for a drive in the Virginia countryside. My 1950 Wayfarer is sold and will be making it's way to France soon. I have mixed feelings about selling but am happy it is going to a couple who really wanted a Wayfarer like mine.

 5 points
 -
My battery tray looked about the same. I was thinking of naming my car Patches.2 points
-
looks like you need to take up cobbling on your shoes and not your cars2 points
-
Deluxe JC crosses to a Wix 51011, Napa 1011, or Baldwin JC405. I highly recommend the Baldwin as in my experience they are a much better fit into the can.1 point
-
Cover the end of the road draft tube to critters out.1 point
-
My suggestion would be to bring it to my shop. and I recommend to leave it there for me.1 point
-
I think we can all relate... LOL!
 1 point
 -
I usually use a 5 gal bucket, solid side up. High enough my knees don't suffer, low enough to work on stuff. Recently bought a roll-around shop stool from Harbor Freight - works great.1 point
-
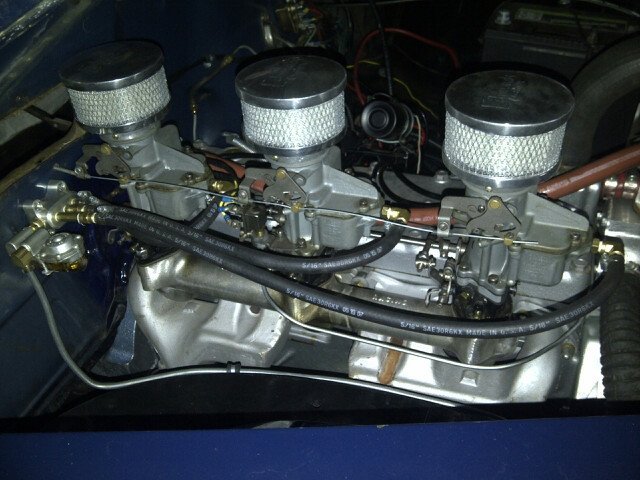
Hi all, starting this thread in the theme of Mopar flathead 6 cylinder racing. This could be drag racing, beach or dry lake racing, and even "roundy round". So share your stories, post those pics and videos, and share what you might be racing in the modern times in a Chrysler flathead powered racer.. I will start with a few pics, notably the infamous 1929 Desoto Roadster powered by a 265 engine and owned and built by the 1 and only George Asche Junior. This car hit an amazing 142 mph at Daytona on the sand in 1954, which even by todays standards in such a vehicle is quite amazing

 1 point
 -
I have used the original MC with my disc brakes for years. NO Problem. Rebuild the unit correctly. Safety First make sure your e brake is in tip top shape.1 point
-
If that's the FelPro gasket I believe it goes copper side down. I had the gasket kit opened for my 201 a couple of weeks ago and that was the only way it could go on properly.1 point
-
One way to check is to run it in the dark and look for sparks anywhere on or around the engine.1 point
-
chair...in a shop...blasphemy....how you expect to get anything accomplished......1 point
-
While the engine is exposed as you have it, I recommend looking at the valve sealing surfaces. Do they look like this valve image below? Pitted in the centre? Not good. You can rotate the engine by hand, as each valve opens, stop. Get a flashlight and a magnifier if needed, and inspect both valve and seat surfaces for wear. Take some pics and report back if you can. With a few more bolts removed, the intake and exhaust manifold will easily lift off. Rotate the engine by hand. Stop when both valves are sealed in one cylinder. Piston will be at TDC. Both valves will be seated at this point. Get a larger sized syringe. Fill it with kerosene. Using the syringe, push kerosene in a controlled manner, around both the intake and exhaust valve seat areas. Using a flashlight, look up under the valves in the ports in the block. Look for leaking kerosene. Good sealed valves will not pass kerosene or any other liquid. Wipe up any kerosene with rags. Don't over do it with the kerosene and end up getting it in your cylinders. Rags in there helps. Below here you can see how I put shop towels into the cylinders to keep the jugs clean while I de-carbon'd everything with a brass wire wheel in a drill. Extreme caution must be used to ensure no brass wheel wire bits get in into the cylinders. They likely get down in around the piston rings and create havoc. I shop vac'd the area several times. Then wiped everything clean several times. A good lapped, sealing valve will show a surface finish like this below, with proper lapping. See the duller finish in the centre of the valve seal area? This is from the lapping compound. I did these with the infamous rubber cups on a stick, tool. You can see my drill with wire brass wheel on the floor in the background of this pic. I have three different sized wire brass wheels to get in and around tighter areas. In the end mine looked like this below. Head gasket was sprayed with orange spray, gasket sealer. I would never, reuse head bolts. That's just me. The bolts are designed to stretch, once they are torqued to proper spec. Bolts only stretch right so many times. Then they break. If you re-use head bolts you might well be sweating bullets when you go to re-torque them, two and three times later. After they have heated and cooled a few times. Praying for no breakage.1 point
-
The starter switch and what's inside... two copper contacts that mis-align or get burned.
.JPG.2c171789ed004e141d79c865dc6bc5d9.JPG)
.JPG.5c40b41726eec5b47978bc099183e572.JPG)
.JPG.a5cca9aa37c005cb4cf272b057d468b5.JPG)
.JPG.39d82dda0cb65af94c6715da7ccbd657.JPG) 1 point
1 point -
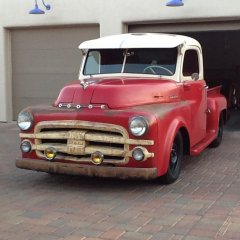
Since the original post stated lowered cars and trucks, I thought I would add my truck. The question comes up on how to lower them quite a bit. Up front, Nostalgia Sid dropped the front axle 3". Also new front springs with the second from the bottom leaf removed. Out back, new 7 leaf springs from McVeigh spring. Starting at second from the bottom, removed every other leaf and left a total of four. Also used the Willy's shackles instead of the Dodge for a bit more drop.
 1 point
 -
1 and 1/2 coils cut up front and 3" blocks in rear. Tires are L78's in back and G78's up front. Fifteens both.

 1 point
 -
Take the side covers off so you can see what you are doing and to make sure there isn't something you can't see that is causing the problem. Turn the engine by hand until you can see that the stuck valve should be closed,but isn't. Use some sort of penetrating oil (Kroil is good) in a squirt can to try to lube the valve stem at the top of the engine as well as through the valve inspection/adjustment ports,and then take a hammer with plastic faces and gently tap on top of the valve to get it to seat. Patience is more of a key word than "brute force" here. Lube the valve stem again once it bottoms,and then spin the engine over by hand to open it again. If it closes on it's own,lube it up again and spin it over several times to make sure it doesn't stick again. Lube up all the other valve stems while you are at it. If they weren't all dry,none of them would have been stuck. Finally,consider hand-lapping them all while you are at it to bring your compression readings up. You already have the head and the side covers off,so why not? You can do it using one of those sticks with the suction cups on them to spin the valves,and something like Dykem Lay-Out Blue like machinists use so you can visually see when each valve is making full contact with the seat,but the lay-out dye and the stick with the rubber suction cups are cheap,so it's no big deal. You might want to buy a magnet on a telescoping handle to make it easier to deal with the valve keepers,but you can use that on a bunch of stuff,so it's not a "special" tool.1 point
-
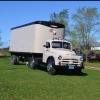
I'm jealous! I've always wanted a COE I'm very happy for you Joe! Now you need bigger tools1 point
-
Now I can raise my prices on parts!1 point
-
I have found that the threads on some bleeders are worn and will let air back into the lines. Go to http://www.cascadepacificplymouth.org/500techcommittee.html and check out a simple method for bleeding brakes by yourself.1 point
-
Well, this guy is prepared.1 point
-
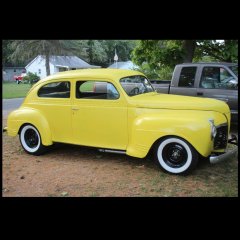
Finally ready to swap out the rear axle in my 41 Plymouth. I did a lot of research here and I'm ready to move forward. I purchased a rear axle from a 98 Ford explorer. I will be putting a 318 and automatic transmission. I've measured the pinion angle and did the measurements for the location of the perches. The axle from the 41 has a angle of approximately 4° and the explorer 8°. My question is this: When I weld the new perches on the explorer axle do I set the angle to the 41 axle or keep the explorer angle? Thanks
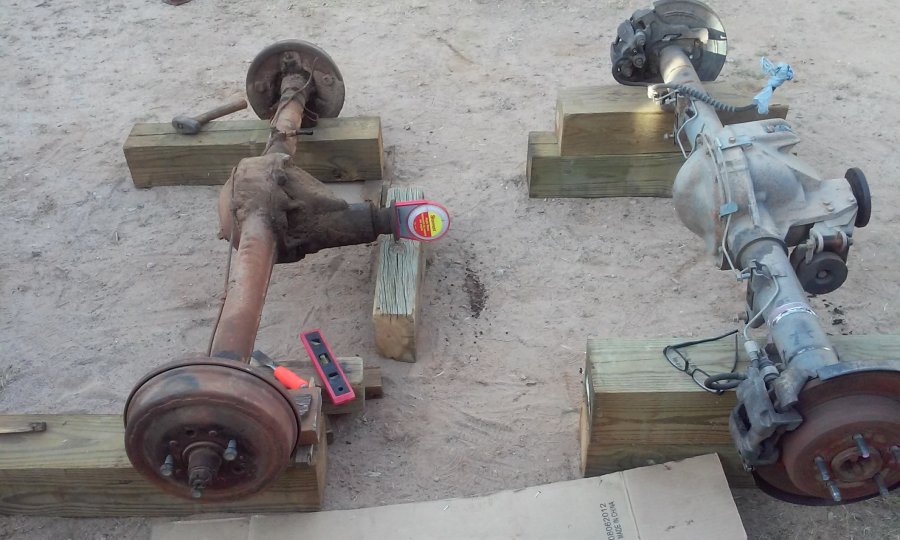
 1 point
 -
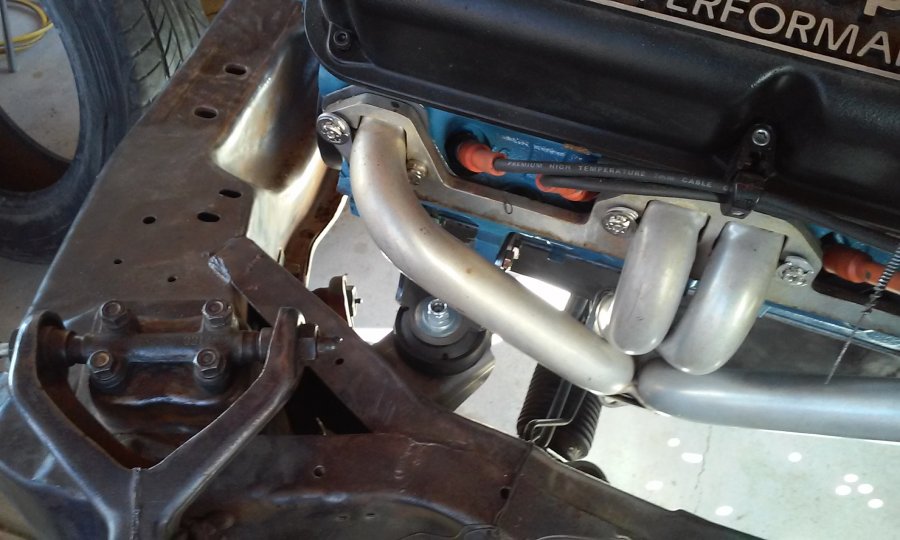
I picked up a 318 from craigslist. Went to u-pull it and pulled a 727 transmission from a 76 Dodge van. I set the carburetor at zero°, when I check the output shaft on the trans I am about at 4°. Fabricated a trans mount: still need to weld it together but will do that once I determine the offset of the engine. I had no steering gearbox or column but did have the steering linkage. Got a cavalier rack and am working with getting that installed, also picked up a column.


 1 point