Leaderboard


Popular Content
Showing content with the highest reputation on 08/08/2017 in all areas
-
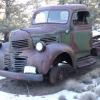
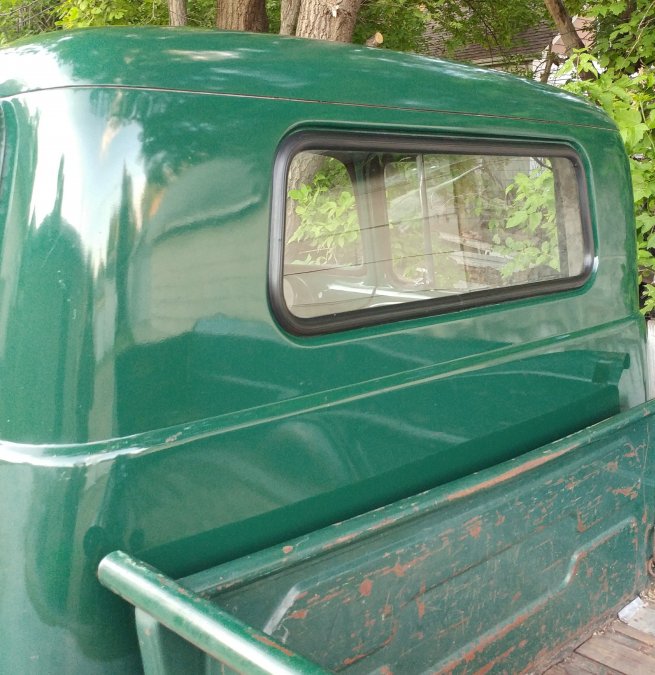
Well the cab was done this weekend. That rubbing compound is flipping had to take off. Wish there was a easier way to get it off but I guess it's worth it. Took 3 days to do it by hand. I tried a polished and it started to scratch paint and that was at 2nd speed.
 6 points
 -
Yeah, we really need to keep this thread focused on BELLHOUSINGS. There simply is no need for any other discussion that a future searcher would have to wade through. Remember, this is also useful for any other trans swap and/or any oem package that someone may be trying to piece together. Thanks to those who have offered information.3 points
-
Nah - as soon as I get some free time I'll be adding a few pictures and measurements. Just need some free time to dig some stuff out.3 points
-
Too bad it's small block chebbied! Boo! I have saved much worse cars. And yes, I can spell Chevrolet, I just like to poke fun at this terrible trend.3 points
-
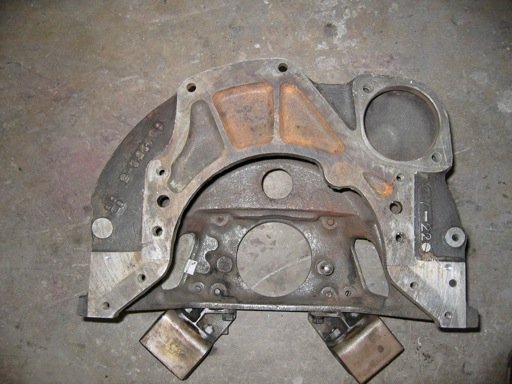
These are 9 year old pictures of my 1936 P2 bellhousing. I didn't take measurements, but maybe the pics will help someone identify another like it in the future. Casting # 651252-5 Motor mounts are attached by brackets at the bottom
 2 points
 -
It's quite possible that someone put the oil pump in without indexing it properly. Don't get hung up on the 7-o'clock position thing. Hook up your "new" timing light and see where it's at. That's the only way to truly know what's going on.2 points
-
Technically this information is invaluable for any transmission swap - so feel free to add up pictures and dimensions of your bellhousing as well.2 points
-
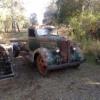
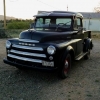
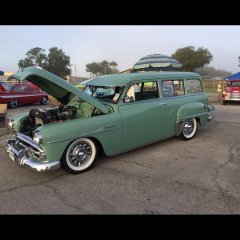
I met the owner of the clear metal truck. He had it clear coated, but it was not holding, so he is going to have it painted. This hot rod is in his garage, nice.
 2 points
 -
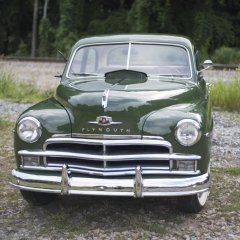
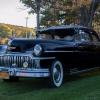
The Plymouth and possibly all Chrysler products changed to the IAT from the IGS in about mid 1950. The IGS is easily recognized by the counterweighted rotor. My personal preference is the IAT but in fairness, the IGS is built better with a ball bearing points plate.2 points
-
His son owned this AMC Marlin. You just don't see these around anymore.2 points
-
I was really diggin' this guy's license plate topper. I believe he was driving a '39 Olds or Pontiac.2 points
-
gotta be vintage power wagons2 points
-
Ok, now that I have your attention, it appears that there is a lack of a common thread providing information for using something other than the oem trans in either car or truck applications. At present, it appears that some folks could use some basic bellhousing details for their projects so I'll start with the two that I have handy. Feel free to add to the thread with whatever L6 manual bellhousing that you have and give a short narrative. Casting # 871357, oem application unknown, no rear mounts, Nominal 4" ID hole and nominal 7¾" depth. Casting # 1799592, truck bell with sloped mounts, has both L6 and V8 block patterns. Nominal 5" hole and nominal 8-3/16" deep.1 point
-
I think that's a line Forest Gump used. Anyway, couldn't figure out why my car wouldn't start. Thought sure I had it flooded, but it never did fire! Left it sit a while, tried it again, same thing. Finally opened the hood and I had left all the plug wires off when I cleaned and gapped the plugs, about a week ago. Not sure what the moral of this story is, except if you start a job, you need to finish it.!!1 point
-
It looks at home there.1 point
-
For this I want to bypass the electrical fuel pump with a check valve in the line of the tank to the mechanical fuel pump.1 point
-
Due to federal regulations this is what 7 passenger SUV's will look like by 2020. They must satisfy 80mpg's, and due to safety standards have no power to speak of and pretty much all look the same no matter who makes them. Ads Will boast of the ease of parking, how quickly you can wash and wax it and...uh...oh yea how small it's carbon footprint is.1 point
-
It looks great!! No need for a repaint. You will just need to keep it waxed occasionally or it will oxidize again. Well worth the effort.1 point
-
Looks fantastic! I would say well worth the effort!1 point
-
Wow it looks fantastic. Great job !!! John1 point
-
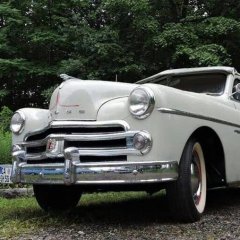
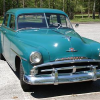
Is it required to have a white car in that town??? I can't I'd that contraption nor any of the others in the picture either. They all look like they swam or crawled out of the shallow end of the design pool.1 point
-
What a great day, and you got to see some great cars and meet some down to earth people too! Very cool! I take my oldest son to car shows also.1 point
-
Says "Electric" on the side.........so does it really matter.......lol.............maybe "Toaster, Kettle or Vibrator".............oops, theres my corner again.......andyd1 point
-
1 point
-
I hope you guys can read these, or make them bigger so you can read them somehow. So interesting.... These go with the UFO car in the above post.1 point
-
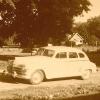
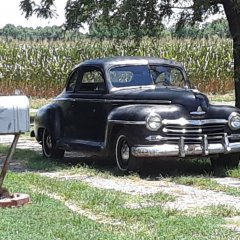
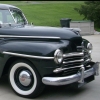
The guy that owned this 39 Chevy is 83 years old. I talked to him for about 1/2 an hour. He grabbed an extra lawn chair out of his truck so I could sit by him. He owns quite a number of cars, but decided to drive the truck to the show that day. He had the most interesting story I heard that day. He worked for Chevrolet on the assembly line in 1953 and 54. He owns a 53 Chevy and decided one day to do a little research on it. With the codes on the car and some other paperwork he was able to determine that it was built on HIS shift, and HE installed the engine in the car as that was his job on the assembly line. How about that for a cool story? It was a lot of fun talking to him.1 point
-
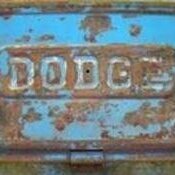
This was a 64 Dodge A100 van. The guy was getting up out of his chair when I snapped the picture. I told him he didn't have to move.1 point
-
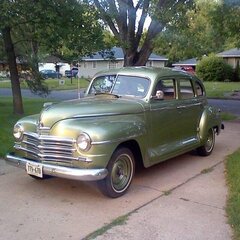
This past Saturday (Aug. 5th) there was a car show that is an annual event hosted by one family (near Rushford MN, on their property). They are big Mopar enthusiasts so it was nice to finally NOT be the only Mopar or Dodge at a show. With that being said, I still was the only Mopar from the 50s there! There was a '46 Dodge truck, but I think that was the oldest Mopar other than my Meadowbrook. Most were from the 60s and 70s. Anyway, these kind hosts fed everybody....hundreds of people, which was really gracious of them. They had 50s and 60s music going all day as well. No cost for the show or lunch. I would say there was maybe 100 cars total throughout the day. This shot was early so there wasn't anyone parked on my one side yet.1 point
-
I'm not saying that I'm unhappy at this point as I have ordered from them previously and everything was fine. It's just as a person that has dealt with people in a professional matter for the last 20 some odd years I know that your public persona is something that is important. Basically what I'm saying is that you can catch more flies with honey than you can with vinegar. Service is only part of the business. Friendly and informative communication is another part along with quality products, timely delivery and competitive pricing.1 point
-
Tie-rods done.1 point
-
I had forgotten all about that. Wasn't that the start of the downfall of Oldsmobile and Pontiac? WTH would class-conscious geezers spend the big extra bucks to buy a Pontiac or Olds,when it was just a Chevrolet wearing a fancy dress?1 point
-
Looking great, Thrash !!! Coming along nicely.1 point
-
Okay are we "chasing our tails" on this thread. I mentioned above or possible another thread on "overheating". Pull the rad, send it out for boiling and clean up, its a honeycomb rad? if so no rodding is possible.. Pull the water waterpump, and remove the water distribution tube, clean and verify its in good condition. Next pop open the lower welch plugs, rod these areas out of crud, flush frontwards and backwards, this should clean up the engine well enough. Its wont be a like a hot tanking but should be quite good. Oil on your drain plug is probably the results of engine blowby from the filler cap area washing down the side of the block. Is your rad an original honeycomb type, this needs to be cleaned up well, or replaced with a nice new aluminum rad as an option. All these flush kits are meant for lightly crudded engines, not some 70 year old beast that had gallons of hard well water used at times and old antifreeze over the decades. Stop looking for a quick fix, clean this out well, and your overheating troubles will be gone...........1 point
-
Plus you can do your own colonoscopy and save some big bucks there too.1 point
-
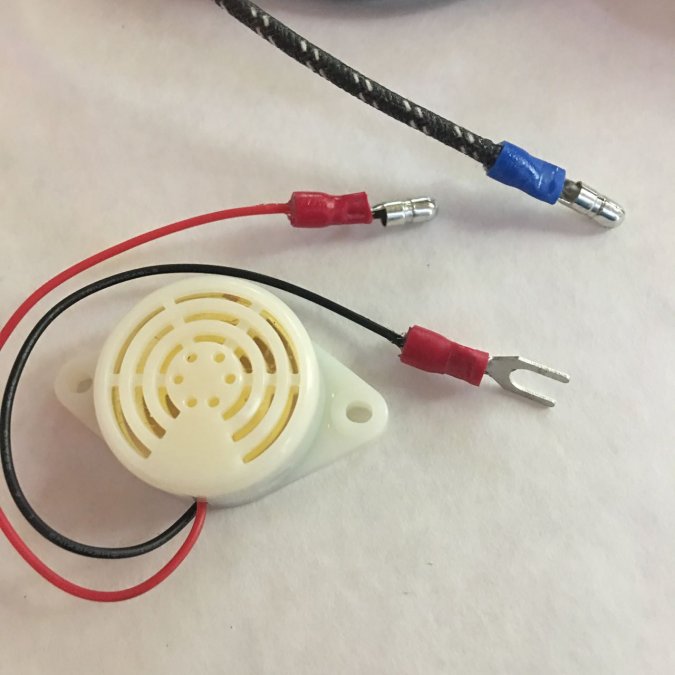
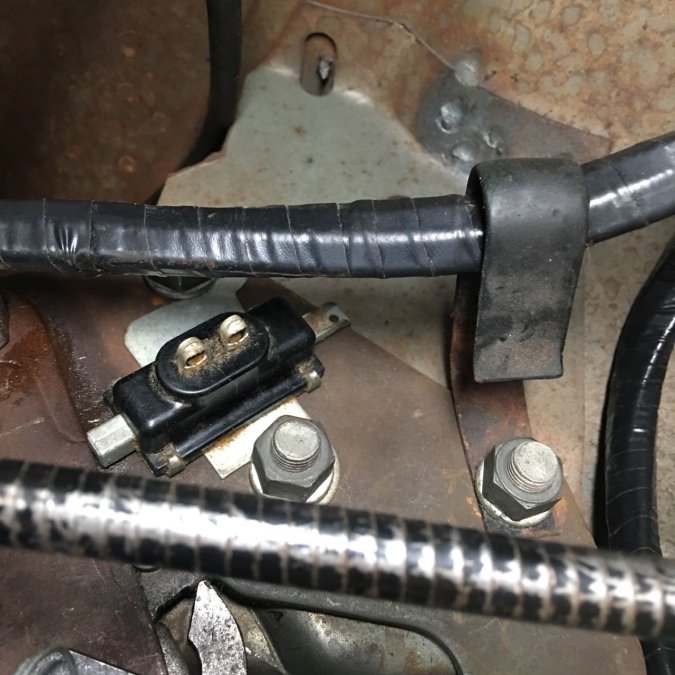
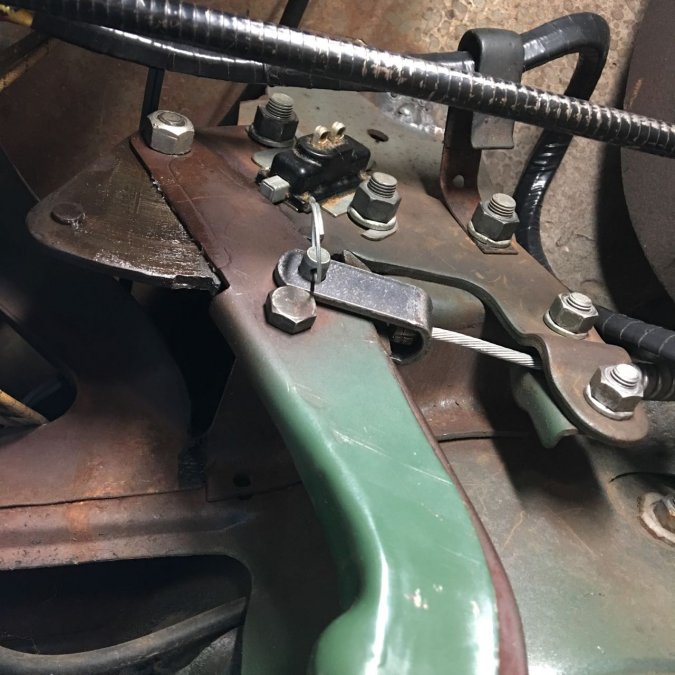
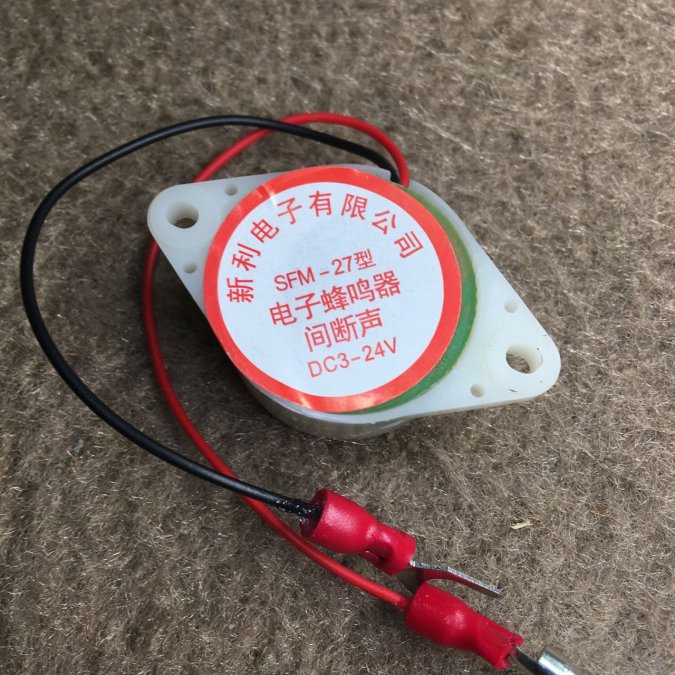
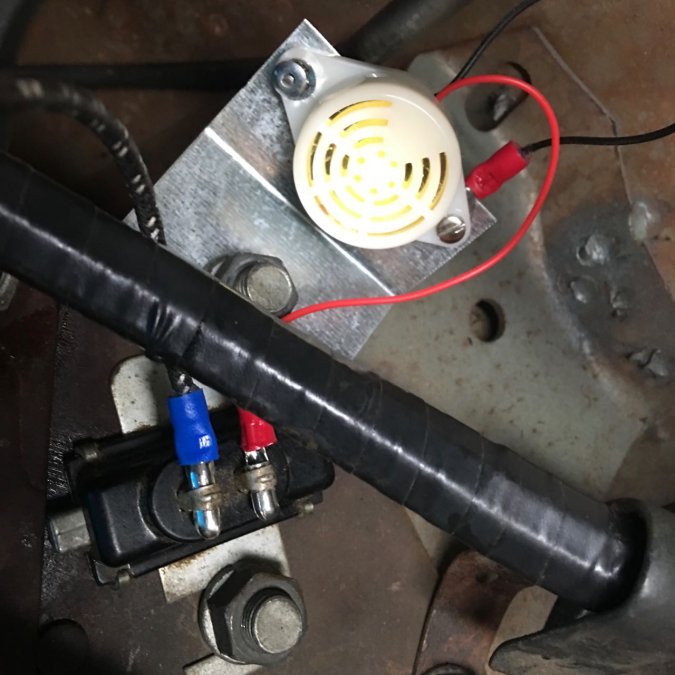
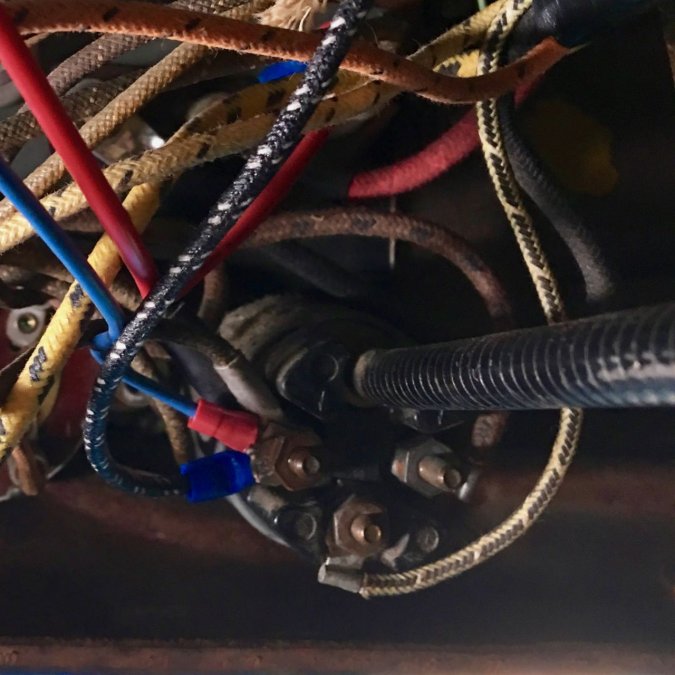
After driving with the parking brake engaged more times than I care to recall, I finally wired up a buzzer. I started with a NOS parking brake switch that I bought on eBay several months ago. Mine came, if I recall correctly, with just the switch and a red lens for a hole in the dash. I couldn't figure out it actually mounted before I bought it, so here is what it looks like mounted. I bought an inexpensive (< $7) beeper from Amazon.com: uxcell DC 3-24V 12mA Industrial Discontinuous Sound Electronic Buzzer http://a.co/a8CAAH7 And added some connectors to the ends of the wires. That is more Chinese than I've seen in my car. On the plus side, I'm switching to 12 volt in the coming year and this beeper can handle it. Heck, it will beep attached to a single AAA battery, just not very loud. Then grabbed a piece of galvanized tin from the scrap pile (didn't even need to trim it). Drilled a large hole for the bolt in the car and a couple of small ones to hold the buzzer and ground wire. Put a 45º bend in the tin. Coated the connectors with Deoxit and mounted it: The power lead is going to a connection on the back of the ignition switch that has power when the key is in the run position. From the back, this is the left side of this next photo: Hopefully, this helps someone else. And hopefully, I no longer drive with the parking brake still engaged.
 1 point
 -
Or at least fabricate a better looking one.1 point
-
This might or might not help.1 point
-
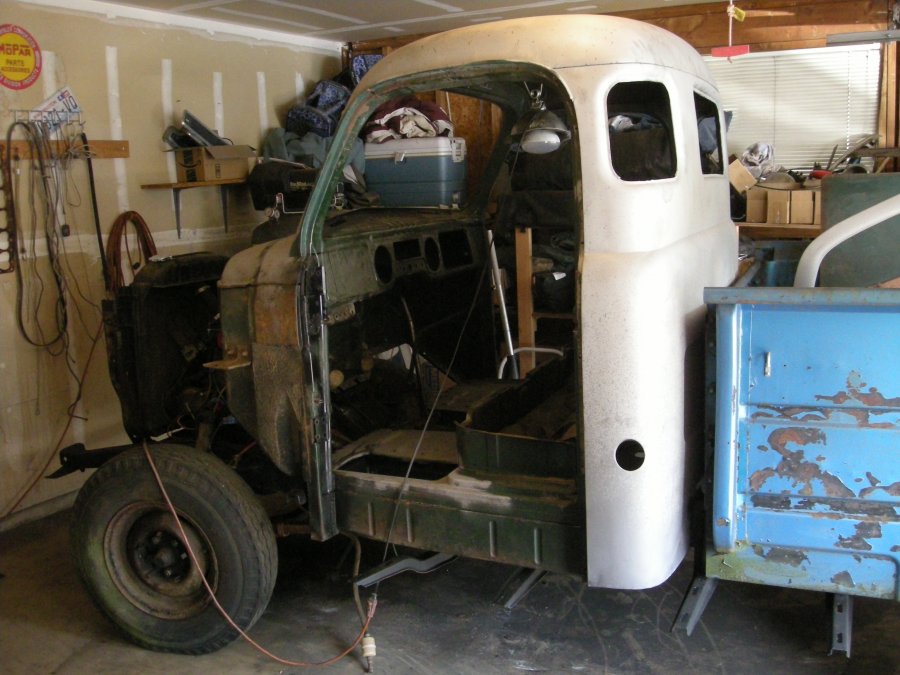
Let the assembly begin!
 1 point
 -
All the cosmetic stuff is nice,but driving it is what it is all about,IMHO.1 point
-
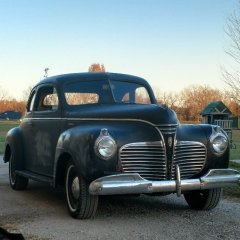
Started rubbing compound and waxing today. Not to bad for 61 year old paint.
 1 point
 -
Make certain you slip the fitting on the line BEFORE you make the flare !! And I mention that simply because I made a few flares before realizing I DIDN'T slip the fitting on, and had to start over!! I guess I needed the extra practice ! Wayne1 point
-
Enjoying the thread. I'll offer info on the Mity-Vac. I have one and use it for one person brake bleeding. It has has a little container that attaches. You hook up a vacuum line at the brake bleeder nipple. Make sure the reservoir is full of brake fluid. Go down to the wheel. Hand pump unit with one hand and create a vacuum. Crack bleeder with other hand and draw out fluid. Closing bleeder again. Pump mity-vac again and repeat. Keep going as needed. Be sure to get up and top up the reservoir as you draw out fluid at wheel. Clear lines work great for flushing out old brown-ish fluid with new. You can visually see the fluid turn clear as the new fluid gets pulled through by the Mity-Vac. I think I have the 8,000 model. With a gauge on it, it also works great for testing vacuum pots. Such as distributor vacuum advance. http://www.mityvac.com/pages/products_hvpk.asp Speaking of young people under cars, sweating in the heat. I find myself in this situation often. I kind of wish I was 17 again, sometimes. Yet then other times not. As at 17 I'd be broke. Have scant tools and tend to break a lot of parts. Trying to take things apart impatiently and ramming them back together. Lol. We probably all had that in common early in our years.1 point
-
screenshot the screen on someones computer and put it on as the background and move all the icons to a folder (for easy replacement later) and nothing they click on will do anything!1 point
-
My 218 bored .040,edgy head polished,offy intake polished , two carters carb, Langdon air cleaners,otb oil filter,coil cover,filler tube and cap,dip stick tube, chrome 6 volt alternator , Langdon manifold exhaust manifolds, dual optima s battery ,lokar carb linkage

 1 point
 -
just for the update, yes, runs (ran as of now, different thread explains haha) idles in driveway at about 150-160, driving in this 95ish weather stays around 180. Pretty much right where I was hoping to be, but now some other fun gremlins have got me sidelined again.1 point
-
I had the same problem when I first got my car. On the advice of a member, I adjusted the float to lower the fuel level in the bowl about 1/32. Car runs fine & haven't had problem since. I know that the way I did it is not the CORRECT WAY but it worked. All I did was take the fuel line loose ( to see if the float was stuck, it wasn't). On my carb the tang on the bowl was right there, took fitting out & carefully tweaked tang. Put it back together & no more gas overflow.1 point
-
Once in my youth I set fire to our second car, a '50 Chebby station wagon, which hadn't been running right. I had the fuel line disconnected for some reason, and must have had a spark plug wire loose. I cranked the engine only momentarily, starting a small fire which burnt itself out quickly. My dad said that if the fire had done real damage, the insurance people would have been suspicious. If gas does hit a hot manifold, it will quickly evaporate (and smell). A spark or flame would be need to ignite it. Then additional fuel would be needed to keep the fire going. These cars have been like this from day one, and the rare fires have been due to something out of whack, or amateur tinkering. Keep your fuel line tight and your plug wires connected.1 point
-
Wdoland, Don's right, the heat builds and the gas "boils" over in the Carb from the heat. Usually finding its way down to the Intake Manifold through the throttle shaft bushing or connectors to the dash pot etc. then down to your manifold to evaporate quickly and stink things up. This has been happening to me to some degree since 1973 when I bought my first 1948 Chrysler Royal but has gotten worse as gas octanes have risen. I have always put the hood up and ran a large fan over the front fender to cool my car down after a summer/hot day drive. As far back as I can remember there has always been a faint smell of gas after taking a ride, however, I think the newer gas "octanes" and "addatives" make for a more volatile fuel, that newer engines with fuel injection require. Remember back in the day fuel was like 77 or 78 Leaded Octane, not 87, 89, or 93 Un-Leaded Octane with ethanol additives. That isn't to say you don't have another possible leak that requires careful inspection to find and repair. Tom1 point