Leaderboard


Popular Content
Showing content with the highest reputation on 07/02/2017 in all areas
-
I spoke to George Asche a few months ago, and he said he does a cold torque of the bolts in 10 ft-lb increments, until reaching 70 ft-lbs, and then re-torques directly to 70 ft-lbs (no increments) when the engine is warmed up, and then again after 500 miles. I guess he torques in such small increments to more evenly compress the gasket. In any case, it seems to work for him, and he runs some pretty high-compression setups. Also, he uses Permatex Aviation Gasket sealer (brush-on type), presumably on both sides. I looked up the Permatex Aviation Gasket Sealer, and it seems there are at least two kinds. One says it's part number No. 3D, and the other says 3H. I'm not sure which one of these are what George was referring to, or if it was something else altogether. Anyway, I just thought I'd pass this along, especially George's torque-up procedure.2 points
-
Well, for $45, including shipping ,I can supply you with a set of patterns for the door panels, kick panels, behind your head panels, and over your head panels. PM me if interested.2 points
-
It will certainly lose all its value as an antique car, it simply won't be one any more. To have the planned work done commercially, and properly, will cost far more than the realistic resale value of the completed street rod. We don't know what condition the car is in now, but assuming it needs pretty much everything restored, that, too, would cost far more than the realistic resale value of the completed restoration. The only way your friend can retain the current value of the car is to sell it for his purchase price — now. If he waits a year or two the opportunity cost of his investment $$ is lost, plus the cost/hassle of storage etc. Otherwise his choice is between an expensive car that looks sort of old (aside from wheels, tires, stance, colour, interior and glass) and drives much like a new one, or an expensive car that actually looks and drives like an old one. The latter is certainly my preference but then I'm always willing to trade off a significant degree of comfort and performance for the vintage experience (ie just got back this afternoon from a 400 mile round trip in my '24 Ford T speedster to go dirt-track racing).1 point
-
Chilton and a even some other brand factory manuals have a tendency to have entries like: Transmission Service: 1. Disconnect Battery 2. Remove Transmission 3. Service Transmission 4. Reinstall Transmission It always makes me laugh. Of course Factory manuals like that usually indicate there are separate service books for each component.1 point
-
Sounds fine to me,a little lifter noise is preferable to having them to tight. 17 mpg is pretty typical, you might squeek out 20 if you do a long road trip at 55/60. Good to see you and the family are out and about and using it as it was designed to be used. Have fun!1 point
-
Pumps changed according to what they were used in....... like 57 to 59 to clear the frame of the vehicle. The engines did not change in the location and operation of the fuel pump so why not replace this pump with one designed for a 54 Plymouth. Carter M847 will work.1 point
-
The dual horns were an option available back in the day. They pop up on Ebay occasionally, but are usually quite expensive. I bought both of my dual horn sets as a pair. I thought that changing the pitch was as simple as making a slight adjustment, but I was advised that they were manufactured with a high and a low tone. I have a set of 6 volt dual horns on my 52 truck and am presently piecing a 12v pair together for my 53 truck (which most likely will not end up dual-tone).1 point
-
on/off button is a handy thing.1 point
-
I wanted to give everyone an update. I procured an NOS MZ-4115. Problem was that it was not an MZ-4115 but it had a different front end. The manual switch mechanism didn't line up. Therefore, I took the front end off my old starter and put it on my new starter. Then I had to rotate the nose about 15 degrees and redrill the bolt holes so switch and lever would line up. Then I got the starter put in. So at this point, I basically have a new starter. What will it do? Nothing.. still dead Then the words of maok came back to me: "Did you confirm that it is the starter that is faulty and not the switch or connections?" The battery cables were really crapilly made and sure enough, I found a high resistance connection. I pulled all of the battery cabling out and replaced it. Starter runs like a champ now...1 point
-
There is a huge time gap in this thread. I switched to the gray suburban. To date I disassembled the front suspension and rebuilt it, installed an EZ wiring kit, cut out the floors and fabricated new pieces ready for welding in, bought a pair of 2010 Lincoln bucket seats, restored the dash, cleaned and repainted the inside window frames, rebuilt the ,engine, fabricated a floor shifter for the three speed transmission, new fuel and brake lines, dual master cylinder, and more. I blew out my left knee so that really slowed things down will get it fixed in September.. Here are a few pics of my progress.1 point
-
As the Dr said, a 12v sealed beam fits...in fact 7" sealed beam headlights became virtually standard in US cars from 1940, and when I hot-rodded my 1940 Dodge I used 7" Bosch H4 headlights in it which were a standard fit on Volvos in the 1970's.........andyd1 point
-
Service manuals from the factory are good and I do recommend them,but keep in mind they were written for experienced Mopar mechanics that worked at dealerships. They will tell you to do something,presuming you already know how and why to do it. The Motors Auto Repair Manuals have sections that cover basic systems like the engine,transmission,electrical system,etc,etc,etc,and they presume you know next to nothing,so they provide a lot of photos and step by step directions written in plain language. If you are wise,you will buy both a Motors Manual and a factory service manual. The price is so cheap you would be foolish to not do so.1 point
-
As for the headlights—just put in a 12v sealed beam unit available from any auto parts store, and plug it in.1 point
-
He can always take out the hearing aids when he needs peace and quiet in the shop...1 point
-
1 point
-
I an very happy for you Paul and feel that this device will work well for you as Darlene is a lovely person. But really... a device that lets a fella hear his wife all the time? That would rule out any excuse of 'selective hearing' when it comes to having to complete those 'honey-do' jobs! Sometimes a fella just needs some clear head-space!1 point
-
I'm totally sure they were painted by humans with a spray gun in hand at the mopar factory build lines in 1951 My high school shop class took a road trip of several hours to tour the Ford factory in the S.F. Ca. bay area in 1968. We had a tour of a Mustang build line where in the body paint area the painter had a row on spray guns on each side of the line in the spray area. As each car approached he looked at a list of builds and what color to spray. He would grab the right color spray gun needed and cleared it out, adjusted as needed then jumped to the other side and did the same with the same color gun there and then started spraying most of the top panels and side of that car then jumped to the other side and finished the job. Boy that guy was fast and tired at the end of his shift! Paint looked great after coming out of the oven! DJ1 point
-
take you cowl trim pice and go to a good auto supply pait store. Ask them for their sample plastic trim clips. Get one of the plastic clips to slide into the back of the trim and make sure that the other end has a plastic knob the size of the hole in the body you need to measure this before going. The metal clips rust out and this is why the trims piesces especially the cowl trim are missing. Also the steel rust and then leaves rust marks on the extrior paint. The plstic clip dos not mark the paint and is easier to install. I did this will all the clips on my 1939 Desoto. You just need to take some time to do a search stop using the old metal clips and use the new plastic clips also no one ever sees the clips once the trim is installed. rich Hartung Desoto1939@aol.com1 point
-
@40desoto is the engine still in your car? I would refrain from re-installing the head, before testing for valve sealing. The playdough dam mentioned works but is not necessary. I found that a large syringe, filled with kerosene worked well. Make sure valves are completely closed tight with springs installed. Back off the tappet adjustments. With valves fully closed, wiggle tappet up and down to to ensure its not in contact with valve stem. Drinble a good amount of kerosene around the valve edge where it meets the block. Keep some paper towel in place to stop any kerosene from flowing into the adjacent valve that shares the same port. It does not take long to see the results. Within a few moments you'll see kerosene flow down into the port if the valve is leaky. Having the inner fender window removed, and wheel off so you can look into the port, is a big help here. My understanding is once the head is torqued down, the metal gasket has done it's job, once. Removing the head again to lap valves again, in my opinion means a new head gasket. This why I prefer to ensure valve sealability before I re-install the head.1 point
-
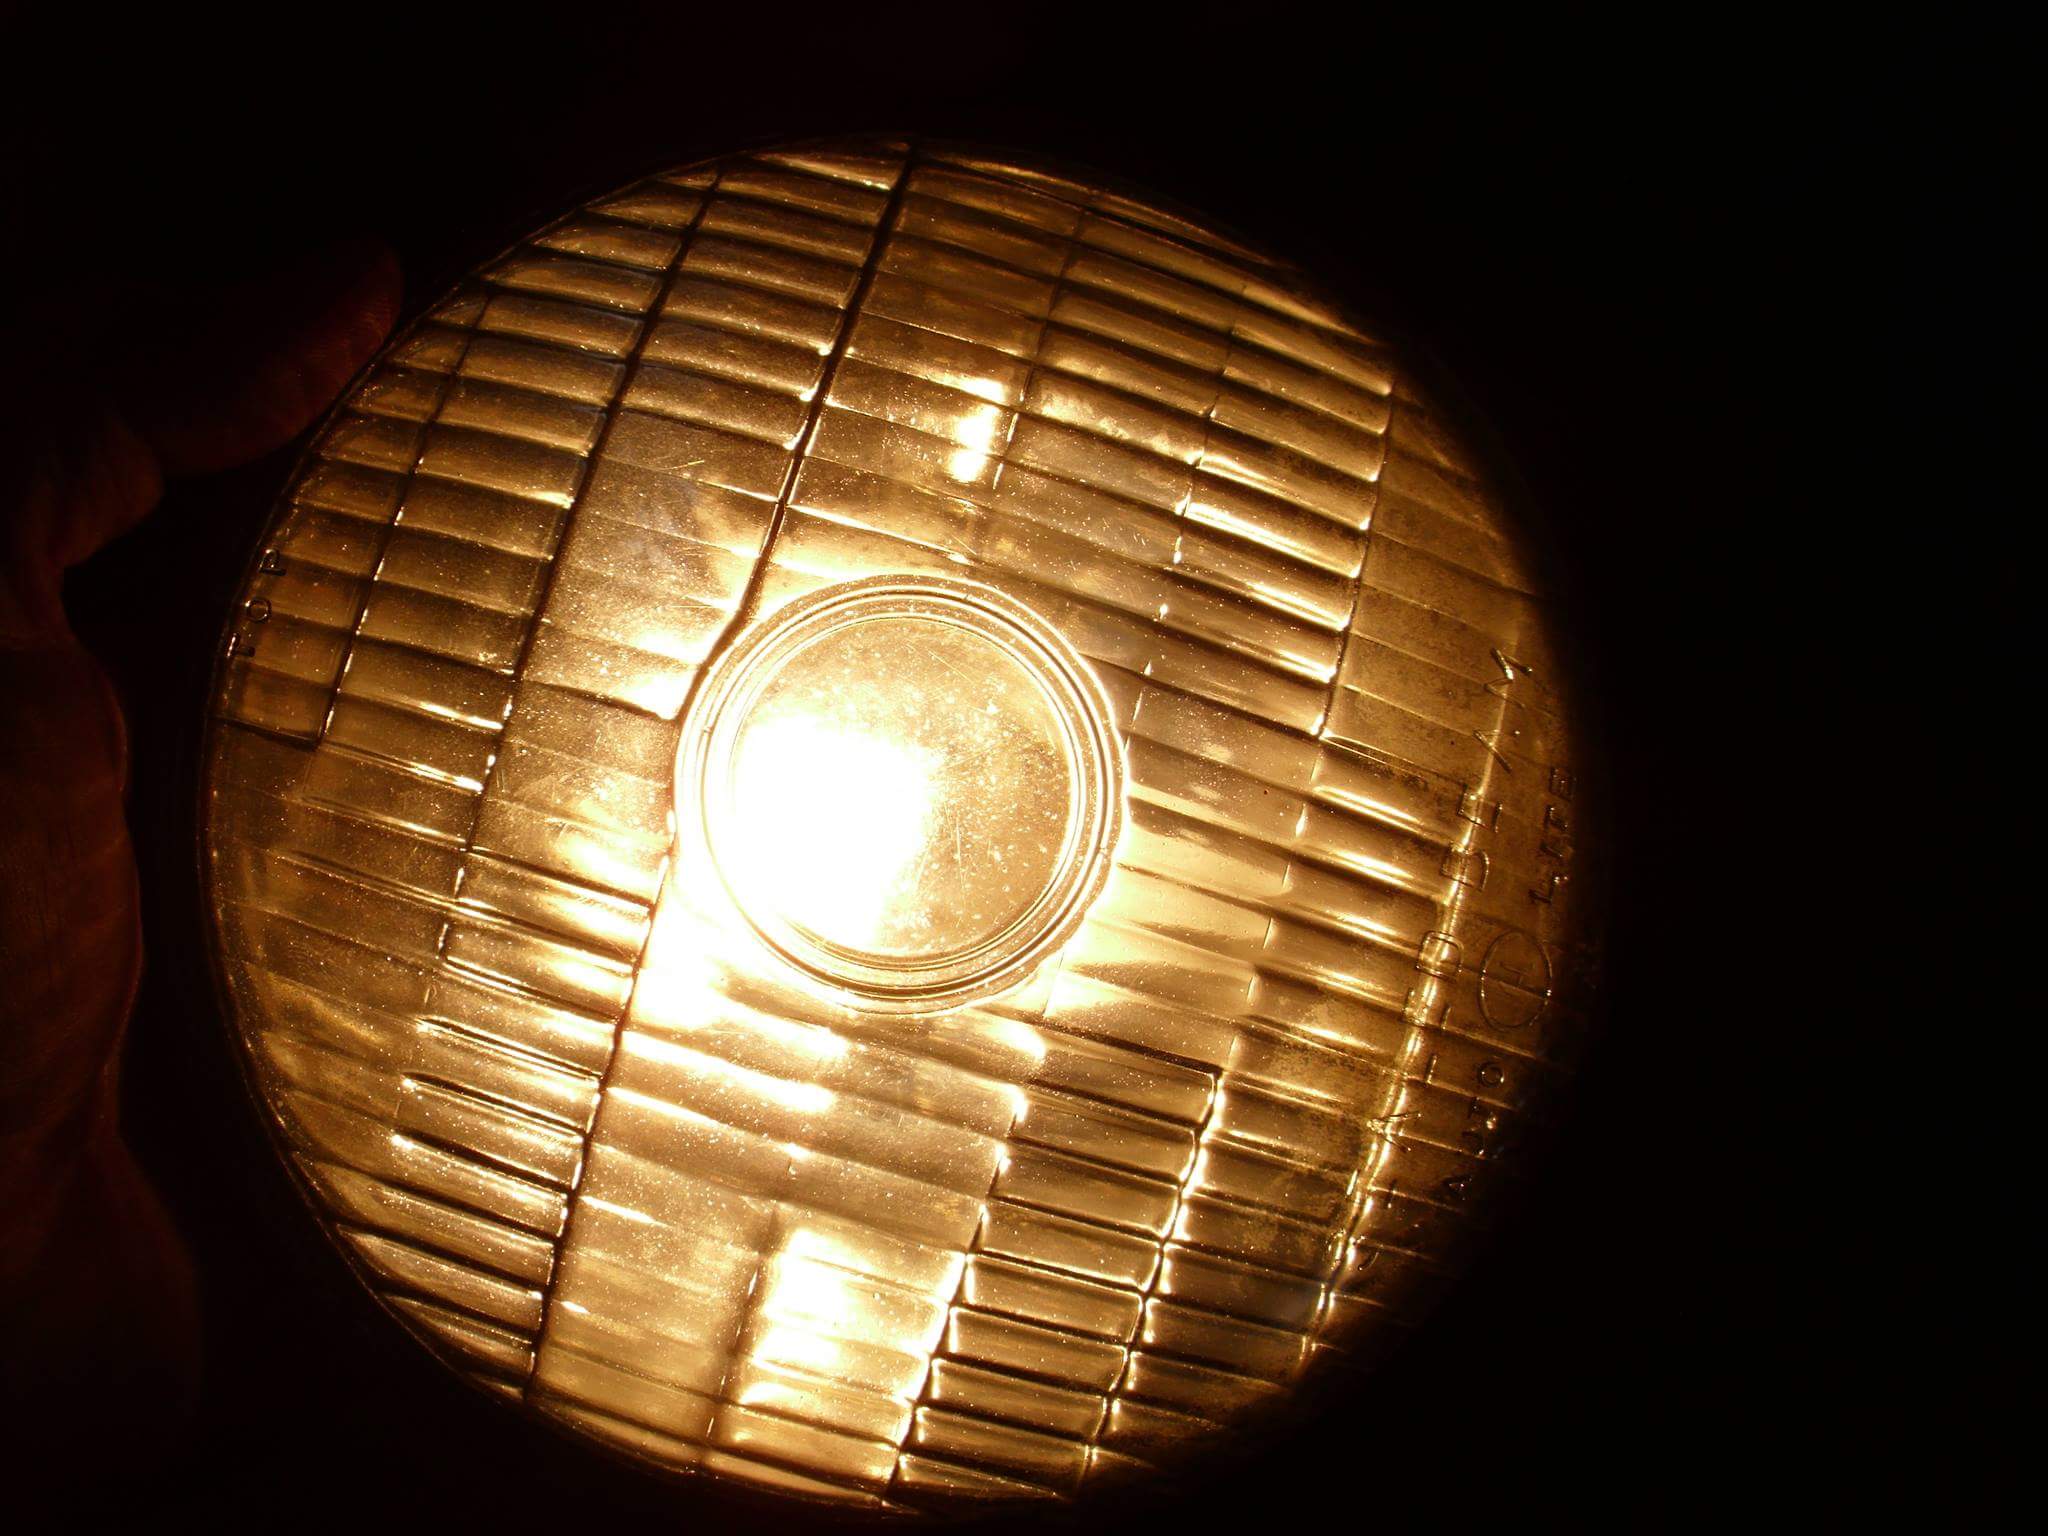
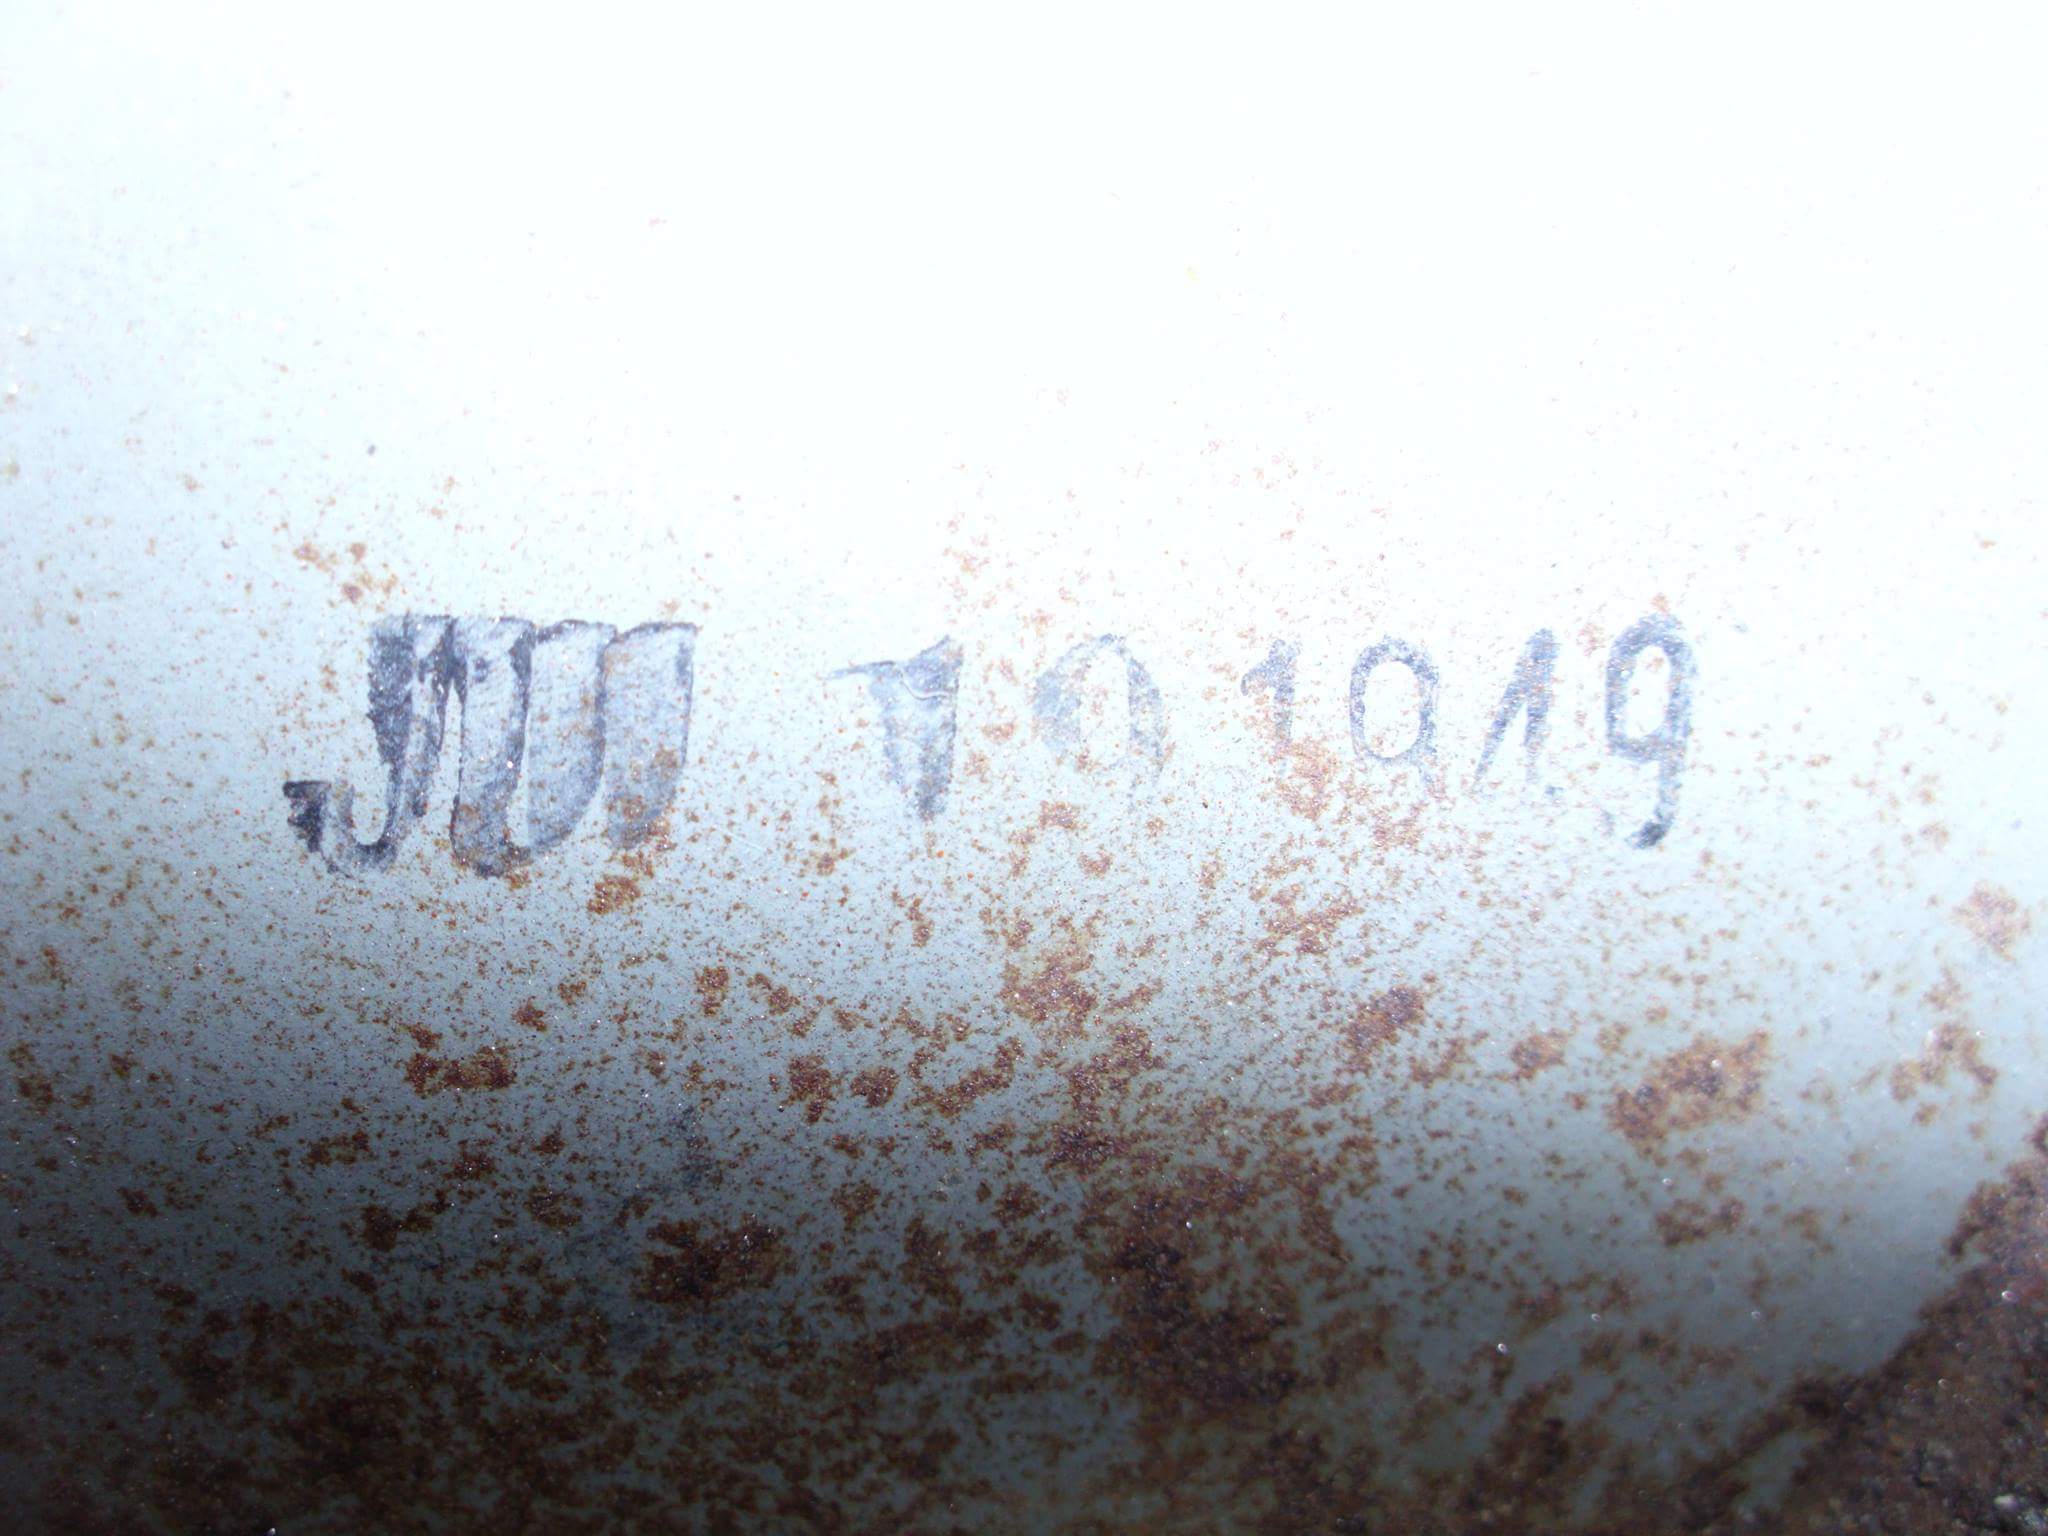
This is just cool to me. I was gathering up some leftover parts from my truck and came across the headlights. I converted to 12v so I replaced the headlights without really even paying attention to the originals. I turned the one over and was blown away to realize the headlights weren't just original to when I bought the truck, they are THE original headlights to when the truck was built! Next, I thought, "Well, surely they're beyond shot by now." Just for laughs, I run a jumper wire to a 12v battery (yes, 12v) and could not believe it. Both original lights burned on both beams! Now I can't say if it's because things were just better made then or if these lights were never used but below is photographic evidence. FYI: The light is being powered by 6v off the battery charger in the pic.

 1 point
 -
I posted on here about being able to remove the springs with the engine assembled a year or two ago. I did it on a fully assembled core 230 engine. You can do it- Use the valve spring tool Don shows, the lifter must be all the way down, then screw down the adjuster screw, wedge out the spring. Re-install spring the tight end of the coil to the block. Access is some what tight depending which valve but can be done with out pulling the manifolds or valve. Bob1 point