Leaderboard


Popular Content
Showing content with the highest reputation on 06/17/2017 in all areas
-
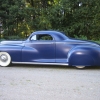
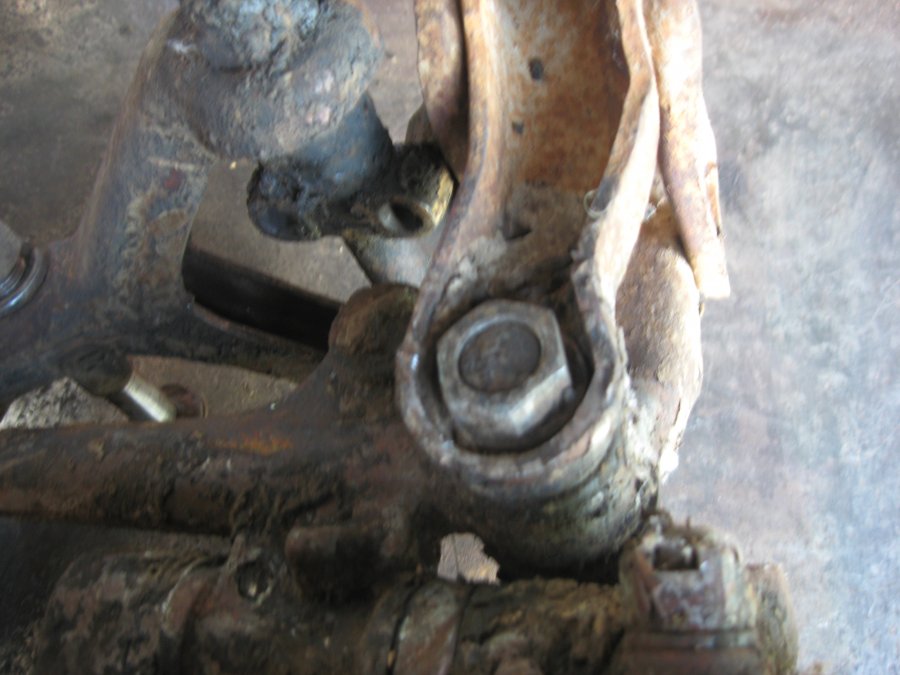
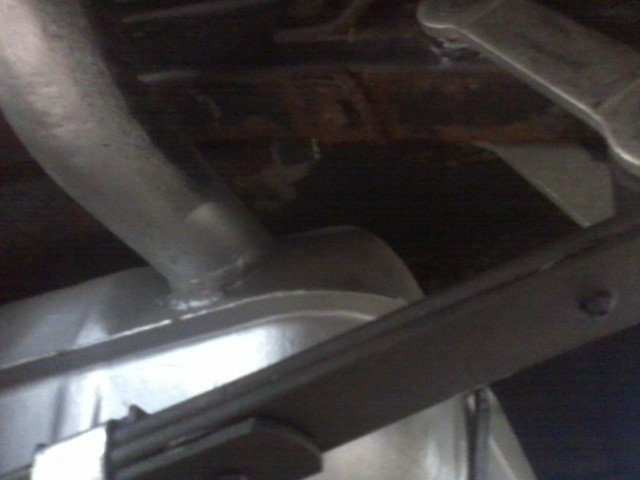
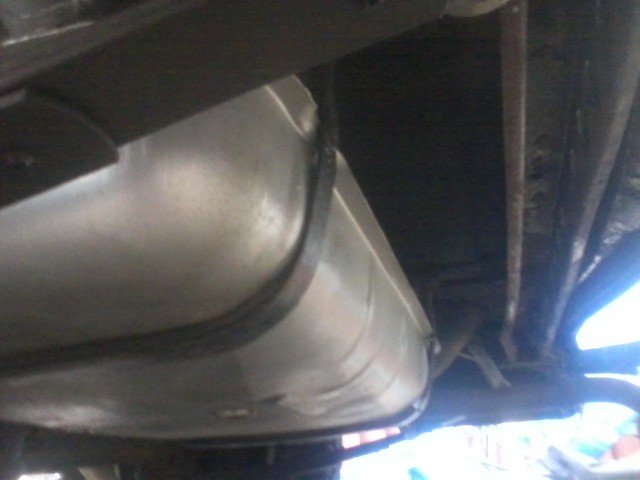
This is a friendly warning to those of you who have got into the 'old car hobby' recently.You really need to check these cars out before you hit the streets. They are 60 yrs old or so and who knows what tey have been thru or what has been done prior to your ownership. Car might look shiny and all chromey, neet as a pin. Or it could be something that was recently dragged out of a ditch that's been home for the last ....??? Do yourself and all of us a favor and go over the front and rear suspension and steering. I say this because no matter what the PO told you, you just don't know what you don't know. I am going thru the front suspension on my '52. All was ok with the left front....got to the right front and found this...... This is the nut and pin that hold the lower control arm to the spindle. The nut is finger loose in this pic. Not good. So the message here is that just because you pour some gas into the carb, fire it up and go for a cruise, doesn't mean it is safe to do so. Suspension, steering and brakes......check 'em out before they check you out.
 4 points
 -
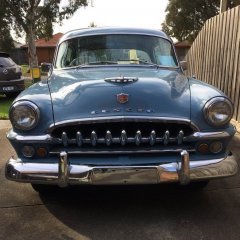
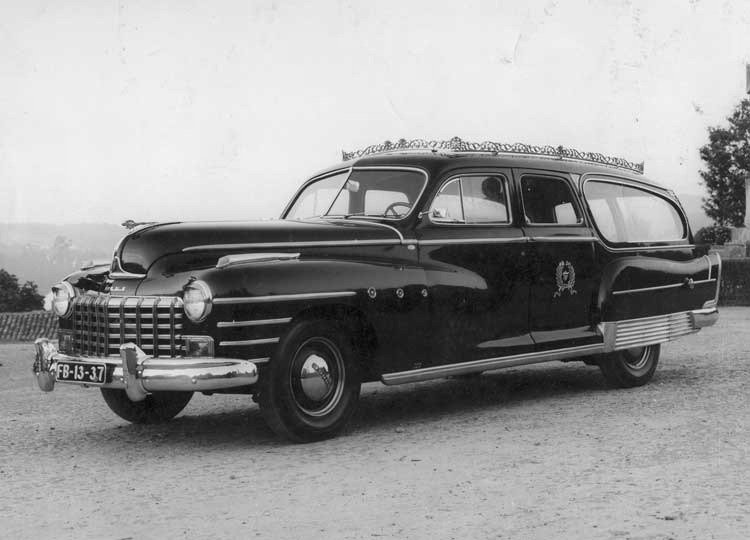
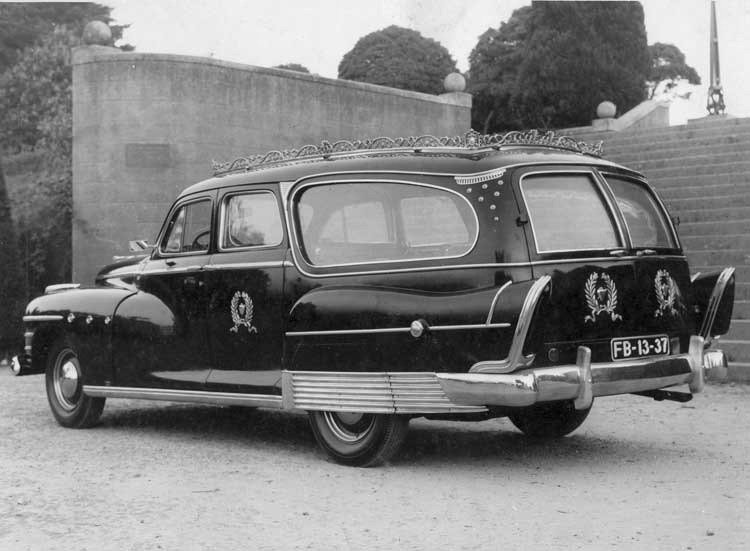
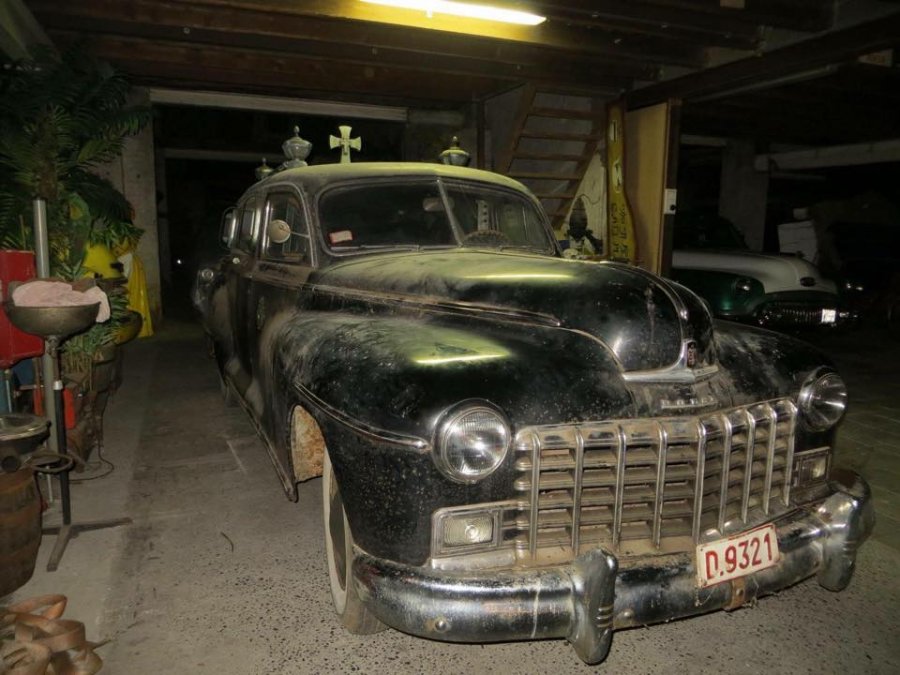
Portuguese Dodge
 3 points
 -
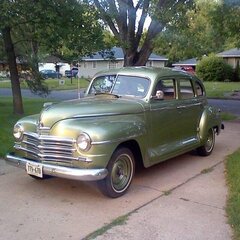
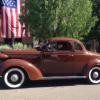
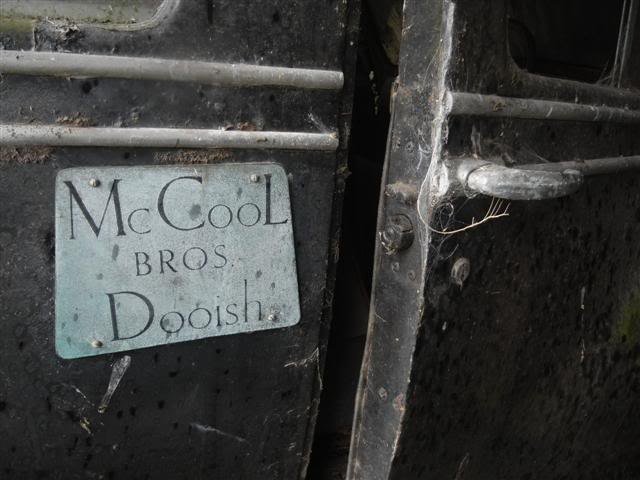
And here's an Irish one. I believe this one's long gone.


 3 points
 -
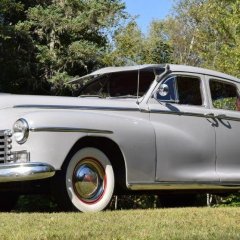
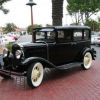
Here are a few more pictures of the Belgian Dodge

 3 points
 -
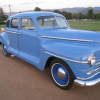
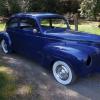
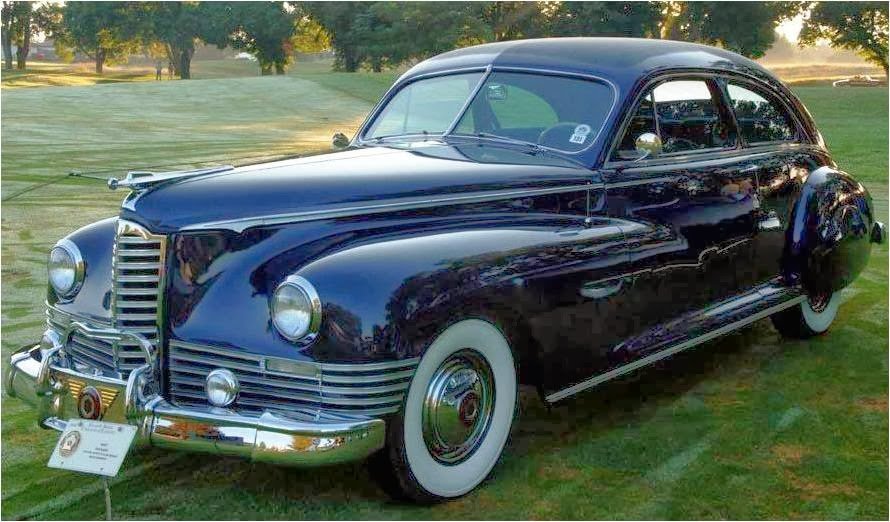
Getting back to the Packard coupe at the beginning of this thread, that body style was introduced as a 4 door sedan in mid-1941 and the fastback 2 door club sedan (as Packard called it) came out for 1942. For 1948 Packard "updated" the styling by making the doors thicker to have the side sheetmetal run from the front fender to the rear of the car. Personally, I like the pre-1948 club sedan -

 2 points
 -
Today my Grandson came over and we spent the afternoon working on my P-15. With my guidance he is a pretty good wrench spinner. Unfortunately my arthritic hands make it almost impossible for me to hold on to a wrench without dropping it. After a couple of hours we ran the engine. Problem with the number 2 carburetor but it should be an easy fix. Grandson turns 15 this coming weekend and gets his learners permit.2 points
-
I am using a stainless tubing close radius 90 degree elbow.2 points
-
I did not do that - it makes sense - I know it's something little like that. Here I go. If this works I will give you my grandson.1 point
-
Don, super cool trick! Worked like a champ! Taking my boy out for a ride now.1 point
-
park on a steep incline in gear, no emergency brake and see if it does not roll off the mountain when you release the brake......could be next adventure ride at Disney1 point
-
additional information - Fluid Drive Identification1 point
-
Disassembled and reassembled the shackles today, gee using white lithium grease helps quite a bit. Never thought of it or saw mention of its use. Additionally, I double checked the plate and u-clamp bolts. I could use new u-bolts, front end work is next.
 1 point
 -
I've seen both the curved metal bottom hose/pipe as shown by Don in stainless and mild steel plus the original curved rubber hose..........if you use the one piece rubber hose make sure to insert a tight fitting, metal, stainless preferred spring in the hose to prevent the water pump suction from collapsing the hose, the use of the metal tube and short pieces of rubber means you don't need that spring............andyd1 point
-
Most likely your clutch disc is rusted fast to the flywheel or pressure plate. If possible start the car in gear and drive it a few laps around your house with the clutch pedal pushed in. Accelerate and decelerate while driving these laps and the clutch should pop free. This has worked for me more than once. Where in Ohio are you located?1 point
-
Usually this can be fixed right off....NO CHARGE ugh....pay no attention to the speedometer scale..it was truly assemble backwards...
 1 point
 -
These folks might be able to assist.1 point
-
A-1 Auto Electric on Montana Ave. in El Paso, TX if you're inclined to reach that far out.1 point
-
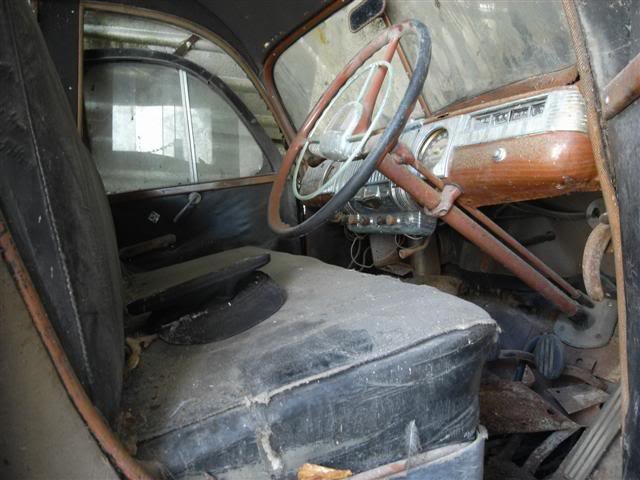
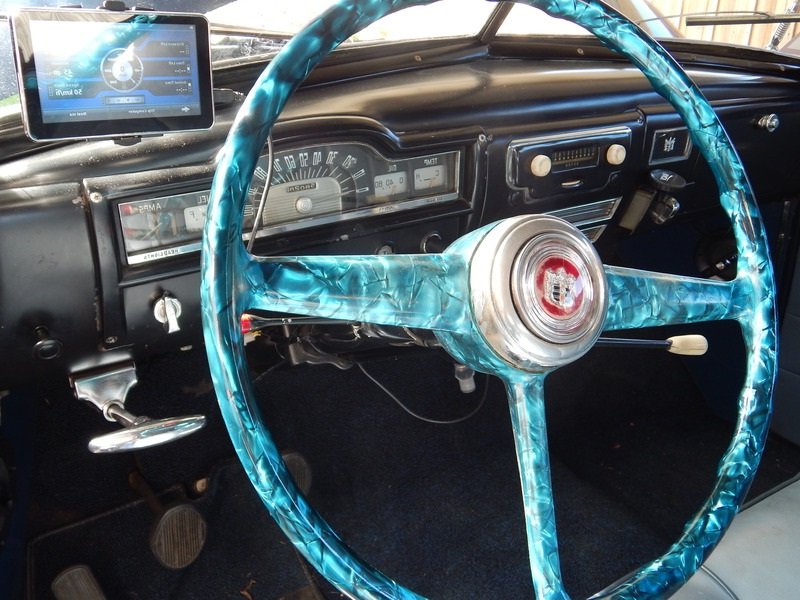
That's a pretty wild steering wheel.1 point
-
This is a 1952 Australian Dodge Kingsway dash. I sold this car a few years ago.1 point
-
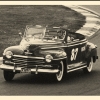
I've posted this one before.....excellent coachwork.
 1 point
 -
1 point
-
1 point
-
And I'm partial to my own as can be expected.

 1 point
 -
Where does sedanette and "fastback" fit in?

 1 point
 -
My motor's previous incarnation had .050" under rod journals. These very very tuff to find at the time, apparently. well, that crank did not last long, but there were other issues that were the culprit... Bell mouthed honing job on the rods and improper radii at the sides of the journals. When the crank was magged after disassembly, it was found to be cracked in several places. but yeah, have the machine shop get all the bearings...1 point
-
Flathead engines don't use push rods. Push rods are used on overhead valve engines. They go between the cam tappets and the rocker arms to push the valves open. Connecting rods connect the crankshaft to the pistons.1 point
-
The replacement engine in my 46 has the "P " cast into the head. Mine is a very rare performance edition. It's so rare...well...it's just really rare...1 point
-
If it ran for long with bearings like that, it must have been noisy ! What usually happens at that stage is one half overlaps the other and the engine seizes up tight. The crankshaft will have sustained damage too and will need to be reground or replaced. I would replace the connecting rods which held these bearings as the bearing seat will be out of specs too.1 point
-
We use a product where I work called " Mike O Cut " No 87 . It's for lubing Taps, dies or drills. It's thick like honey and sticks to the tap, pretty good for pulling the shavings back out with the tap. I like it because it doesn't just run off the tap, stays with it. I agree with Mike36, an old dull tap or a new cheap one can really ruin your day.1 point
-
1,200 watts of accessories? Do you have a portable disco club in there or something?1 point
-
Progressive throttle linkage: version 9.4 Finally have the linkages working close to what I think I'm looking for them to do. I have spent the last little while depleting the world's supply of 1/4" round stock and aluminum trying to make this work, this version is close, and when I recycle the left over scrap I should get enough money to finish the car. Now to see if it'll run like this....?!?
 1 point
 -
Thanks Don and Greg. The building of the manifold is the easy part. Making the progressive linkage and tuning it will be much harder. I'll be running it on this motor with the two outside carbs blocked off, but I have an old friend who has been collecting mopars and parts for years and we're going to build a motor and I hope to run all three progressively. It may not work but then I'll hang it on the shop wall and make up some tall tale about it.1 point
-
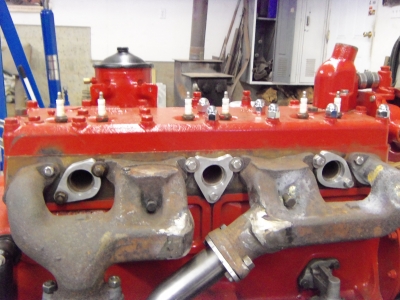
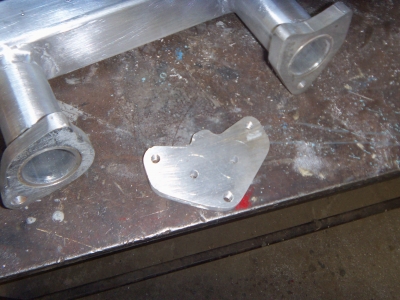
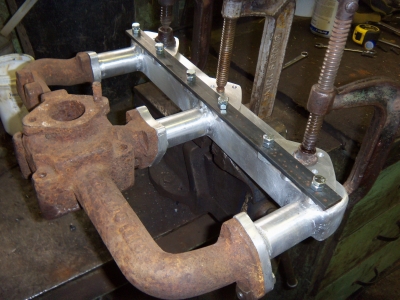
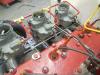
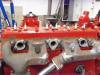
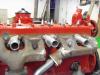
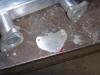
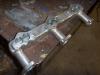
I haven't updated my build in a while, this has been a very busy and difficult spring for farming but I have made some progress on the car. I finally decided to jump in with both feet and build an intake. I've always wanted a triple carb intake on an inline six and since I don't have very much time but I have even less money buying one wasn't an option. I picked up some 3/8" aluminum offcuts, a 2' piece of 2x2" box tubing and 1' of 1 1/4" tubing and started building. Total cost of material was $60. The pictures are pretty self explanatory but the 1st one is the 3/8 bolting flanges attached to the block. I cut the holes with a hole saw in a drillpress and cut the shape with a reciprocating saw. Then a lot of time with a hand file and a rotary file in a hand held drill. Pic 2 I cut the pipe to length with a miter saw and trued up the ends in the lathe. Pic 3 I drilled three hole in the 2x2 box tube with a hole saw and then fit it all together on the engine and tack welded it as well as capped the ends. Pic 4 shows the start of the plates I made up for the carb bases. Pic 5 I had to make up a jig to keep the carb base plates aligned. Pic 6 I always bolted the manifold to either the block or a spare intake to hold everything from warping when I did any welding. 1/4" and 3/8" aluminum takes a lot of heat to weld I had to move my welder to the farm shop to weld because it's wired heavier, I kept tripping the breakers at home. Pic 7 is the finished product minus the sanding and polishing.


 1 point