Leaderboard


Popular Content
Showing content with the highest reputation on 06/14/2017 in all areas
-
Today my Grandson came over and we spent the afternoon working on my P-15. With my guidance he is a pretty good wrench spinner. Unfortunately my arthritic hands make it almost impossible for me to hold on to a wrench without dropping it. After a couple of hours we ran the engine. Problem with the number 2 carburetor but it should be an easy fix. Grandson turns 15 this coming weekend and gets his learners permit.7 points
-
I built this dashboard to test run my engine.3 points
-
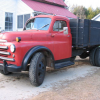
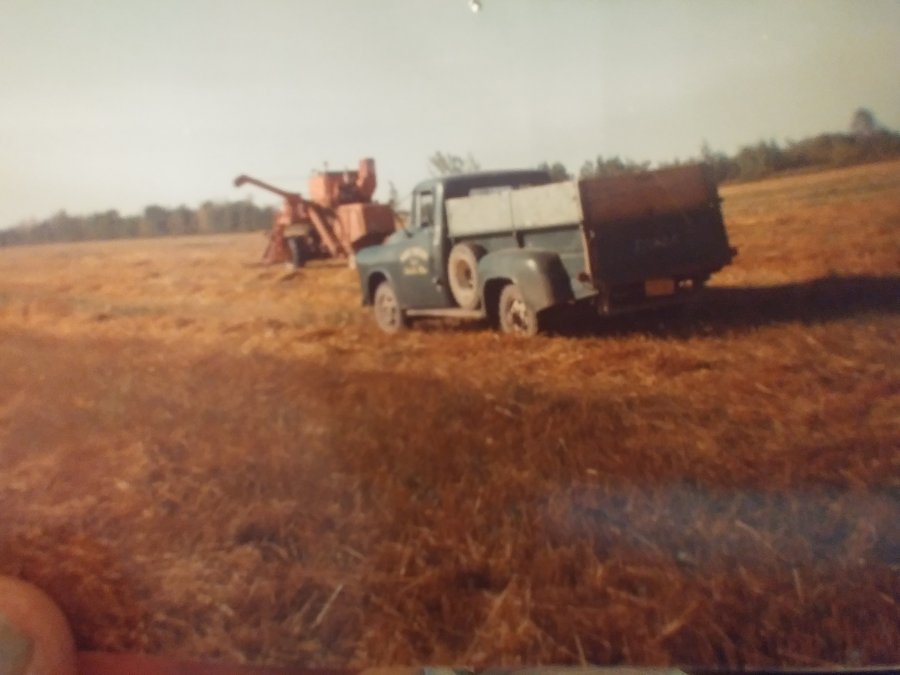
I know this is a photo of a photo but this was my trucks life for a while.
 2 points
 -
Hey grandpa, can I borrow one of the old cars of yours?? A few friends and one-- uh, girl I met like old cars--- so please --I promise etc. etc.! Also can you Not tell mom and dad?? I do remember those days. DJ1 point
-
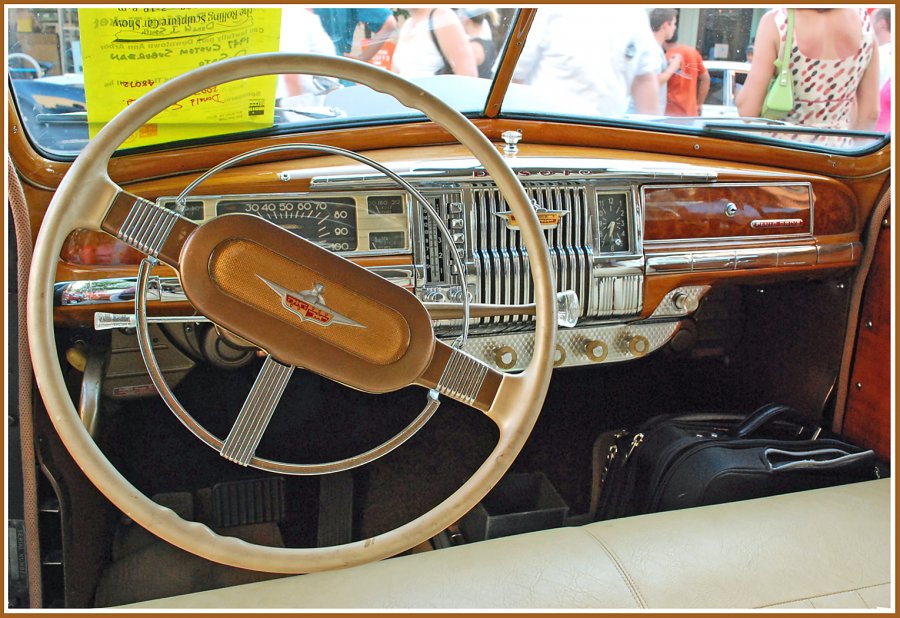
1938 Chrysler dash if it helps.1 point
-
1934 Dodge
.jpg.18ef90332c4814dd977b6012d0ff3117.jpg)
.jpg.4d0a4e5e33f5b84bbc65708739302c04.jpg) 1 point
1 point -
put up a little 1st cut yesterday. baler issues near the end, so didn't finish the field. put away what we got, though.1 point
-
The combine engine did not have a vacuum advance simply because the engine basically ran at two speeds, idle and wide open or governed speed. The centrifugal advance was all it needed. You may want to locate a distributor already set up for vacuum.1 point
-
This is the dash in my 50 Ply wagon. I added Autometer gauges and kept the stock radio insert with radio delete plates. Then did everything in aluminum and powder coated everything in a silver to give it that fresh aluminum look. Also built the custom console with the tach mount.
 1 point
 -
I am so ignorant about silk-screening that I didn't even know it was a part of the process. That sure was some pretty stuff though,and it had to have felt good to make it.1 point
-
No that's the exact distb, you just run a vacuum line to the typically plugged port on the carburetor base with a piece of brake line and a brass adapter and use a piece of rubber vacuum line where you hook on to the advance. The wiring was very simple, just a 10 ga power lead in and then run the wires to the distb from the coil. I went with the square body coil, just because if I have an issue, it's easier to find. All the replacement parts are for an 82-84 S10/S15 2.8L, but I think even more years fit from my days of owning an 871 point
-
I use to make these and more back in the late 70's
 1 point
 -
I don't understand. Last I checked 3 pints is 1.5 quarts.1 point
-
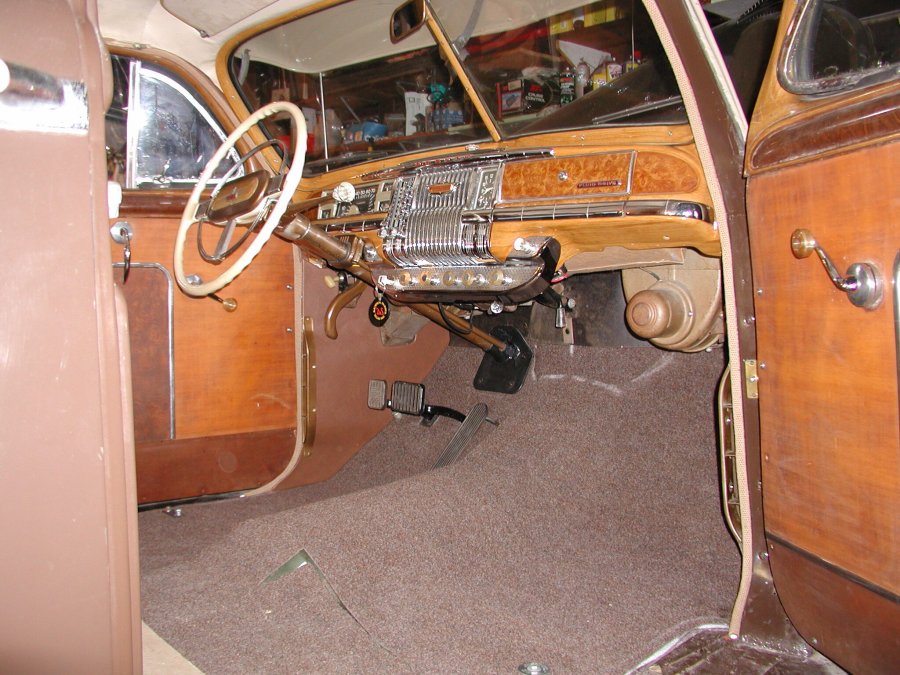
Nothing fancy...the original un-restored dash of my '41 P-12. 38k original miles, with very minimal wear to the upholstery, steering wheel etc.
 1 point
 -
1 point
-
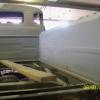
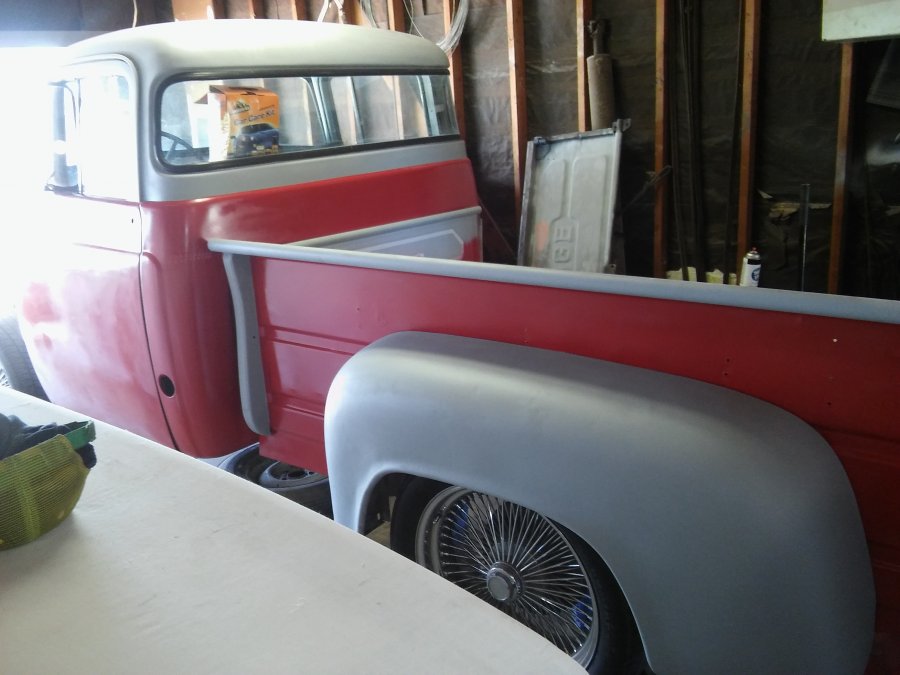
Here is a little preview of what the bed looks like. The colors are primer grey and cherry red. That I did choose. This is what my husband has done already. As you can see the rest of the bed still needs to be painted as also the front also needs to finish being painted. My husband did all this so I can take a picture to post up. Didnt want everyone to think we forgot about the forum.
 1 point
 -
Dont get us wrong we like the spokes as well but where we live we would get pulled over all the time.1 point
-
You can check out anytime you like but you can never leave.1 point
-
FYI.1 point
-
bias ply are excellent for the geometry of the older car....if you go to radials, the wise transformer will address the caster to be into the positive range.1 point
-
Andy, you wanted to see the other side of my dashboard. From when I was putting the carpet in: Yes, how did they do the inlays, when the base is one piece of metal? Inquiring minds need to know.
 1 point
 -
Why?? It looks squashed to me and makes everything look out of proportion as well.1 point
-
am so glad you did not do something like this....1 point
-
47 DeSoto: Auxiliary panel I cobbled together. (I found a vinyl stick-on that looks a lot like the engine-turned finish.)
.JPG.bdd7cd6f1caf954cca79a19edff2a7fd.JPG) 1 point
1 point -
My P15
 1 point
 -
when unloading a roller off the trailer at home by my lonesome I normally place a spare tire upside down just a couple feet or so longer than the wheelbase behind the trailer and in line with the tire...just enough to allow me to secure my ramps and move the trailer. IF for some reason it were to pop over the tire...the wheel will get locked into the deep dish of the wheel...so far none has popped over...if it did ..well, out with the jack to recover the spare...1 point
-
Steele Rubber, Denver, North Carolina. They are however, proud of their Rubber Moldings. But they all fit like a glove. I did all my Rubber Moldings there, Front and Rear Vent Rubbers, also front and Rear Windshields, Tail Light Housings, Brake Light Housing, etc. Tom1 point
-
while I will not disagree..but recall the manual is also the official shop repair guide and them guys had lifts and other factory tools at their disposal...a lift alone makes so many otherwise PITA procedures almost a cake walk...I just swapped leaf springs from one car to the other yesterday....lift made it great..the other car is on my car trailer and even that little bit of elevation was a relief to getting up and down from the floor/dirt ......I am seriously considering a second lift right now.1 point
-
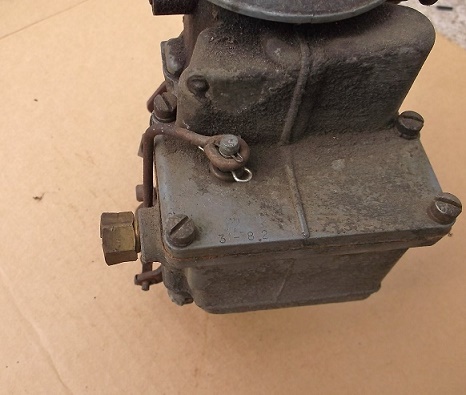
As stated the Stromberg BXVD-3 with dashpot would be correct. Not to be confused with the BXVES-3 used on the vehicles with a gyromatic transmission. It has a dash pot solenoid. The BXVD-3 marking is on the side of the carb toward the head. The dash pot rod is on the side where the line from the fuel pump connects.

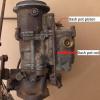


 1 point