Leaderboard


Popular Content
Showing content with the highest reputation on 10/06/2016 in all areas
-
Pistons on a 217/230 are flush with the deck at tdc.. You may get by with the chipped sleeve but what if it is fractured beyond what you can see ? You would then be in for a catastrophic failure. Go with Don's advice and have that bore re sleeved3 points
-
Those are hard to find factory washers. I'd re-use them on my cars. You need to anneal them. Heat em red... let em cool. This makes the copper softer so they will seal. The washers probably would seal up fine just using them as is.2 points
-
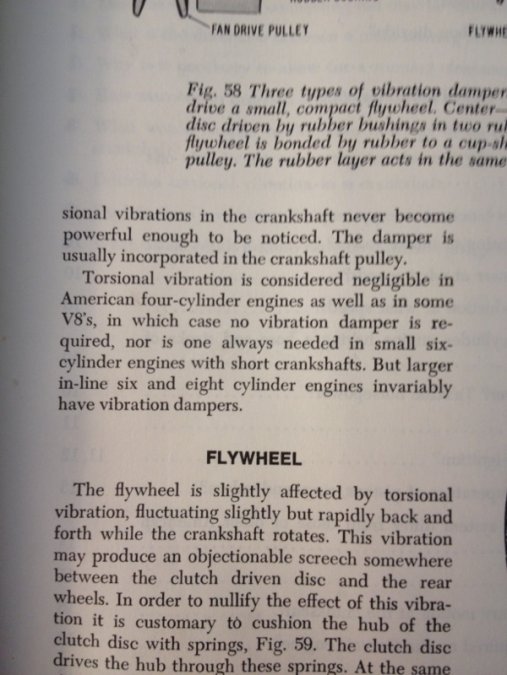
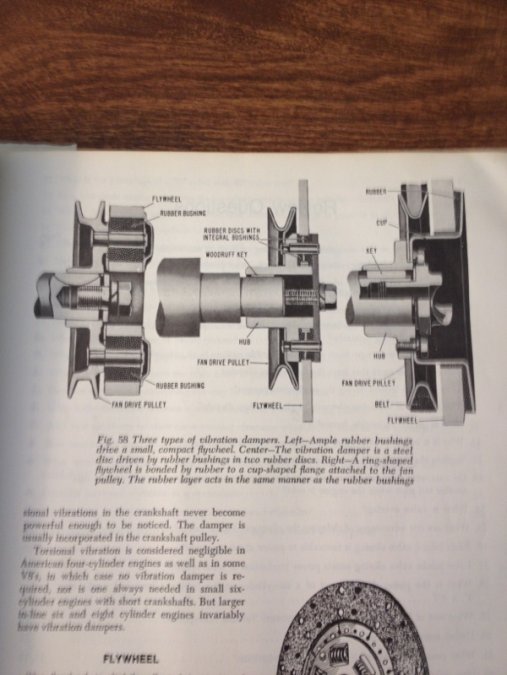
Here is some general information on dampers printed in Motors Auto Engines & Electrical Systems ; Printed in 1976

 2 points
 -
truck should have the serial # on the frame in front of the LF spring hanger1 point
-
A Moper OD trans for the flat heads will get you $500 ++ any day of the week, easy sell. Buy the car for parts if nothing else! DJ1 point
-
If ya have the stock 4.50" wide rims on a half ton, then the original tire size was 6.00x16 or 6.50x16...closest size to that now is 215/85R16, and that is hard to find in anything under a D-rated tire, and that can be a rough ride on a lighter truck. The1-ton duallies also rode on 6.50x16s as standard equipment, but the 1-ton sgl.wheels had 7.00x16s up front and 7.50x16s on the rear as standard equipment...I've got 7.50s all around on my sgl.whl and have no problems with tire clearance and the frame when turning. At any rate, verify your wheel width before ya invest in some new rubber...skinny tires on wide rims, as well as wide tires on skinny rims, kinda look funny and can be problematic1 point
-
Mark; I am not a huge fan of rat-rods either......but I think that can be an appropriate treatment if one starts off with next to nothing. Say just a very beaten up cab and doors. I personally would much rather see a pile of rusty bits made into something useful than to see a relatively complete truck cut up and made into a frankenstein. Years ago I built a vintage brit bike out of parts I obtained from many different sources. What got me started was an old engine that was sitting in someones attic for decades. I got it cleaned up and built the rest of the bike around it. The parts I used came from several different models and years. As I got started on this I joined the owners club over in the UK and got to know the president of said owners club. If you know anything about these clubs you will know that they are major sticklers for authenticity. When he found out about what I was doing he wrote an article for the clubs monthly magazine. In it he described a crazy yank who was building this bitsa and had started with hardly more than an oil spot on the floor. A bitsa is a sort of derogatory term used to describe a bike built with bits and pieces and therefore not as original. From that day on I called my bike the "Oil spot"......and did not worry who liked it and who didn't. When I got it finished it ran like a champ....and it still does. That is all that really matters. Jeff1 point
-
as long as you don't crap rod it I don't care which way a person takes their project.1 point
-
The title of your thread suggest you have a cylinder ridge to ream. From your comments it sounds as if you need a replacement sleeve in one cylinder. Why not replace the sleeve and not worry about it.1 point
-
So, is the trans still bolted to the bell housing with clutch and FD unit hanging on the trans input shaft, and no engine? If that's the case I'm thinking that may not be good for the FD to be hanging from the output side. Merle1 point
-
Would have loved to see that show and enjoy a piece of that cake.1 point
-
Great photos, thanks for sharing with us.1 point
-
I just got a shot of me and my dad with the *Major Award* that we picked up at this years Clements Tailgate BBQ for "Longest Distance Truck." It wasn't as luxurious, or speedy, or climate controlled a ride as my Camry was on previous visits, but it sure was a lot more fun! My thanks to Tim, Merle, and the rest of you fellers for the assistance and advice these last few years. Great forum (and great annual bbq!). Ralph (& dad)
 1 point
 -
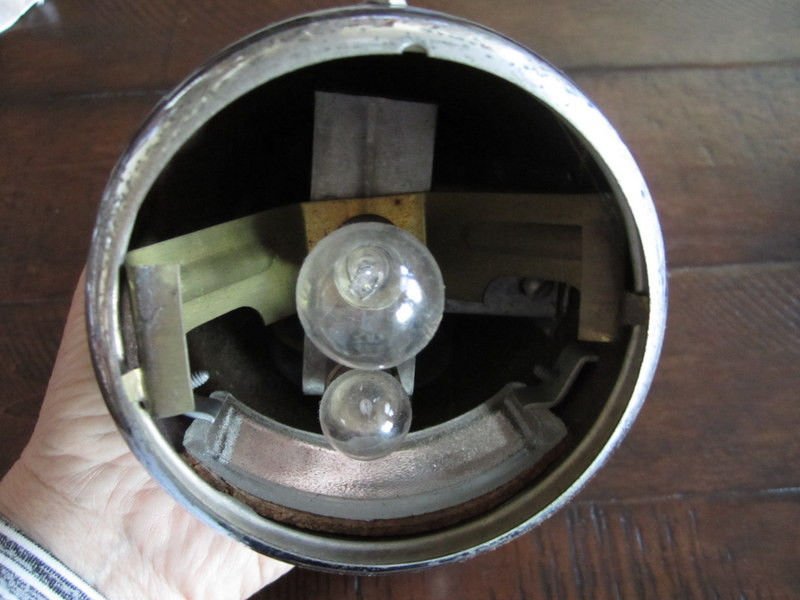
On my 36 DeSoto Airstream,the tail light bezel is crimped to the housing and is not removable - There is a spring clip inside the housing that pushes the lens against the bezel.Not sure if yours is the same.To remove the lens,push the lens inward against the spring clip and tilt it outwards at an angle.It may be difficult to remove if the bezel has become distorted in shape...


 1 point
 -
man you do nice work! doesn't quite look big enough for future awards, hope you made previsions to expand what is next, the door awning or the growler museum?1 point
-
buddy..anyone that takes the time to built a vehicle by himself and not farm it out to every local shop for this that or the other has my respect...double that when retrofitted with mopar components....you have nothing to be embarrassed about or apologize for..1 point
-
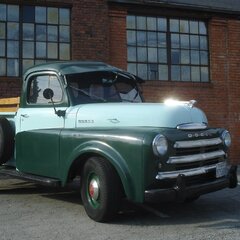
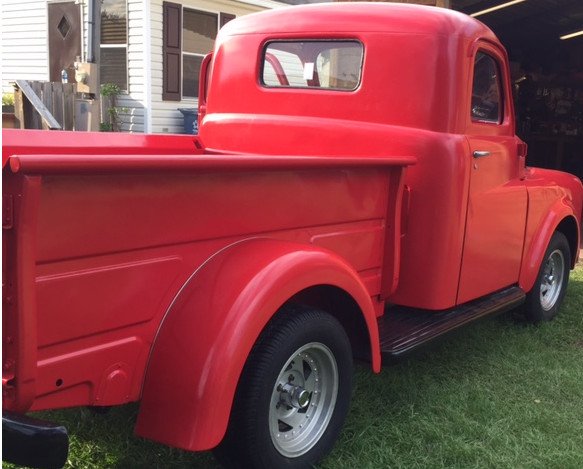
She's not quite finished, but the goal is for the end of this month to be complete. Everything was restored by us, no outsourcing. We learned everything the hard way. This restoration that was asked by my Dad who is 83. He had saved it for 17 years in hopes of doing this restoration himself.
 1 point
 -
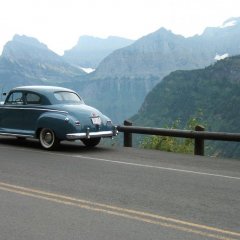
Here's one. I defer to the next pic poster on choice. Already did one. No more ideas Edit: for those thinking that size matters. This pic was taken at a high resolution. It was copied, and resized to 88kb for posting. I'm not sure how much of the webmasters bandwidth it eats up, but I think that it shows that with the new modifications to the site you do not need to post a 2MB pic, and use up your own allotted storage space on the site.
 1 point
 -
In regards to my next challenge of fall color pics, I'd like to see several, so don't stop after the first one and move on to the next challenge. I'll start it off, but this one doesn't count in the picture challenge. The next one gets to pick the next challenge.1 point
-
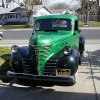
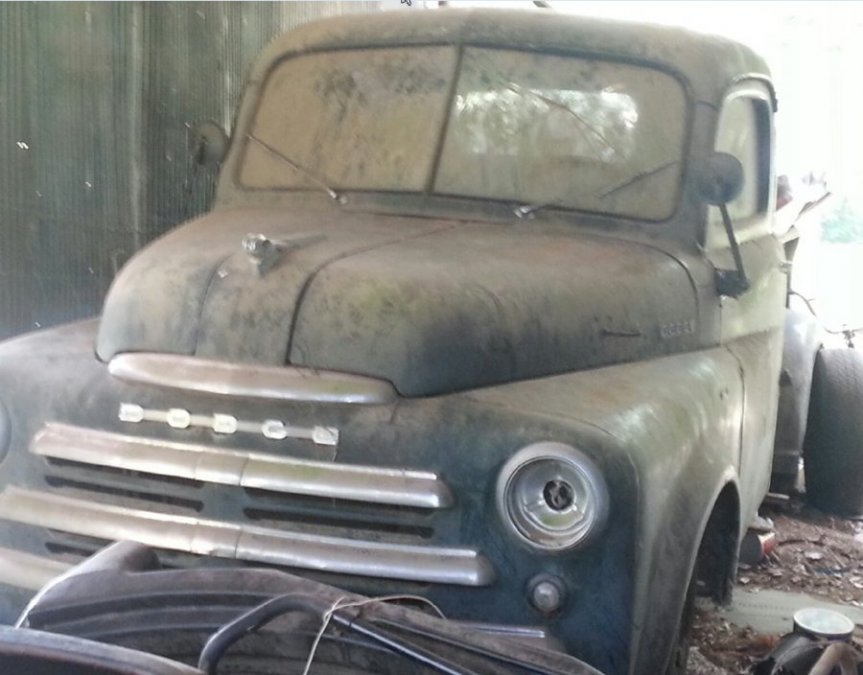
Can't believe this one took so long. There's a few around here, and one is just up the street from me, but no place to stop and get a picture of it. So while out driving around with the Ol' Dodge today we stopped at a local park where my wife knew of one. But again, no good place to park and get a picture. This is the best I could do... How about some nice fall color with your old Mopar...1 point
-
NOWHERE is worse than North Carolina1 point
-
I could write pages ! Hope it's easier than NC !1 point
-
JUST got back from my chromer guy. As you can see below I can now start to get things going again (once I have time away from the woodshop). I have one question tho: the wing window latches....are the pins spring loaded or do they just ride on the stud? If there were springs inside they didn't make it thru the plating process. Didn't even think of that.....D-oH! You decide: $1200 for this lot of chroming and SS/nickle polishing. My next lot: DODGE grill badge(polish), JOB RATED badge(fix and plate), hood ornament(fix and plate), one wiper arm (polish), dash badge(polish), parking light refelctors(clean up and plate), misc screws(strip and plate), wiper arm bezels(clean and plate) and the wiper motor switch & nut (clean and plate) for $1100, did I get a good deal?1 point